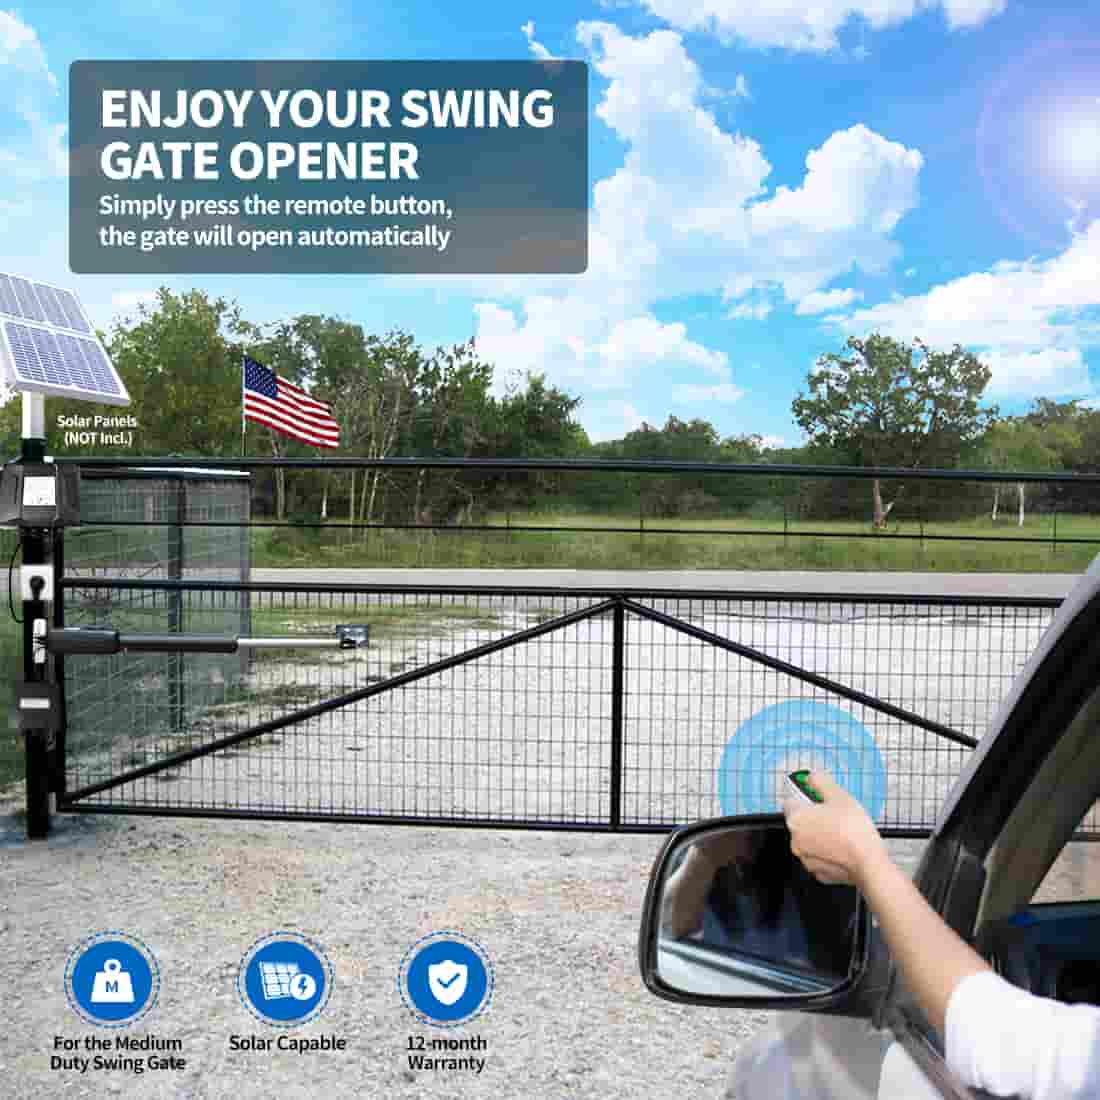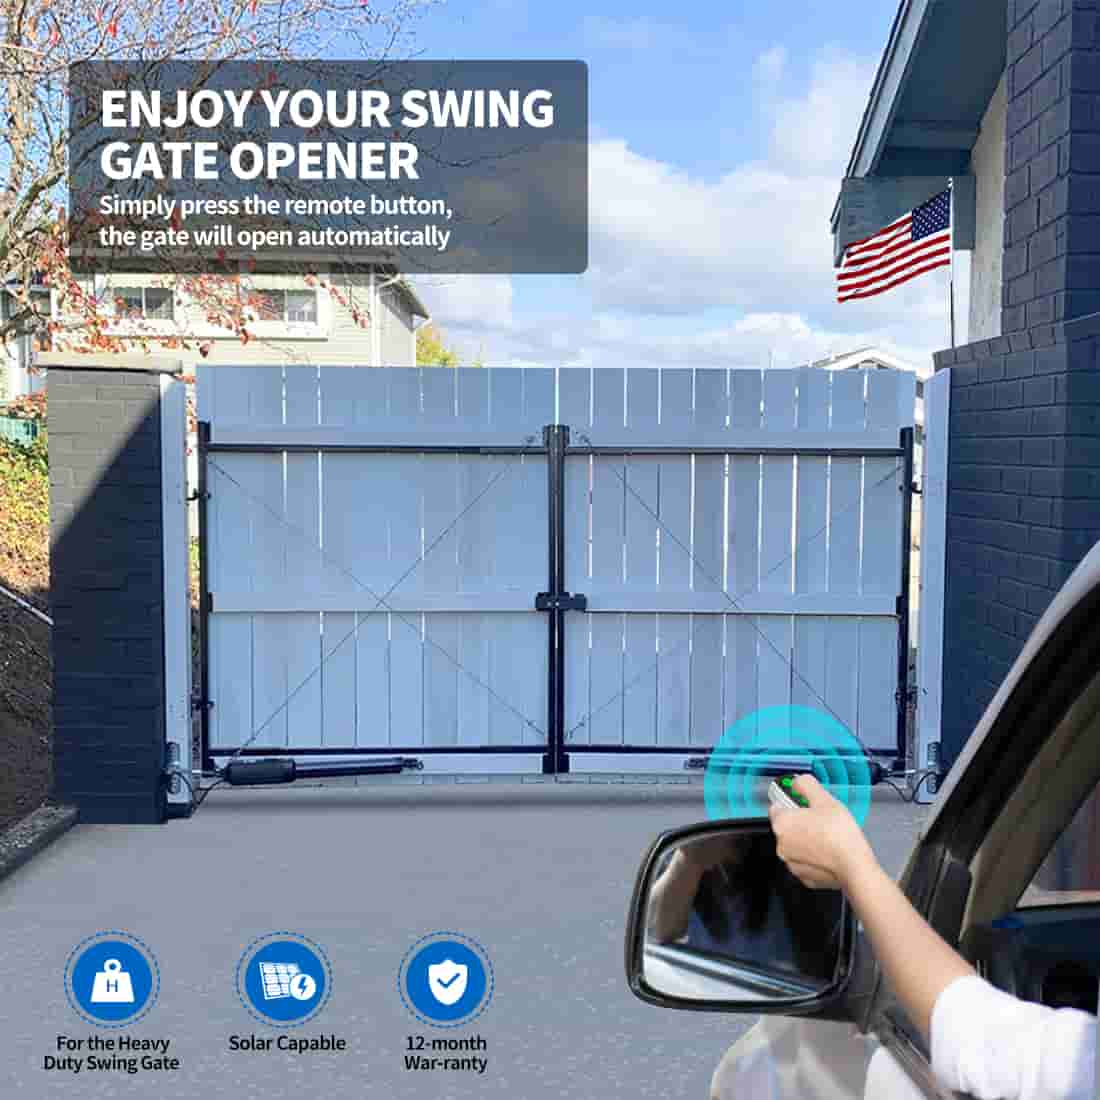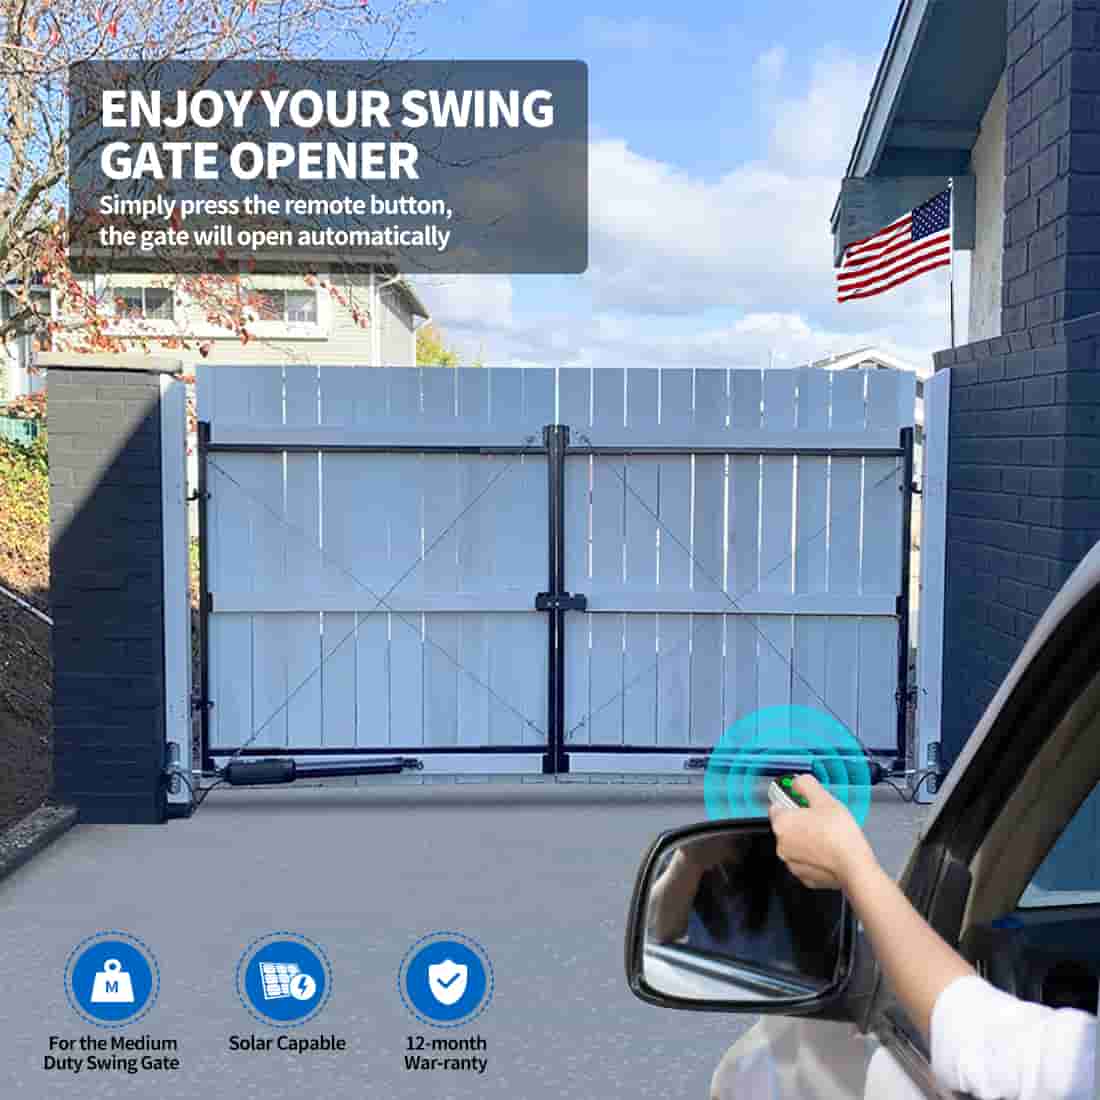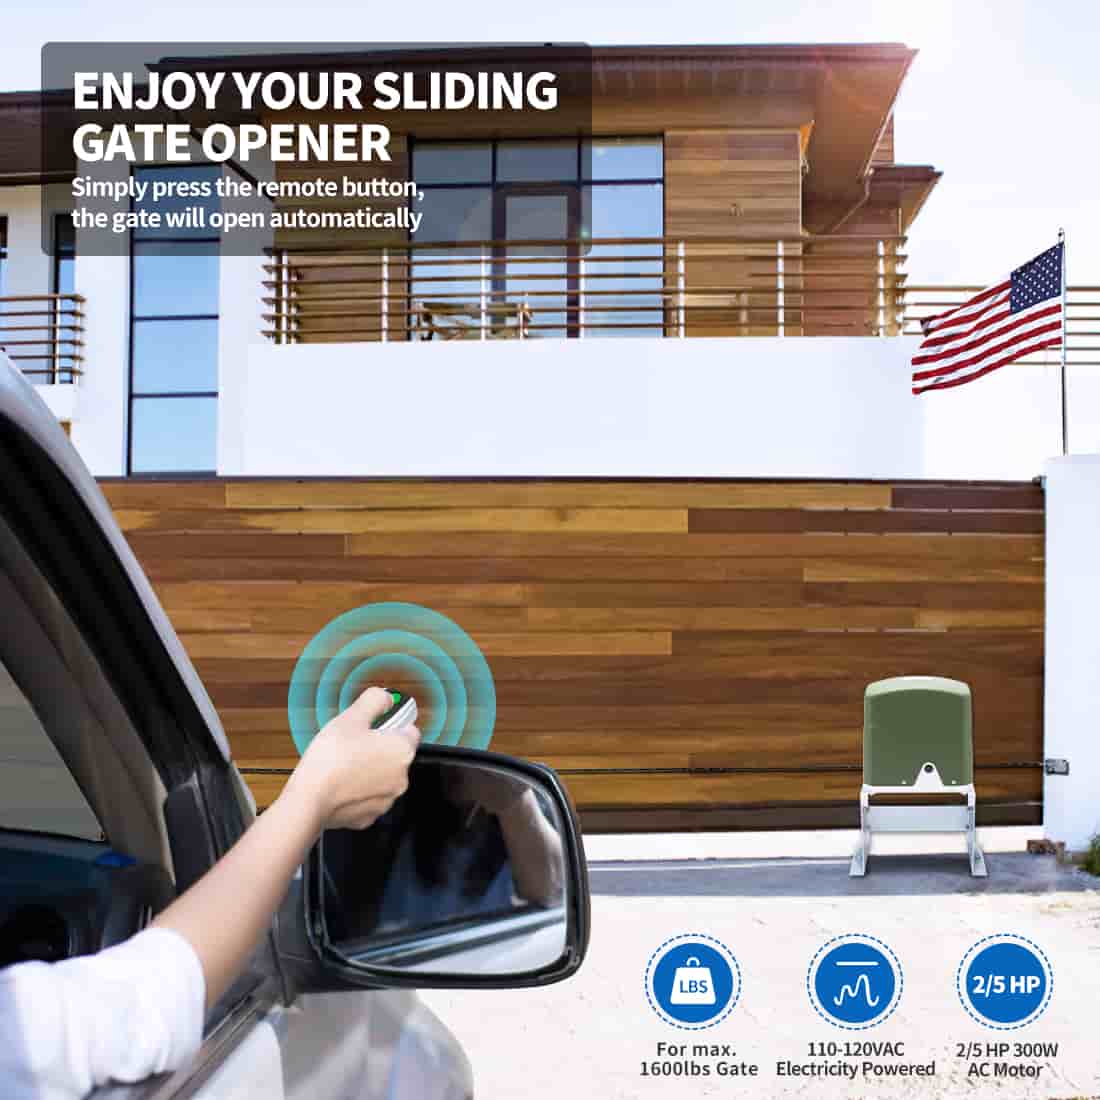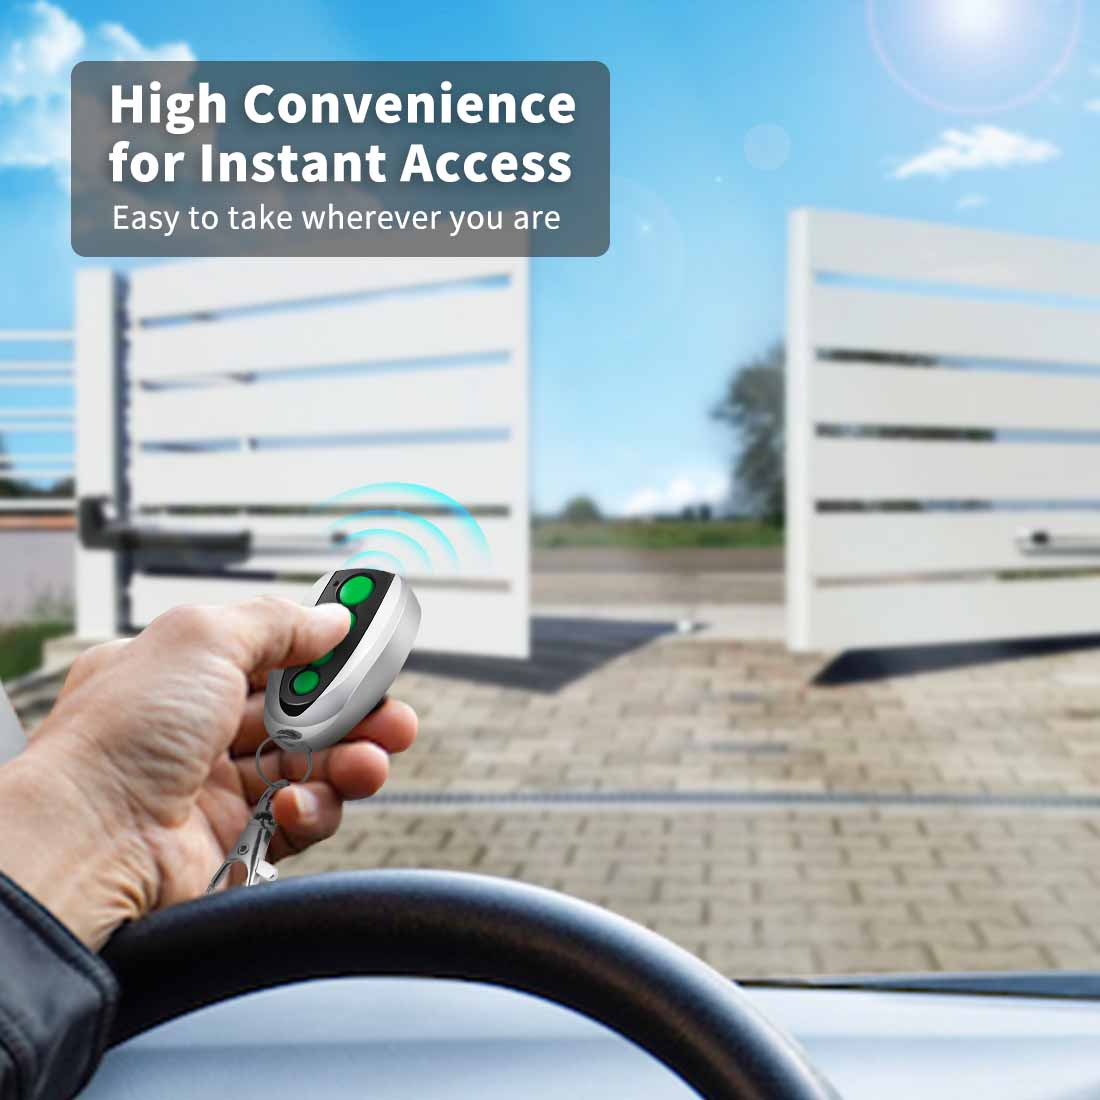


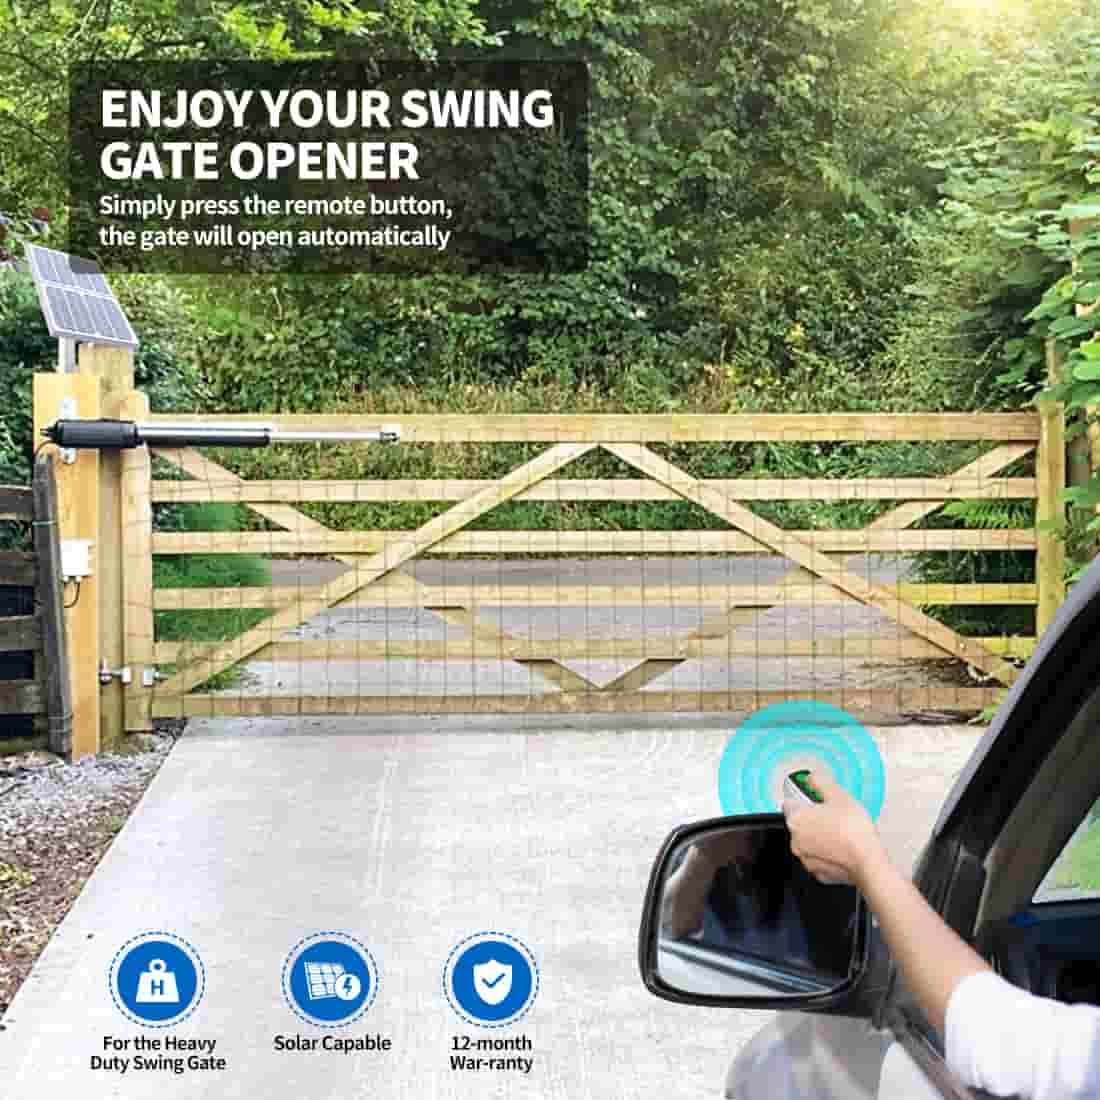


A swing gate opener is easier to install than you might expect. If you’re tired of hopping out of your car to open the gate, a TOPENS swing gate opener is an easy upgrade that makes daily access smoother and more convenient. TOPENS systems are straightforward to install, even if you’re not a professional installer.
In this guide, we’ll walk you through each stage of the installation, from inspecting your gate and setting the correct mounting position to wiring, safety setup, and fine-tuning the system, so you can get it done right the first time.
Pre-Installation Gate Inspection (Critical Step)
This step is often skipped and it’s the number one cause of installation failures. If your gate doesn’t move smoothly by hand, fix the gate first. Check the following before installing:
- Manual Operation: Open and close the gate by hand. It should move freely without dragging and binding on the ground.
- Gate Alignment: The gate should be level and plumb when closed.
- Hinges & Posts: Hinges must be secure, and posts must be firmly set in concrete with no movement.
- Swing Clearance: Ensure there’s enough space for the gate to fully open and close without obstruction.
Tools You’ll Need for DIY Installation
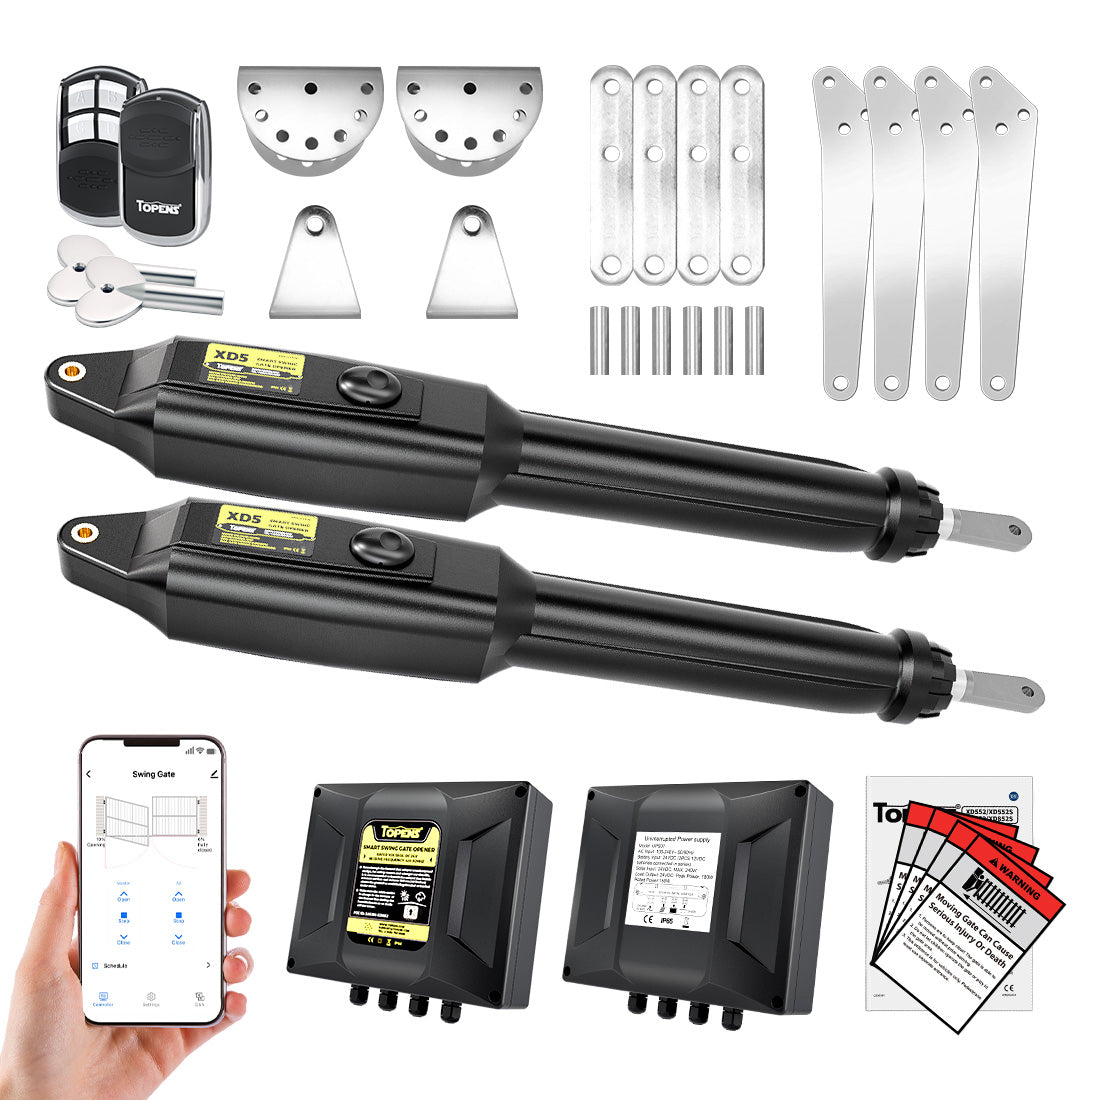
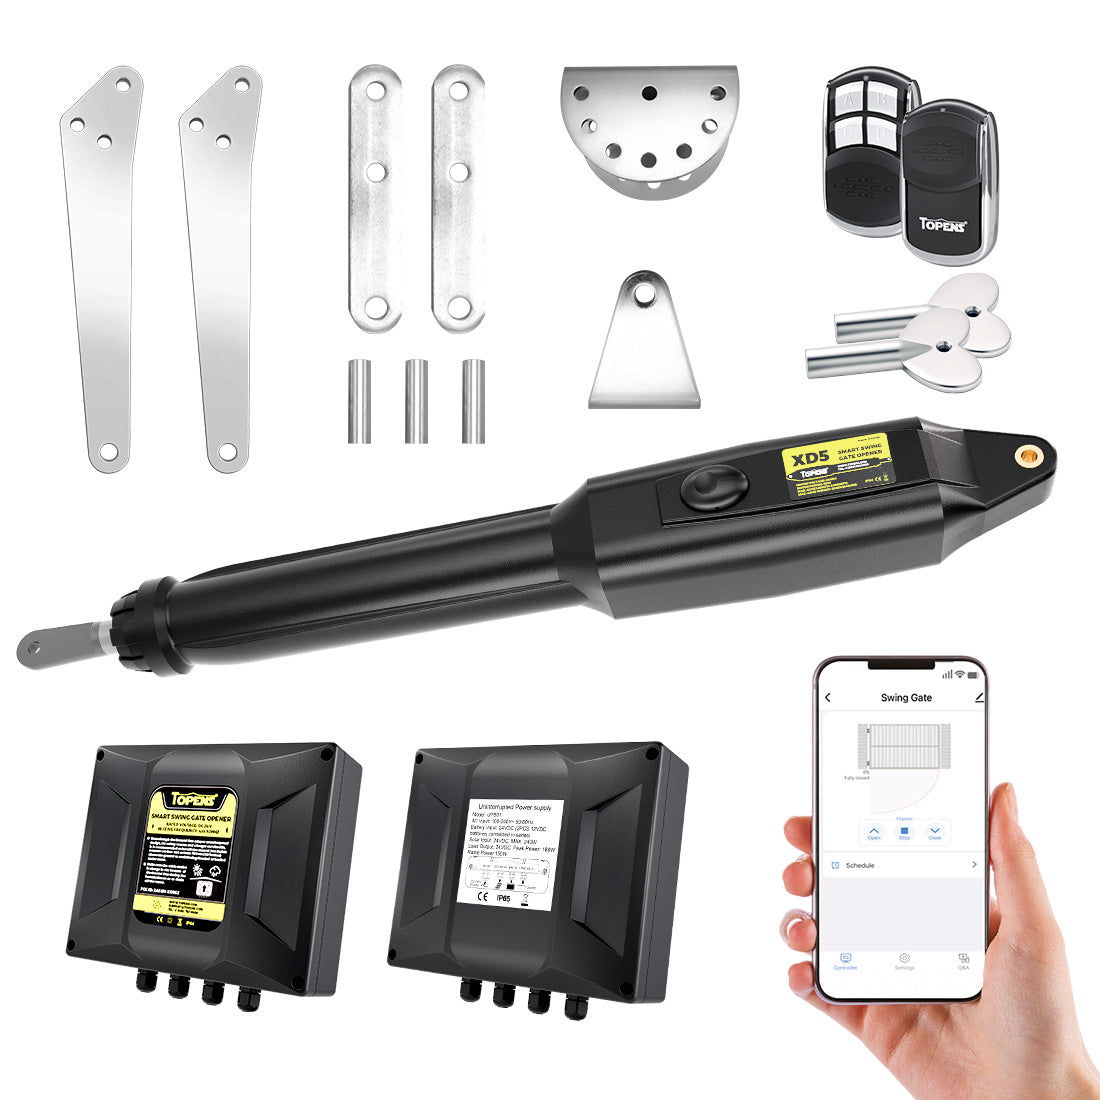
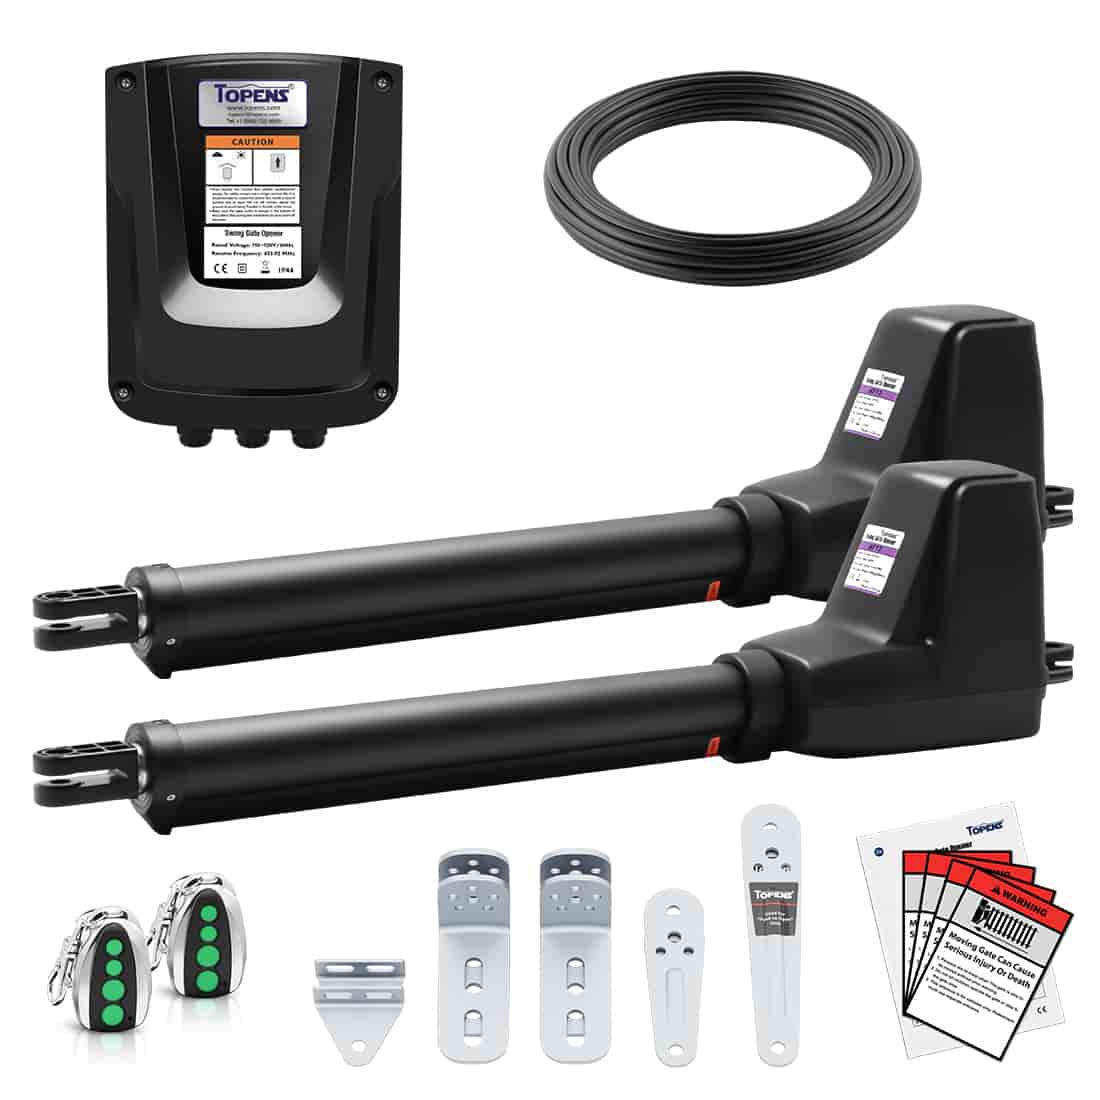
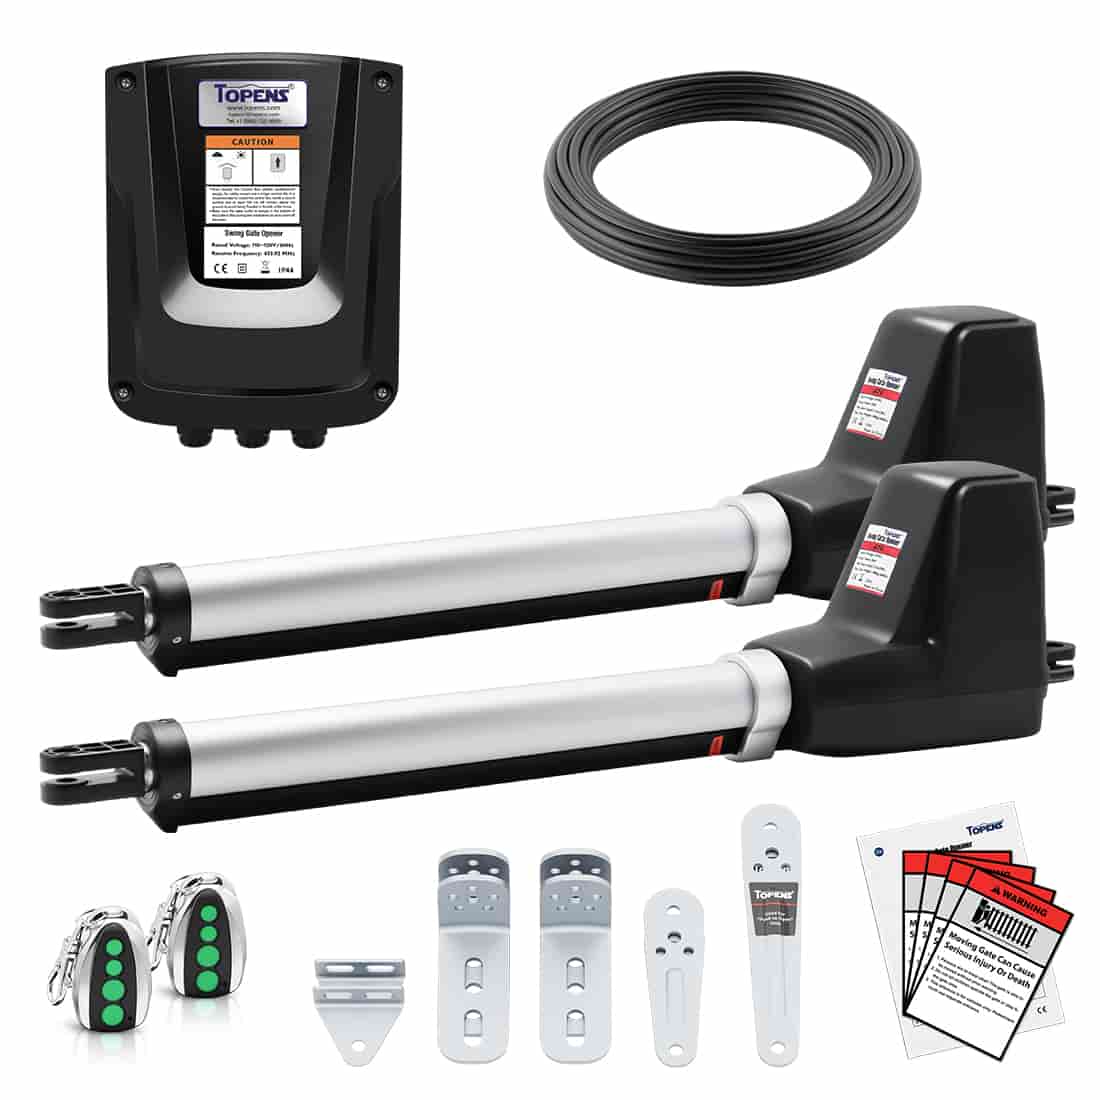
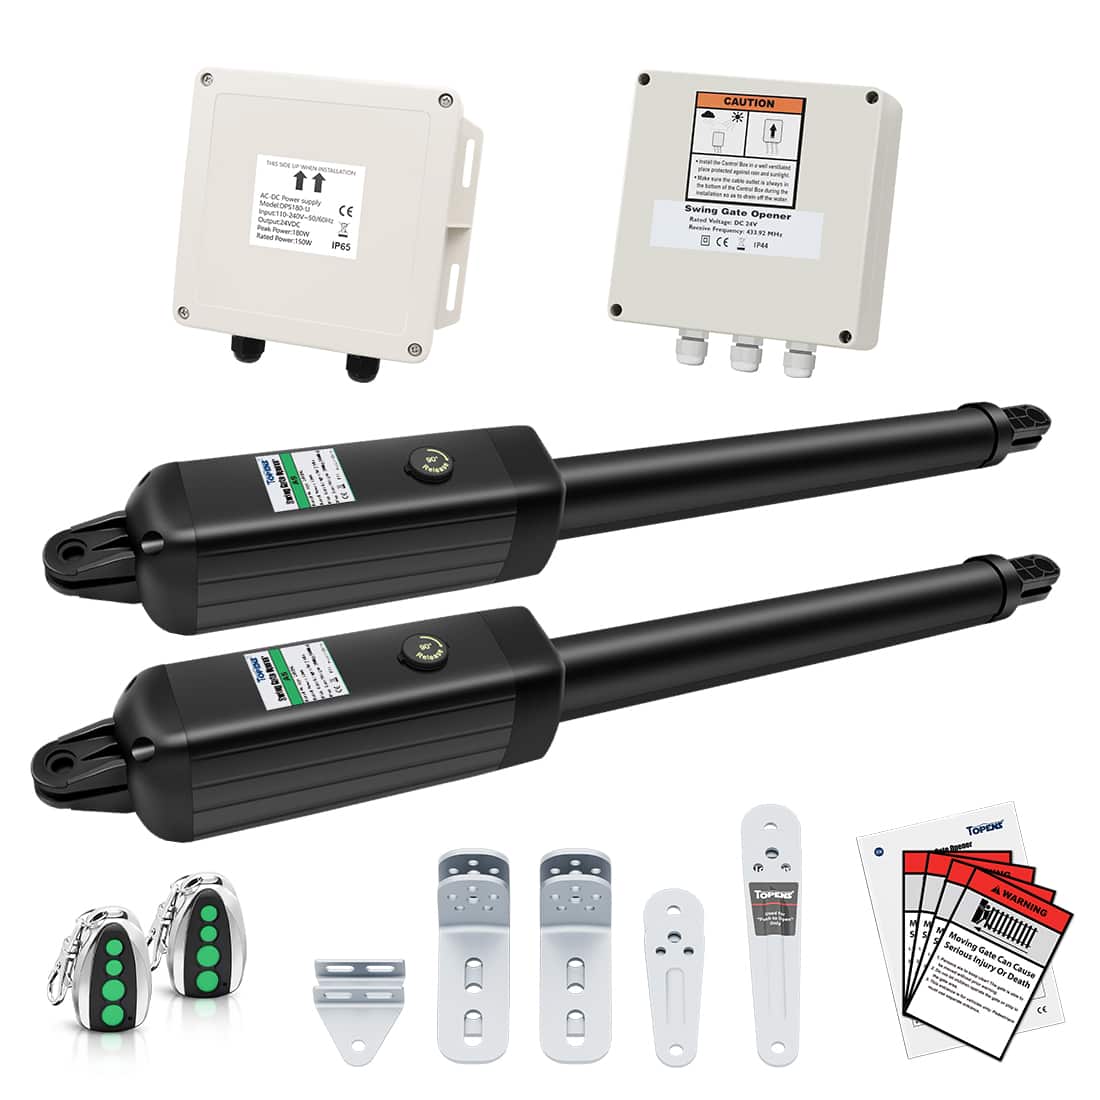
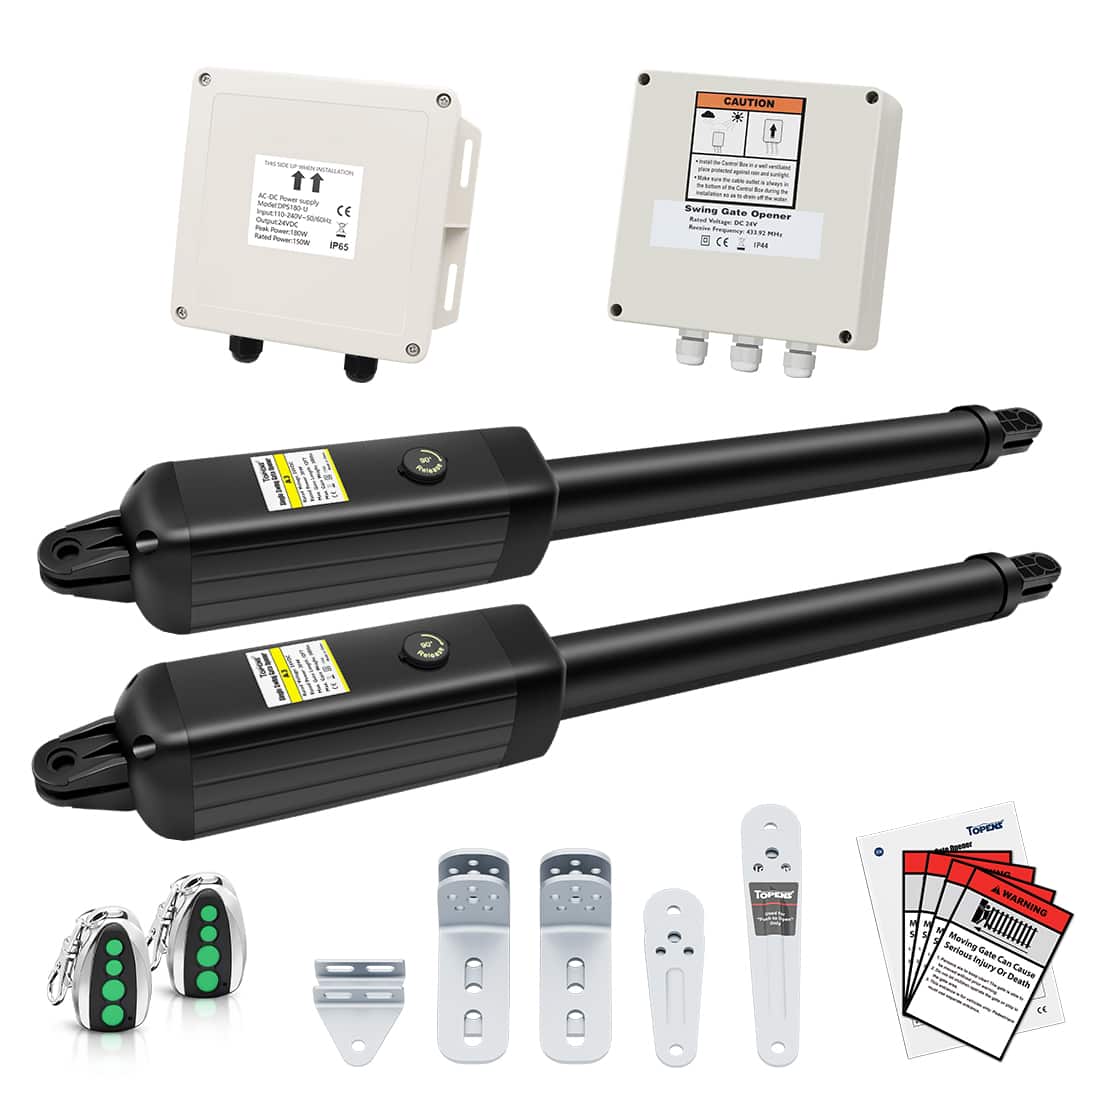
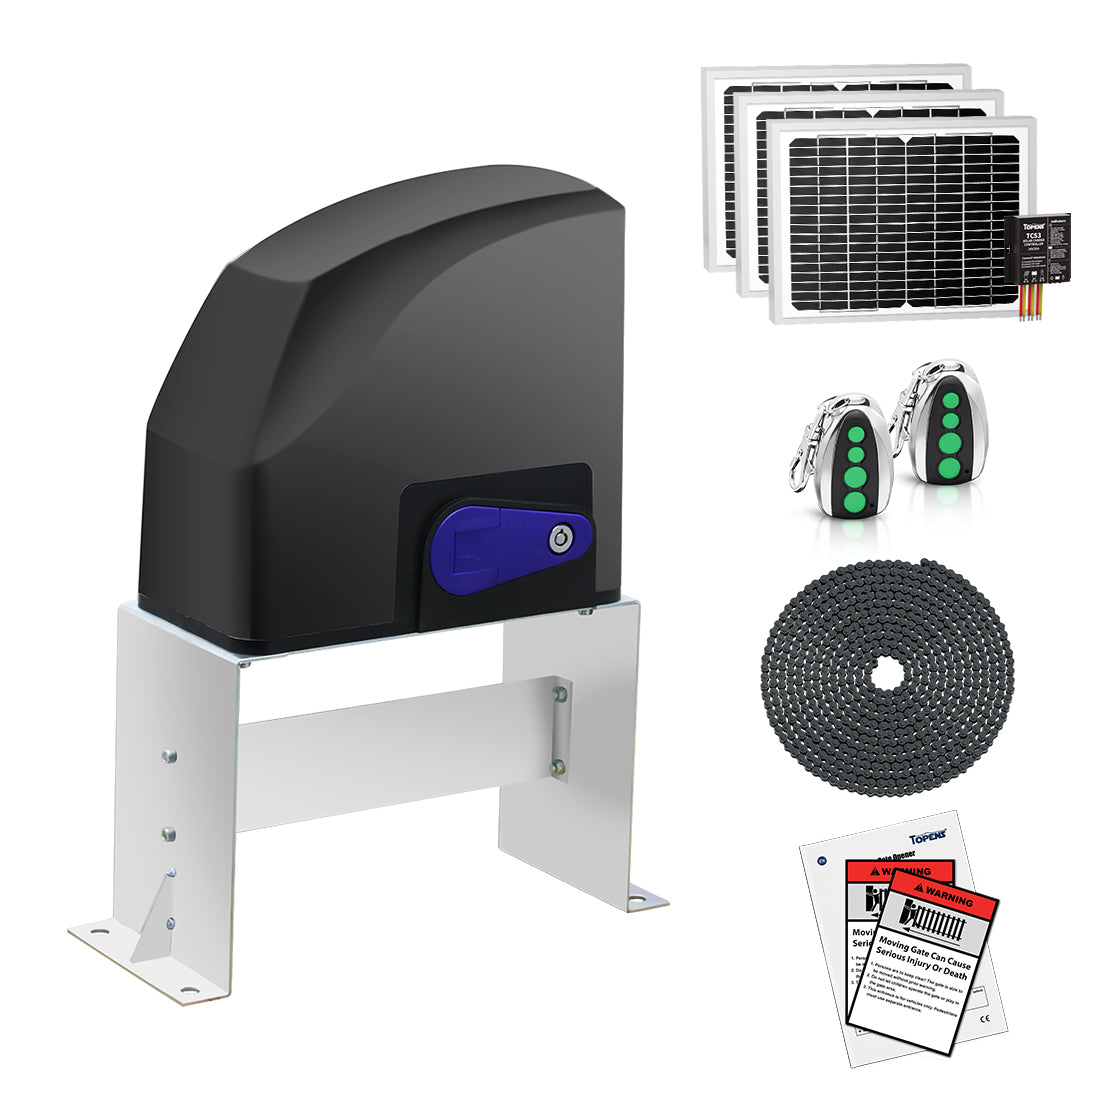
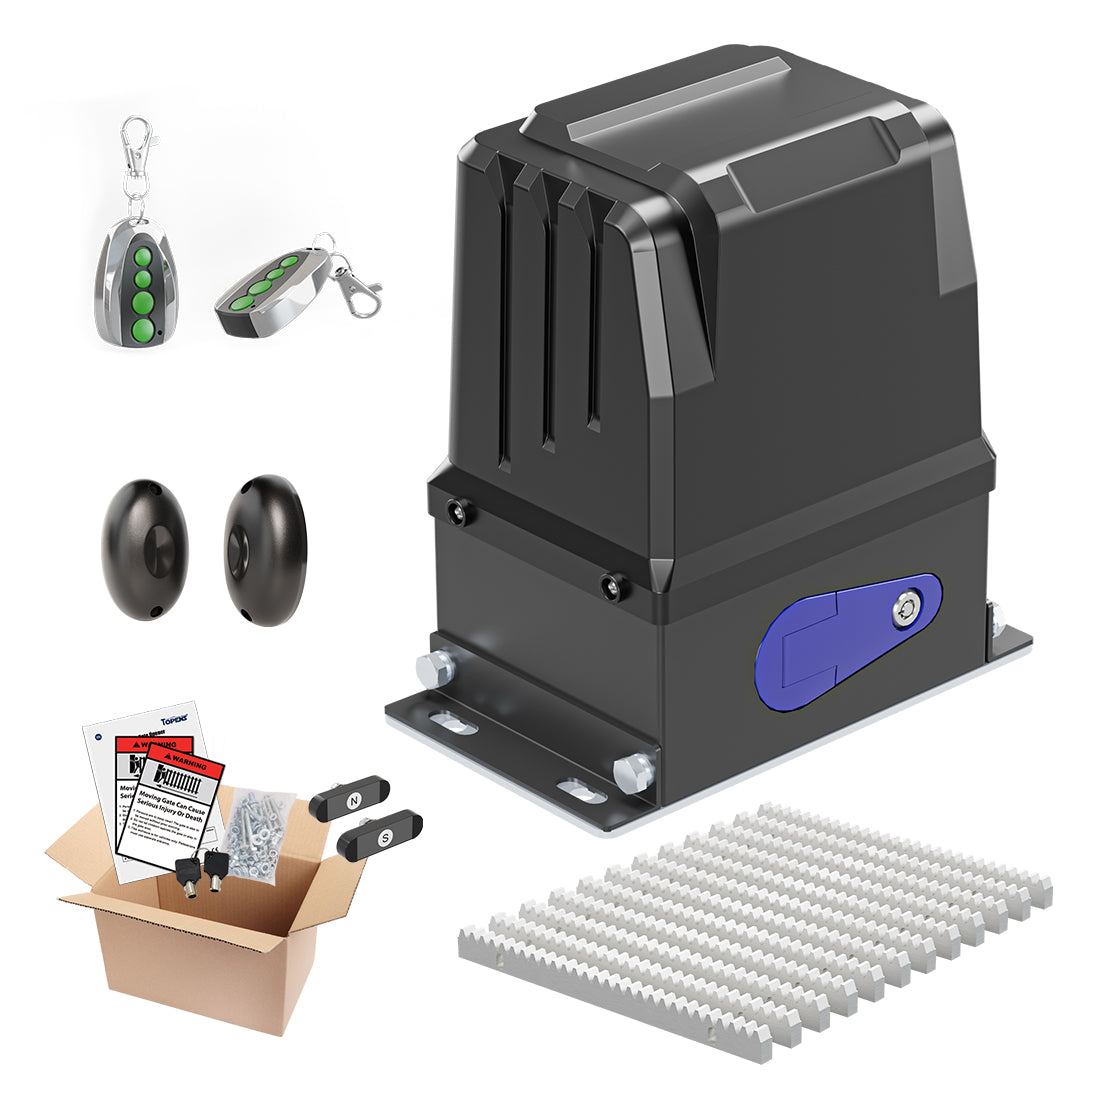
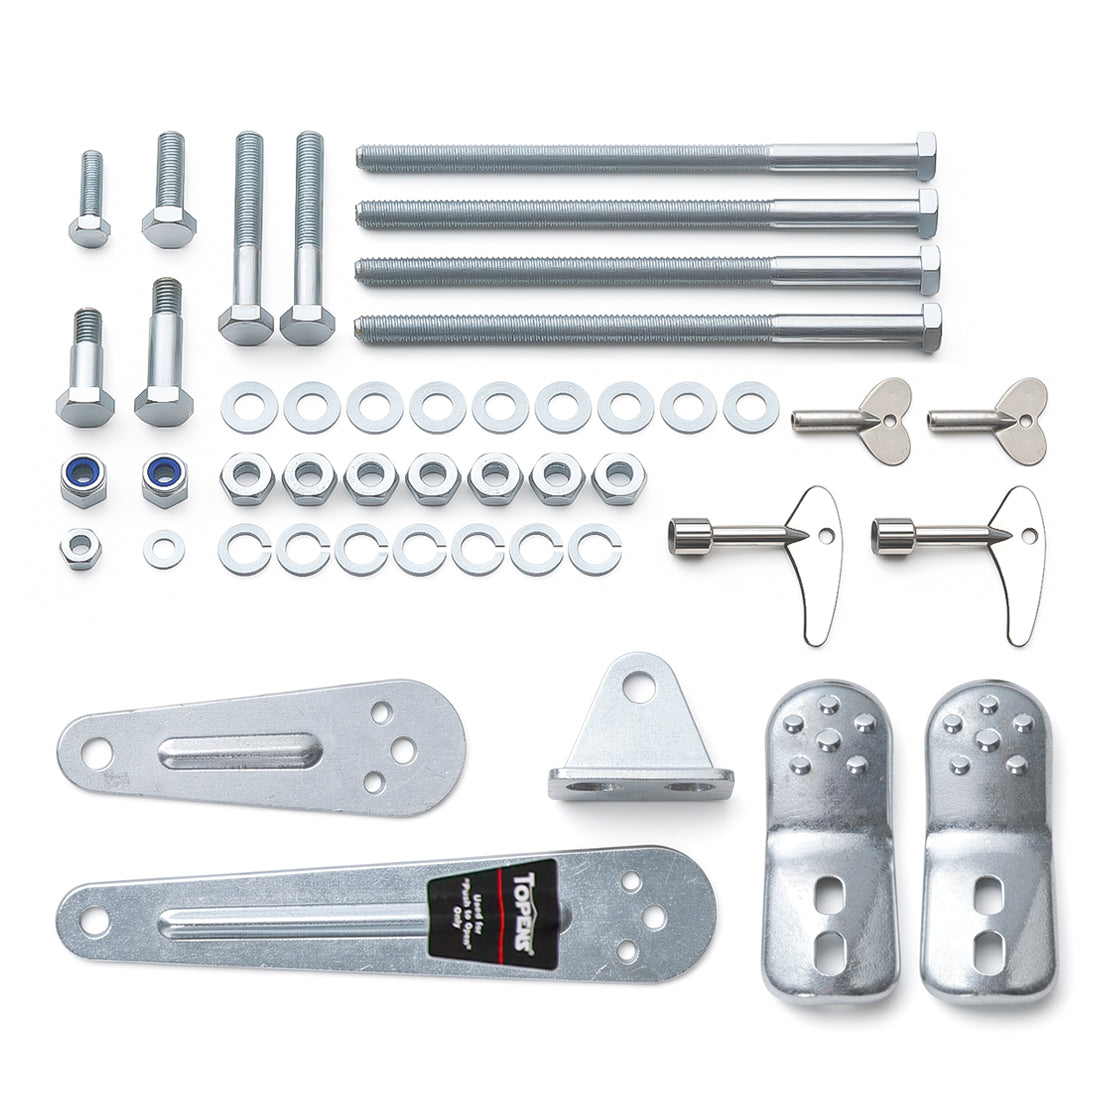
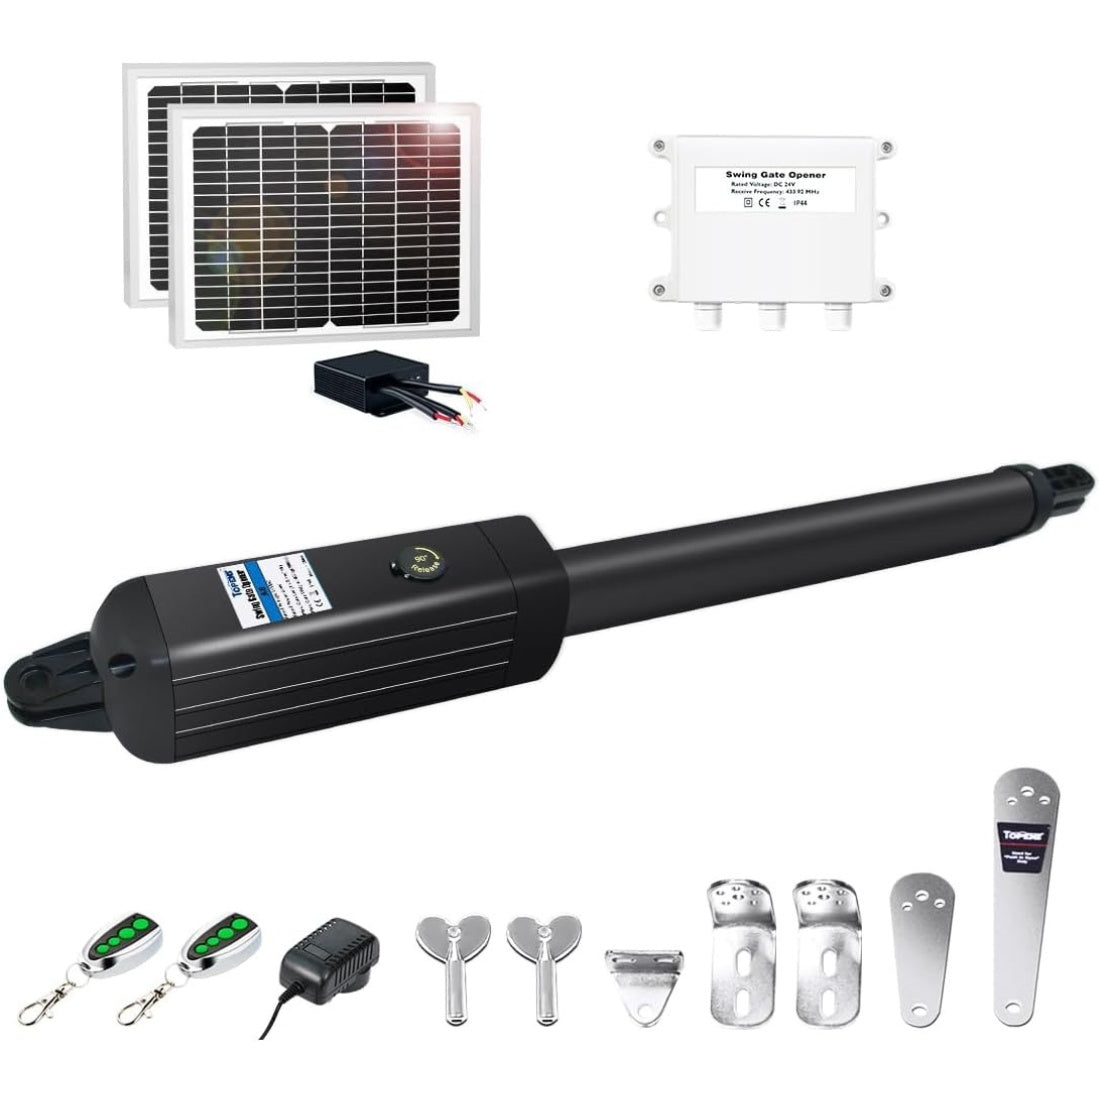
TOPENS swing gate openers come with mounting hardware, but you’ll need basic tools to complete the installation. Having all tools ready before you begin will make the process smoother and faster.
Common Tools
| Power drill | Tape measure |
| Wire strippers | C-clamps - small, medium, and large |
| Level | Hacksaw or heavy duty bolt cutters |
| Phillips screwdriver | Open end wrenches - 14# &17# or adjustable wrenches |
| Marker or pencil | Safety gloves and eye protection |
Helpful Extras
- Conduit for wiring protection
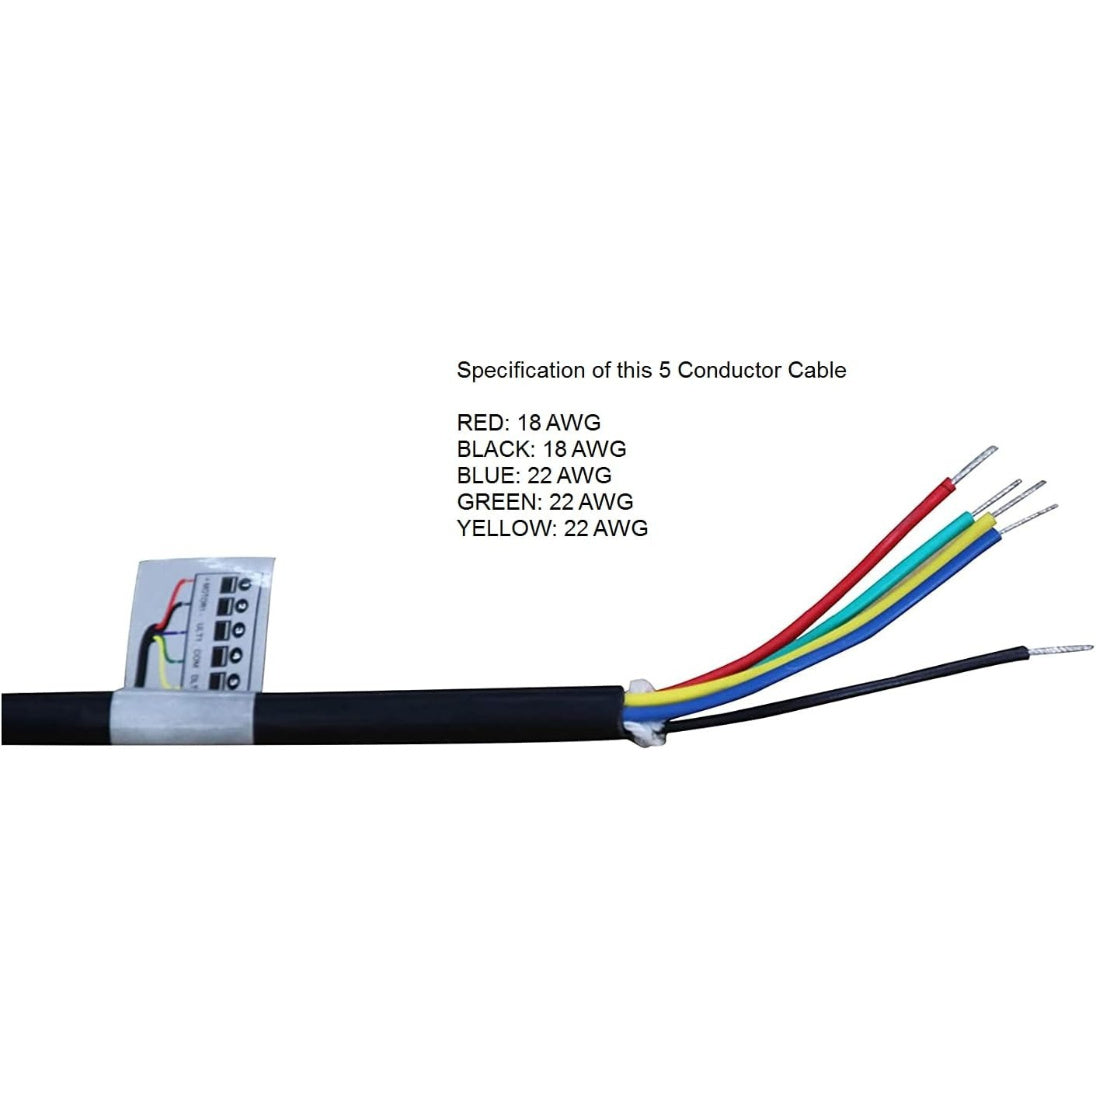
- Connection cable for wired accessories (wire specifications per TOPENS user manual)
Step-by-Step DIY Installation Overview
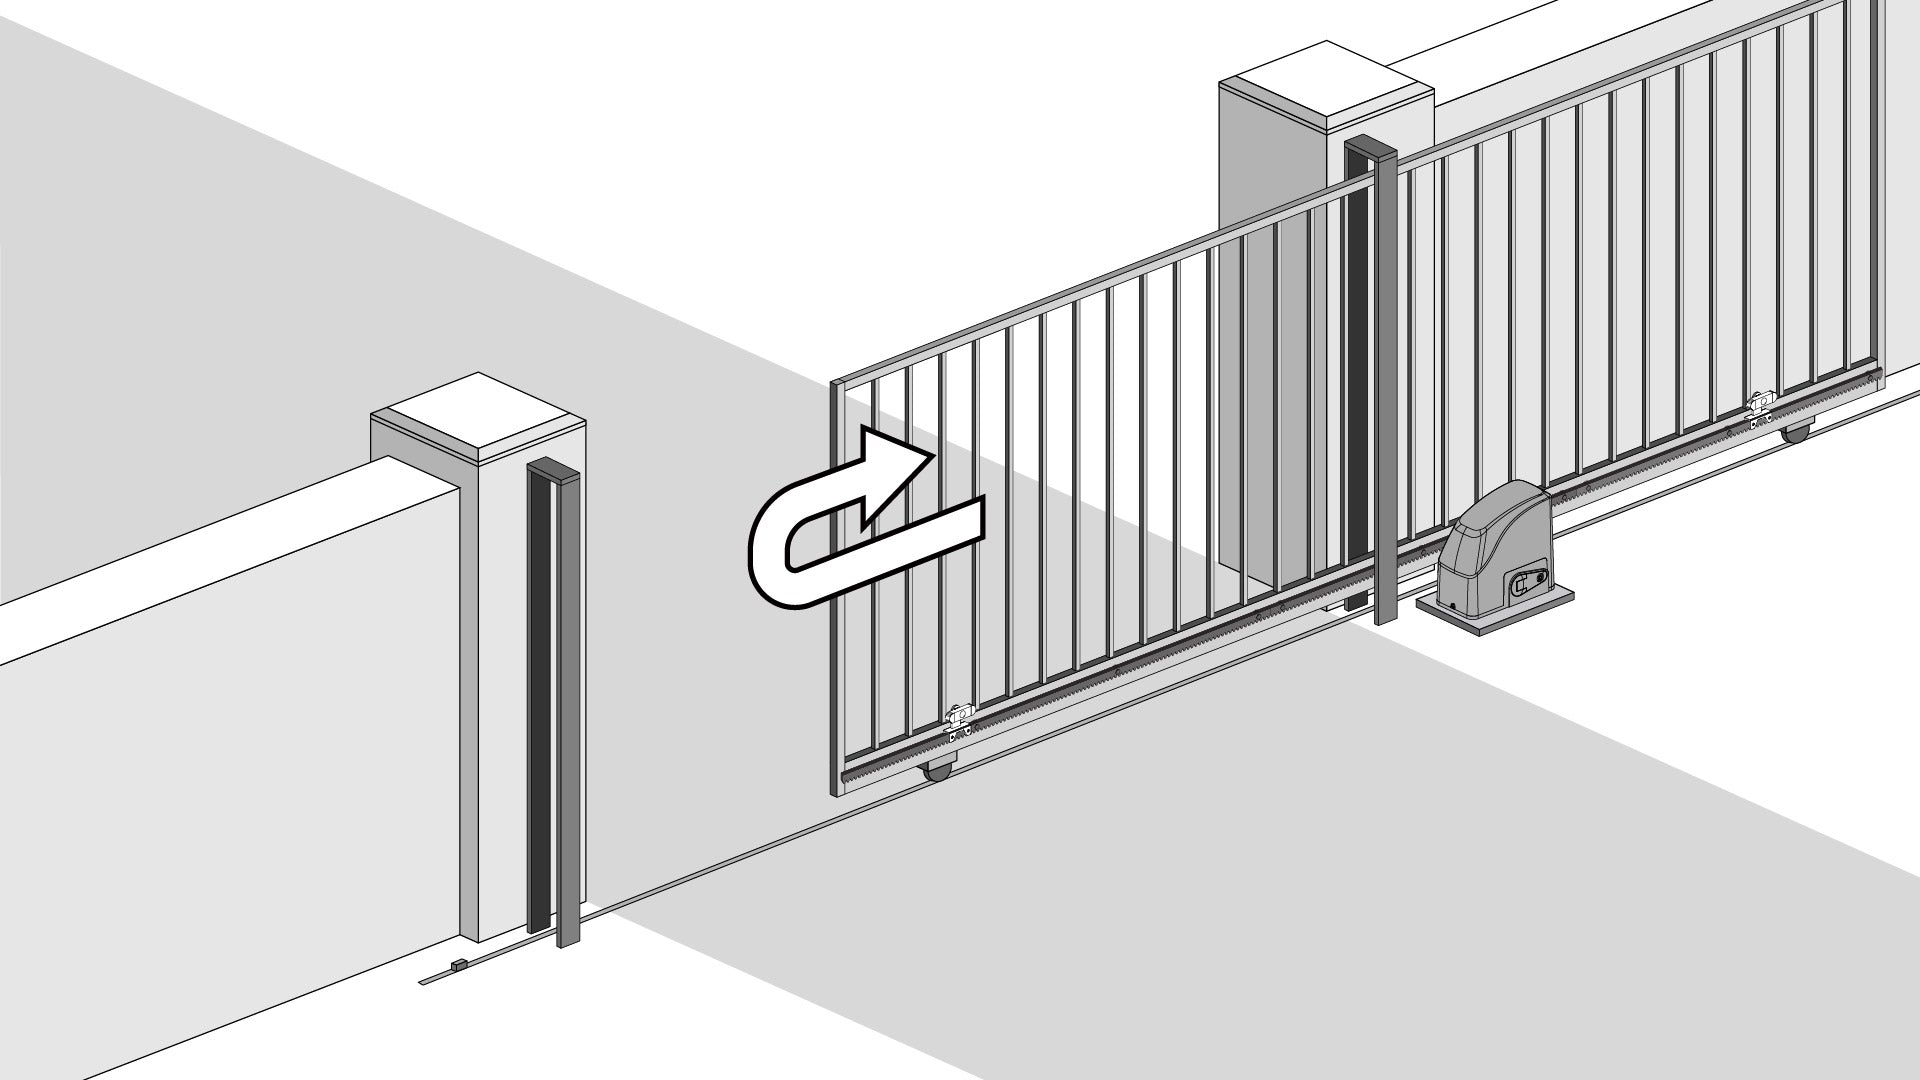
Step 1: Check Gate Swing Direction
TOPENS swing gate opener supports both Pull-to-Open (swing inward) and Push-to-Open (swing outward) configurations. Before installation, simply check which direction your gate swings and choose the correct mounting bracket. Not sure which setup you have? Read our helpful guide: How to Tell the Difference Between Pull-to-Open and Push-to-Open Installation Modes of TOPENS Swing Gate Opener.
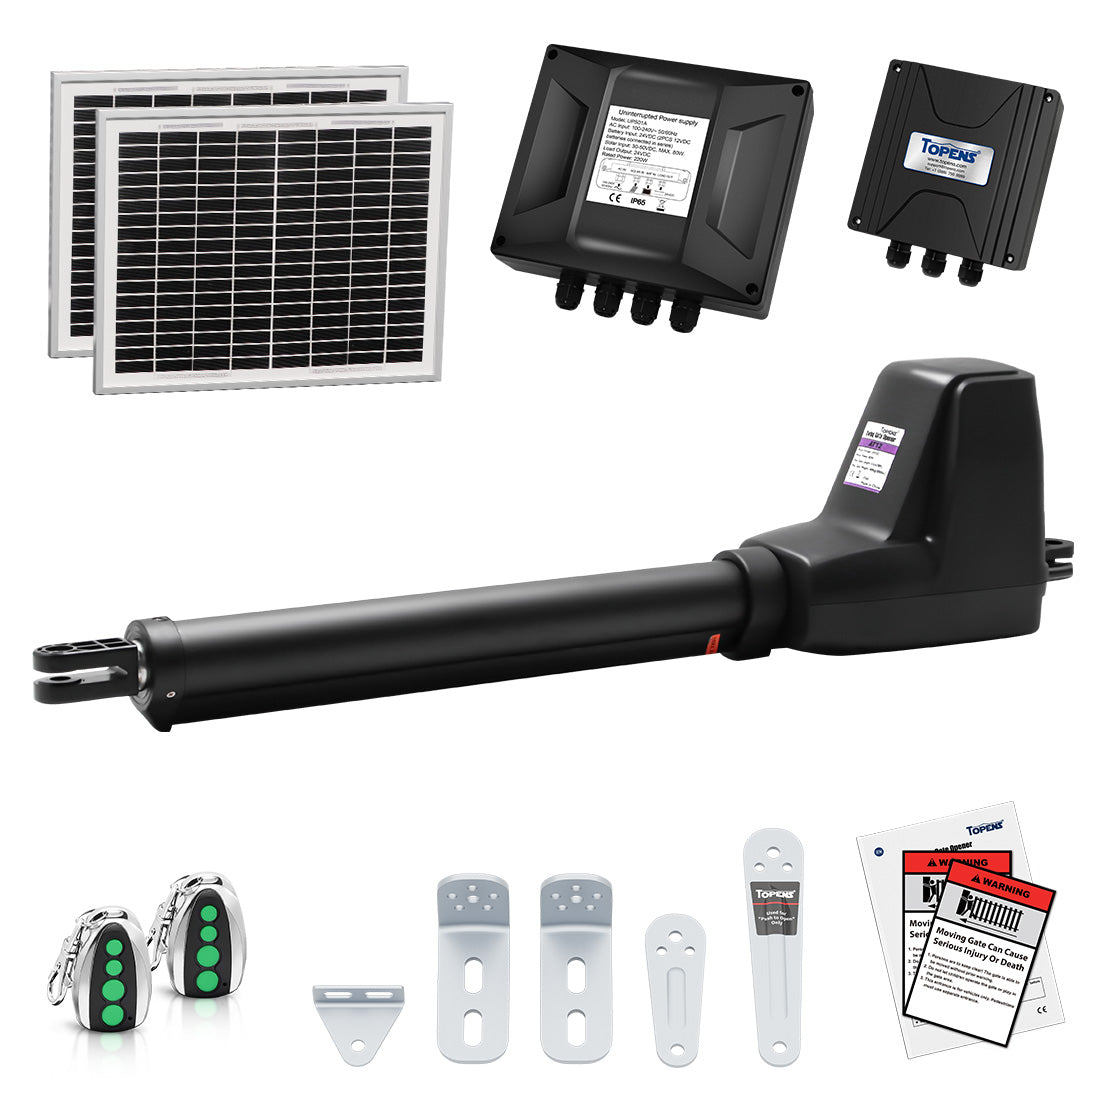
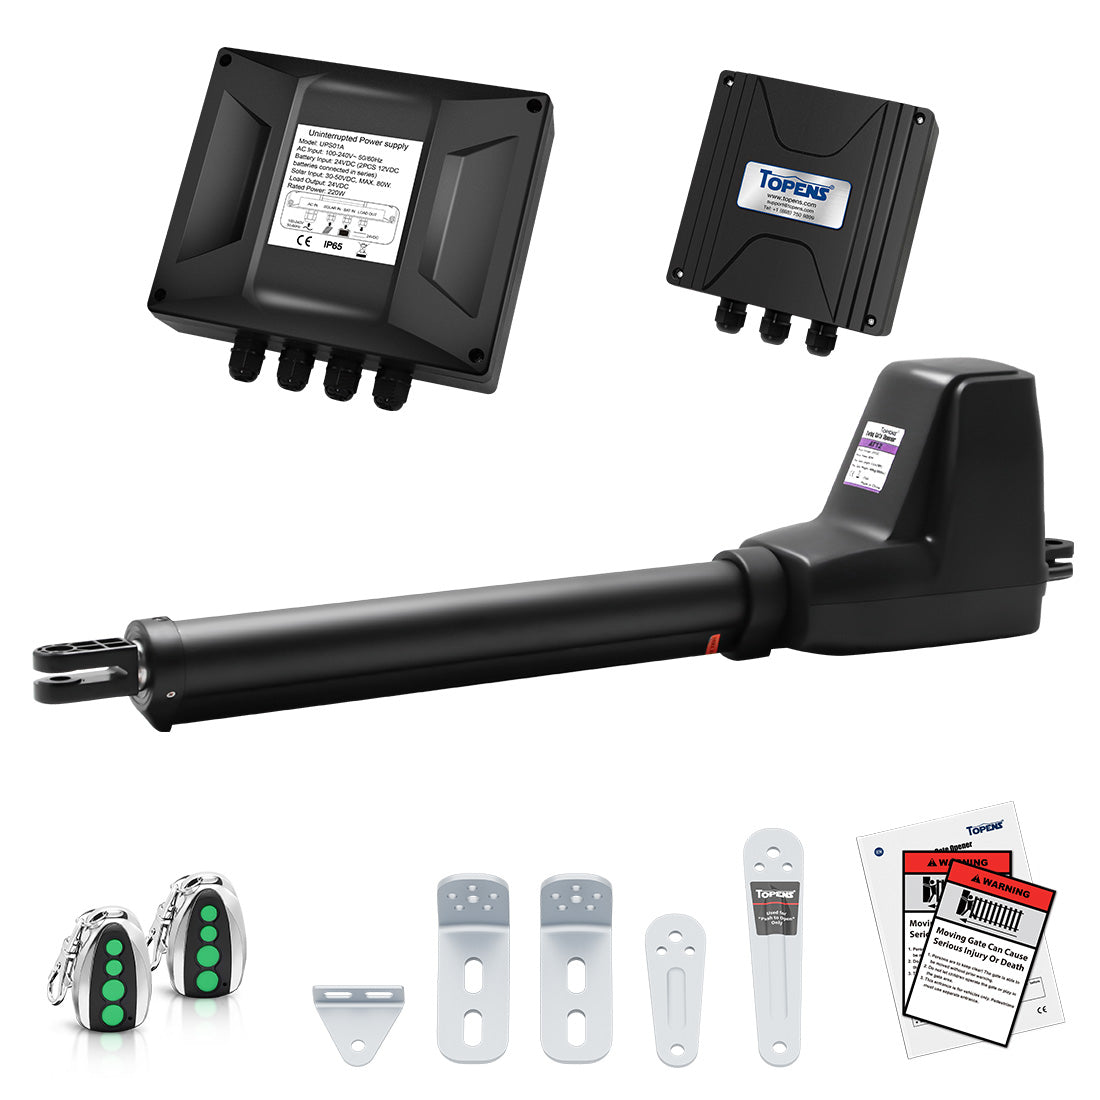
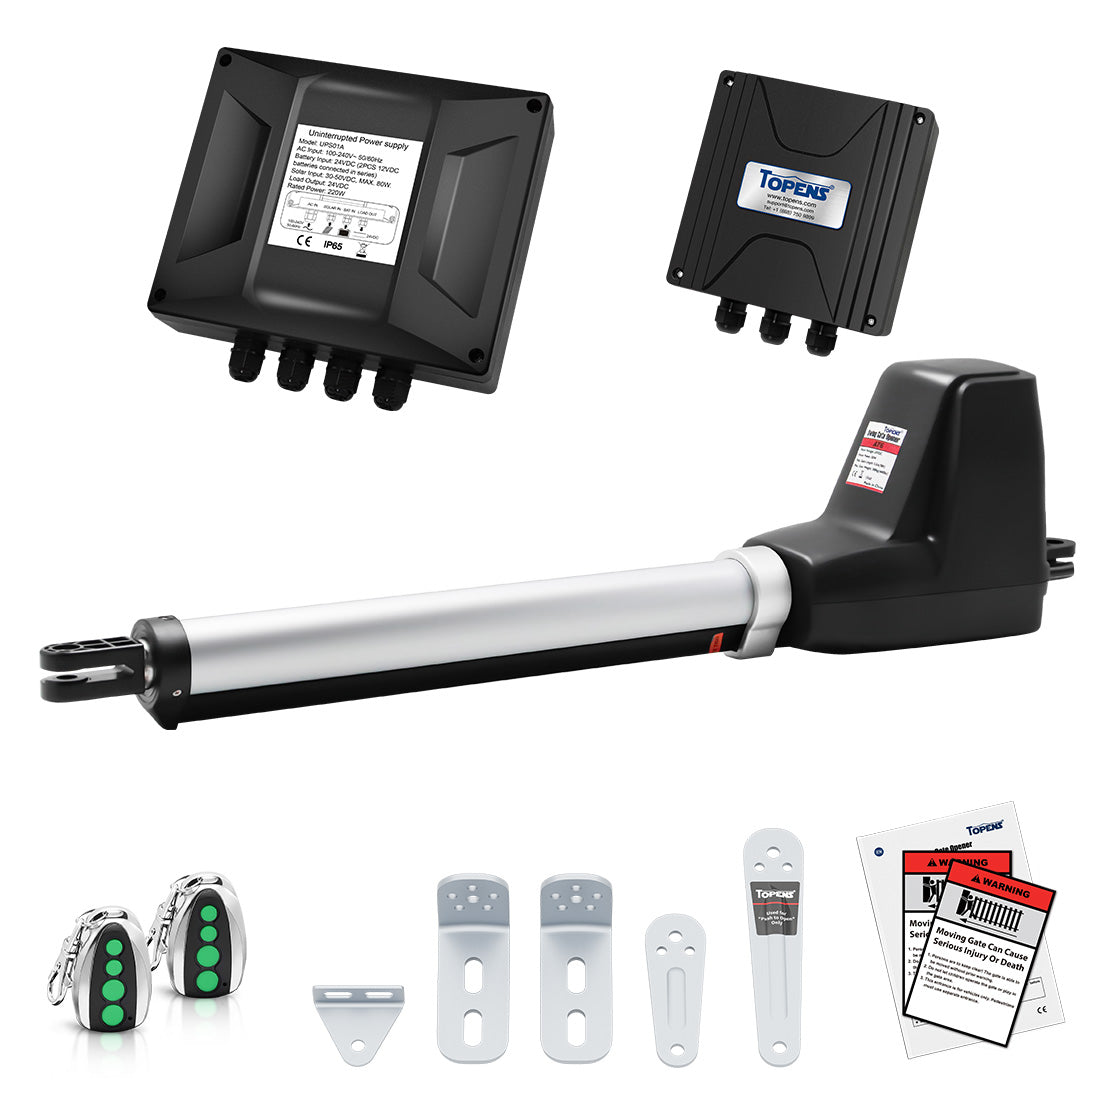
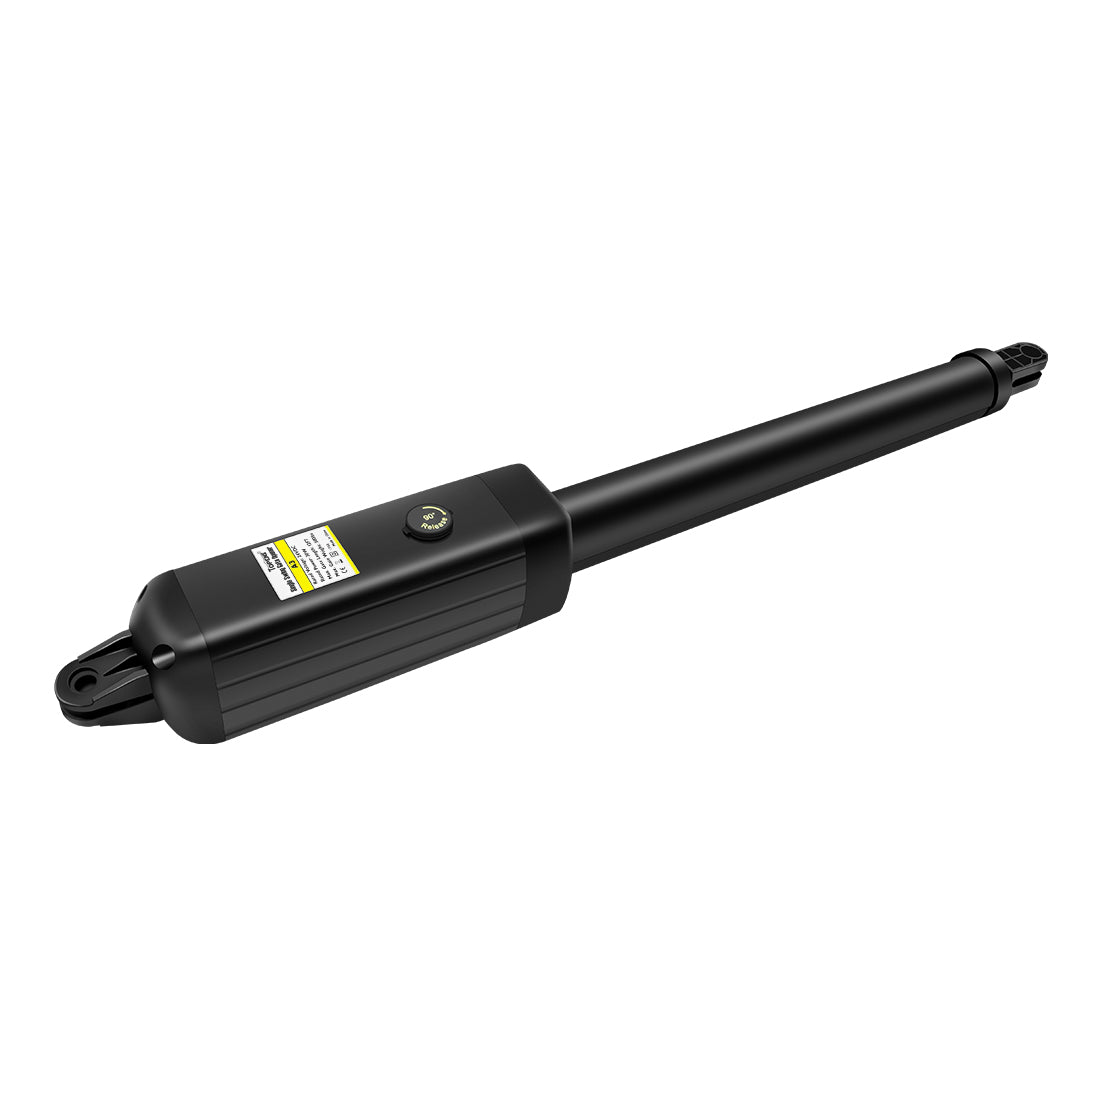
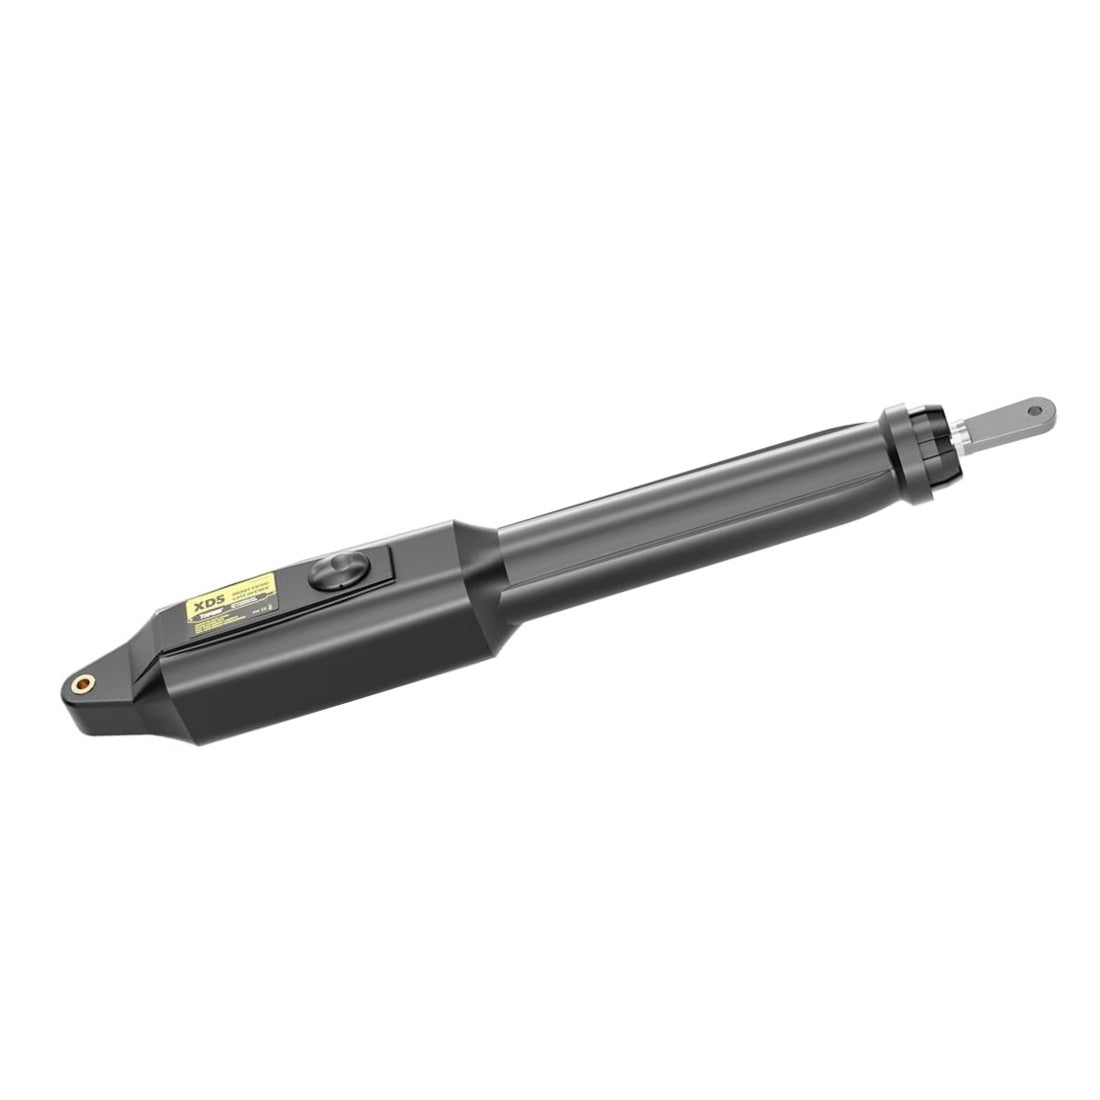
Step 2: Install and Align the Opener Arm
Attach the swing gate opener arm to the brackets. Proper bracket placement is one of the most critical steps in the entire installation process, as it directly affects gate movement and motor efficiency.
Key Points:
- Install the pull-to-open bracket or the push-to-open bracket on the gate post
- Install the gate bracket on the gate leaf
- For pull-to-open installation, make sure the gate opener arm is fully retracted when the gate is in fully open position
- For push-to-open installation, make sure the gate opener arm is fully retracted when the gate is in fully closed position
- Follow the exact measurements and diagrams in the TOPENS user manual
Check that:
- The arm is level
- The gate opens and closes smoothly without resistance
- There is no binding, rubbing, or overextension throughout the full travel range
NOTE: DO NOT “eyeballing” the mounting position. Use the manufacturer’s measurements, TOPENS designs these angles for optimal force and smooth motion.
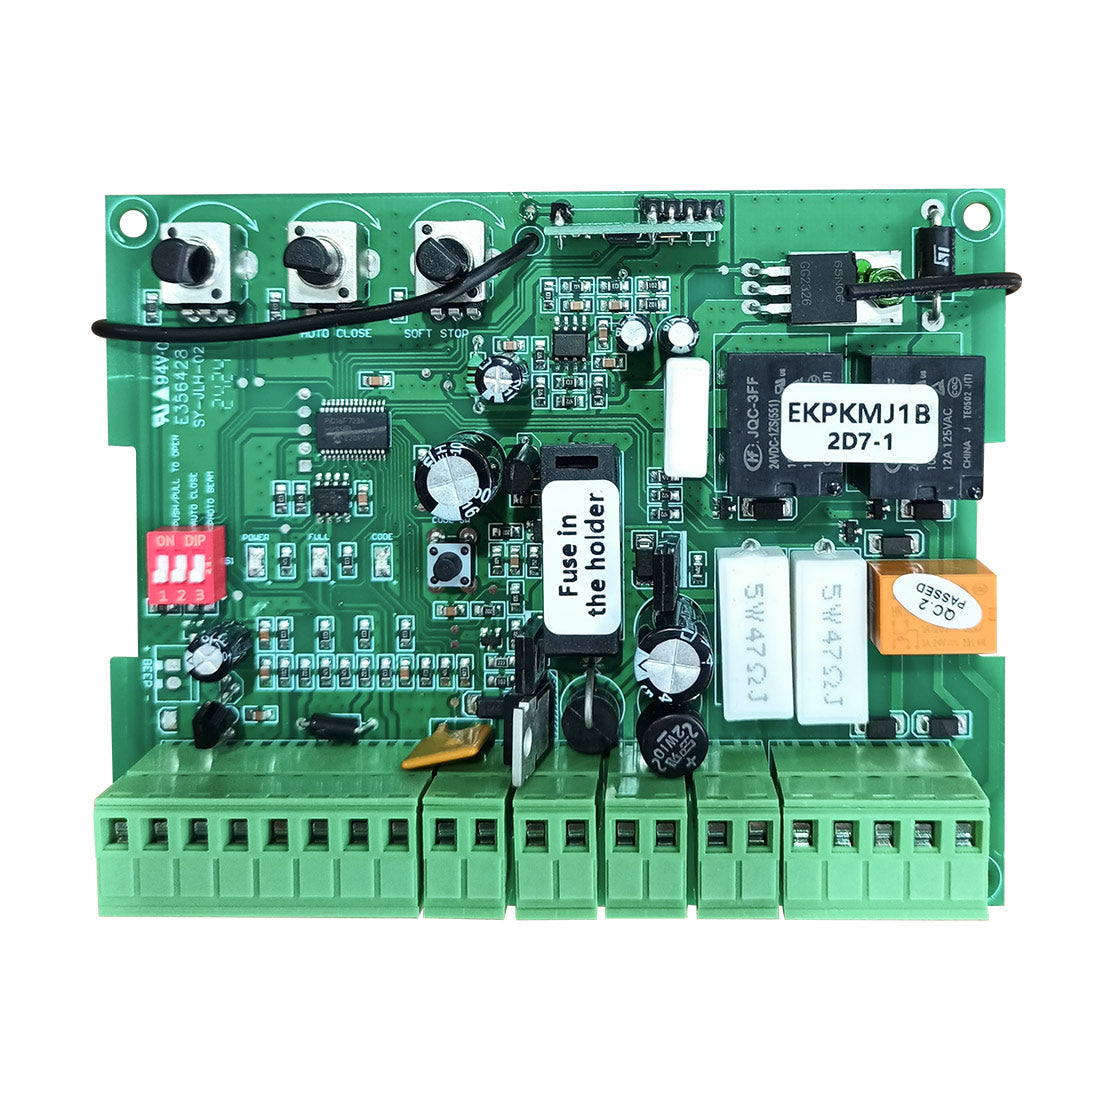
Step 3: Wiring and Power Connection
Wiring Tips
- Follow the model-specific wiring diagram provided in the TOPENS user manual
- Use the correct wire gauge to ensure stable power delivery
- Protect all wiring inside conduit to guard against moisture, UV exposure, and physical damage
- Double check polarity and terminal connections before powering on the system
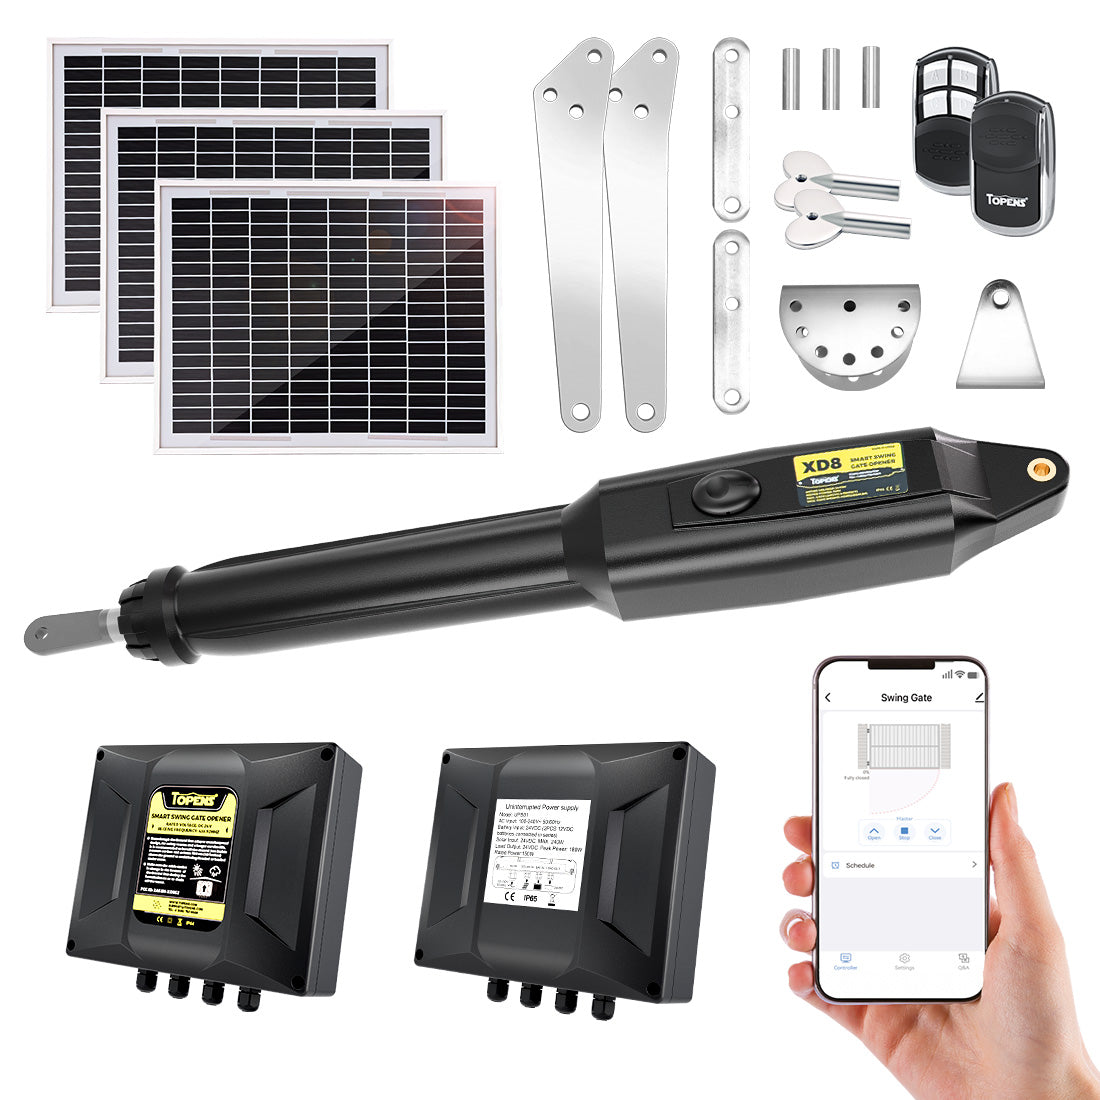
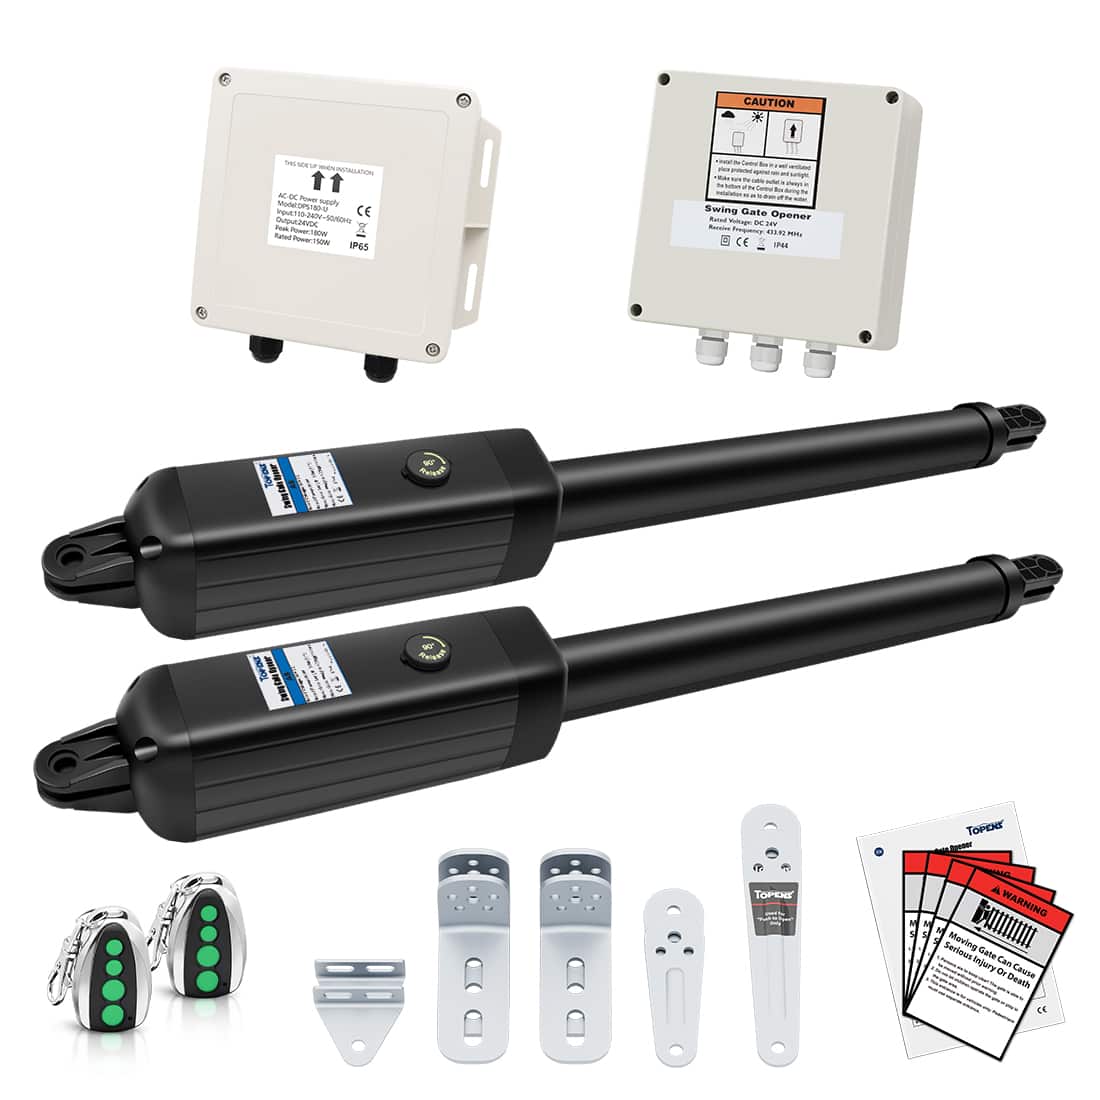
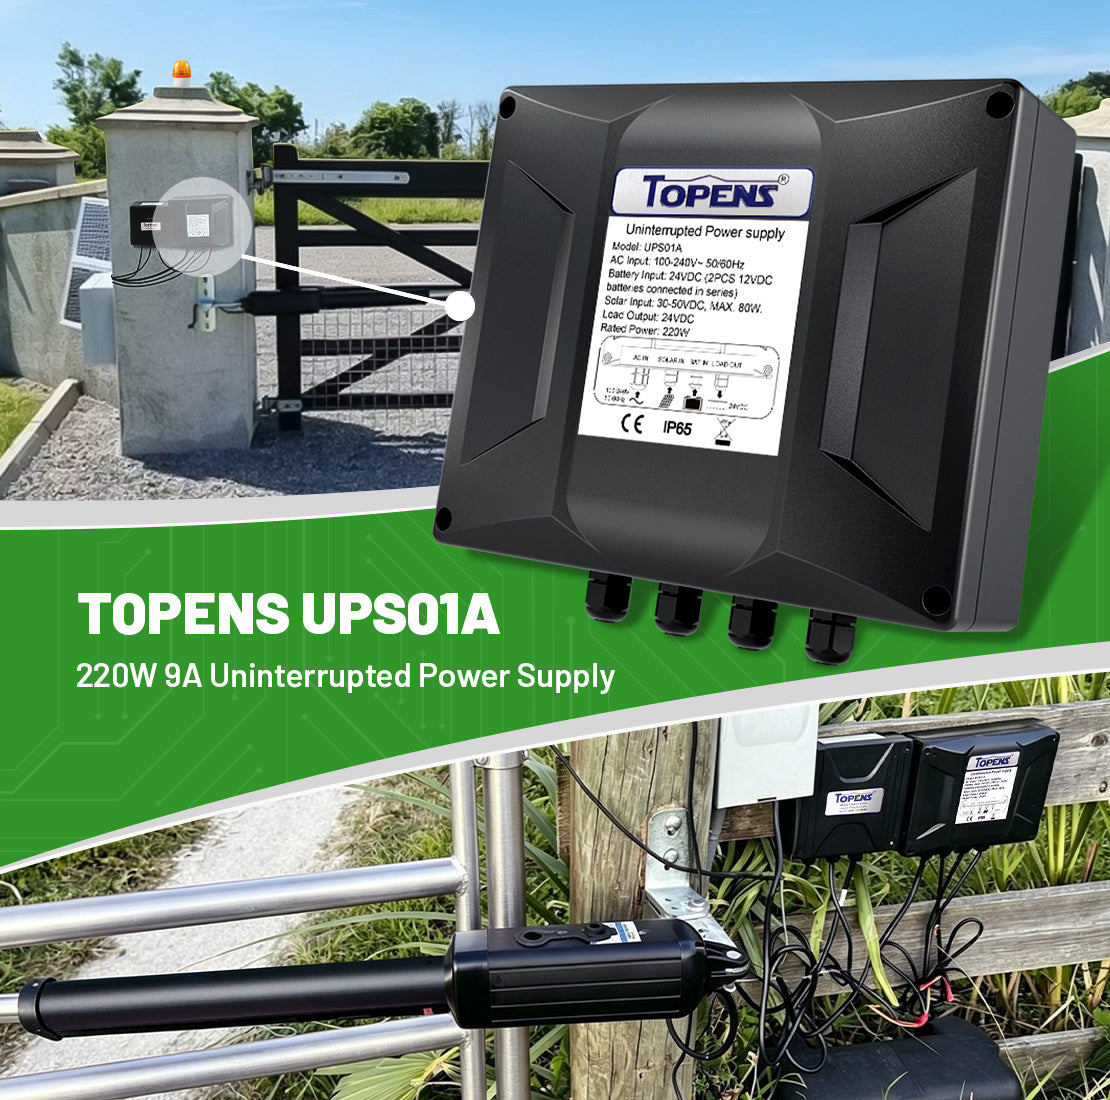
Power Options
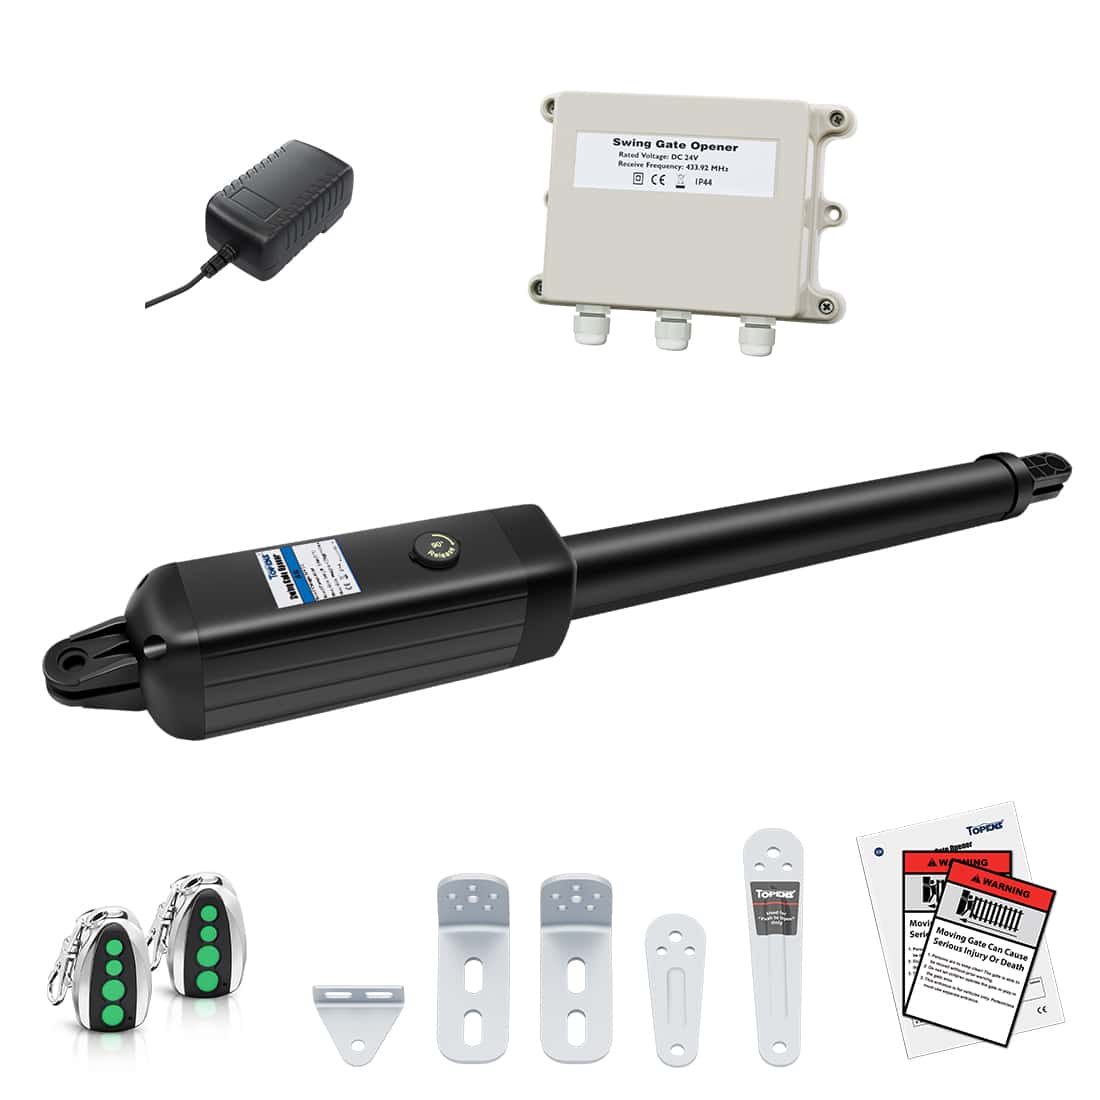
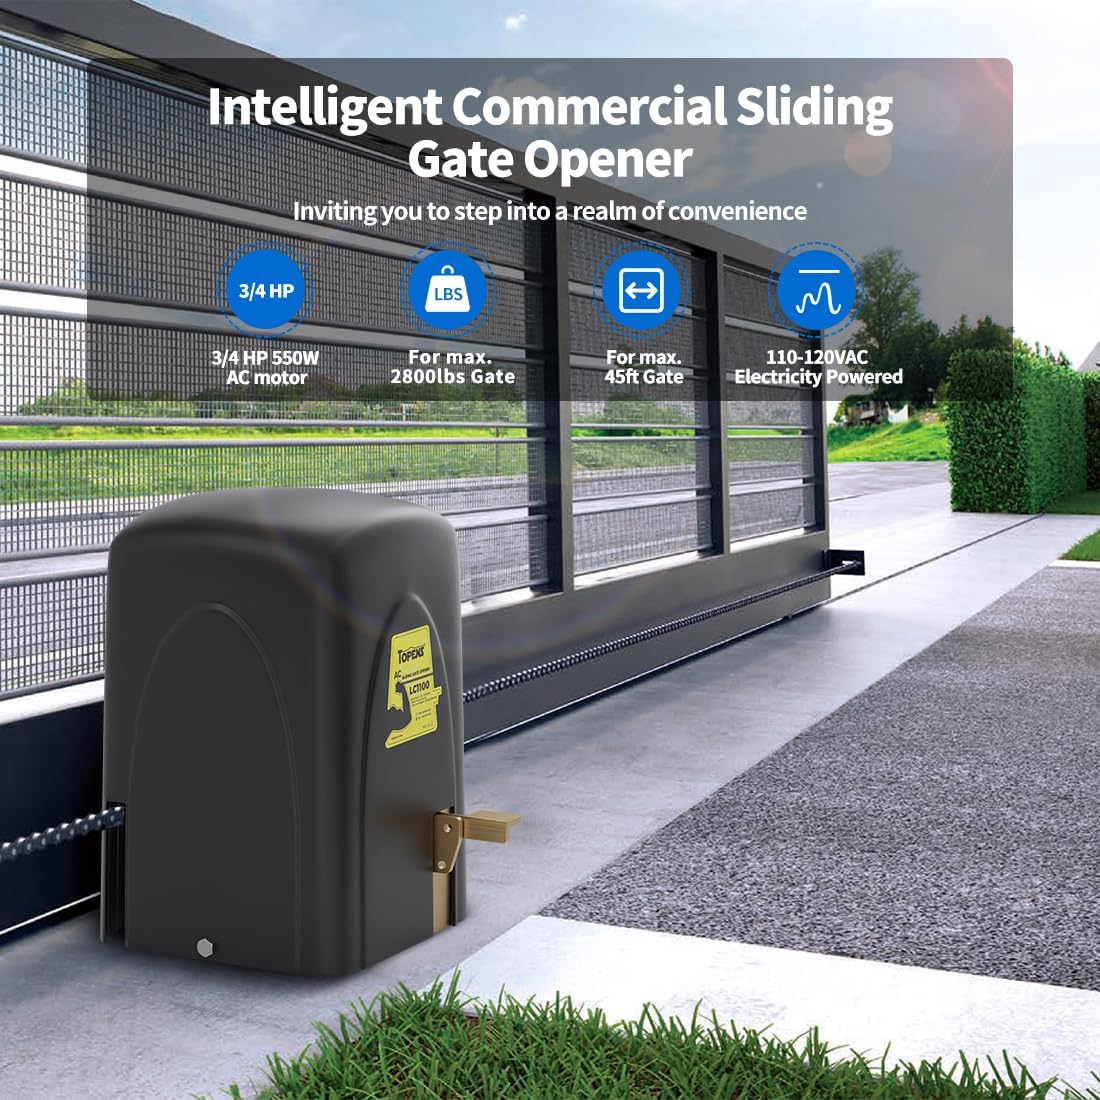
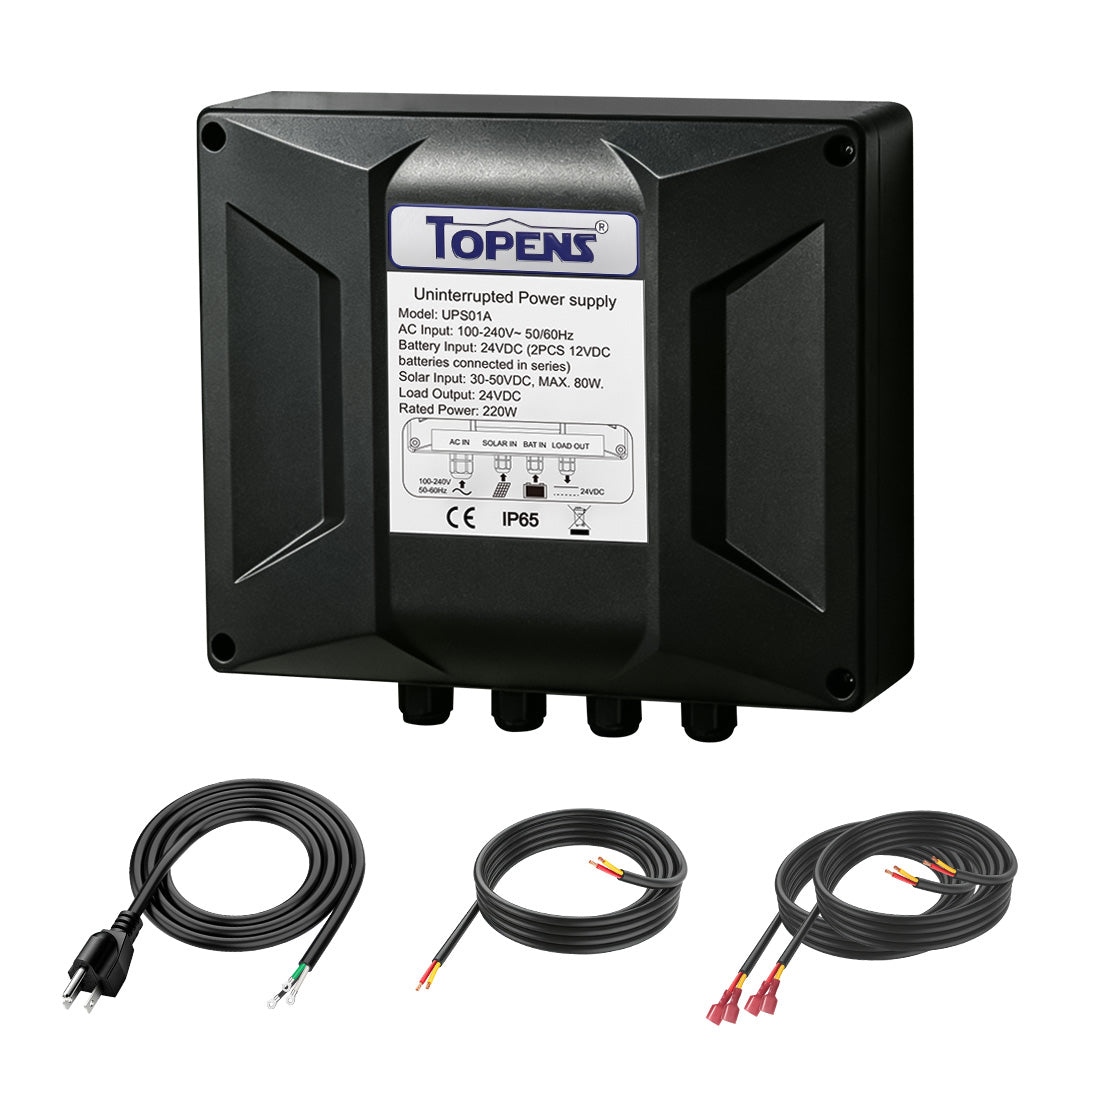
- AC powered systems is ideal for residential properties with a nearby electrical outlet
- Battery backup ensures continued operation during power outages
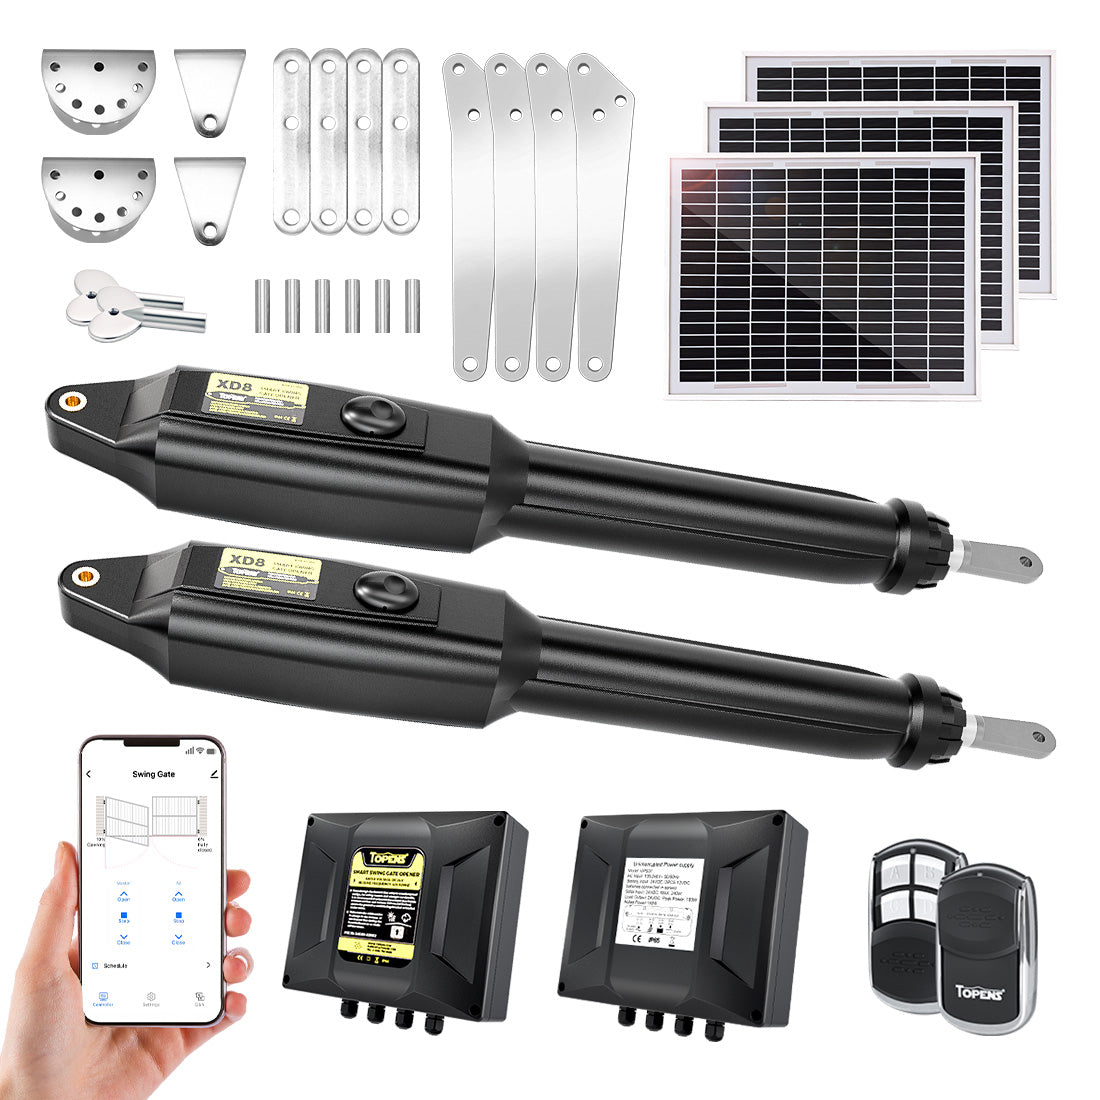
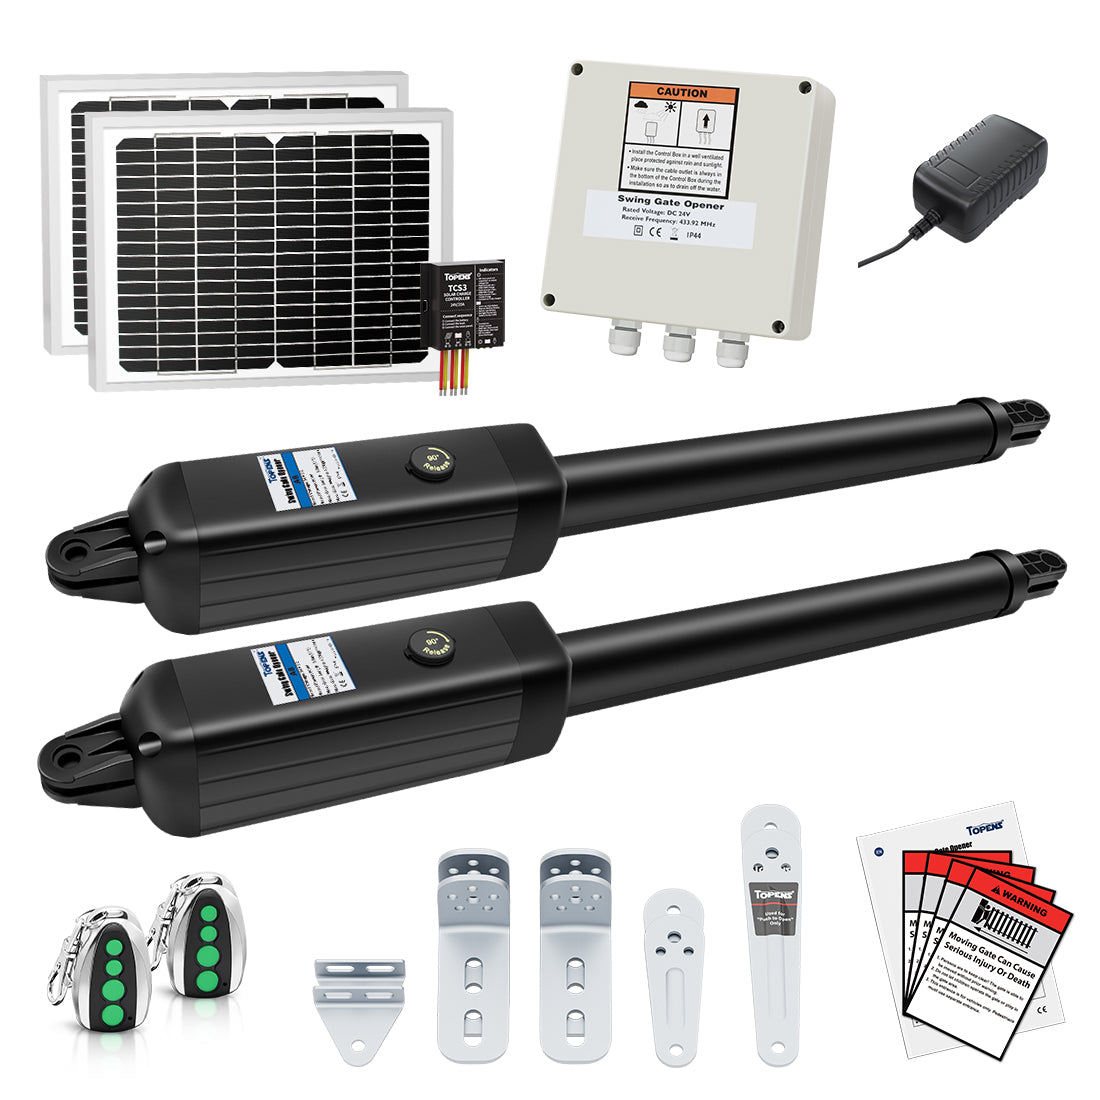
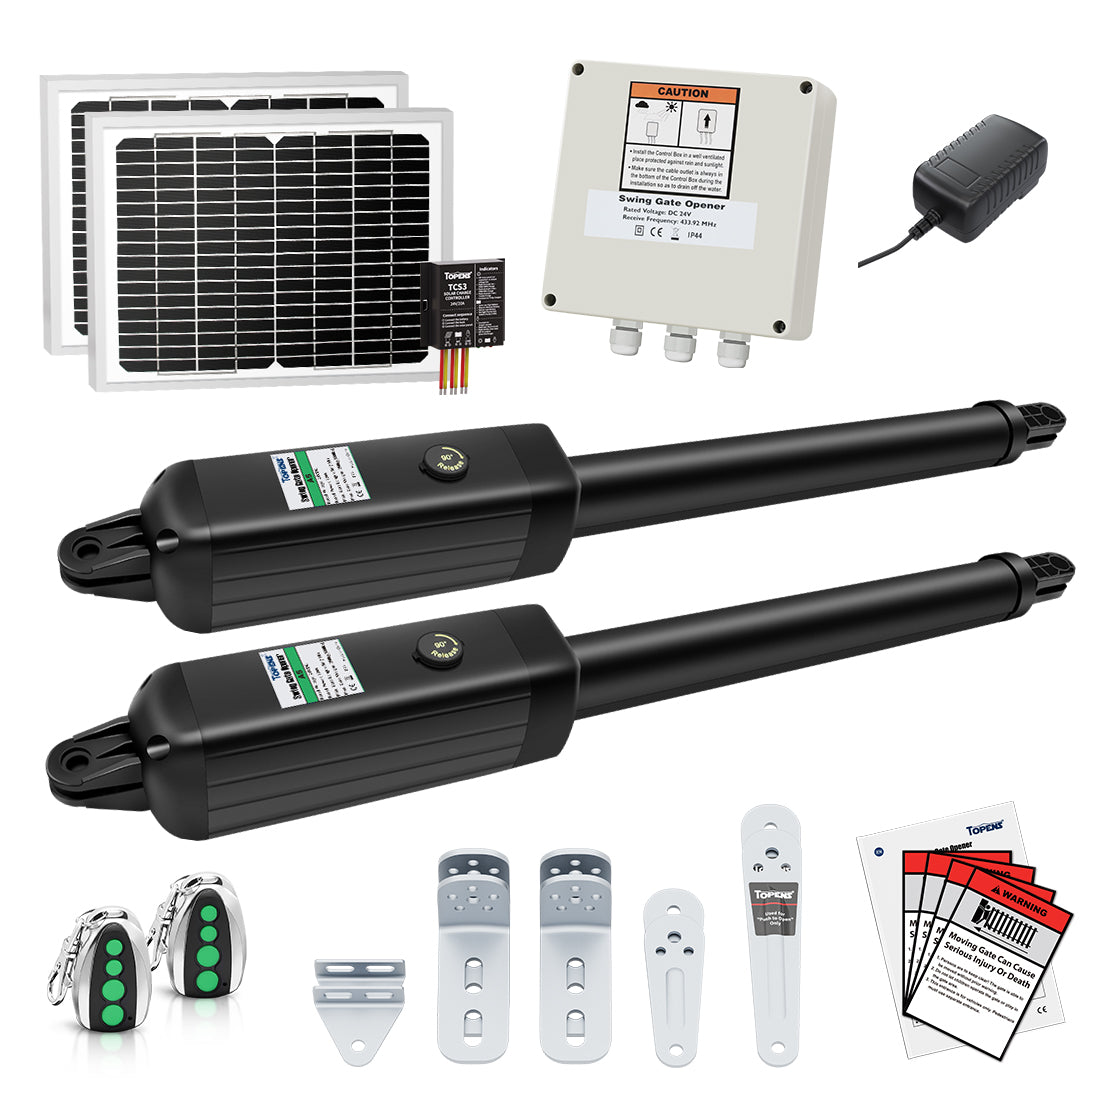
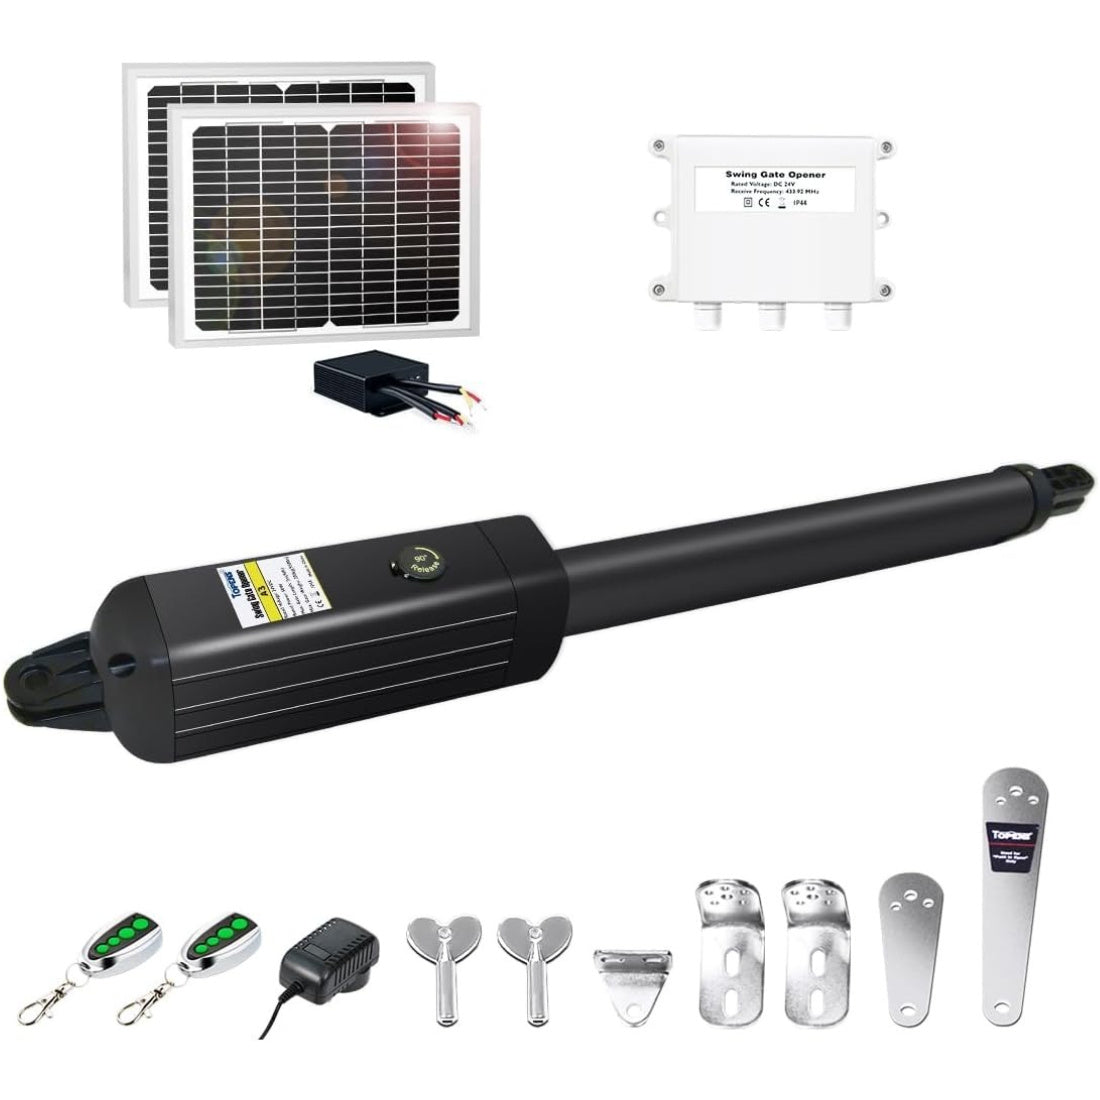
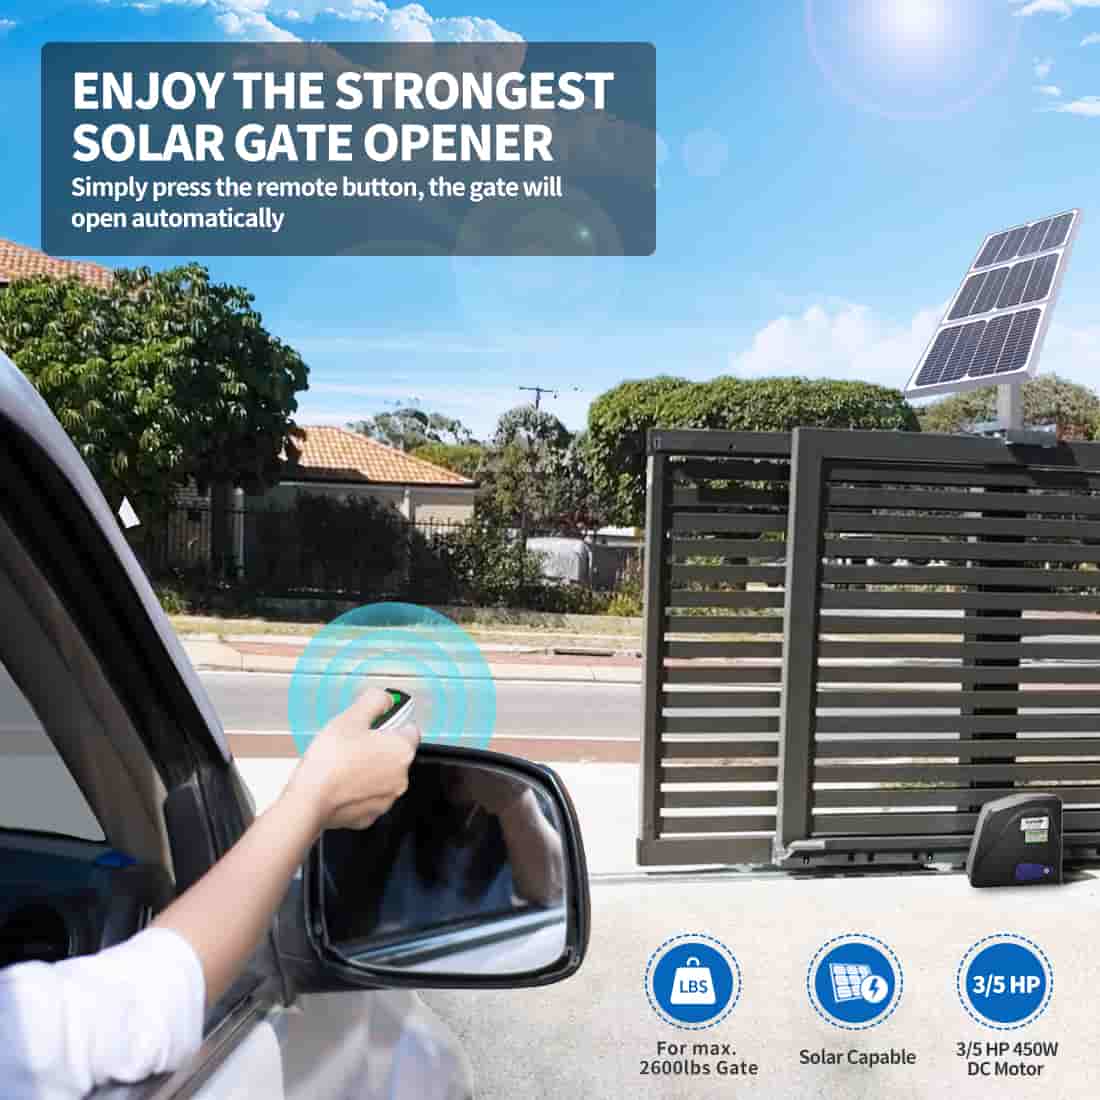
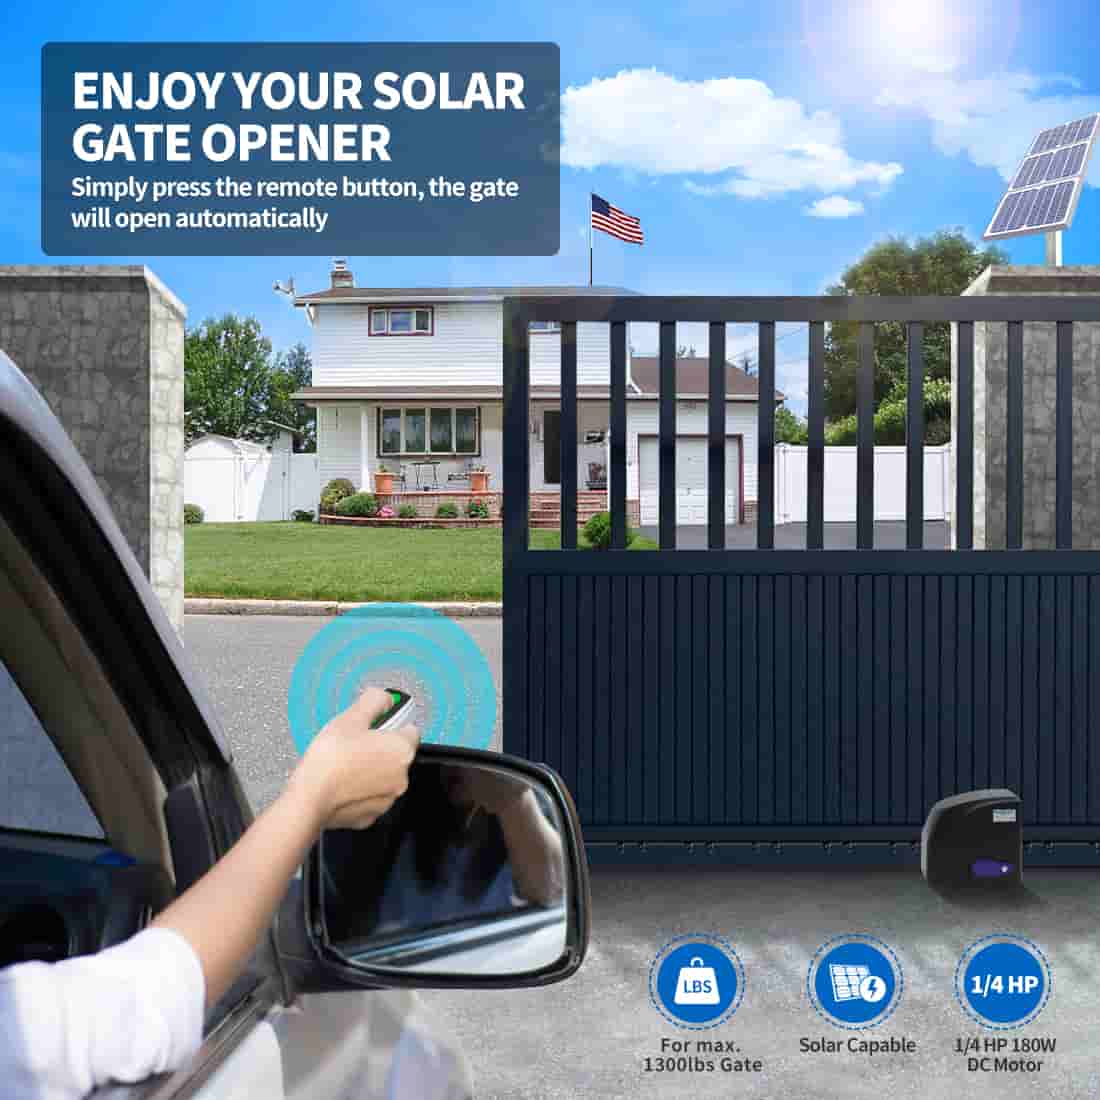
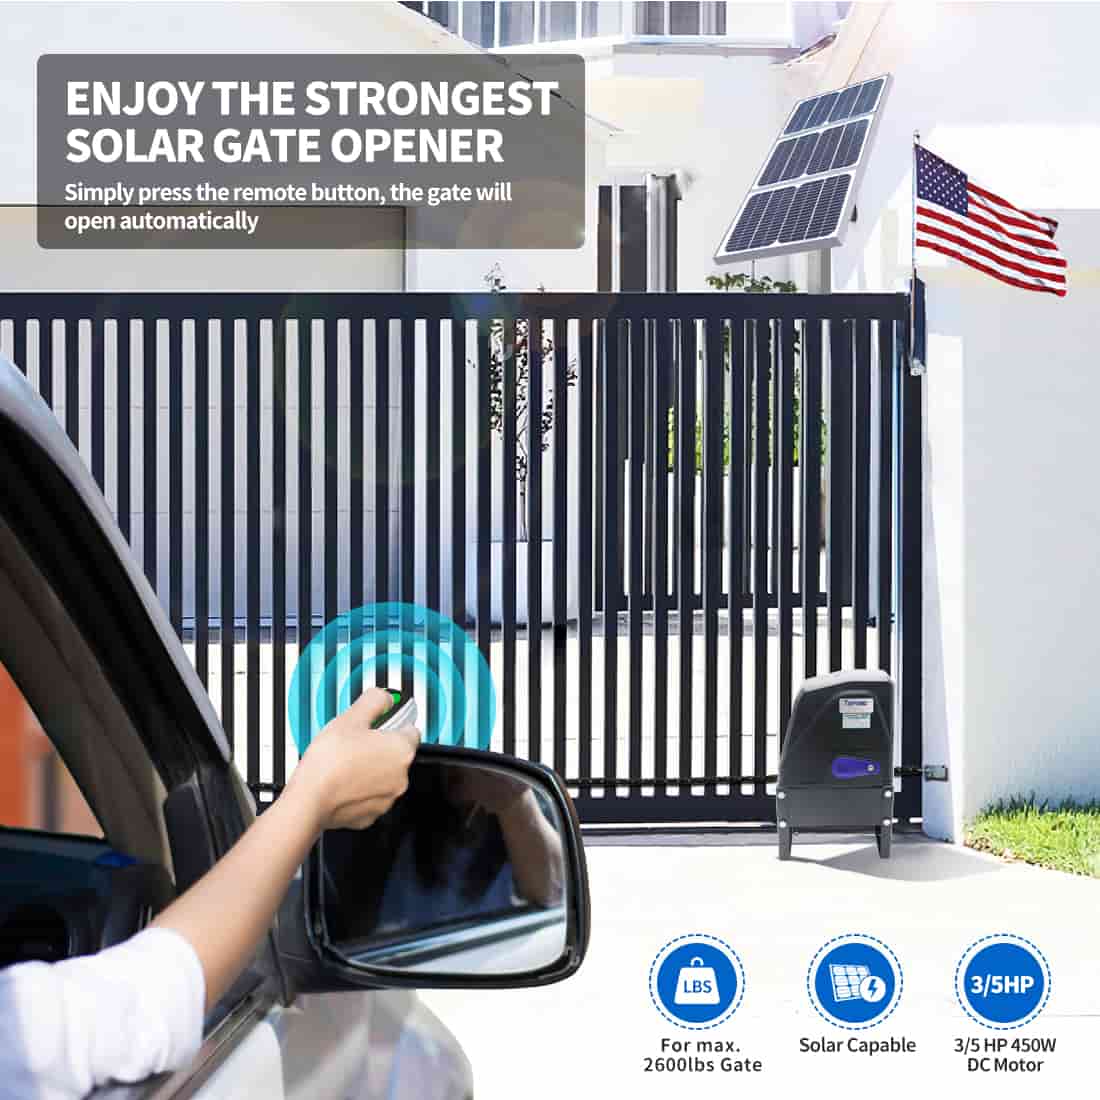
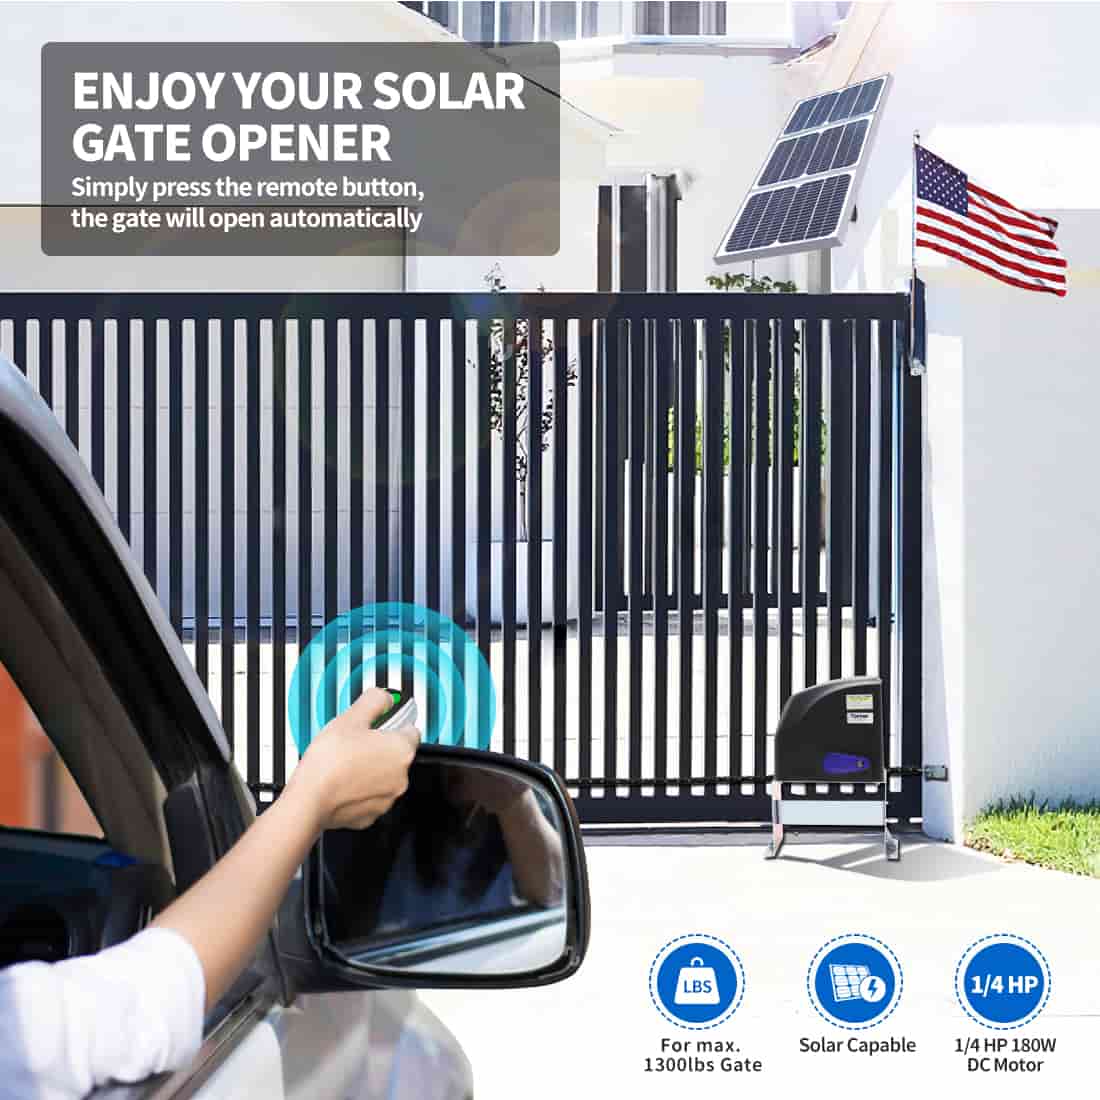
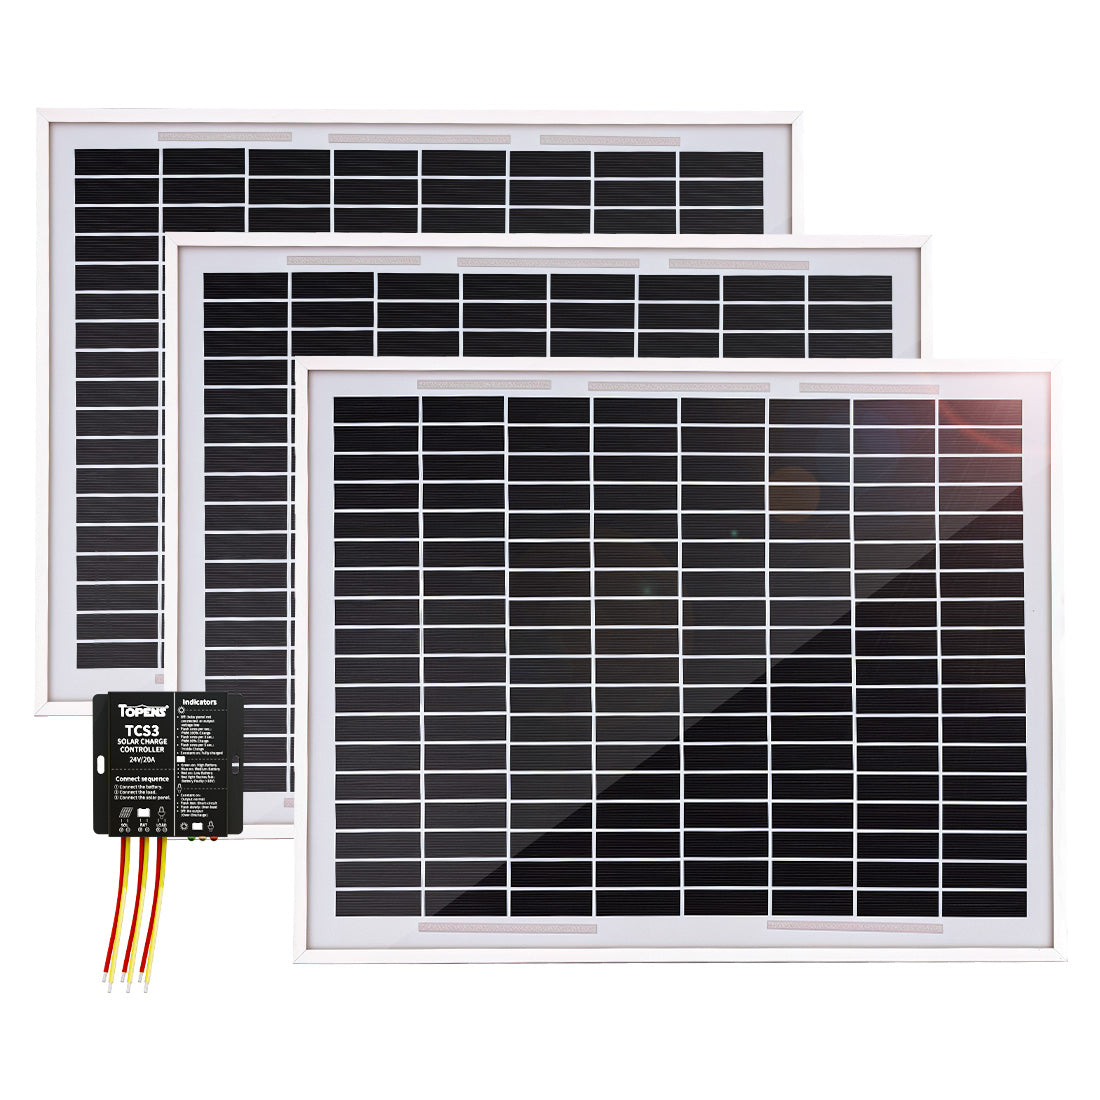
- Solar power is perfect for long driveways or off-grid locations where running power lines is impractical
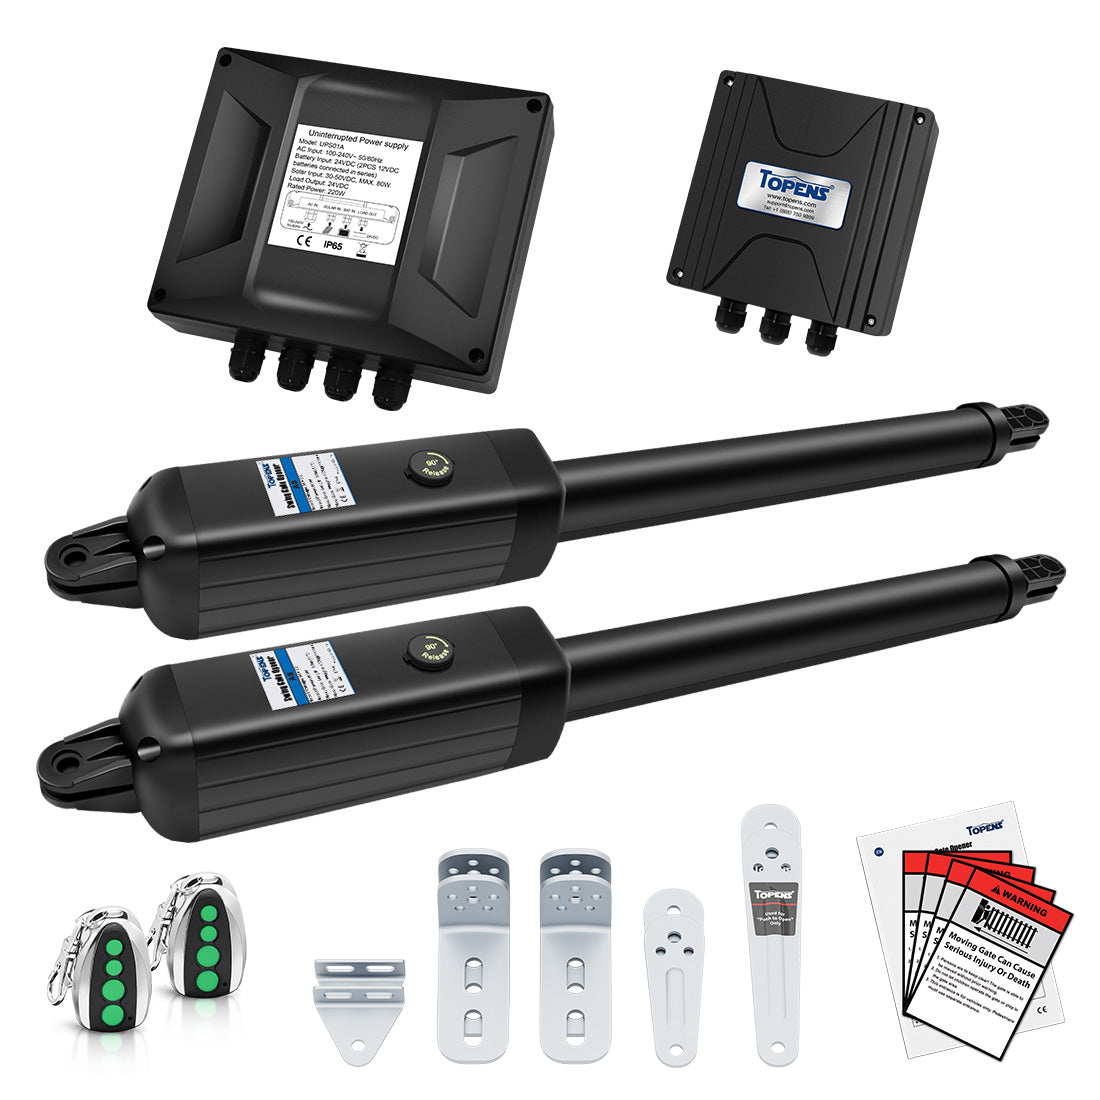
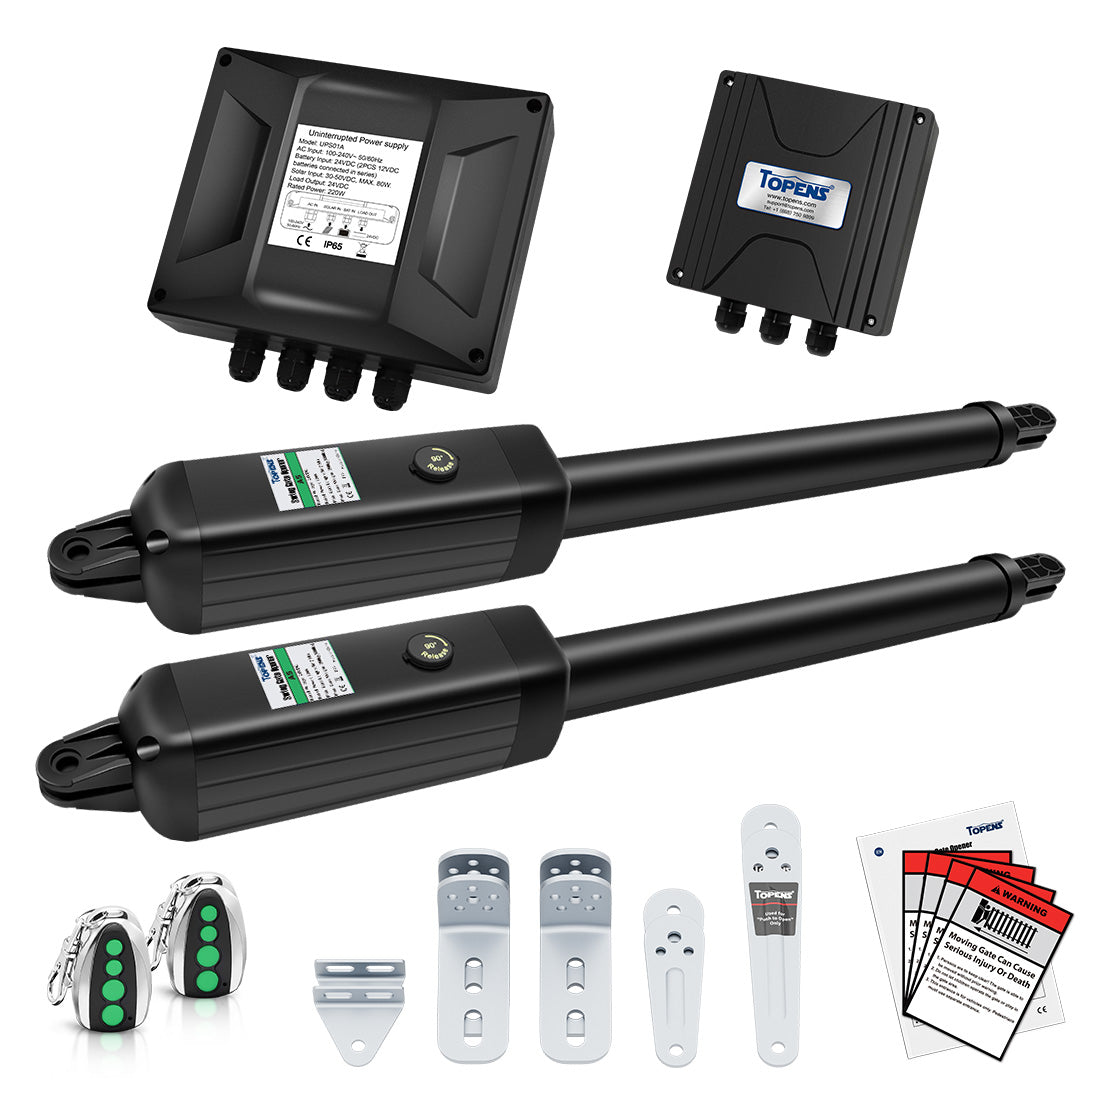
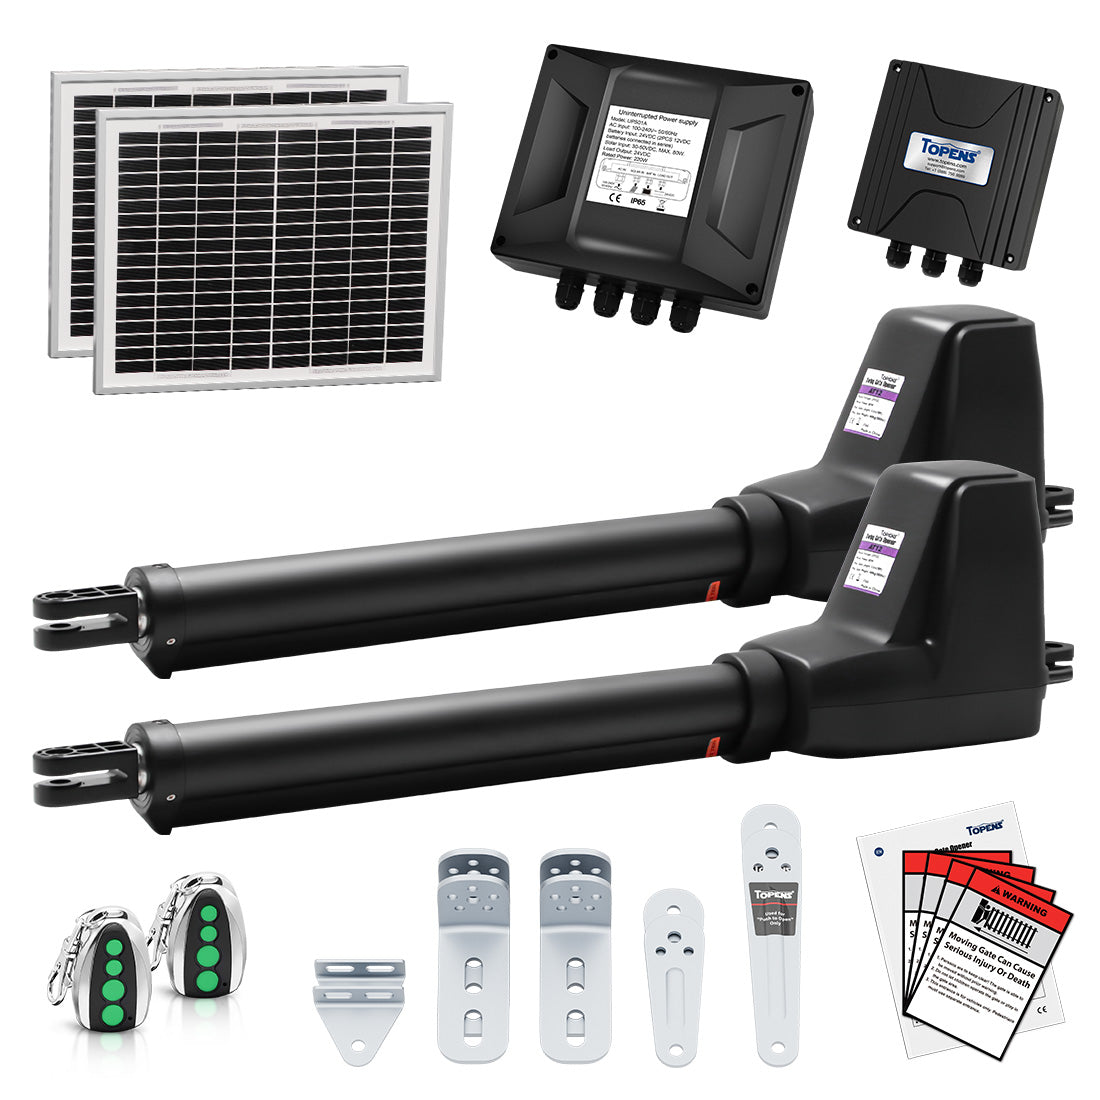
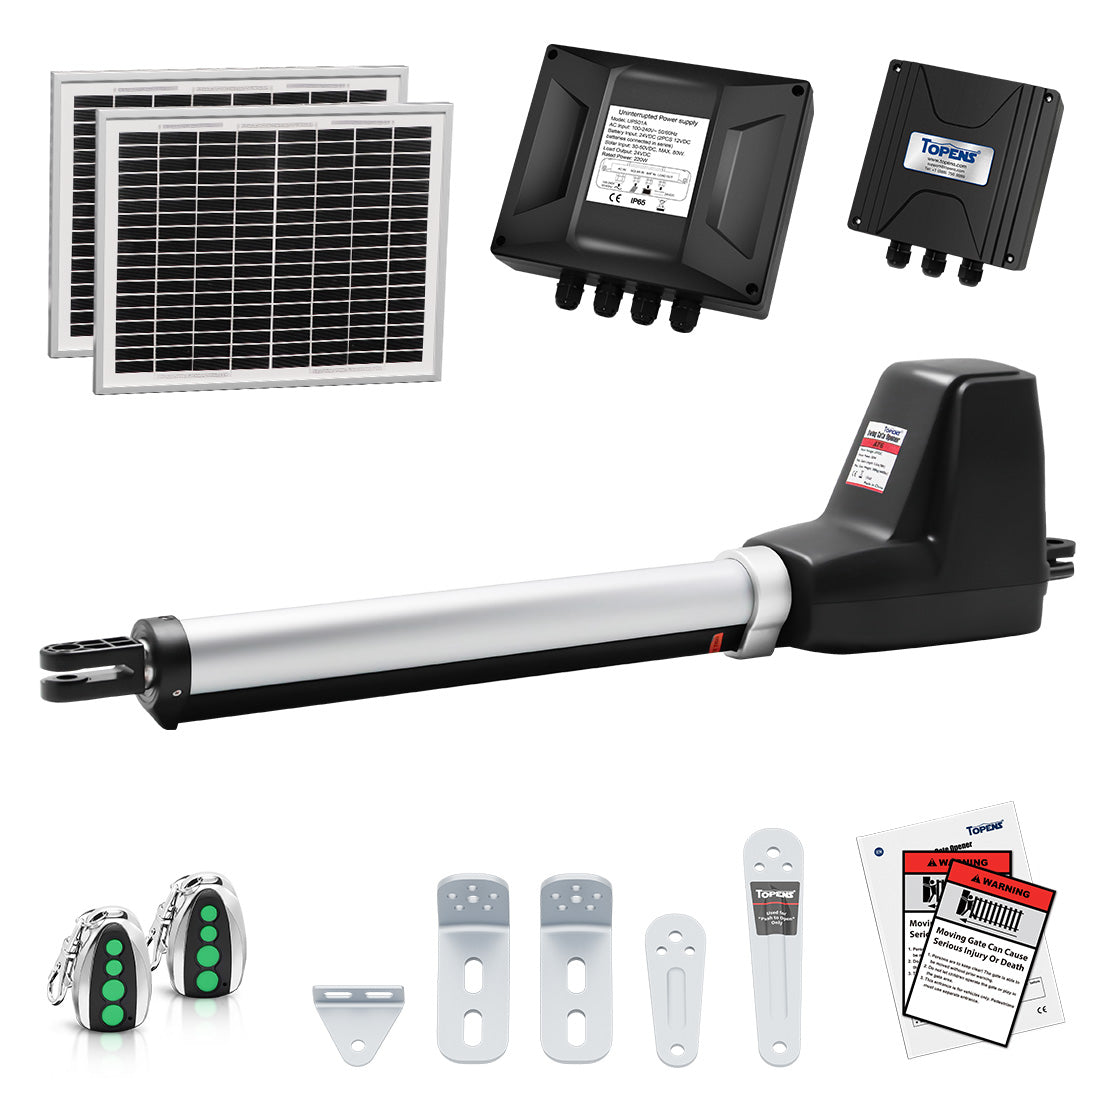
NOTE: TOPENS swing gate openers with an “S” in the model name (such as AT12132S) work with both AC and solar power. If you choose a battery powered or solar powered setup, a 24V battery is required to store and supply power to the system.

[products:topens-at12132s-dual-swing-gate-opener-heavy-duty-automatic-gate-motor-for-double-swing-gates-up-to-18ft-per-arm,topens-at6131s-solar-single-swing-gate-opener-medium-duty-automatic-gate-motor-for-single-swing-gates-up-to-18ft,topens-a8s-solar-single-swing-gate-opener-heavy-duty-automatic-gate-motor-for-single-swing-gates-up-to-18ft, ]
Explore All TOPENS Solar Swing Gate Openers
Step 4: Set Limit Switch and Stall Force
Improper limit and force settings are among the most common DIY mistakes, but taking the time to adjust them properly ensures smooth, safe, and reliable gate operation.
Limit Switch Setup
- For pull-to-open installation, set the limit so the gate closes firmly without pushing
- For push-to-open installation, set the limit so the gate stops fully open
Stall Force Adjustment
Stall force controls how sensitive the gate is to obstacles during movement. The setting should be:
- High enough to allow the gate to reach both open and closed positions without false reversals or interruptions
- Low enough to stop or reverse the gate safely if it encounters an obstruction
Pro Tip: After making adjustments, run several test cycles to confirm consistent, smooth operation in both directions.
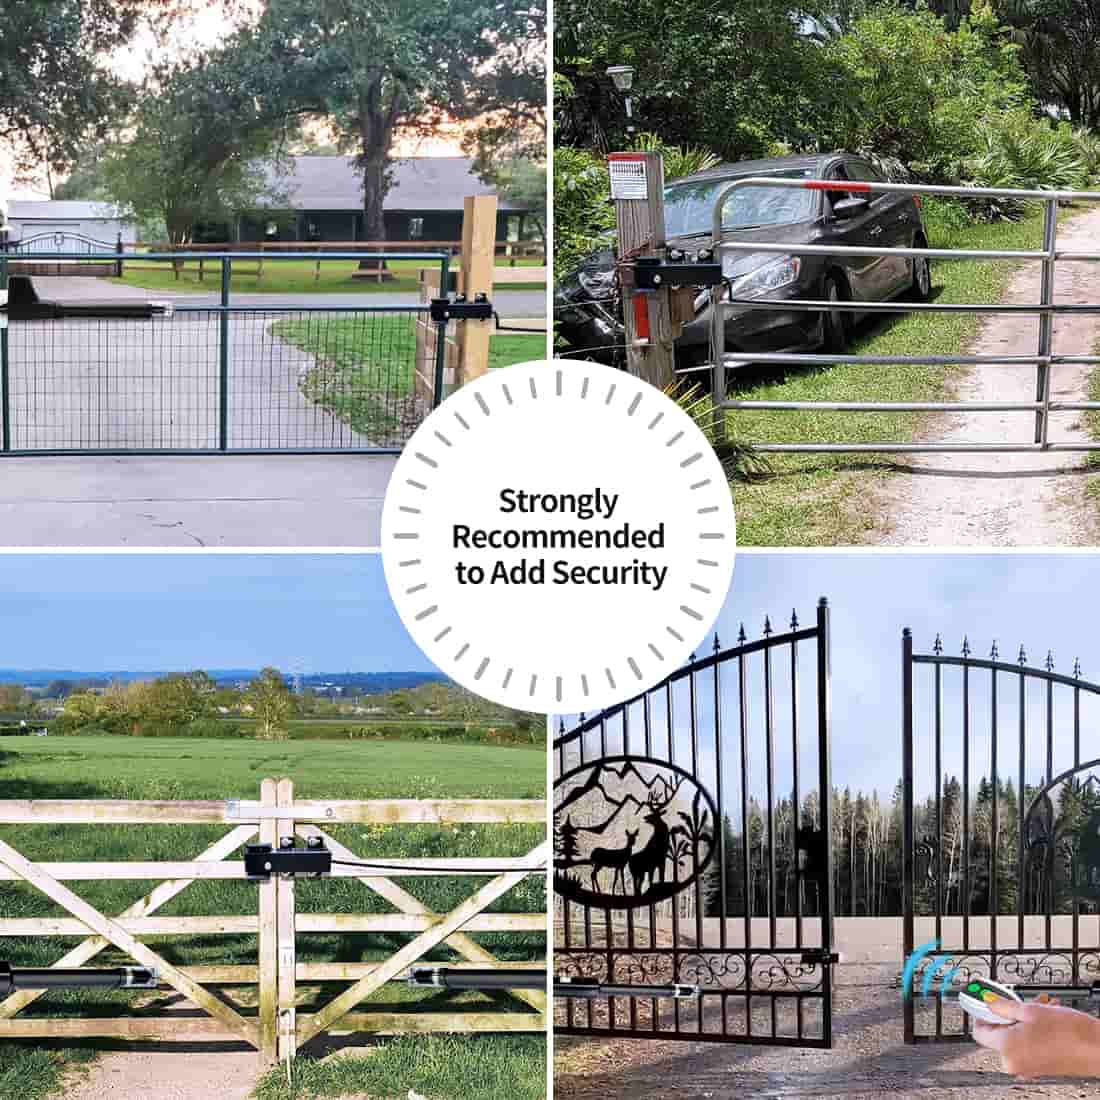
Step 5: Install Safety and Convenience Accessories
Strongly Recommended Accessories
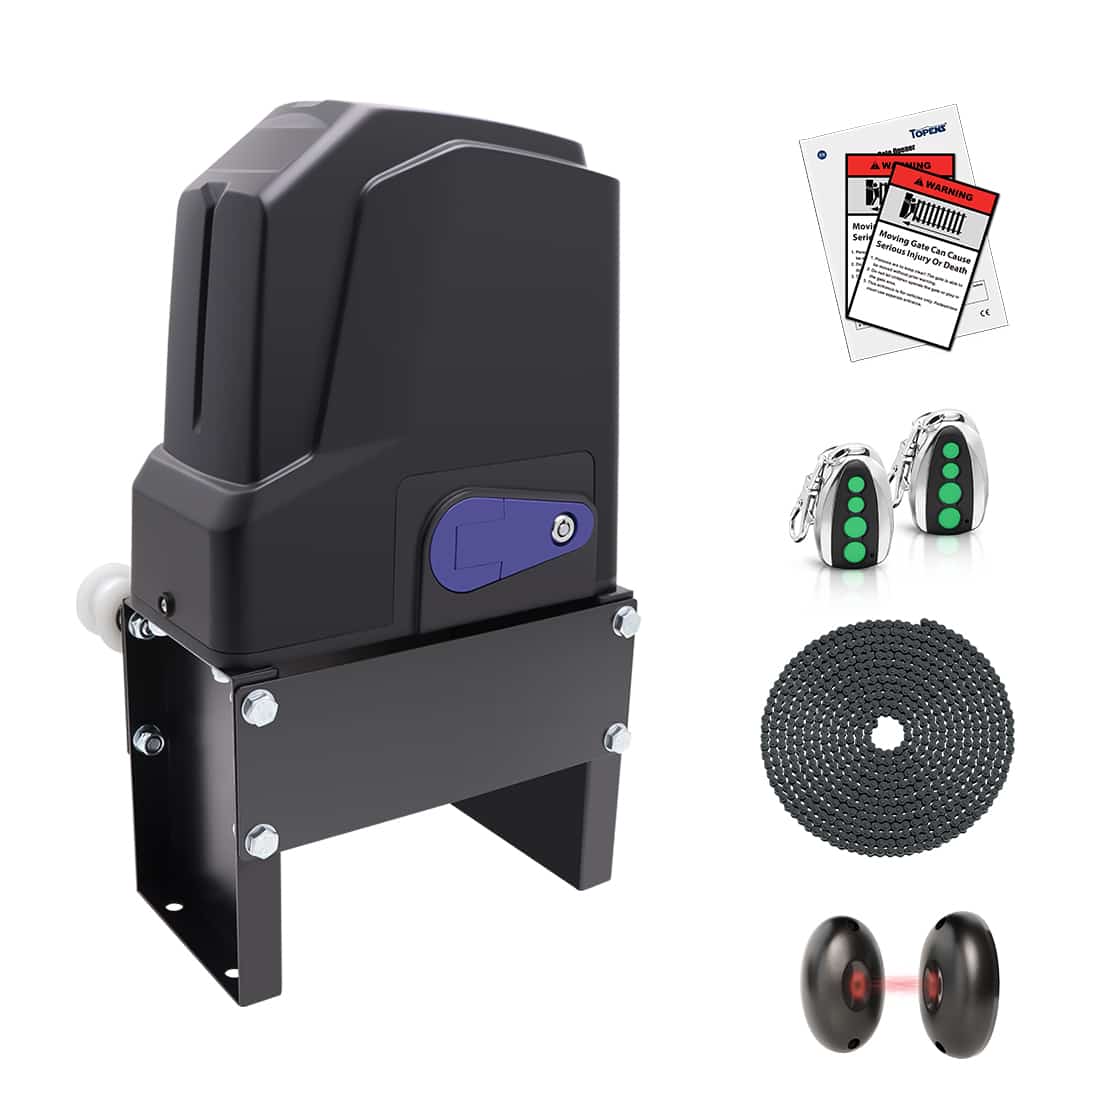
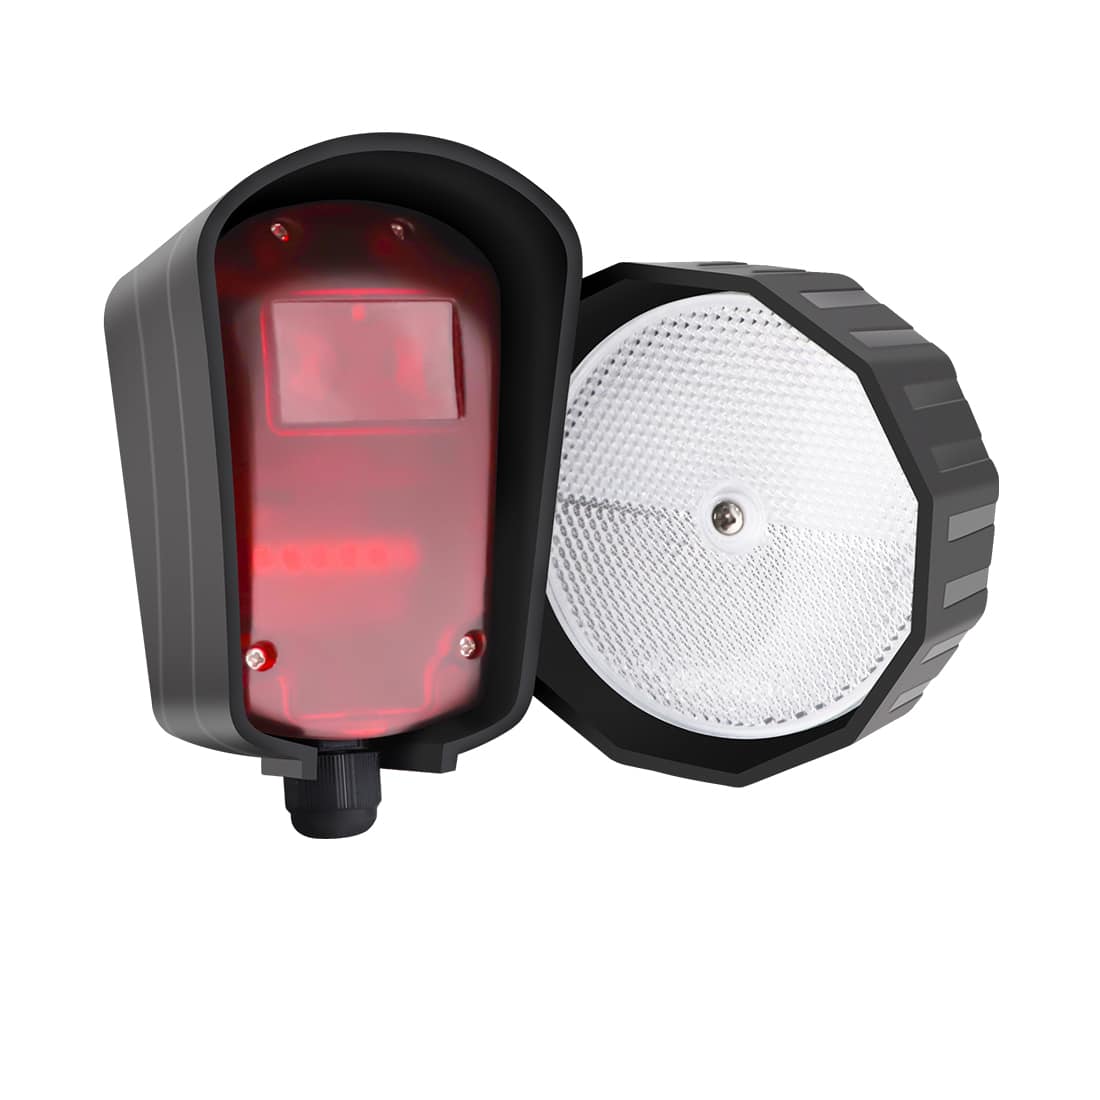
If you're working with a limited budget, prioritize safety by installing a photocell sensor and an electric gate lock.
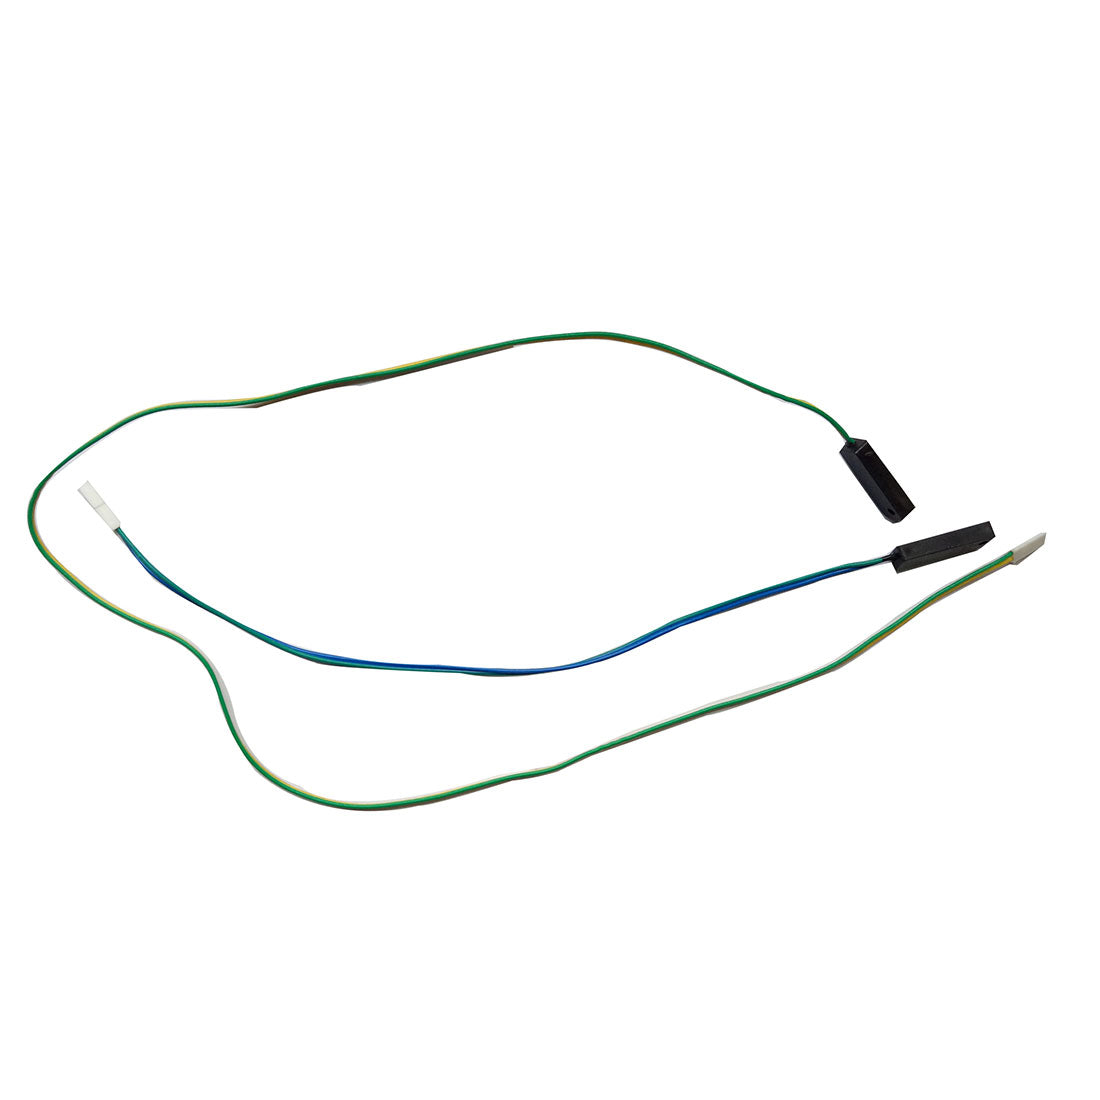
Photocell Sensor: Creates an invisible beam across the gate’s path, once the beam is obstructed, it will stop or reverse the gate before contact.
Electric Gate Lock: Holds the gate firmly in the closed position and prevents wind or force from pushing swing gates and protects the motor.
Convenient Access Accessories
If your budget allows, additional access control accessories can significantly enhance convenience.
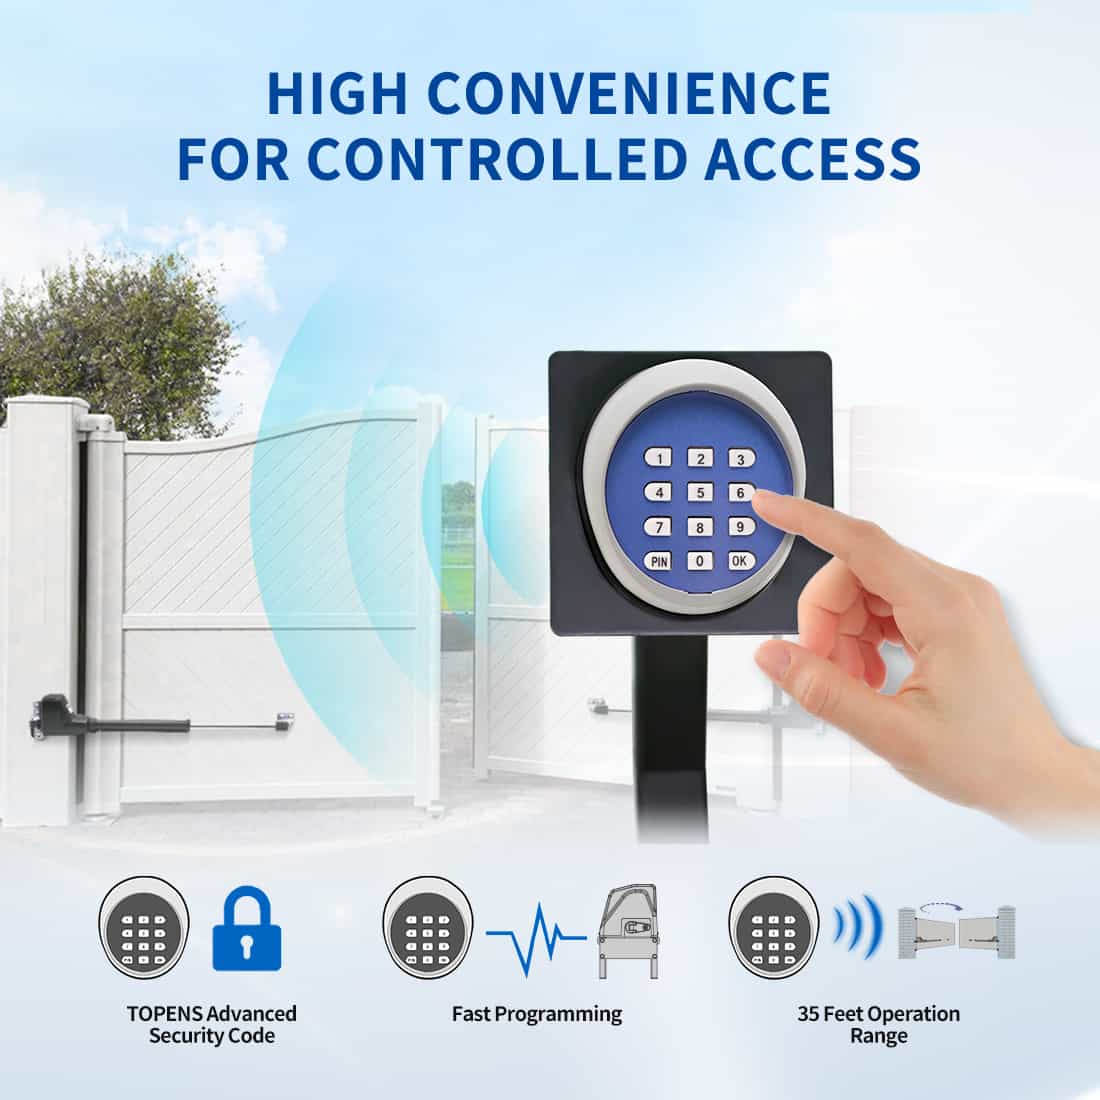
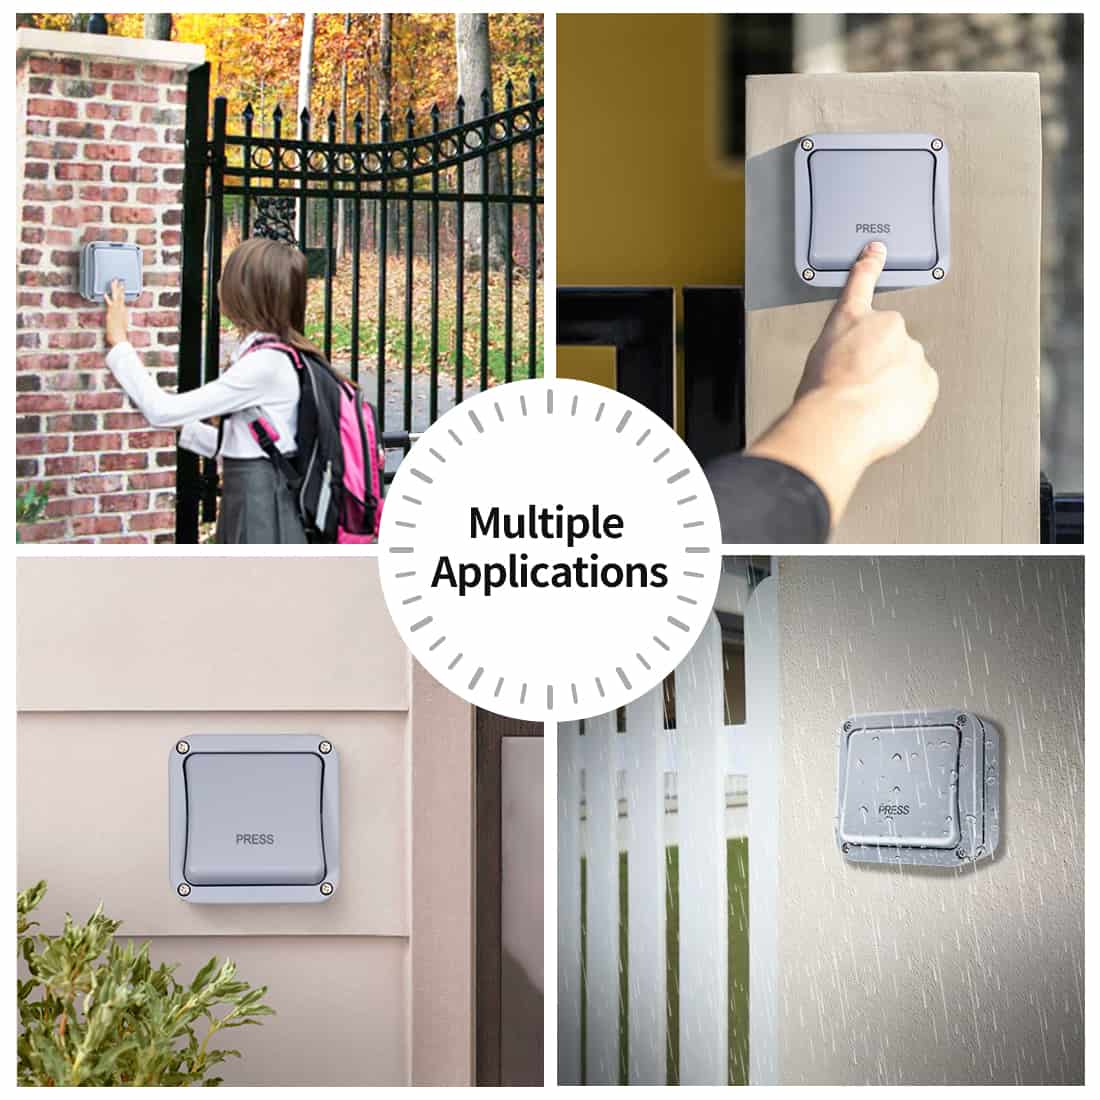
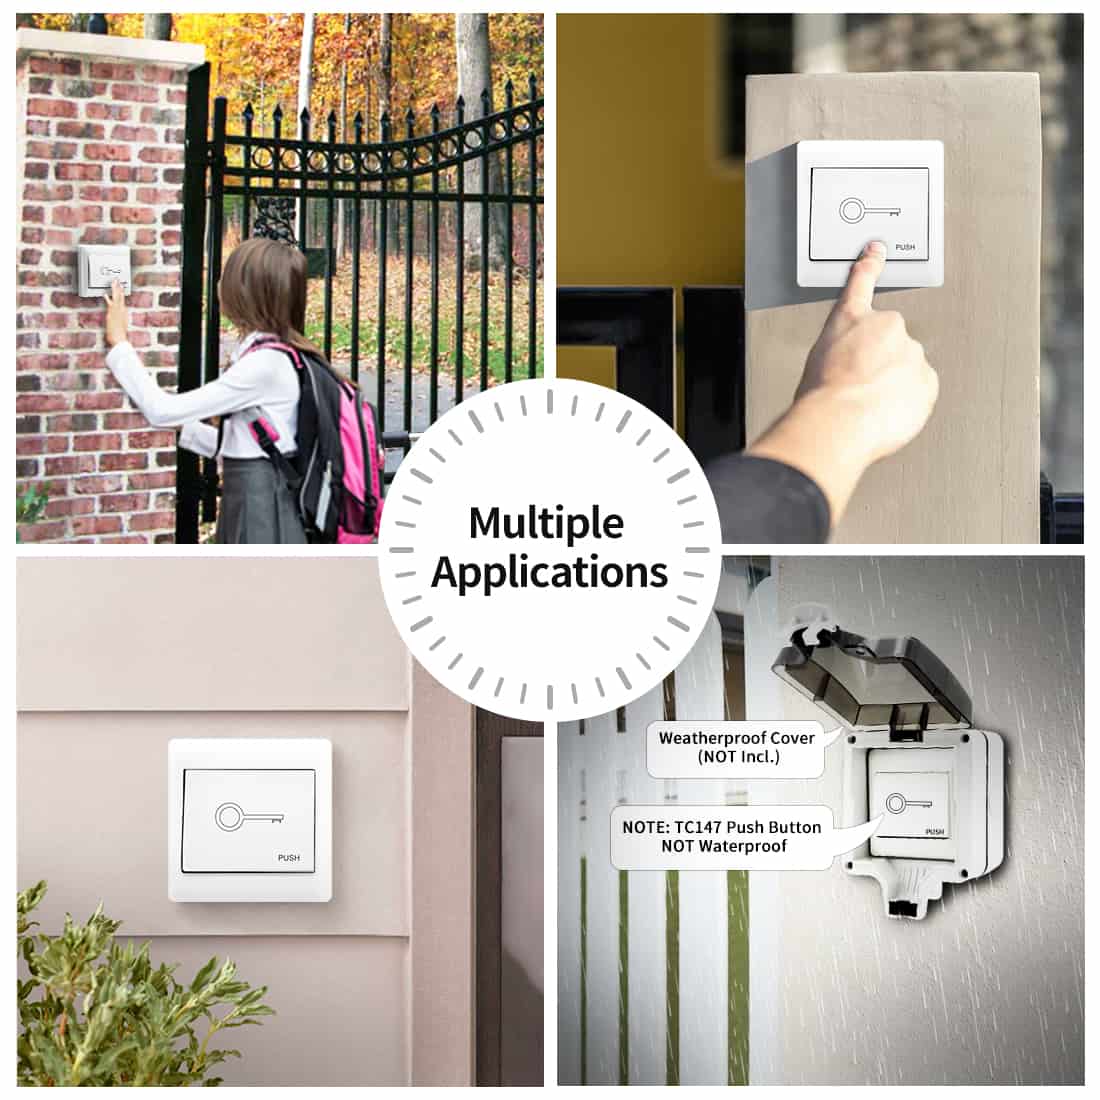
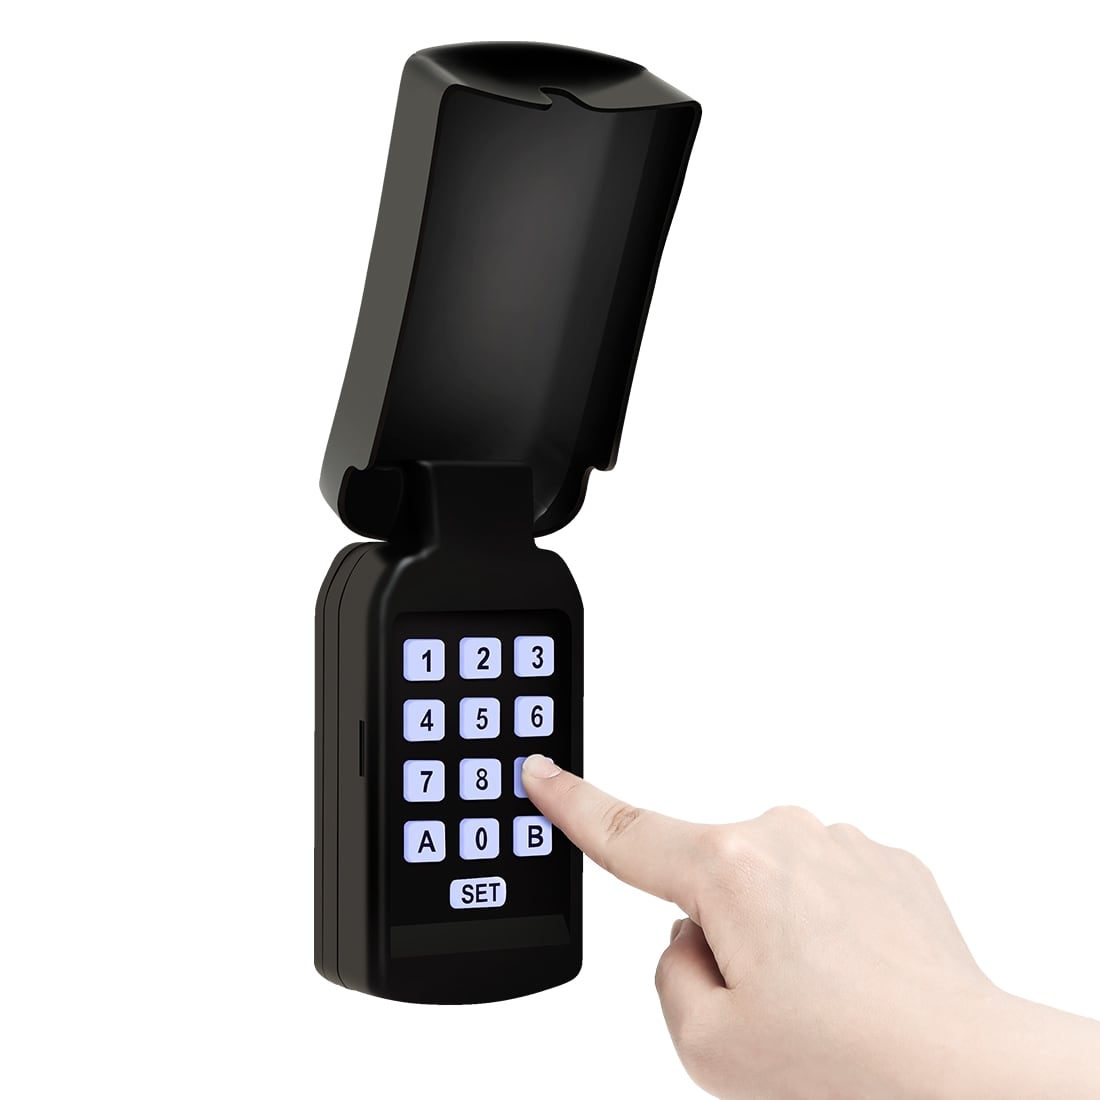
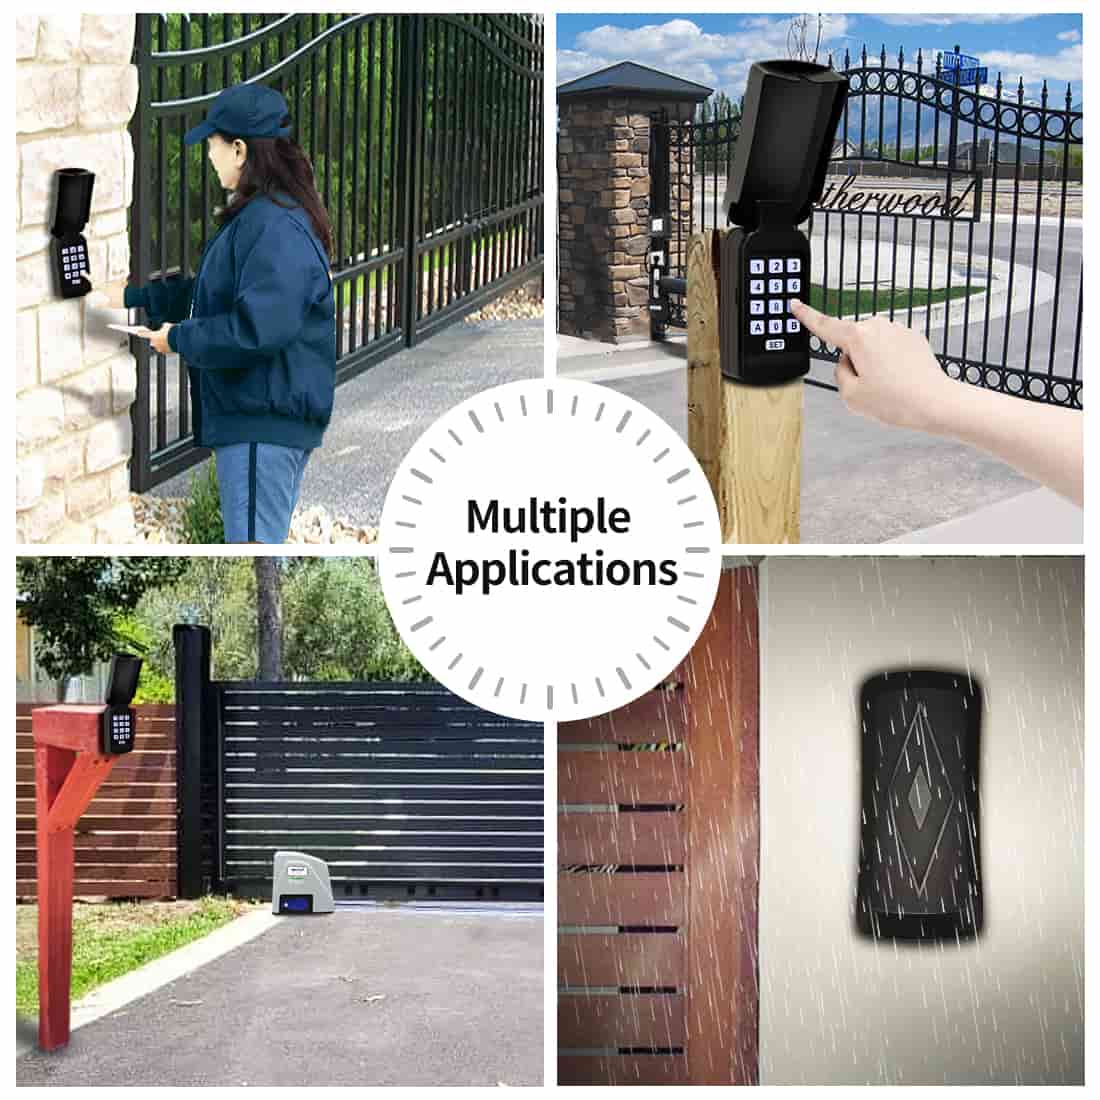
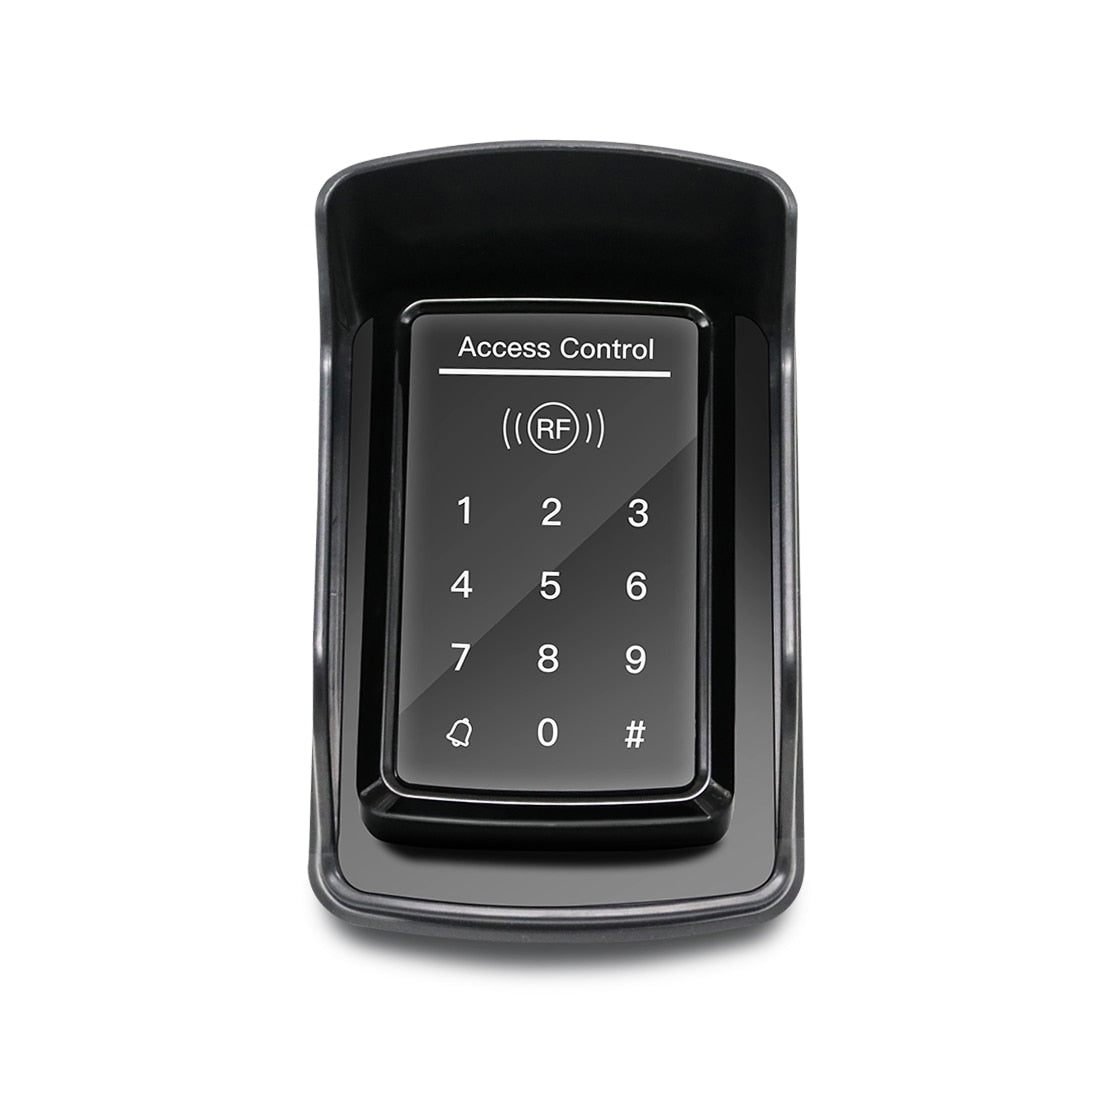
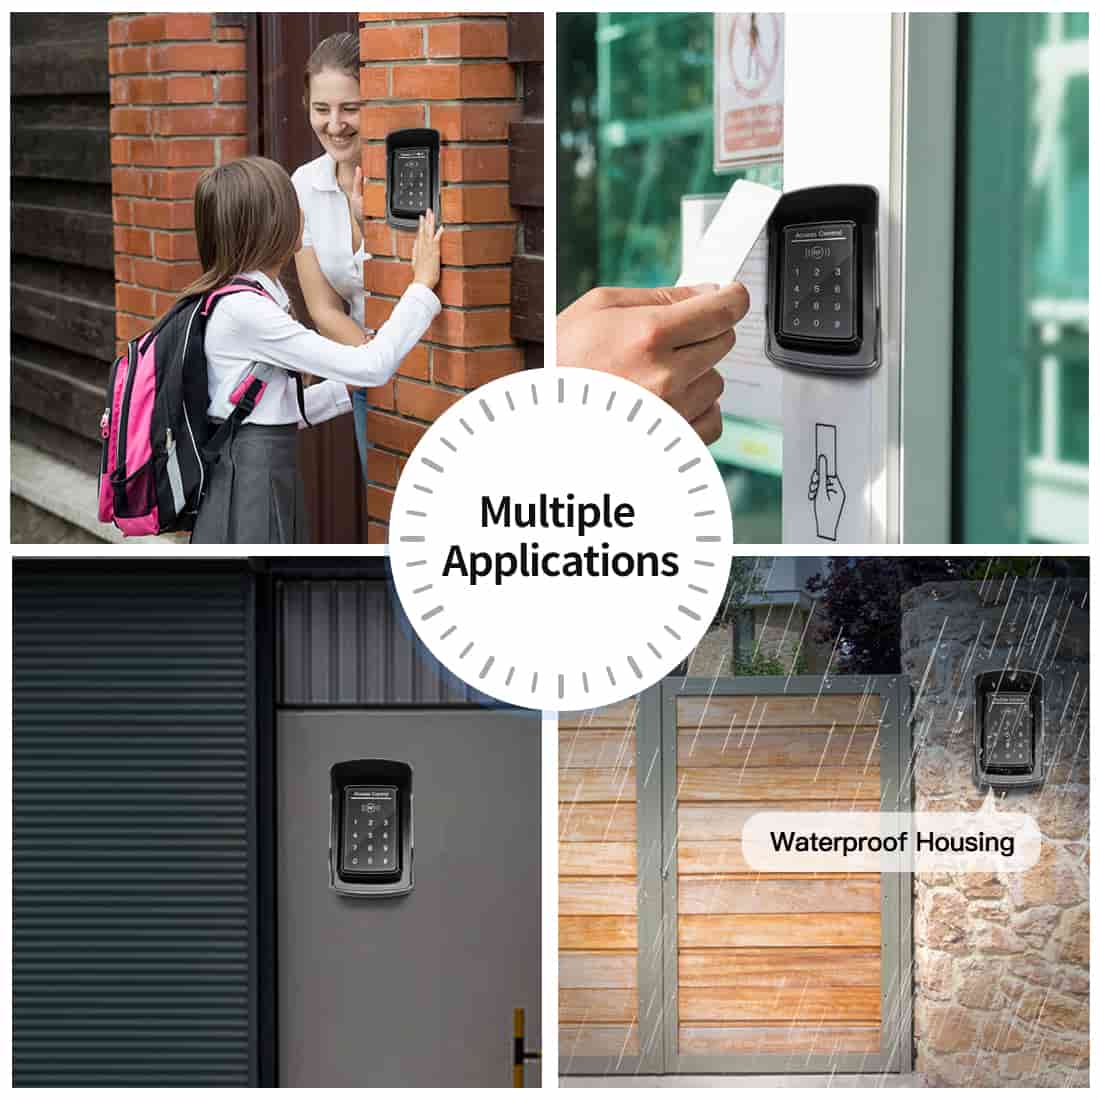
Keypad: Keeps your property secure by ensuring that only people with the correct access code can operate your gate.
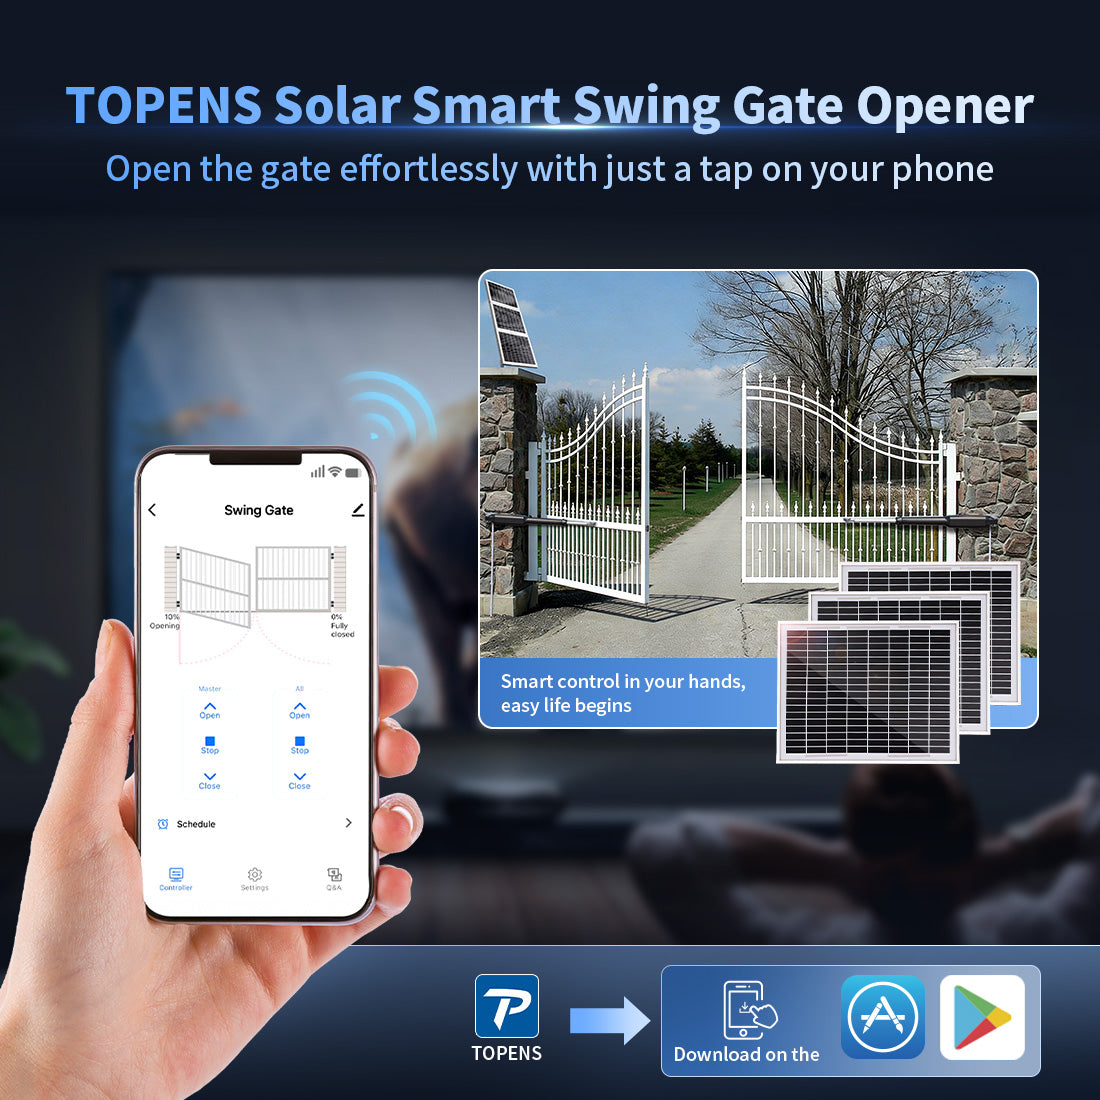
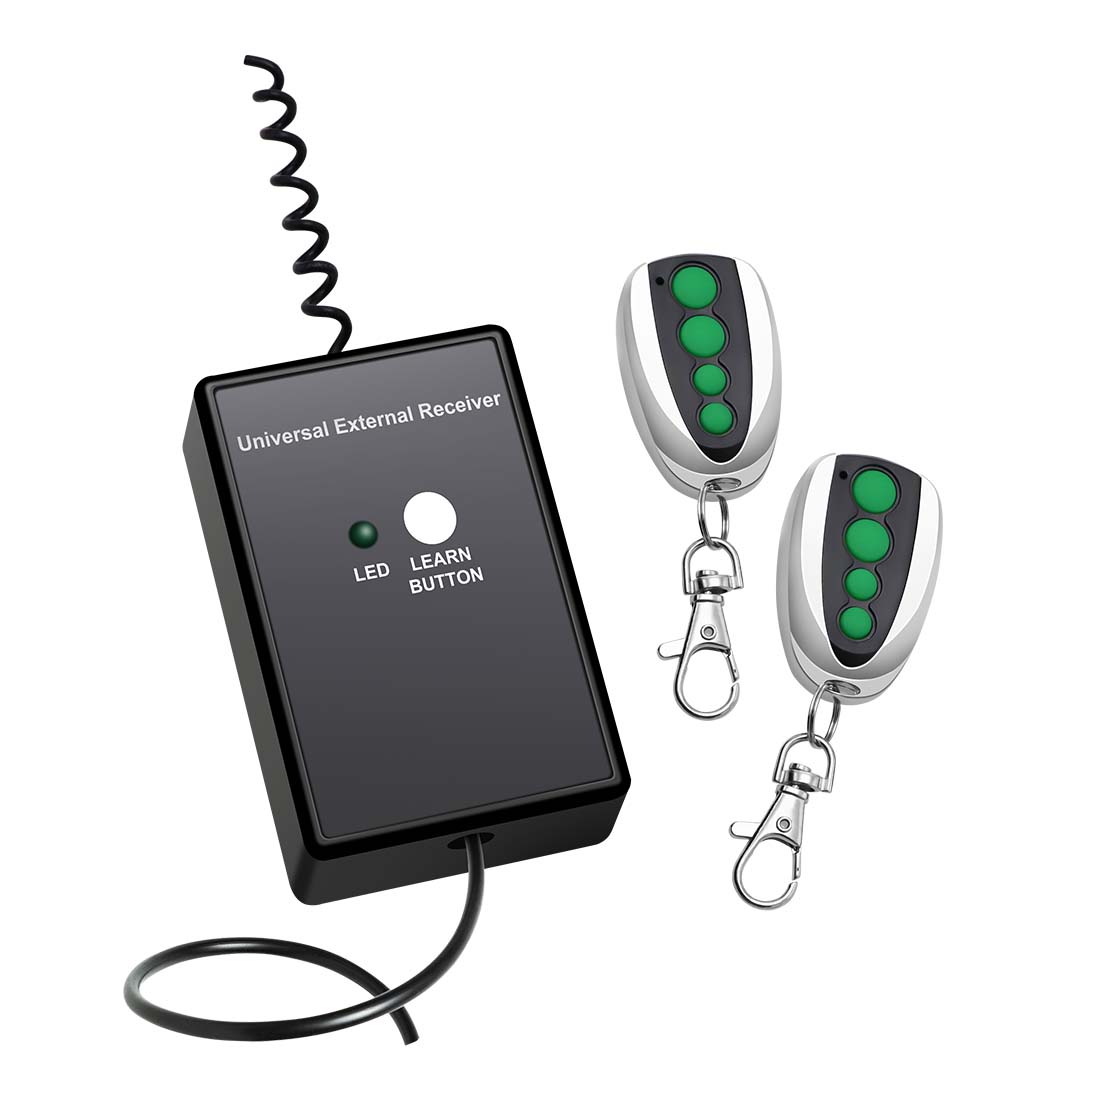
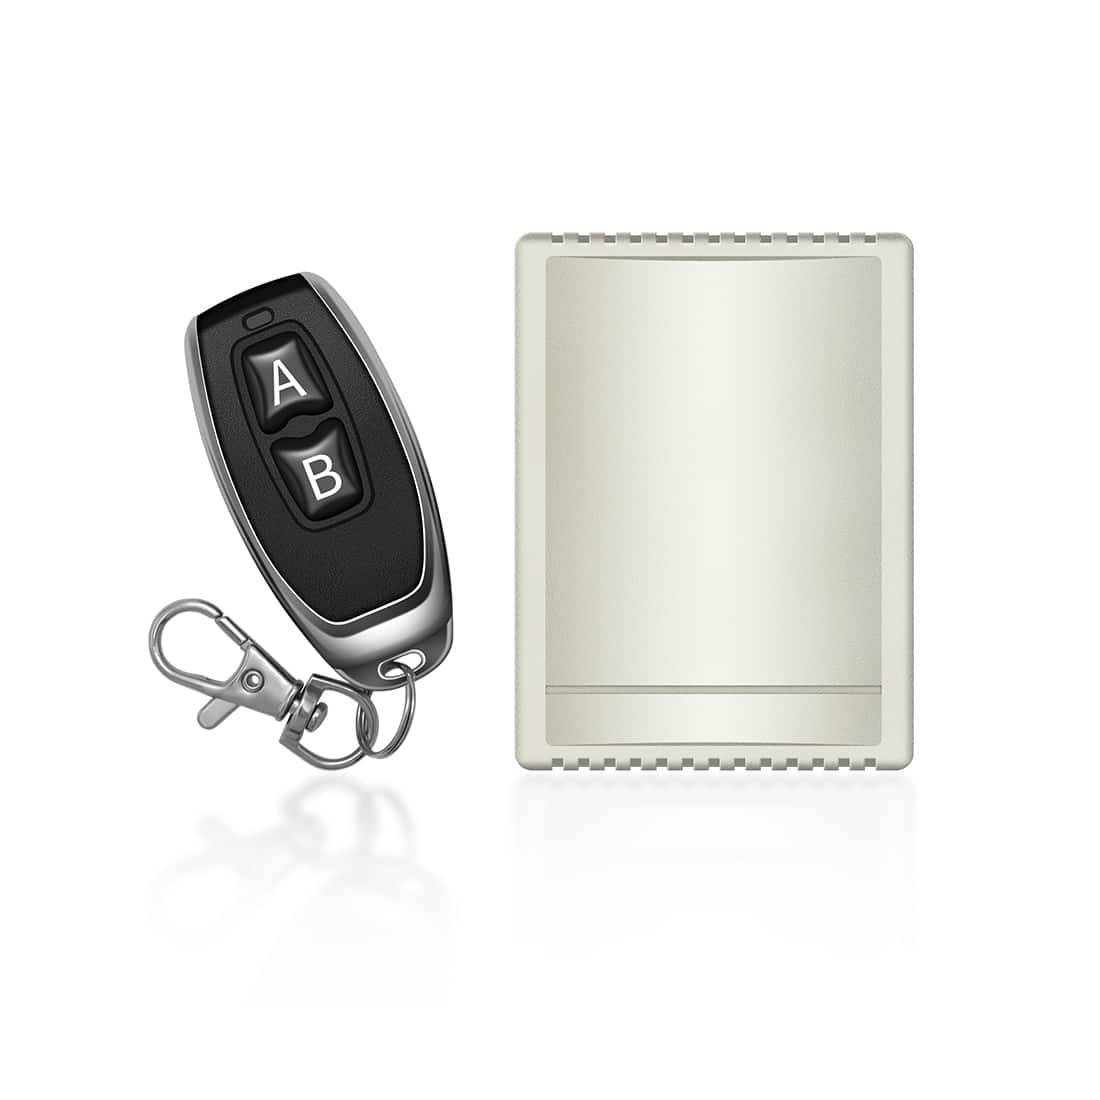
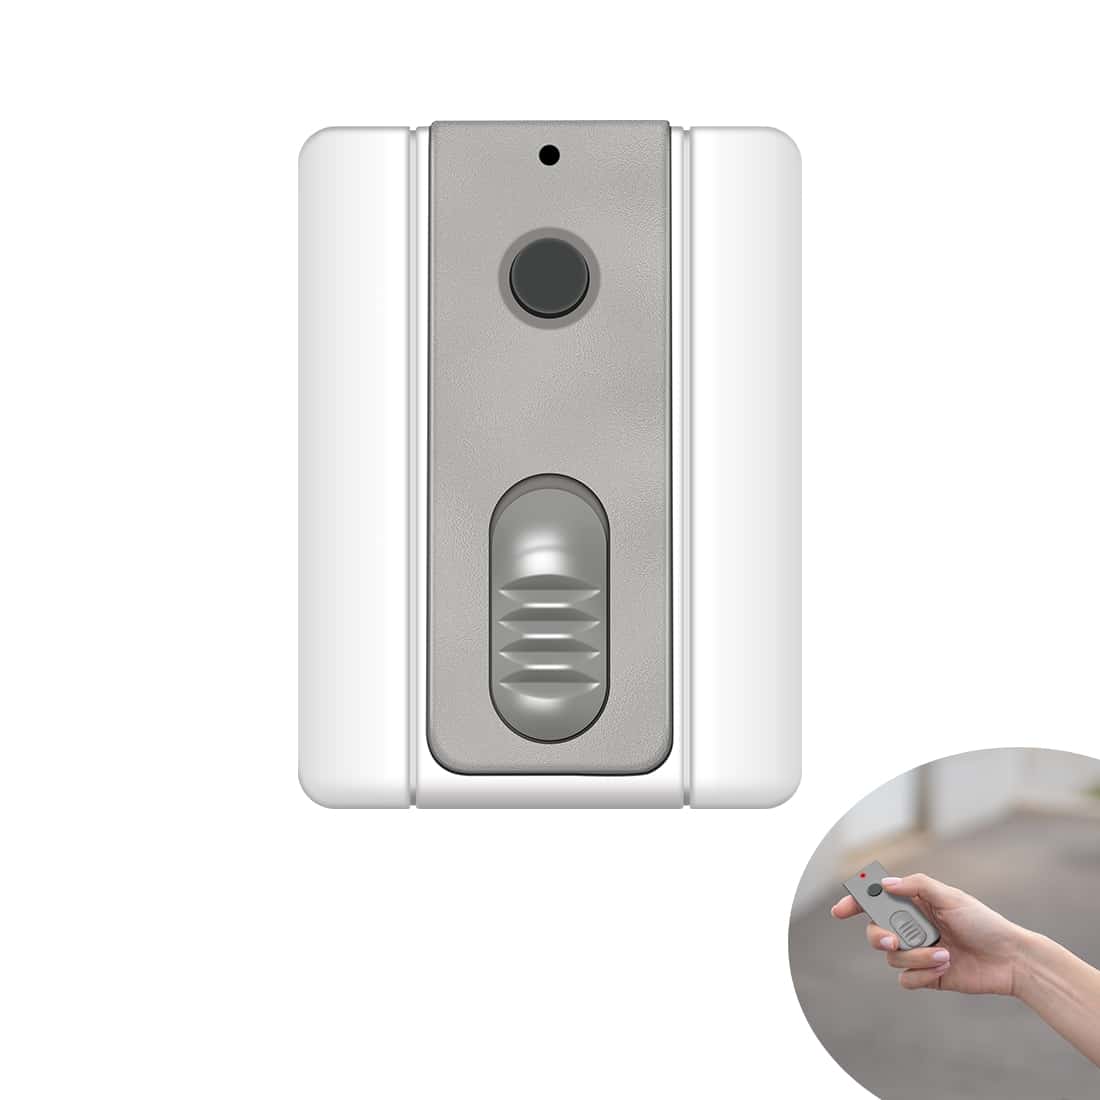
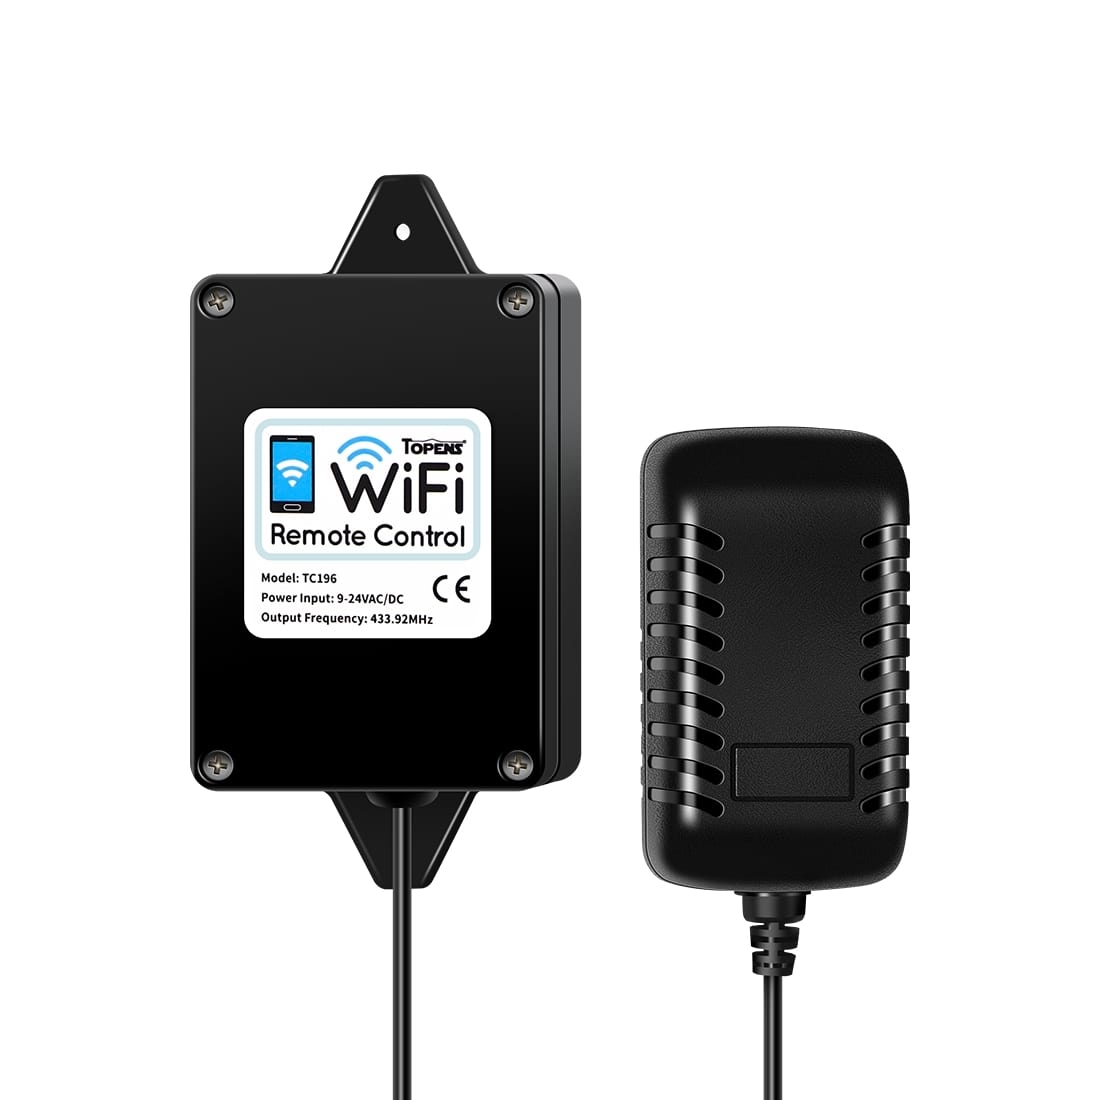
Smartphone Gate Controller: Turn your smartphone into your gate remote, just open the app and tap to operate your gate.
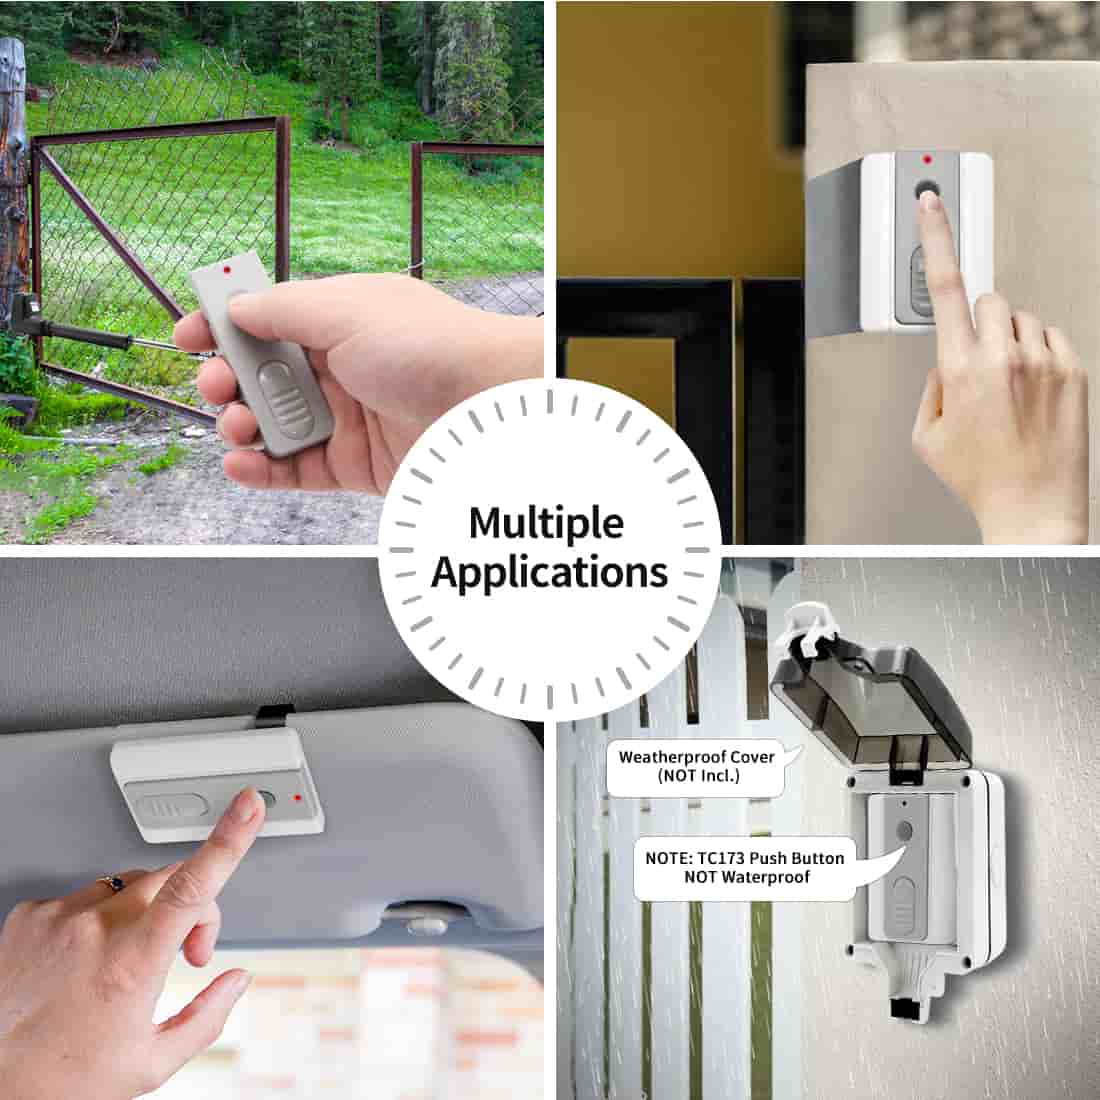
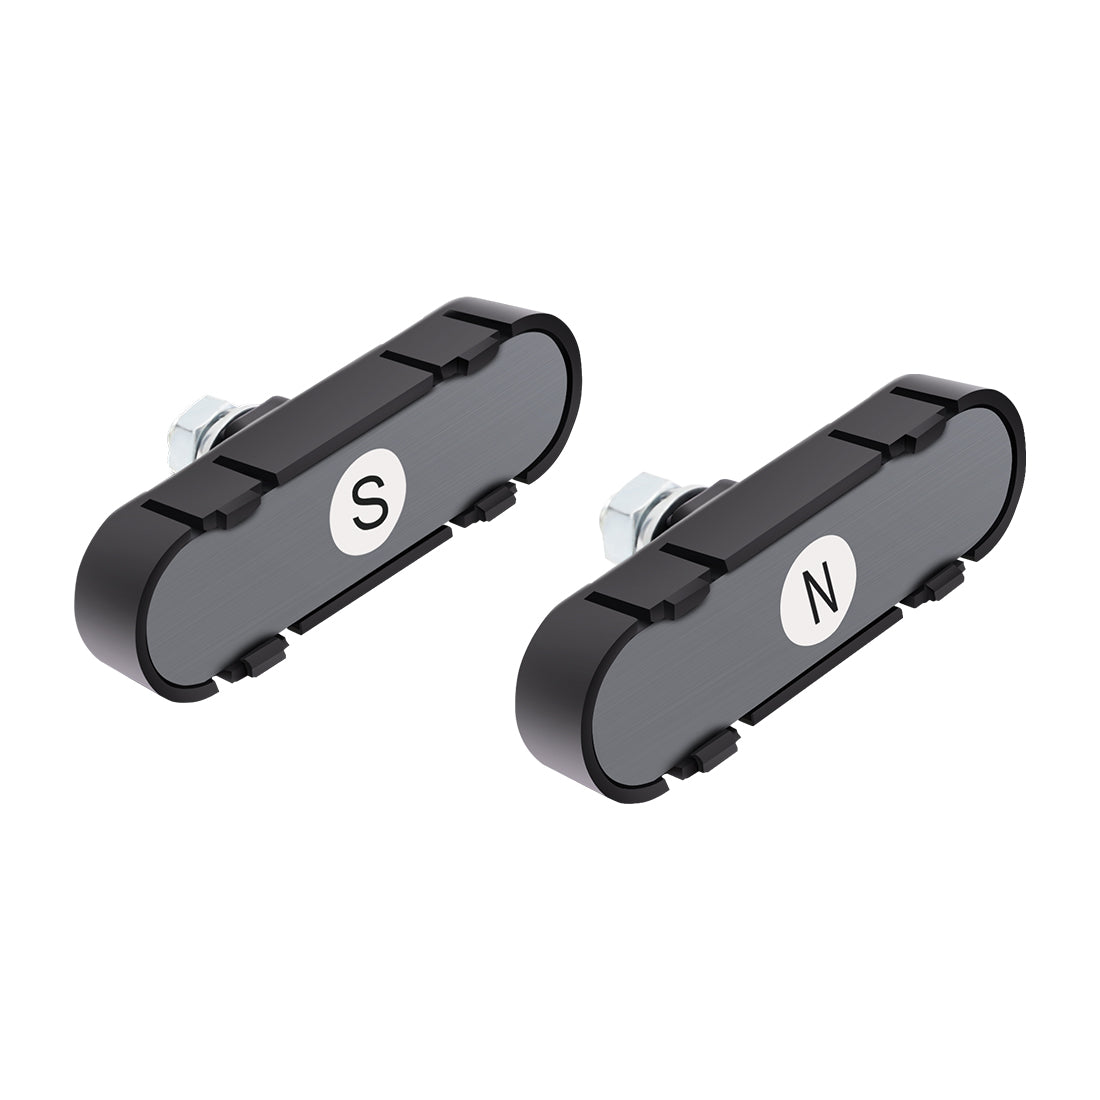
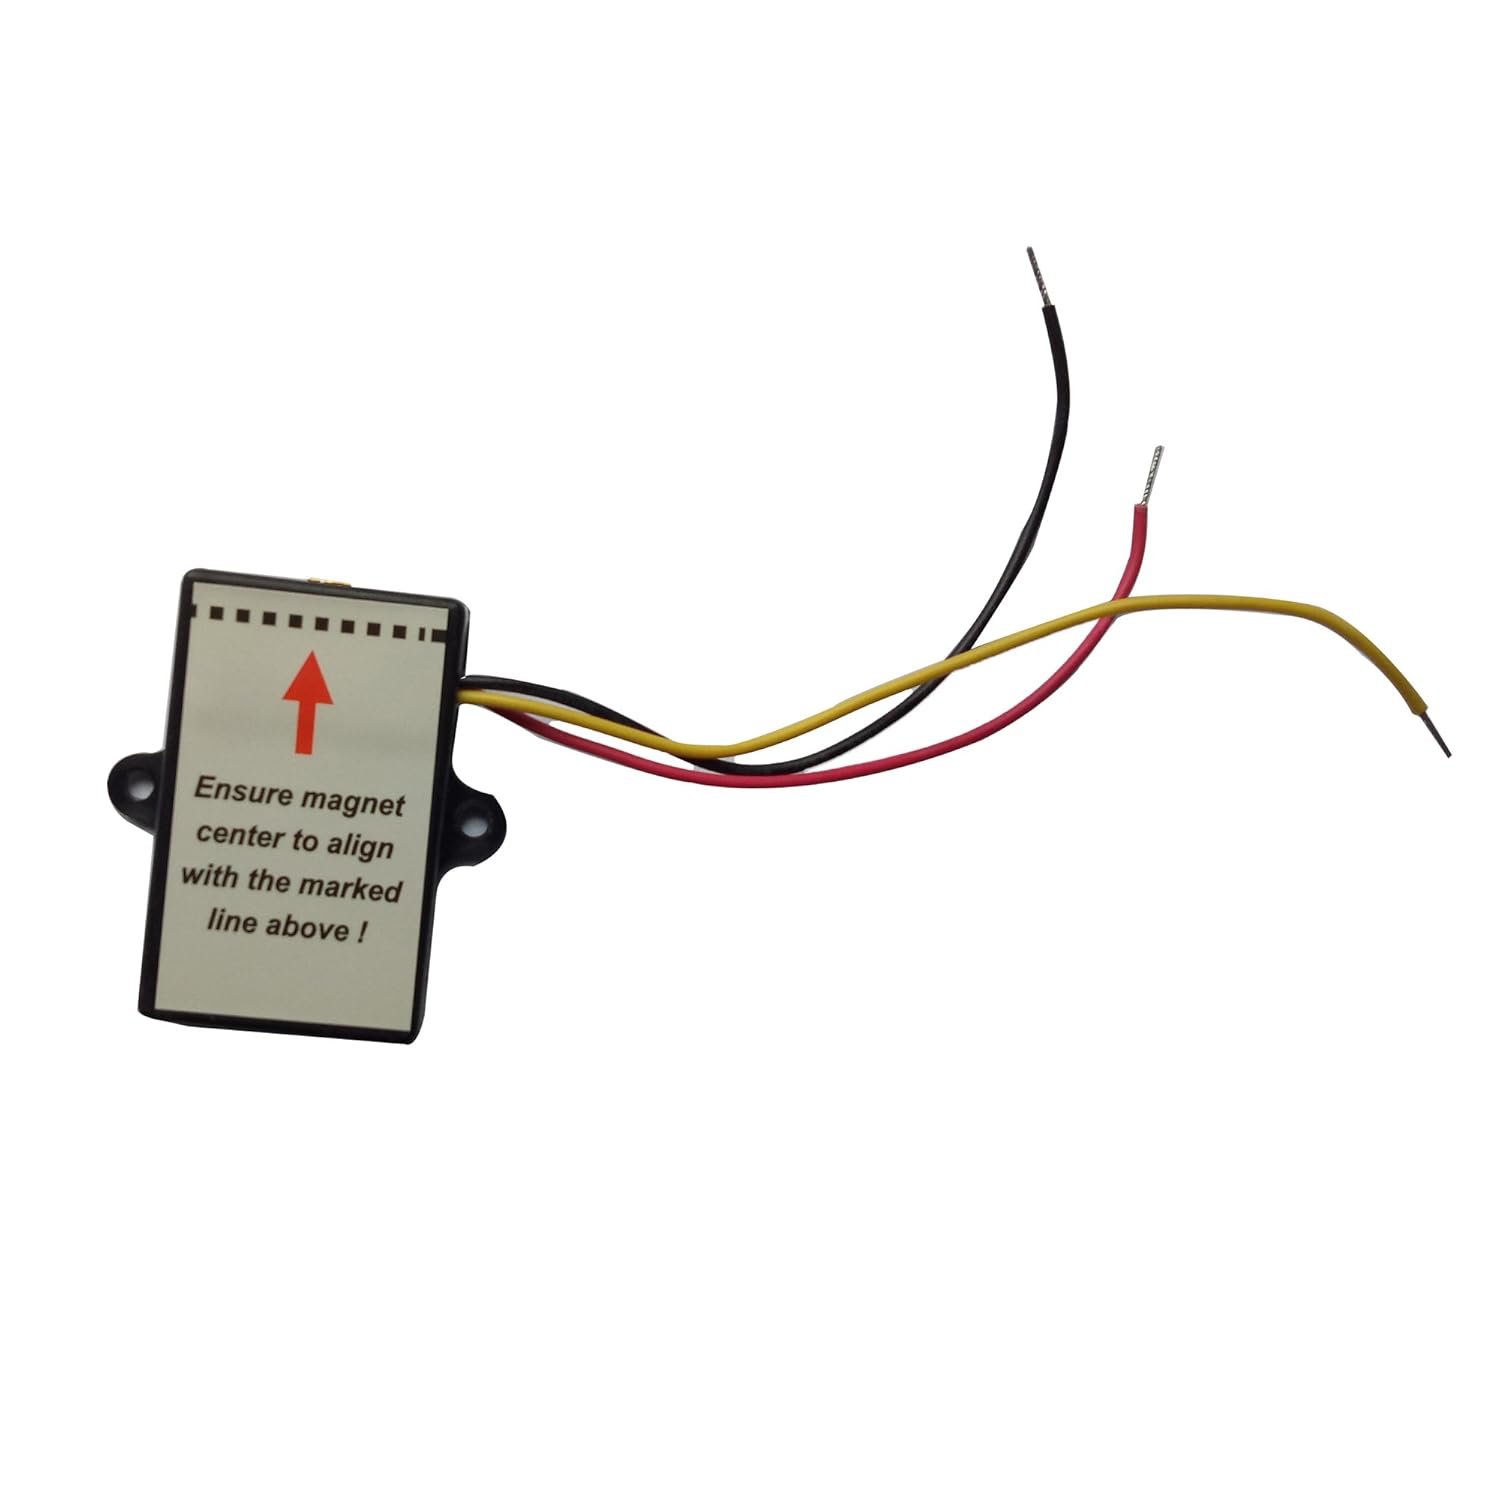
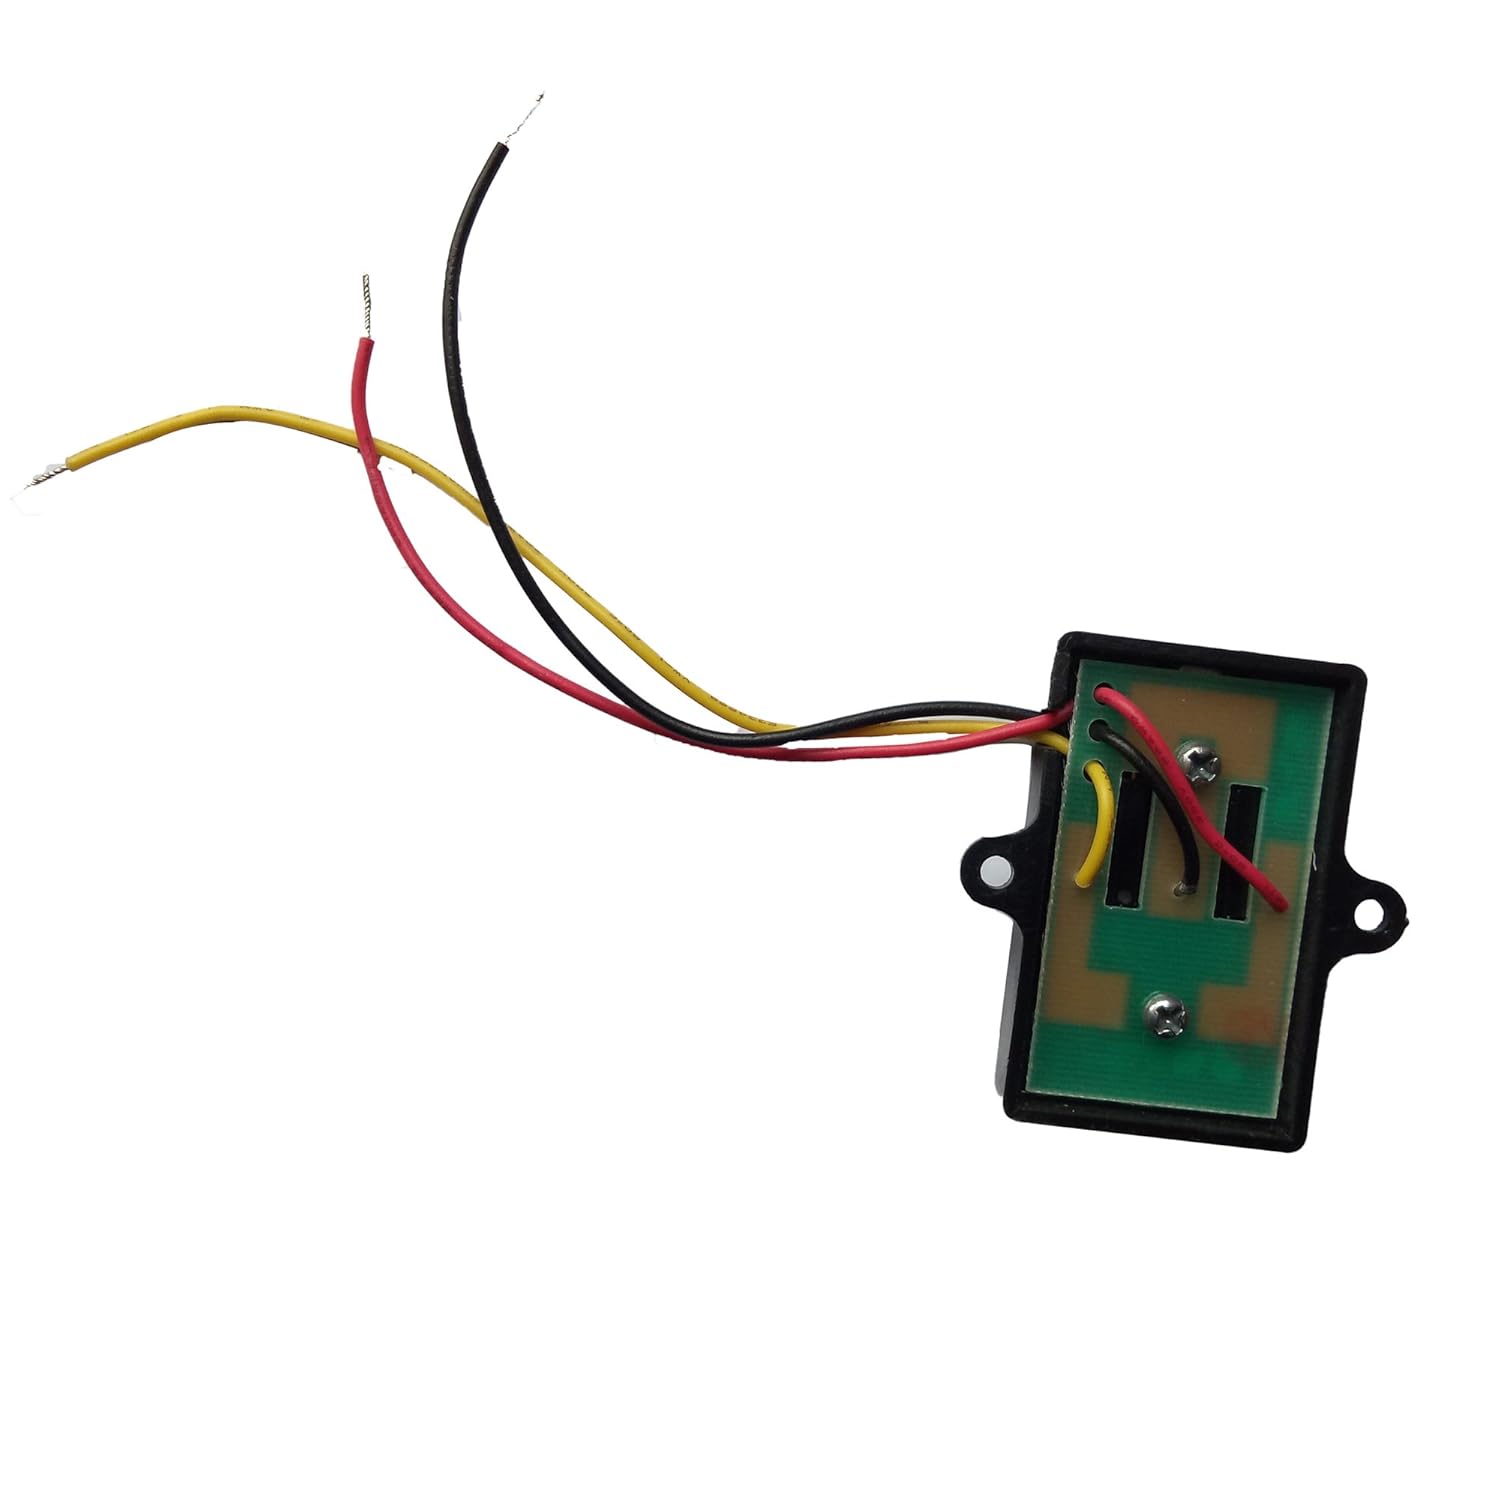
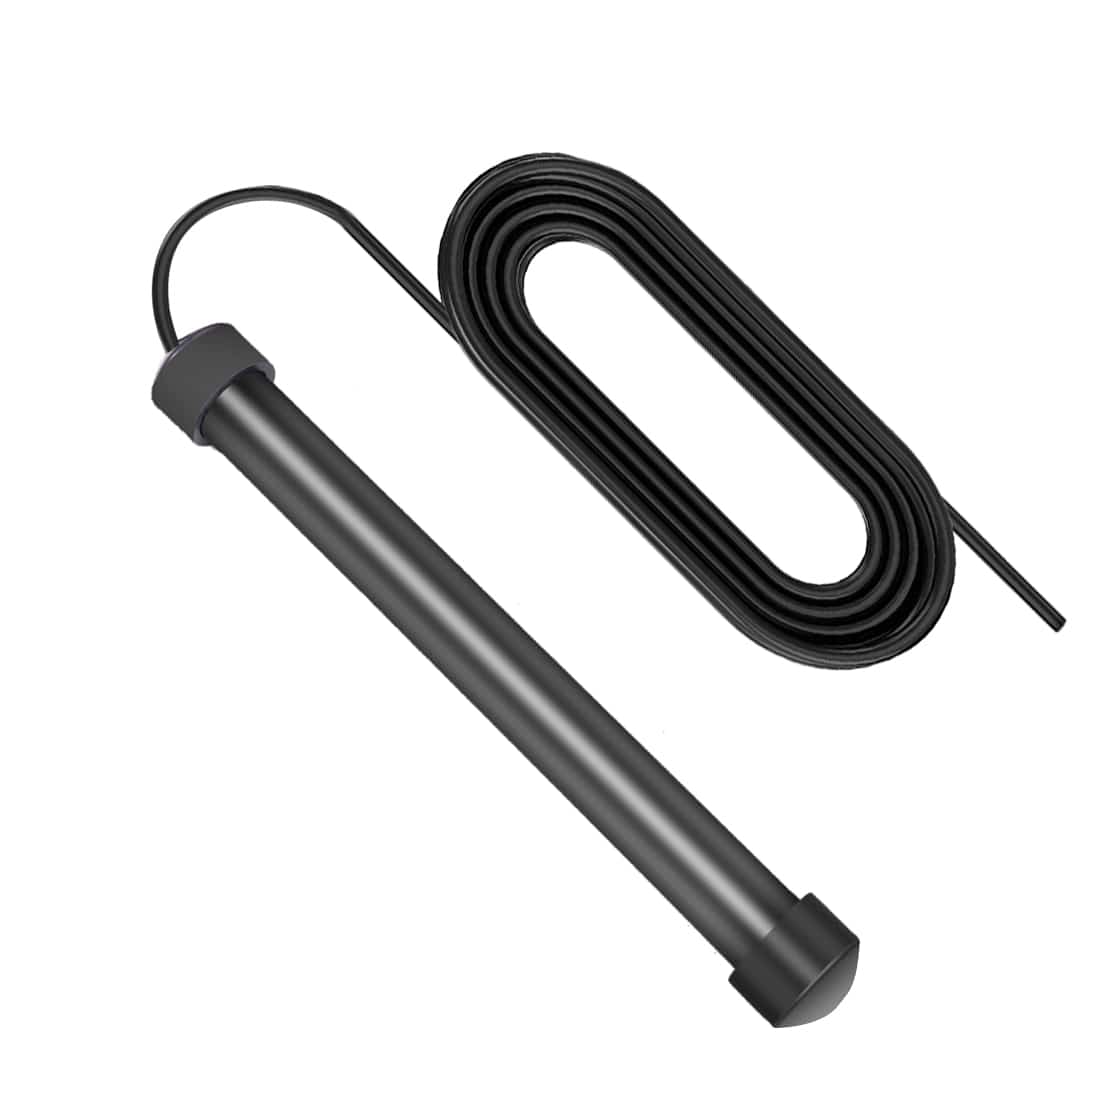
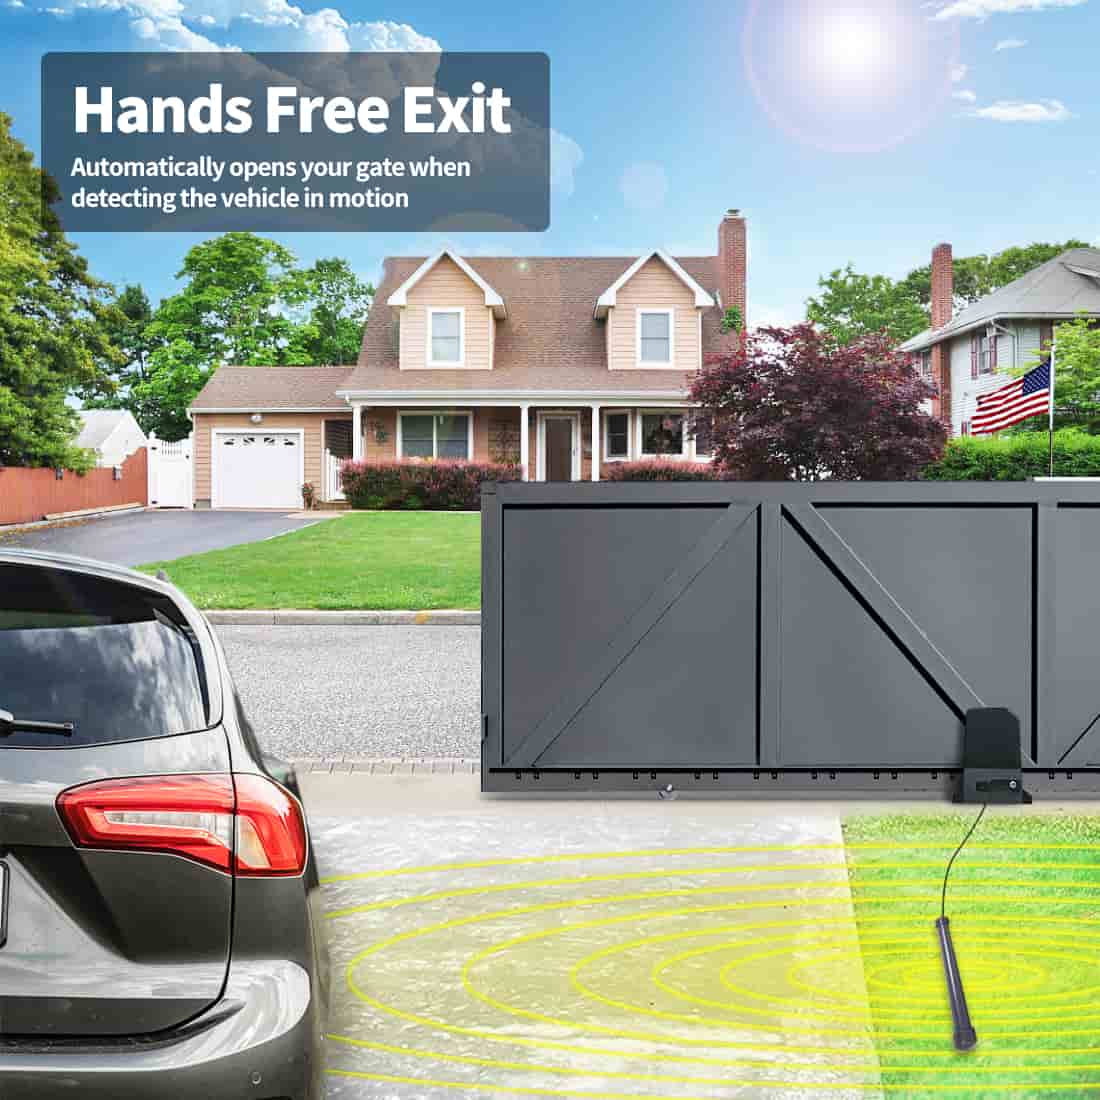
Vehicle Exit Wand: Automatically opens the gate when a vehicle approaches from inside the property, providing hands-free exiting.
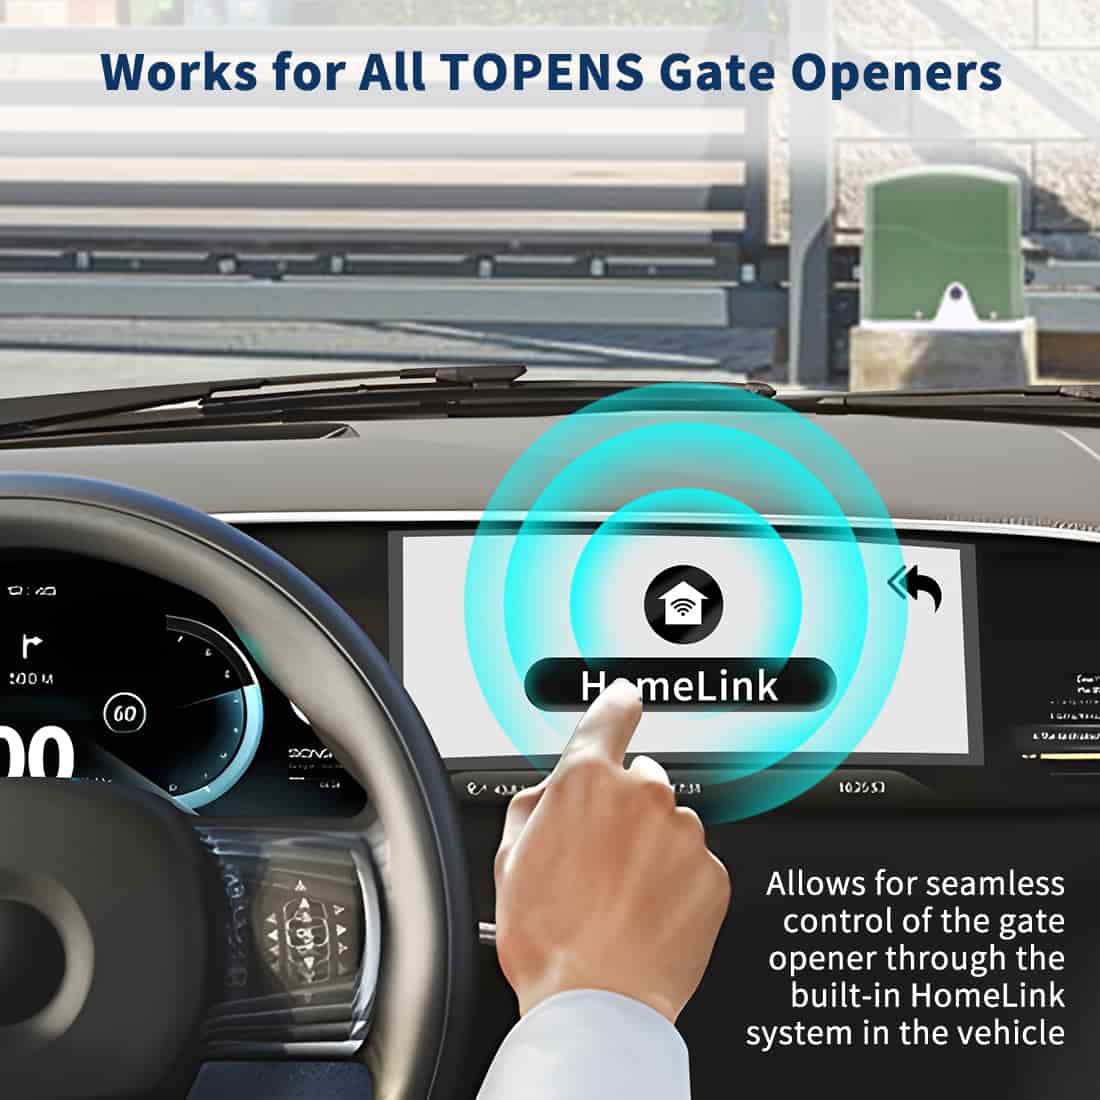
All TOPENS accessories are designed for full compatibility, simplifying DIY installation.

[products:trf3-safety-reflection-photocell-retro-reflective-photo-eye-sensor-for-gate-openers-access-control-security-alarm-systems,topens-et24-automatic-electric-gate-lock-safe-security-gate-lock,tc188-universal-wireless-wired-keypad-keyless-entry-keypad-waterproof-digital-code-panel,tc175p-touch-panel-wired-keypad-universal-keyless-entry-keypad-for-automatic-driveway-gate-opener,tc196-tuya-wifi-remote-control-for-gate-opener,tew3-vehicle-exit-sensor-kit-wired-driveway-gate-exit-wand-car-detector-for-automatic-gate-opener-system,]
Explore All TOPENS Gate Opener Accessories
Final Takeaway
DIY installation of a TOPENS swing gate opener is absolutely achievable with the right preparation, tools, and attention to detail. By following the installation guide and avoiding common mistakes, you can enjoy a safe, reliable, and convenient automated gate system, without the cost of professional installation.
And when questions come up, TOPENS customer support team are always there to help, making DIY gate automation simpler and stress-free from start to finish.