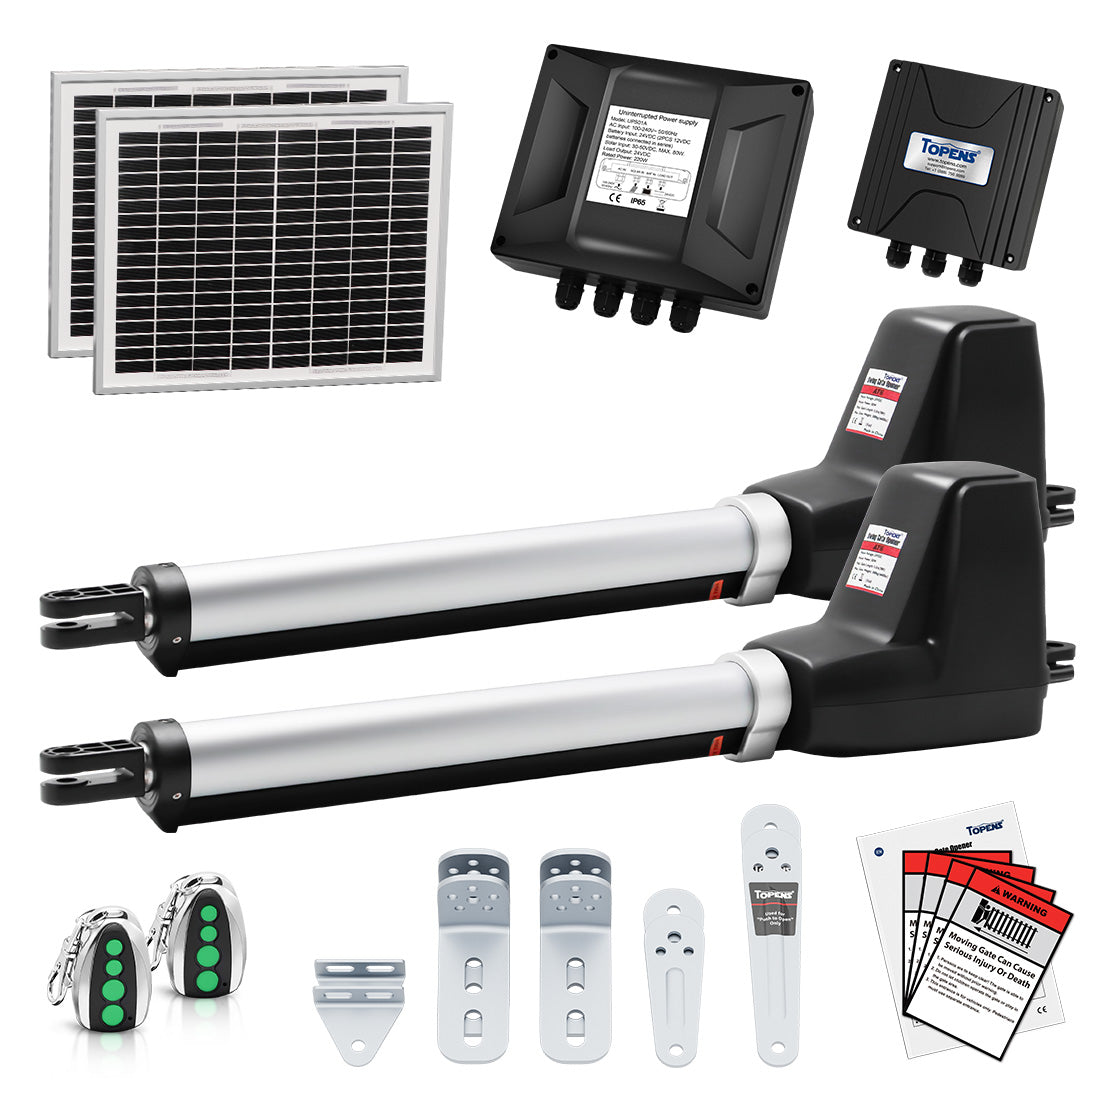
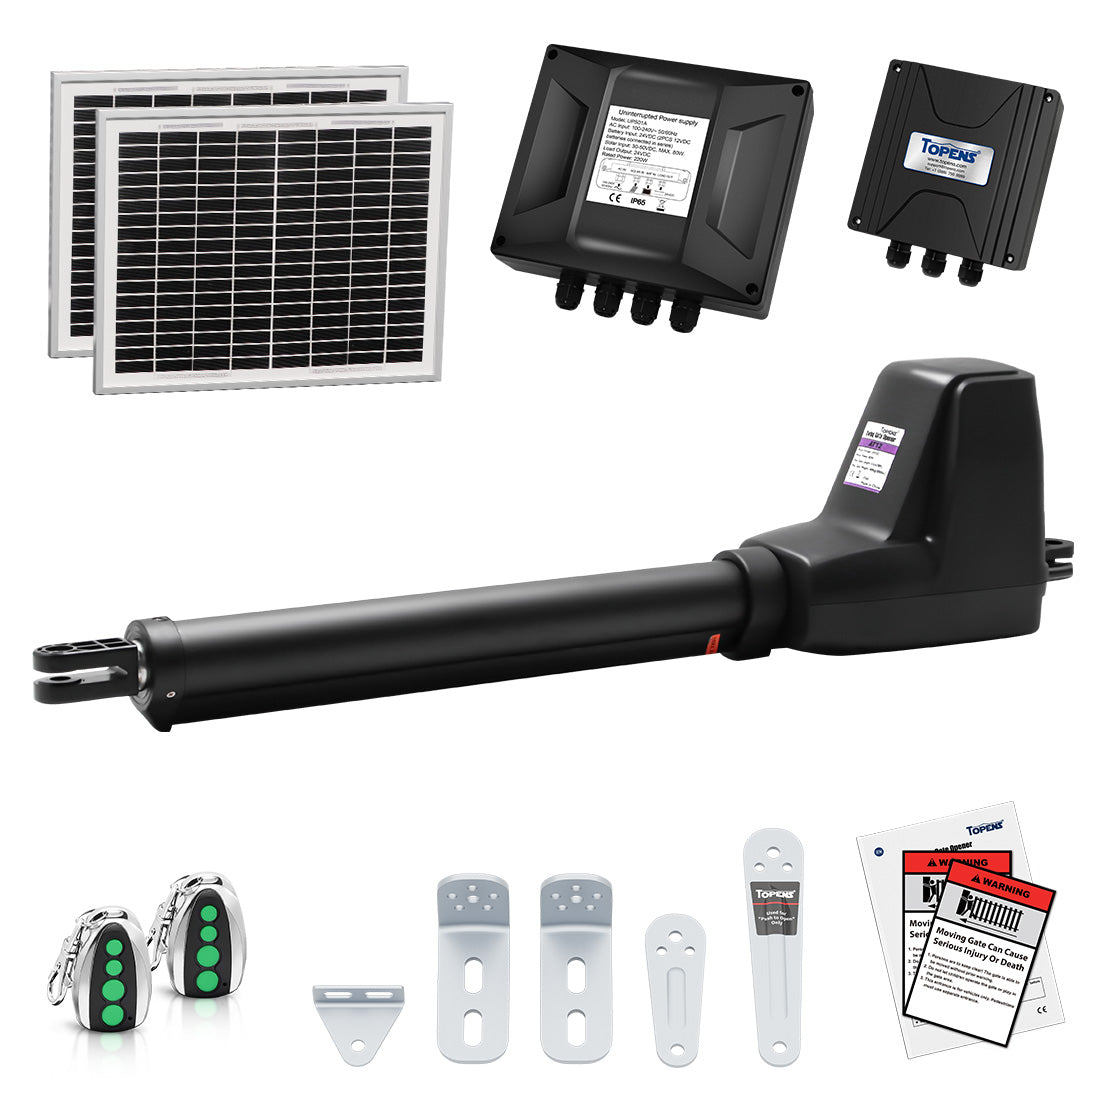
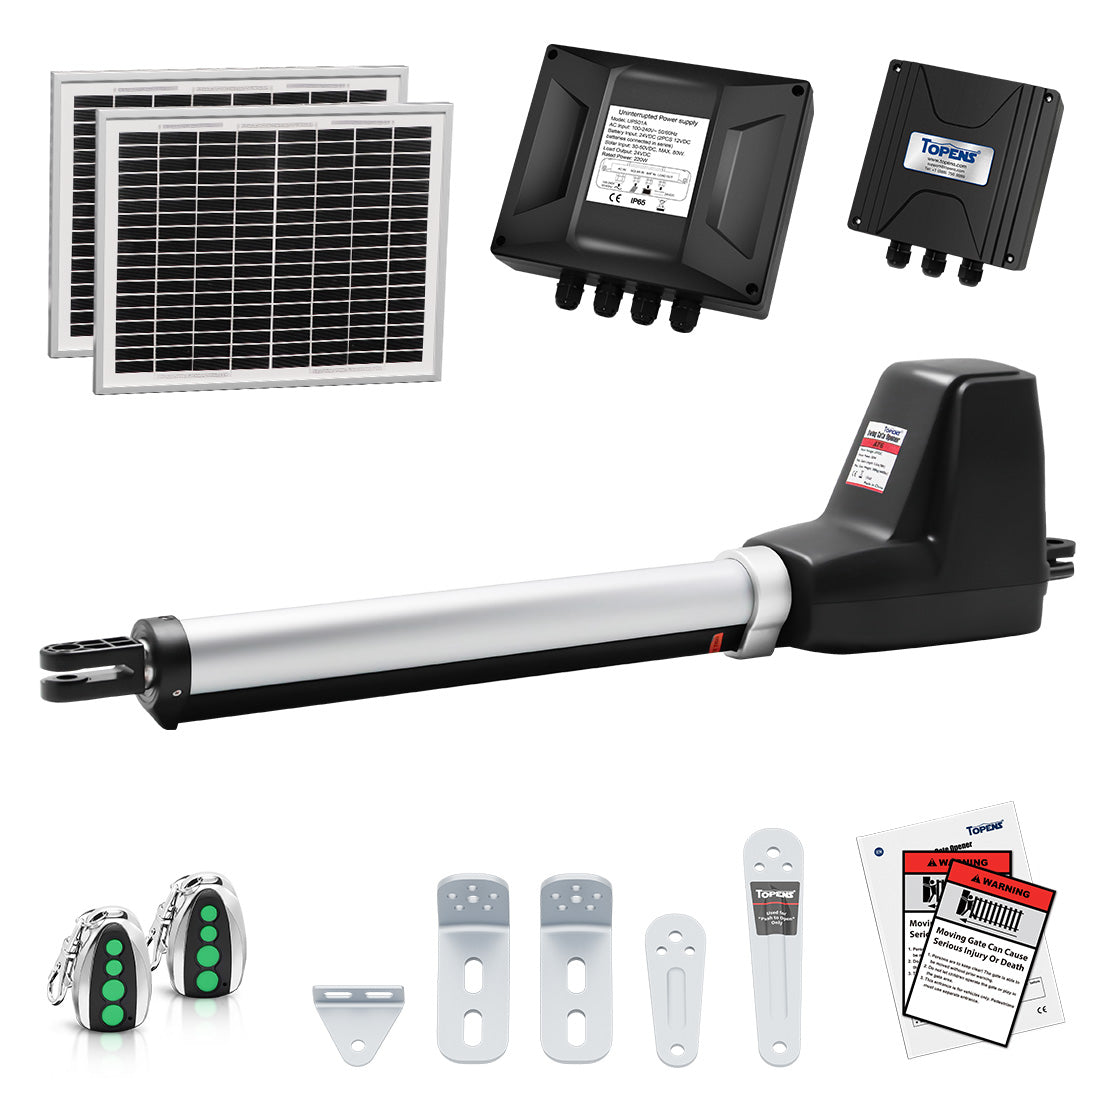
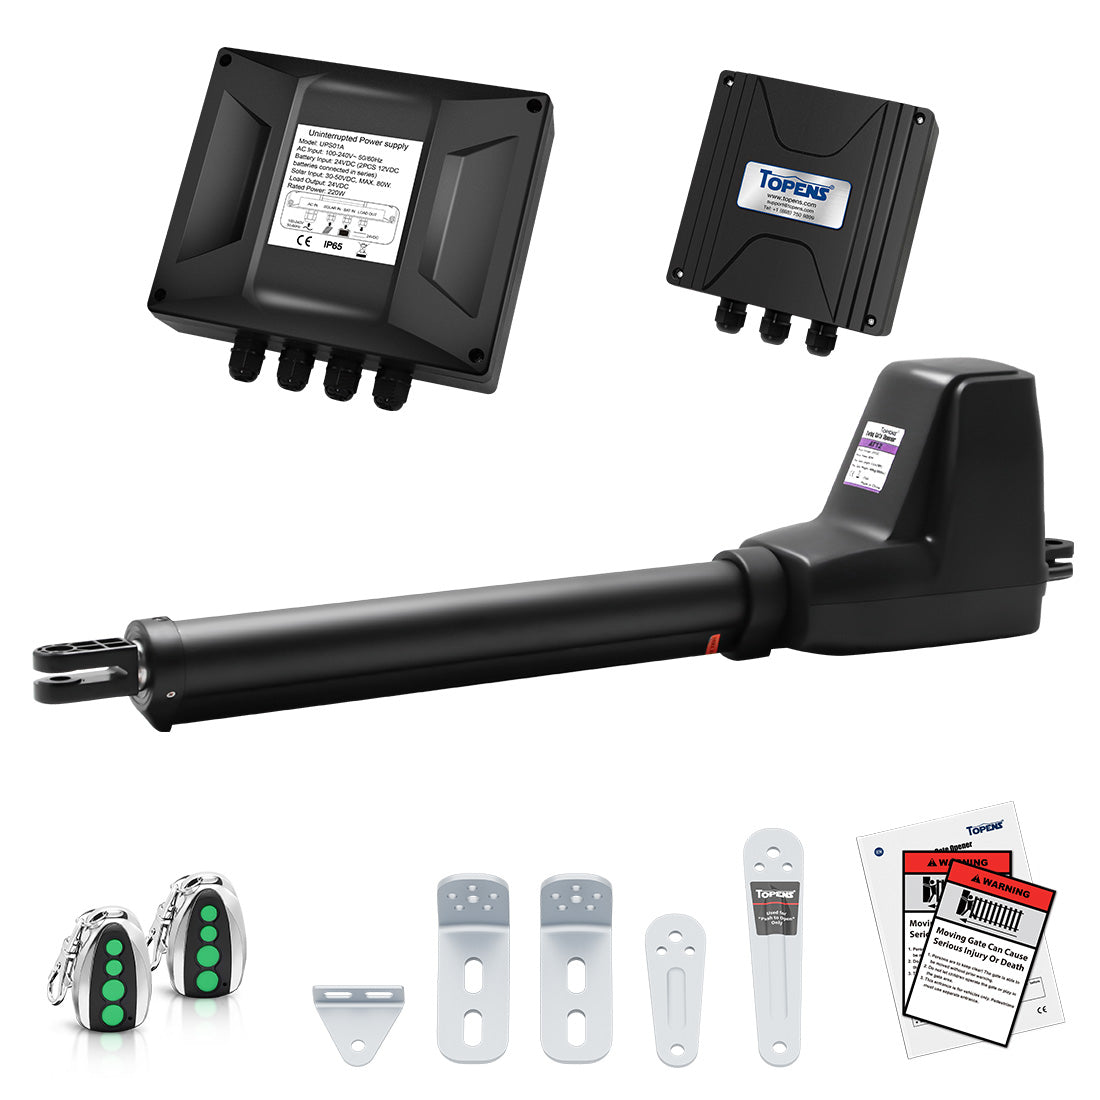
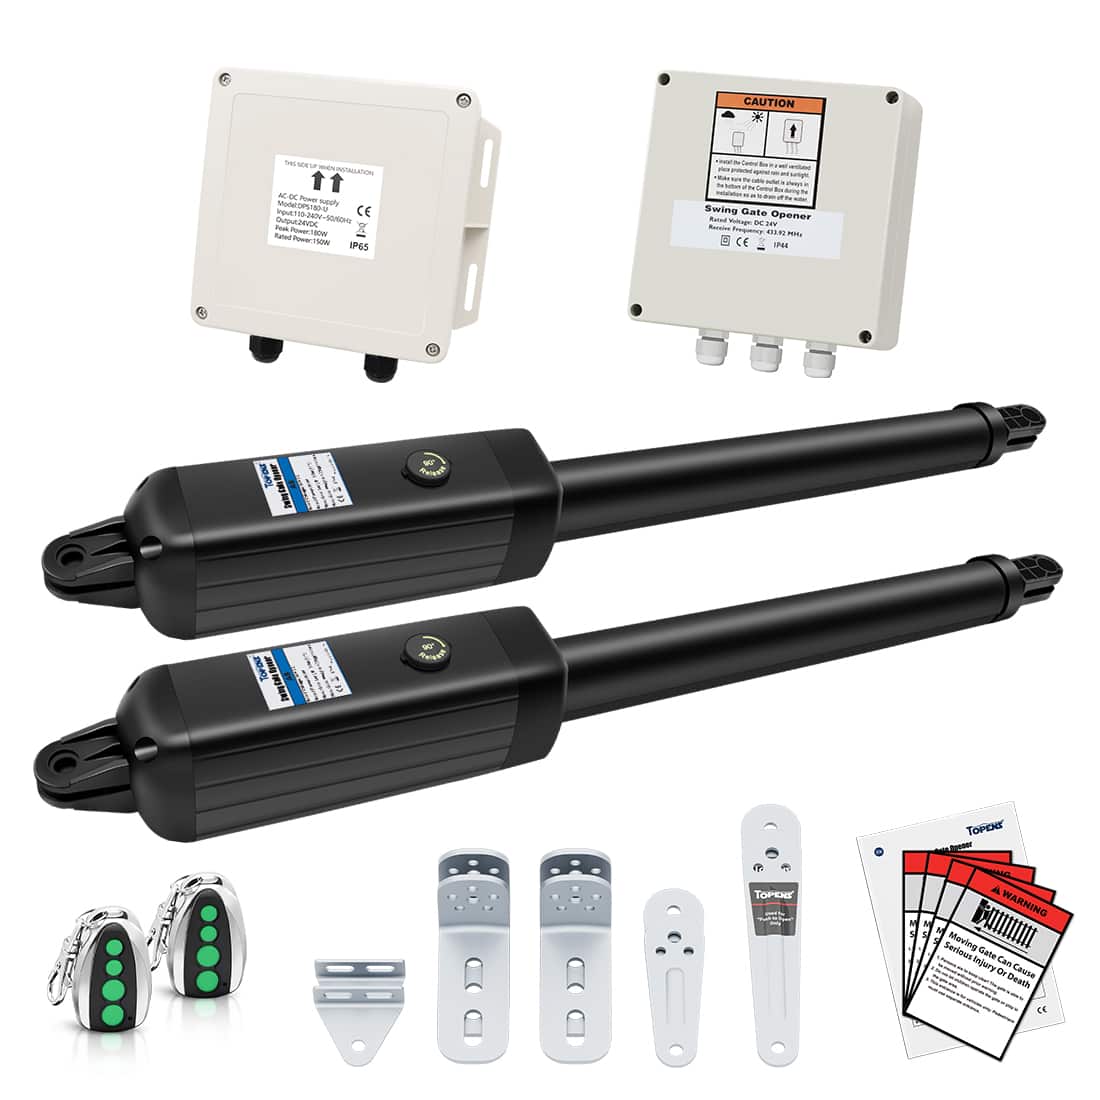
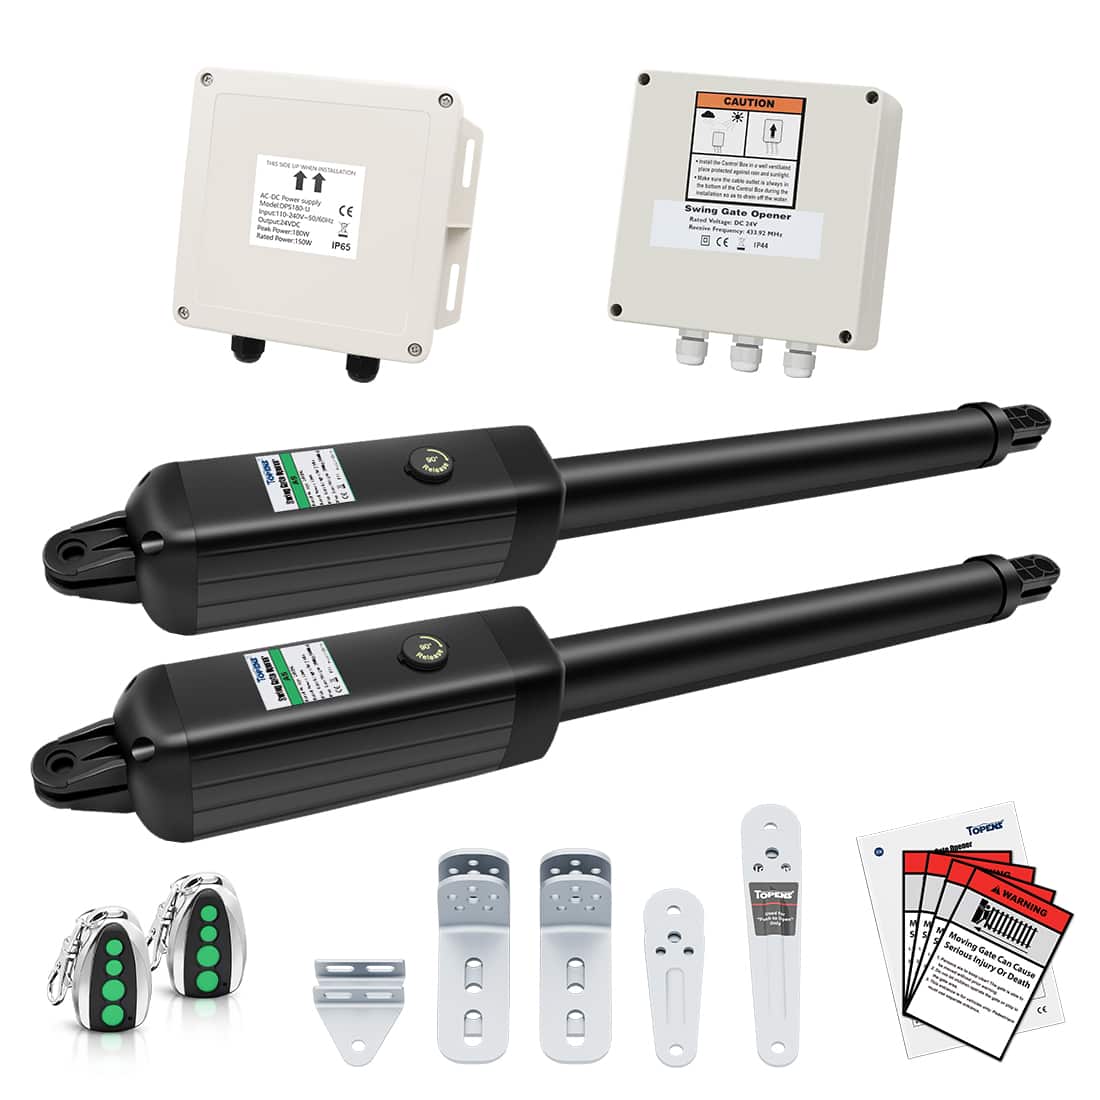
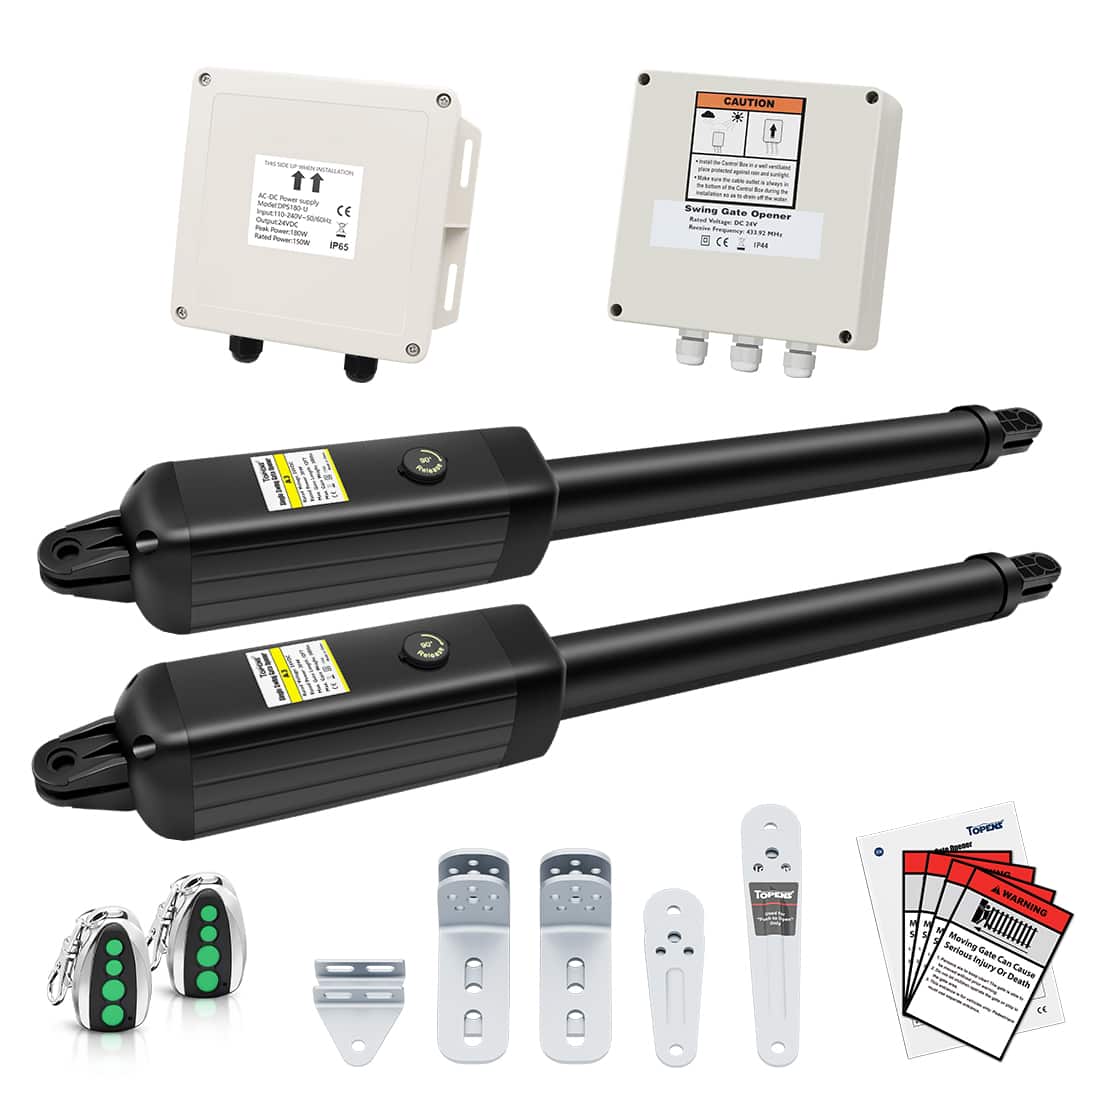
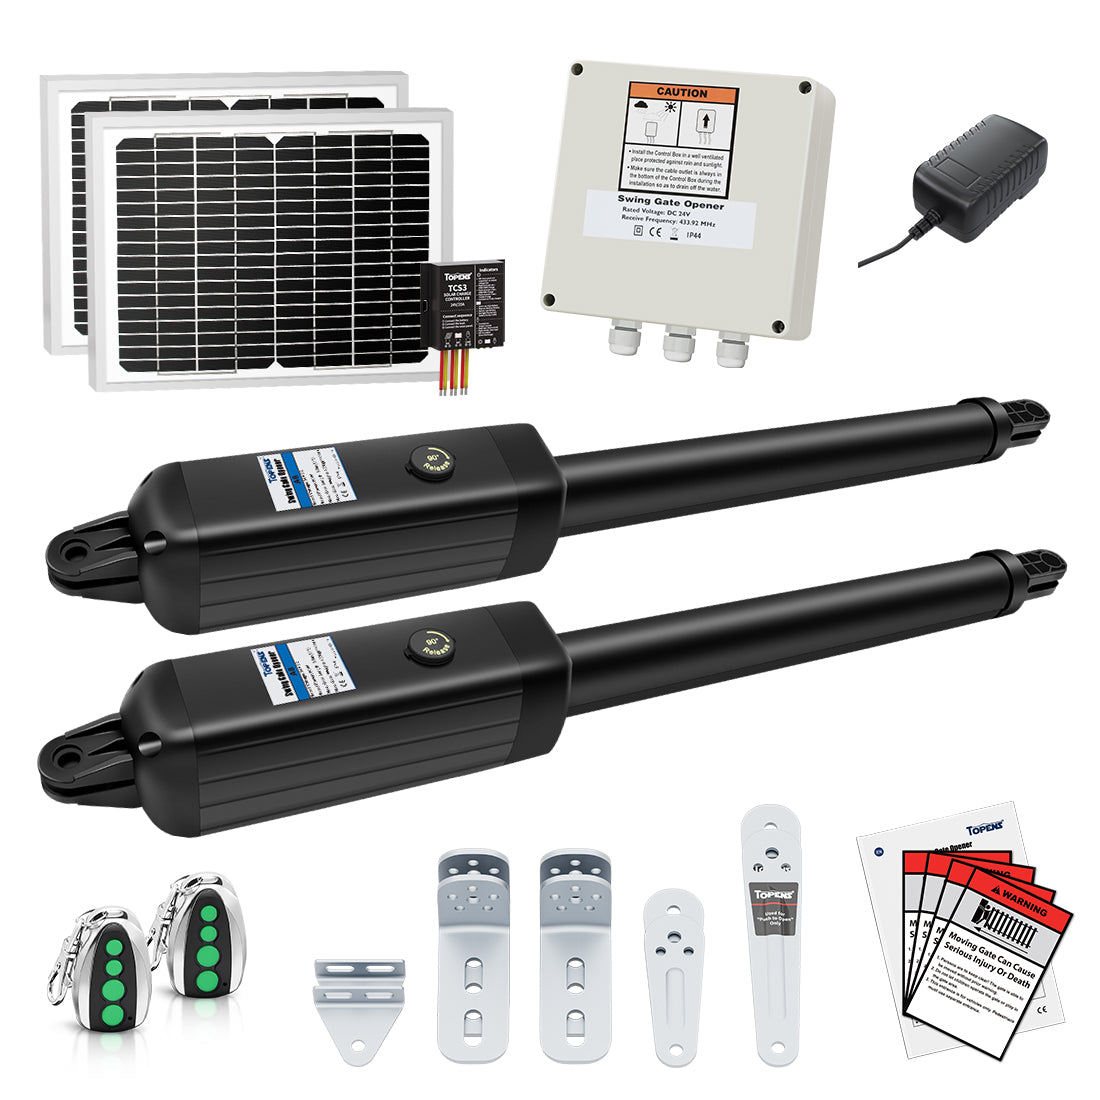
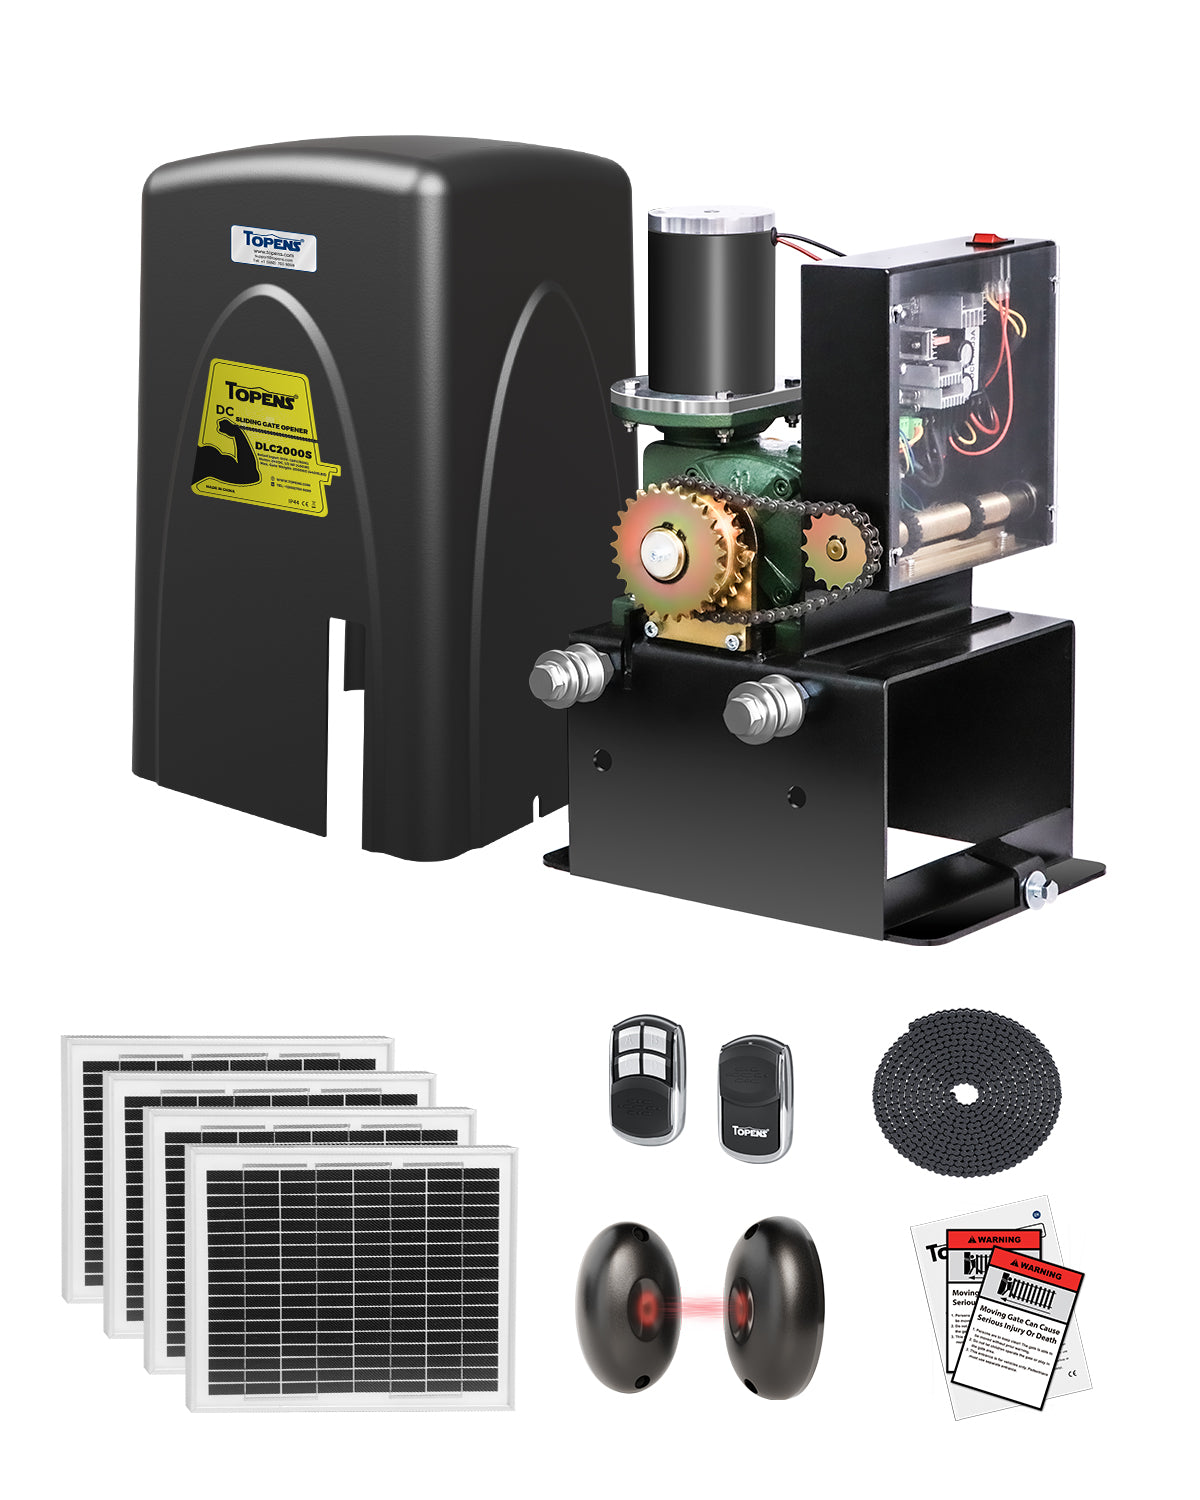
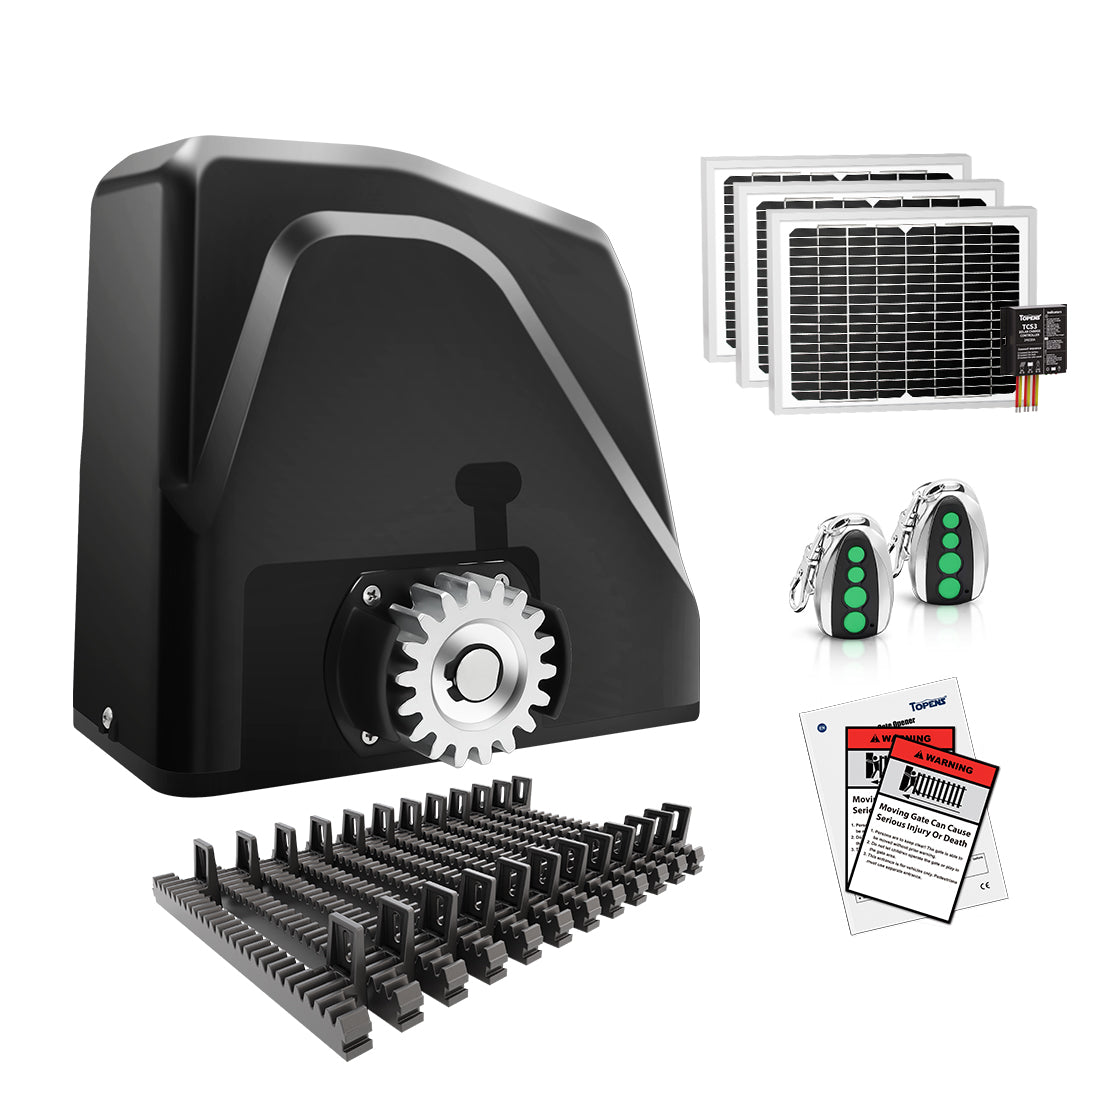
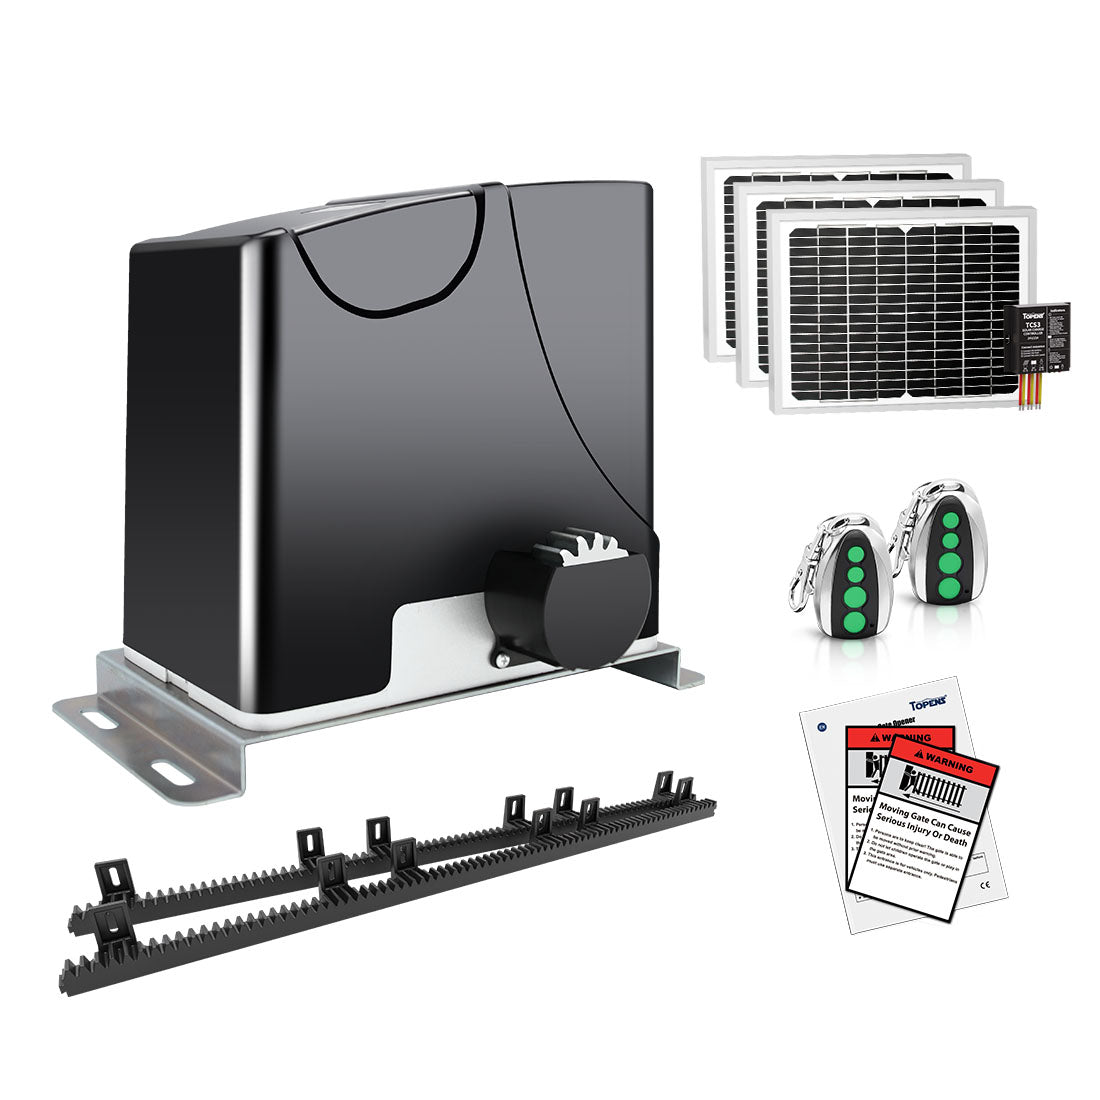
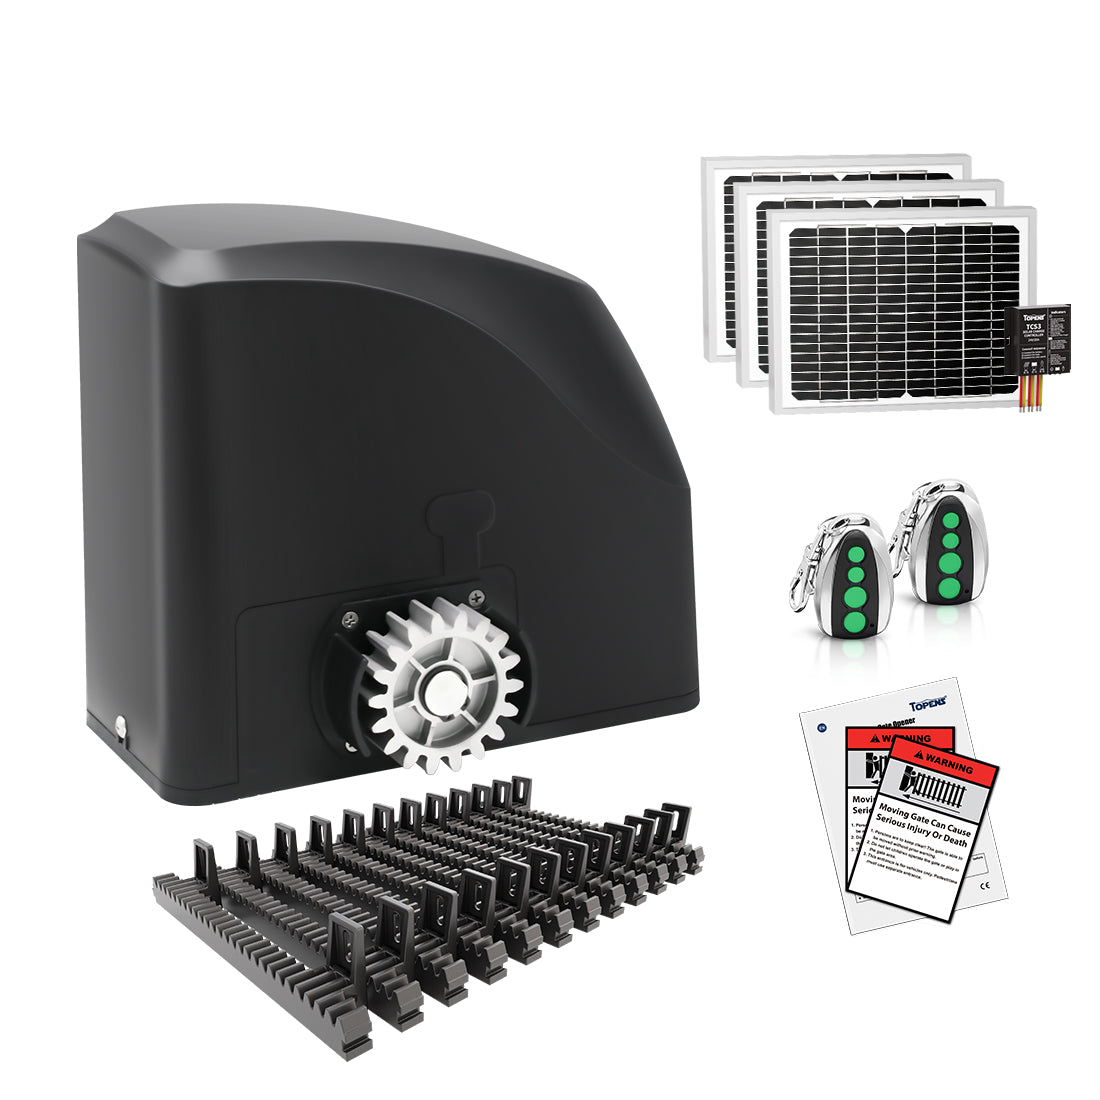
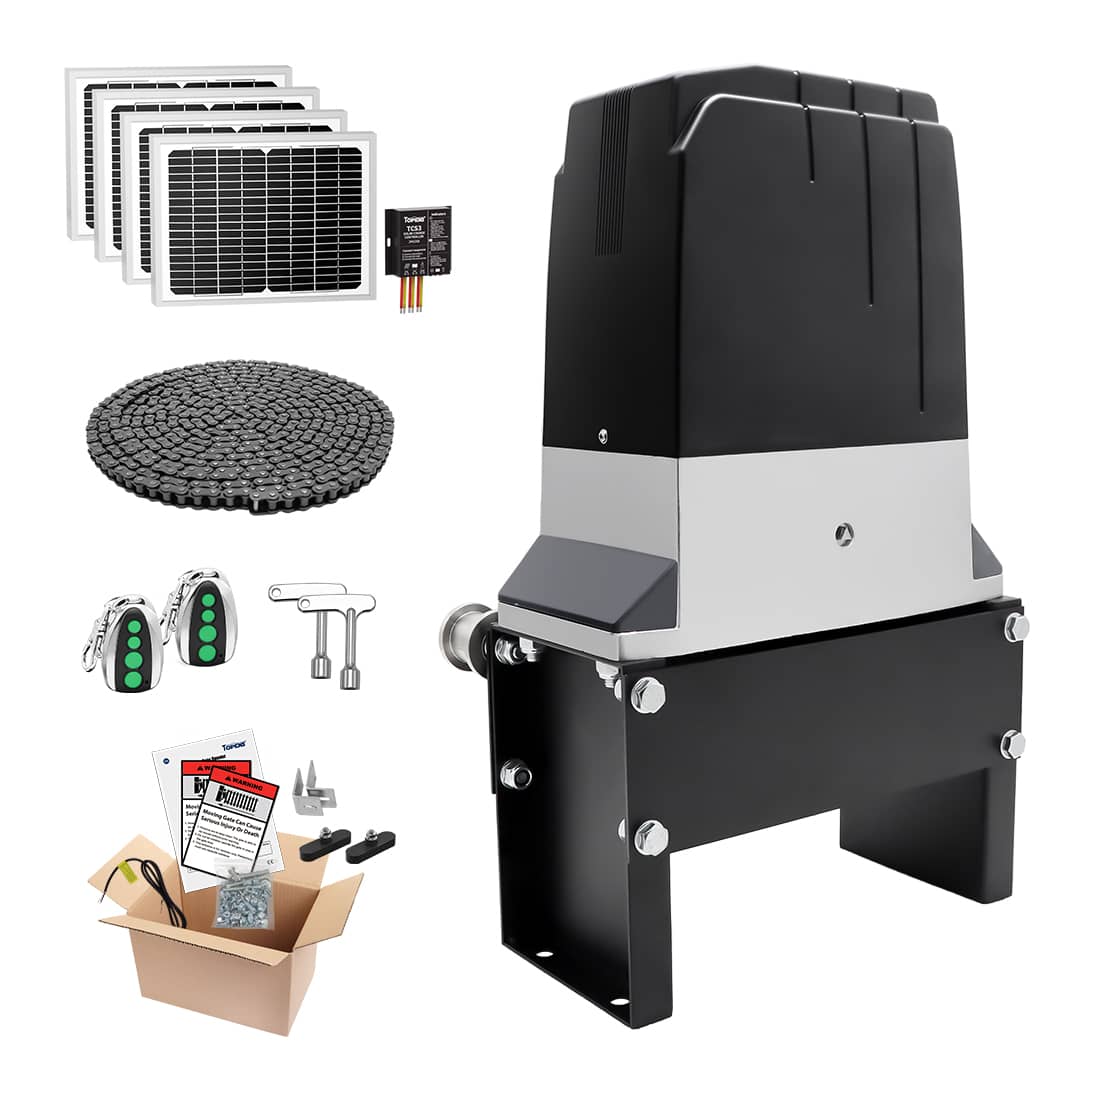
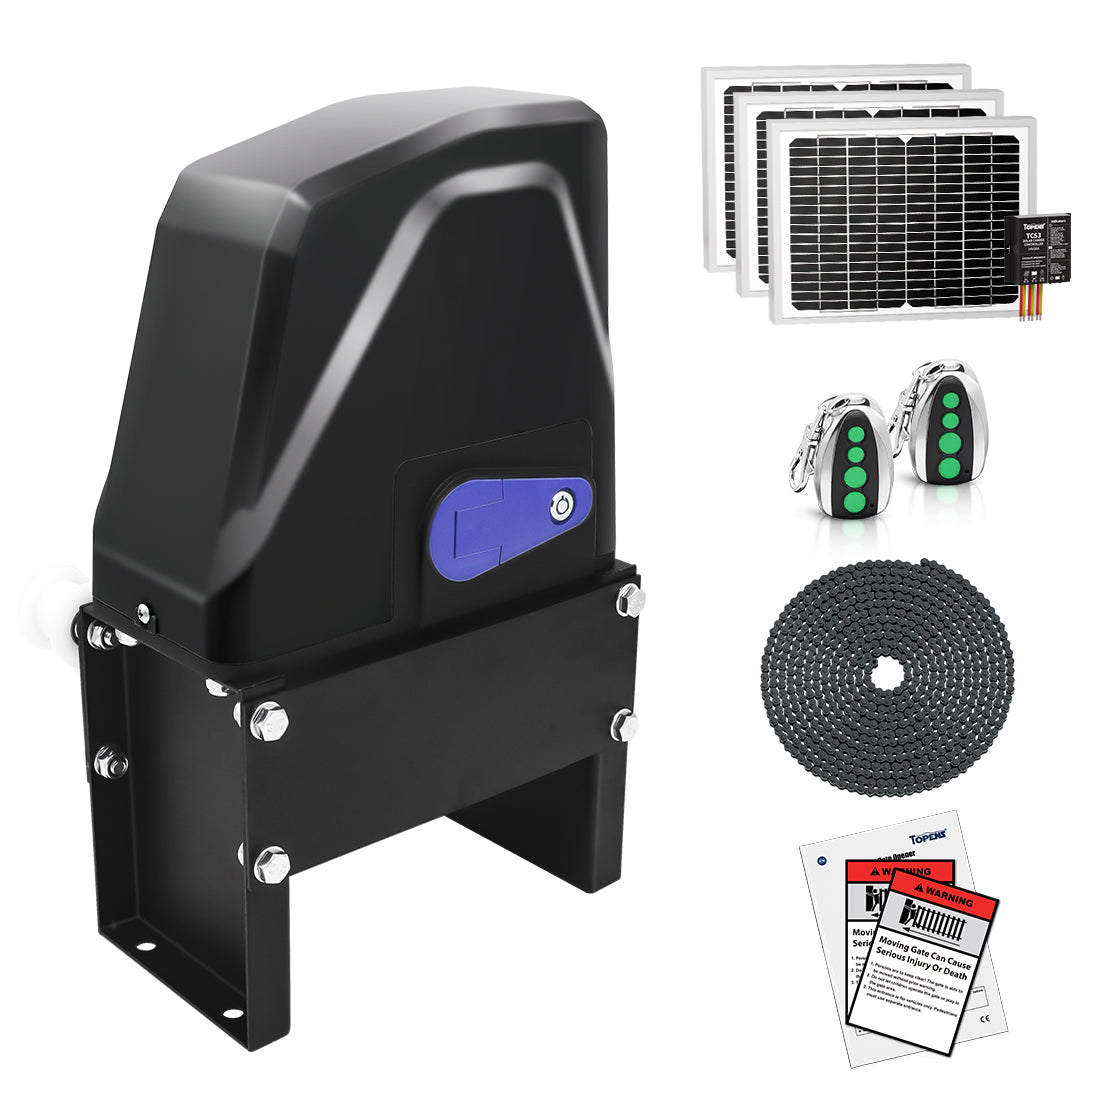
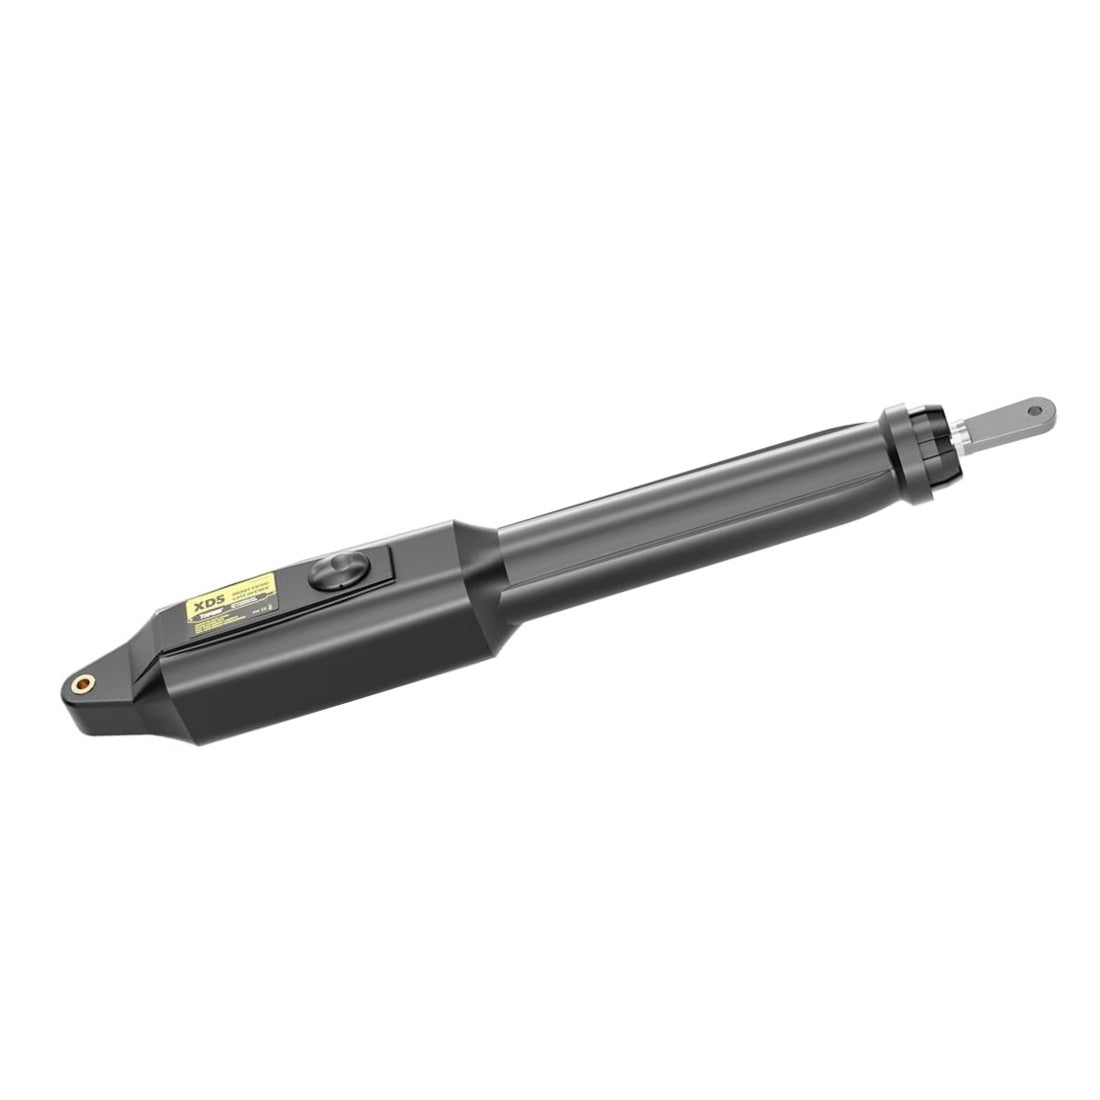
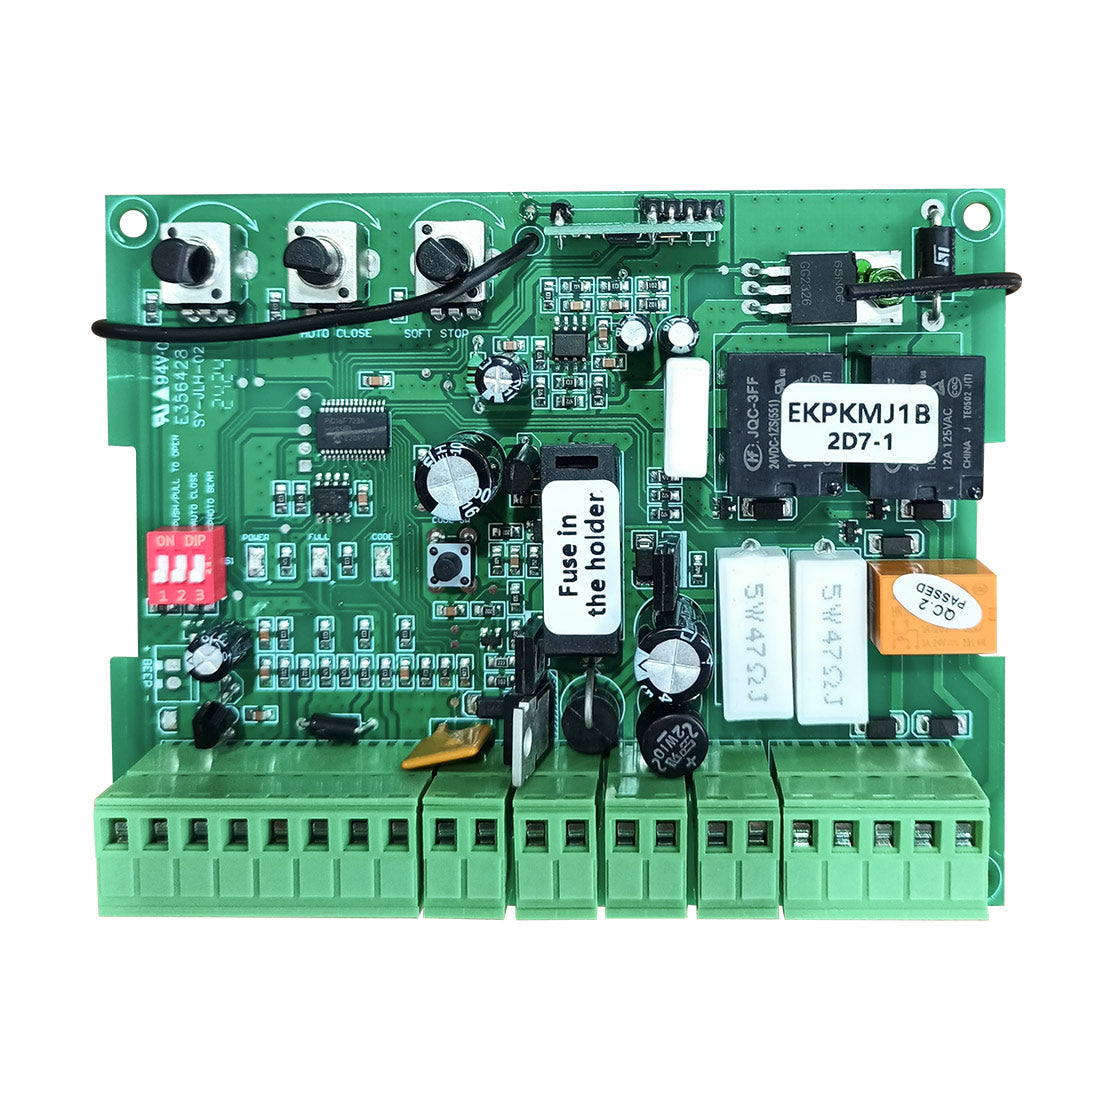
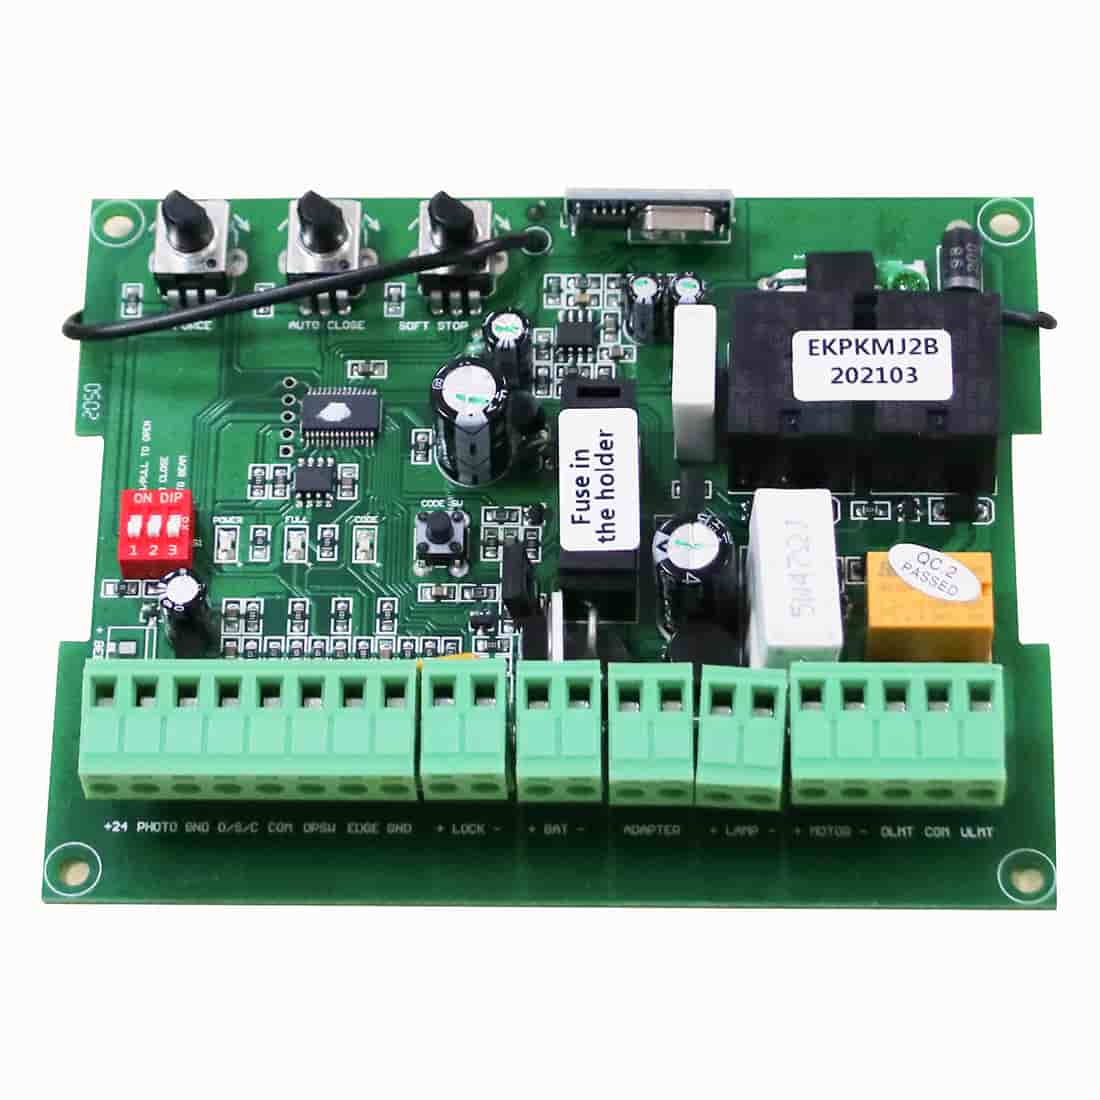
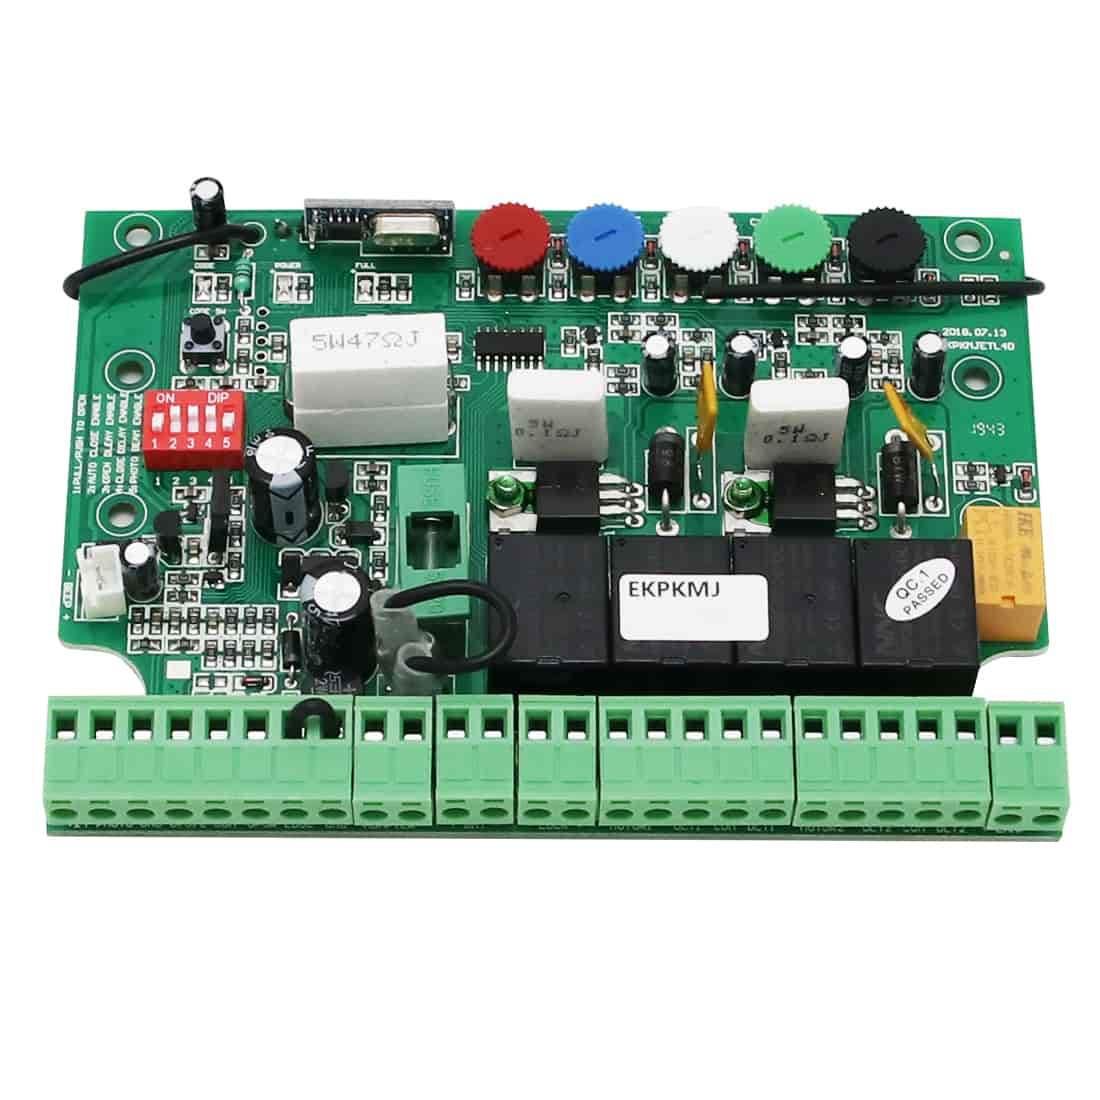
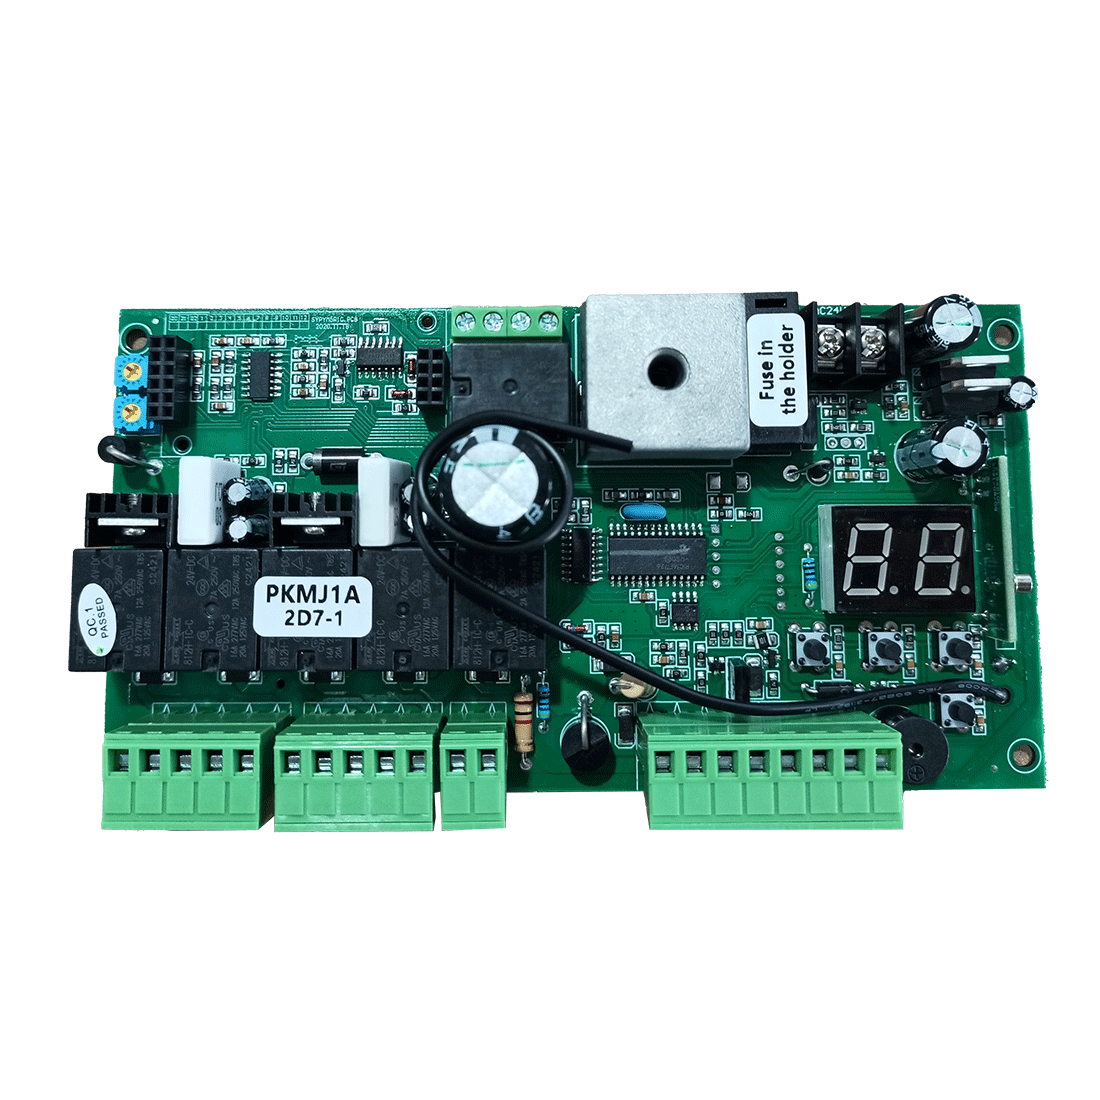
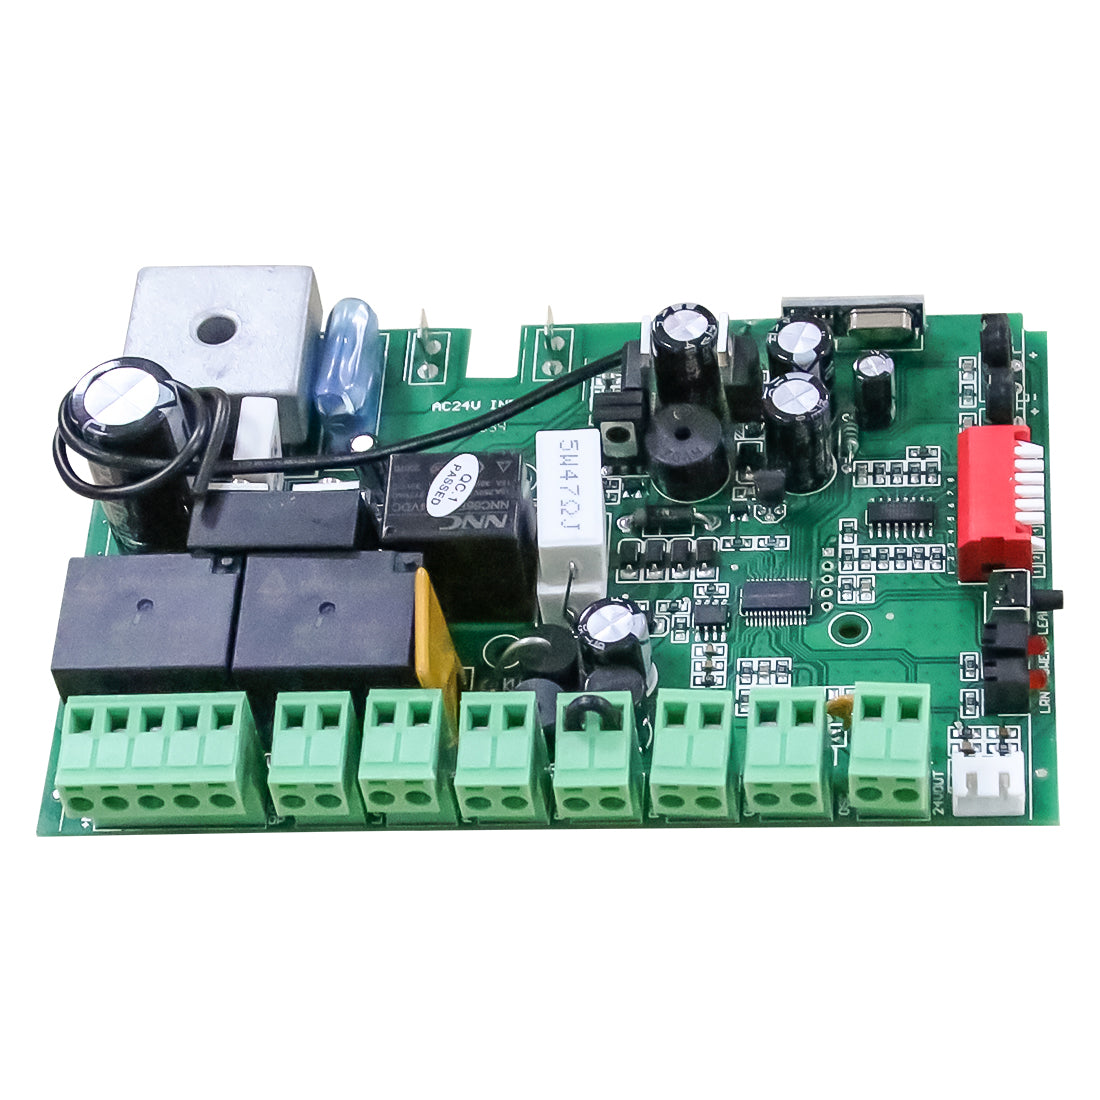
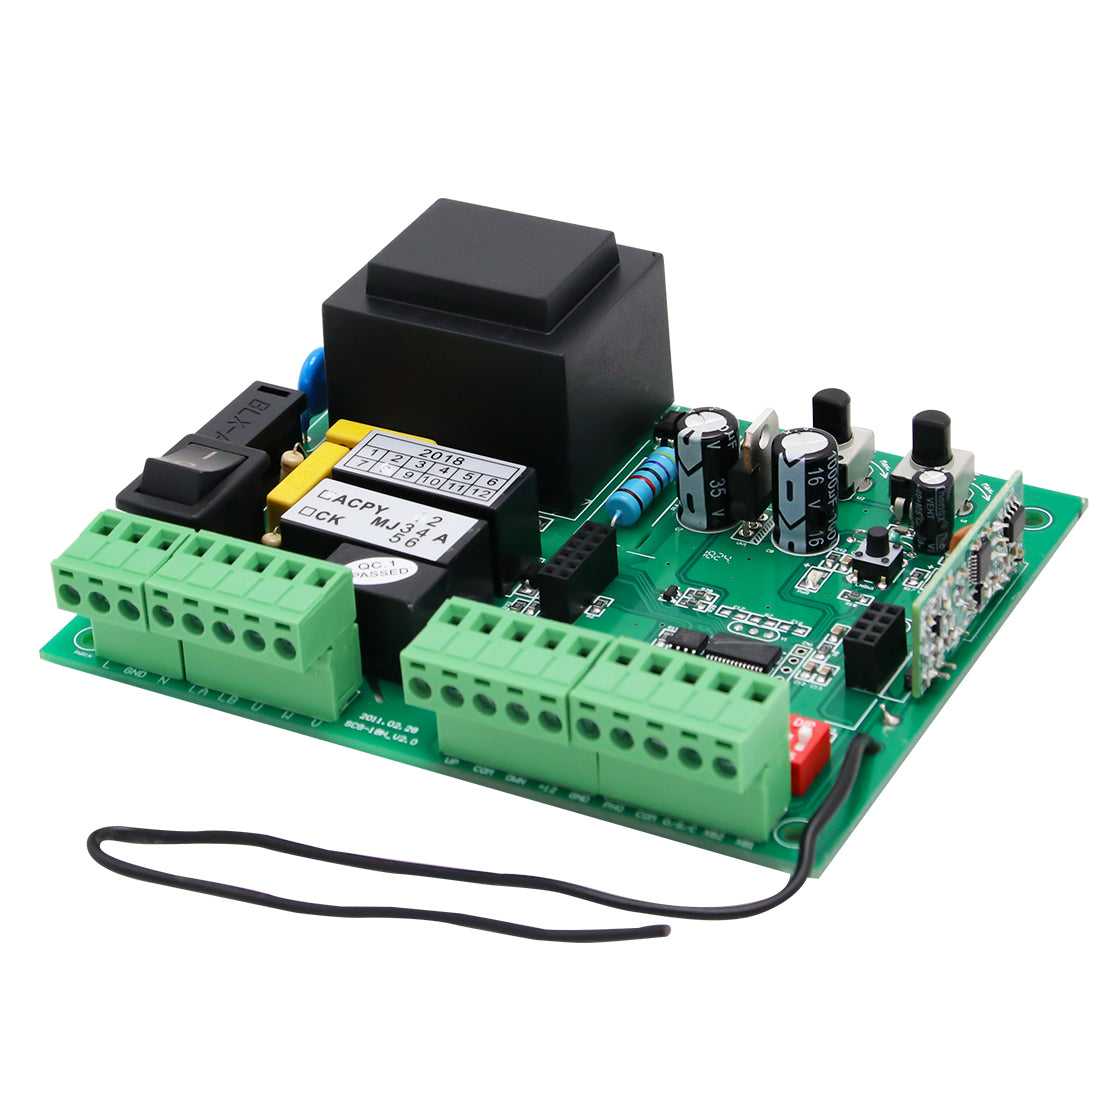
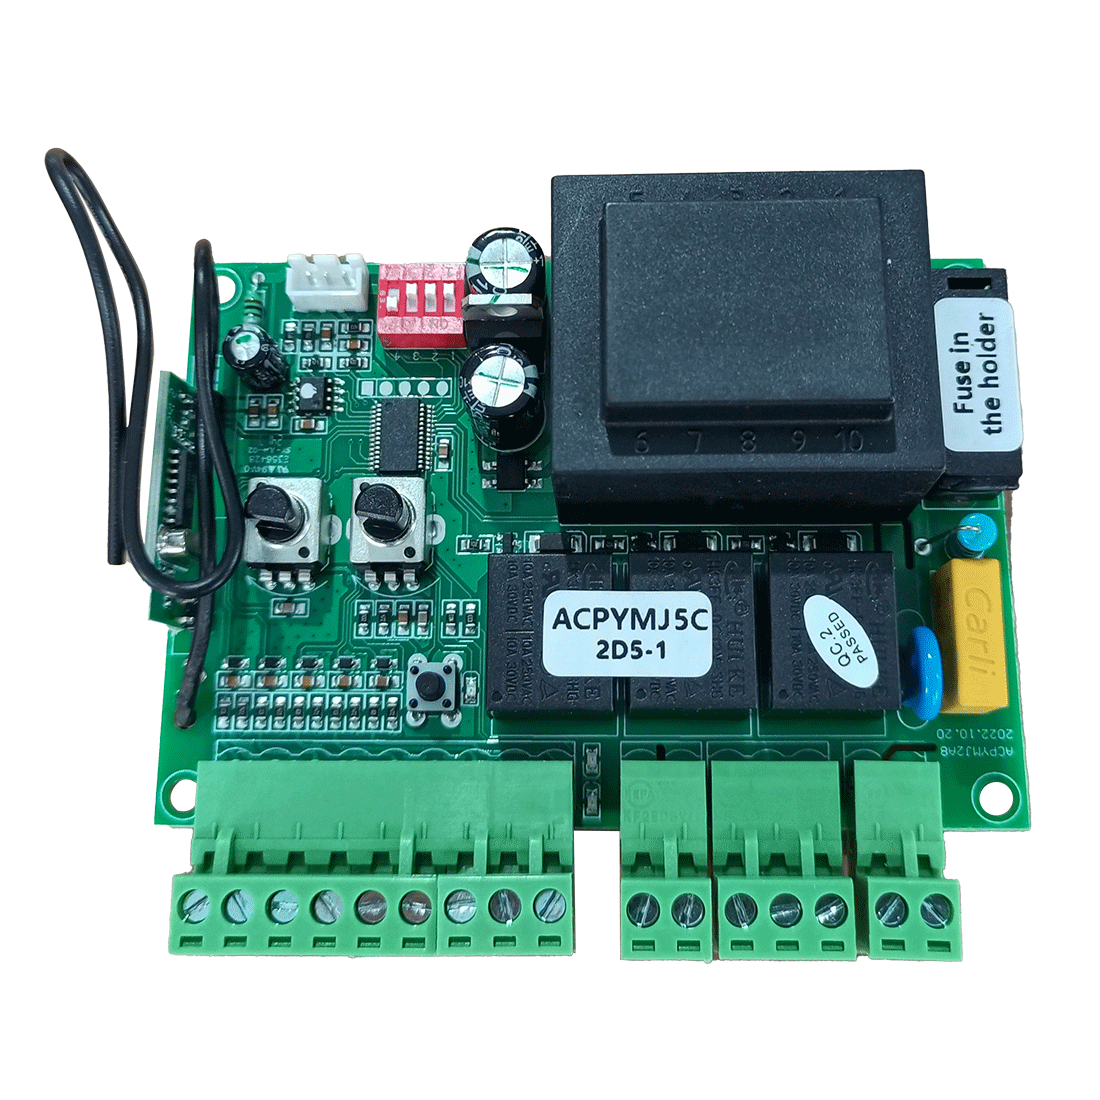
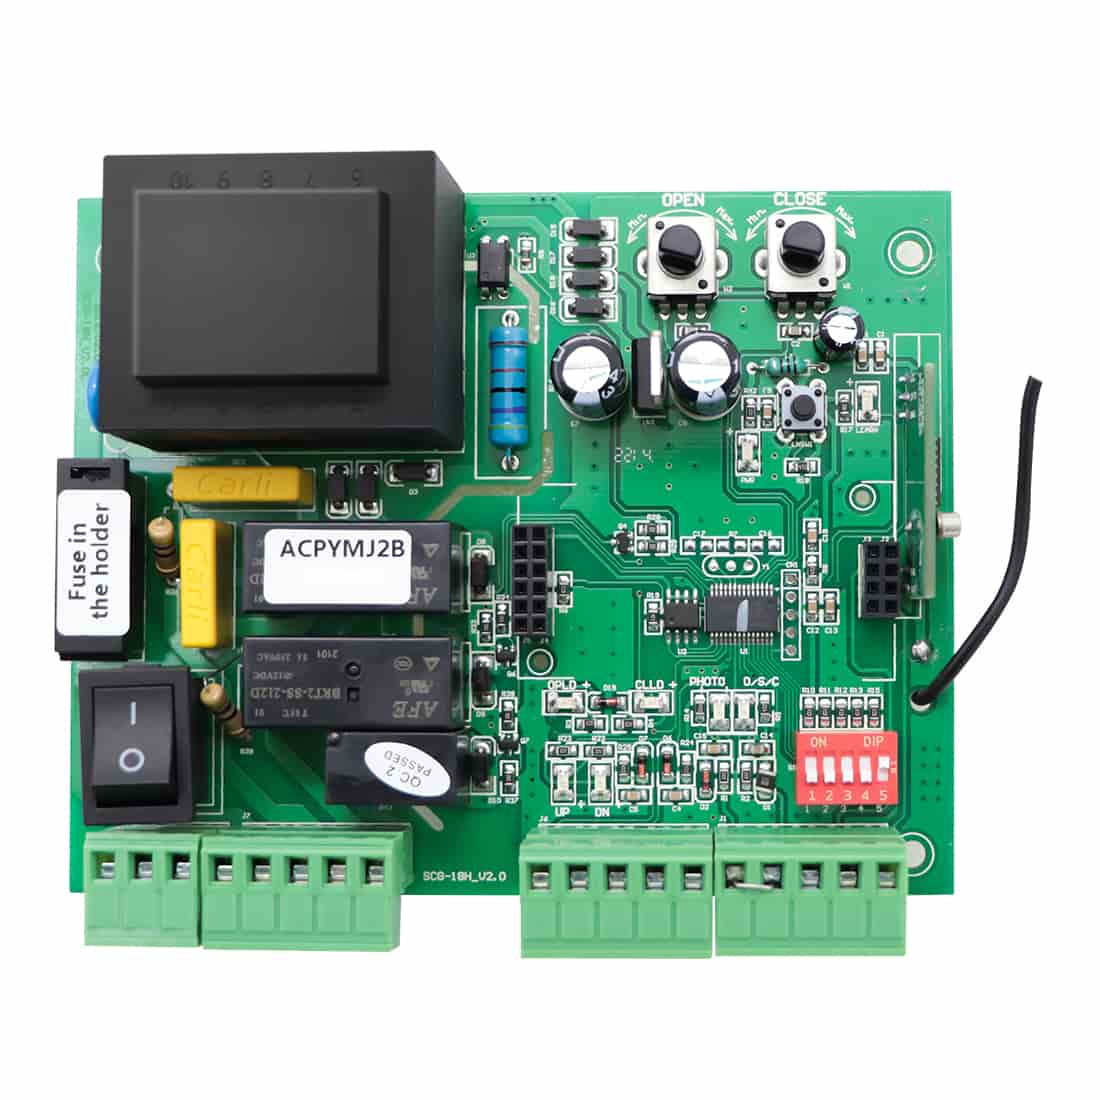
The fuse on a gate opener control board protects the electrical system from power surges and excessive current. When the current exceeds the fuse's rated capacity, the fuse blows, breaking the circuit and protecting critical components such as the control board, transformer, motor, wiring, and connected accessories from damage.
A fuse that blows once may simply be the result of a temporary power surge. However, if the fuse blows repeatedly—especially each time the opener is activated—it indicates an underlying electrical or mechanical fault that must be diagnosed before replacing the fuse again.
Common Causes of a Blown Fuse
- Short circuits in the wiring or connected accessories
- Motor overload caused by excessive mechanical resistance
- Internal motor failure or electrical shorts
- A faulty control board or transformer
- An incorrect fuse type or amperage
The most effective way to pinpoint the root cause is to isolate and test each part of the system systematically.
1. Before You Begin
Before performing any diagnostic steps, complete the following preliminary checks:
Safety First: Always disconnect the power supply before handling or modifying any wiring connections.
Verify the Fuse Rating: Ensure the replacement fuse matches the exact amperage and type specified in your gate opener manual.

Inspect the Wiring: Check all wiring connections for exposed copper, frayed insulation, loose terminals, or signs of moisture.
Once these checks are complete, proceed to the appropriate diagnostic procedure for your gate opener below.
2. Troubleshooting Procedures
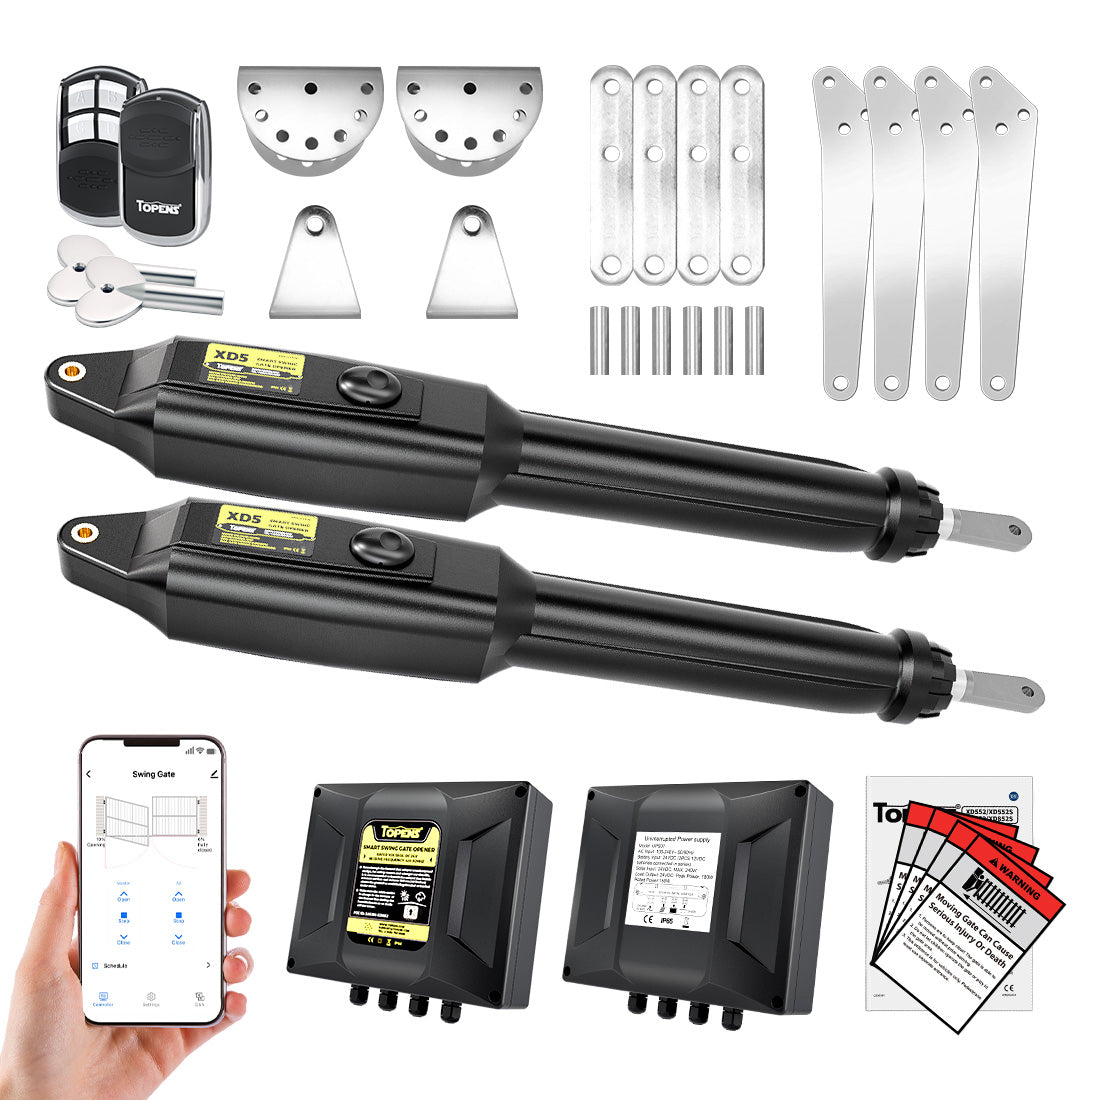
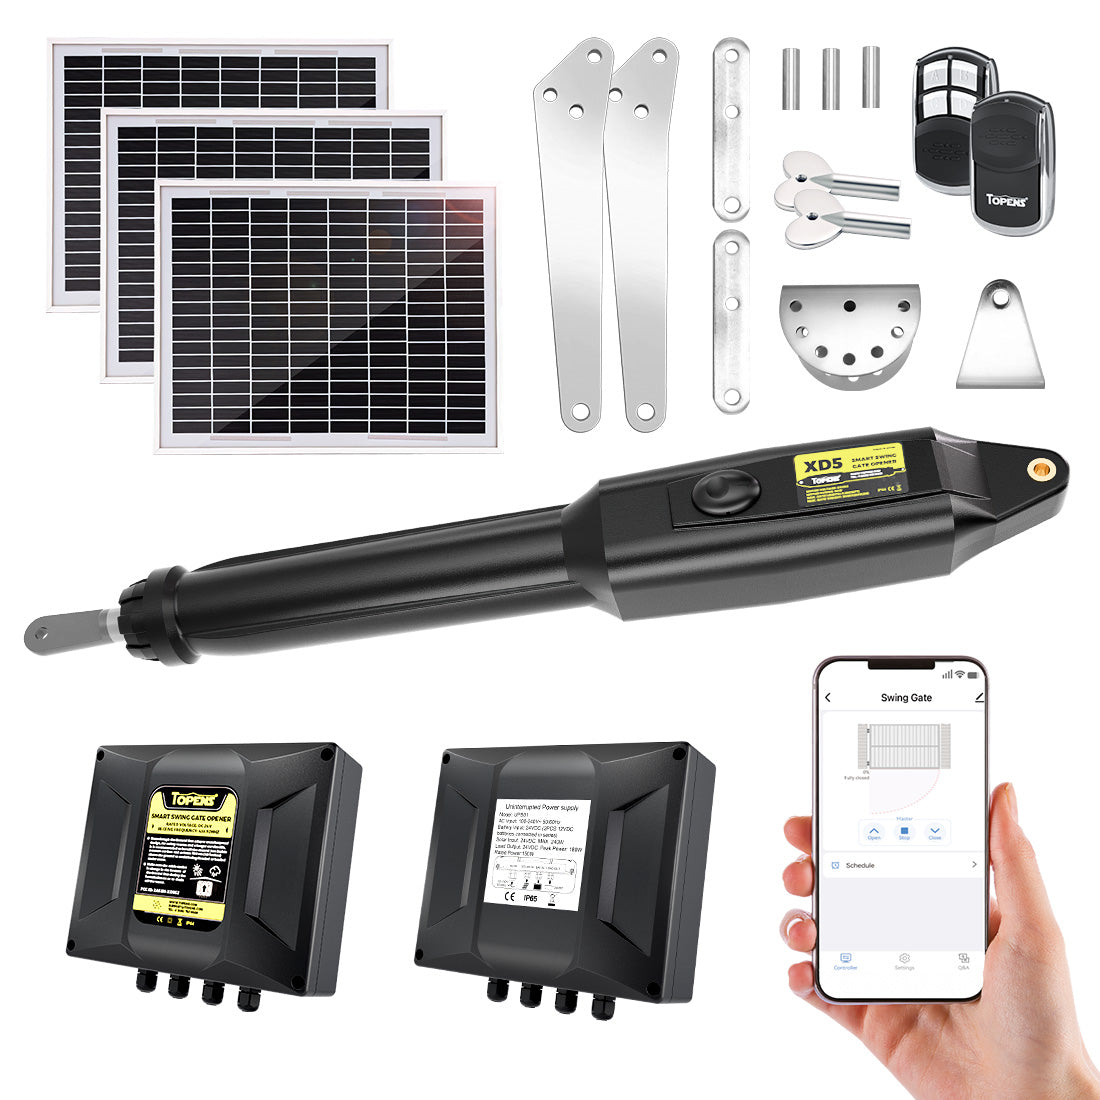
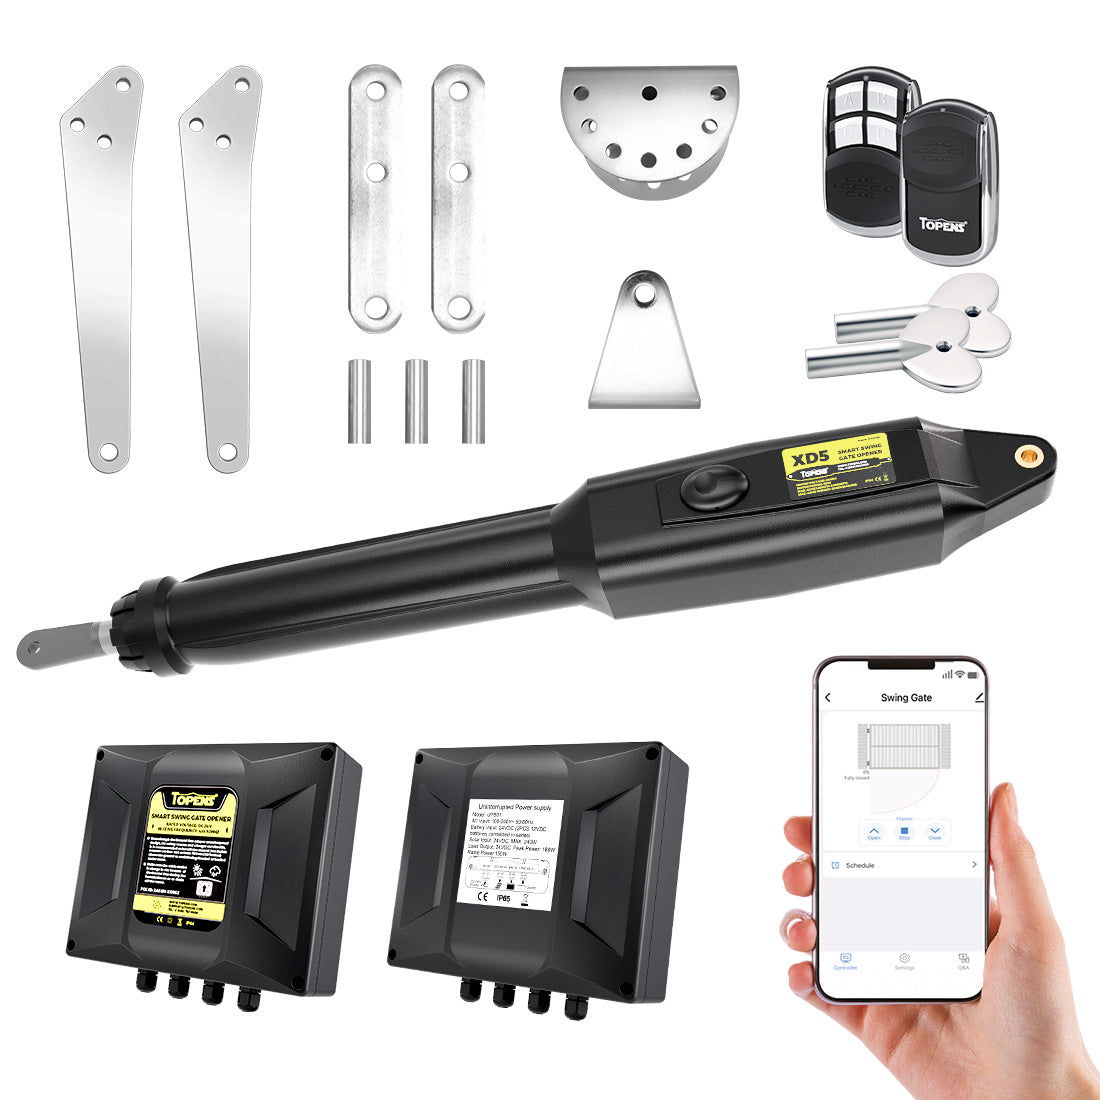
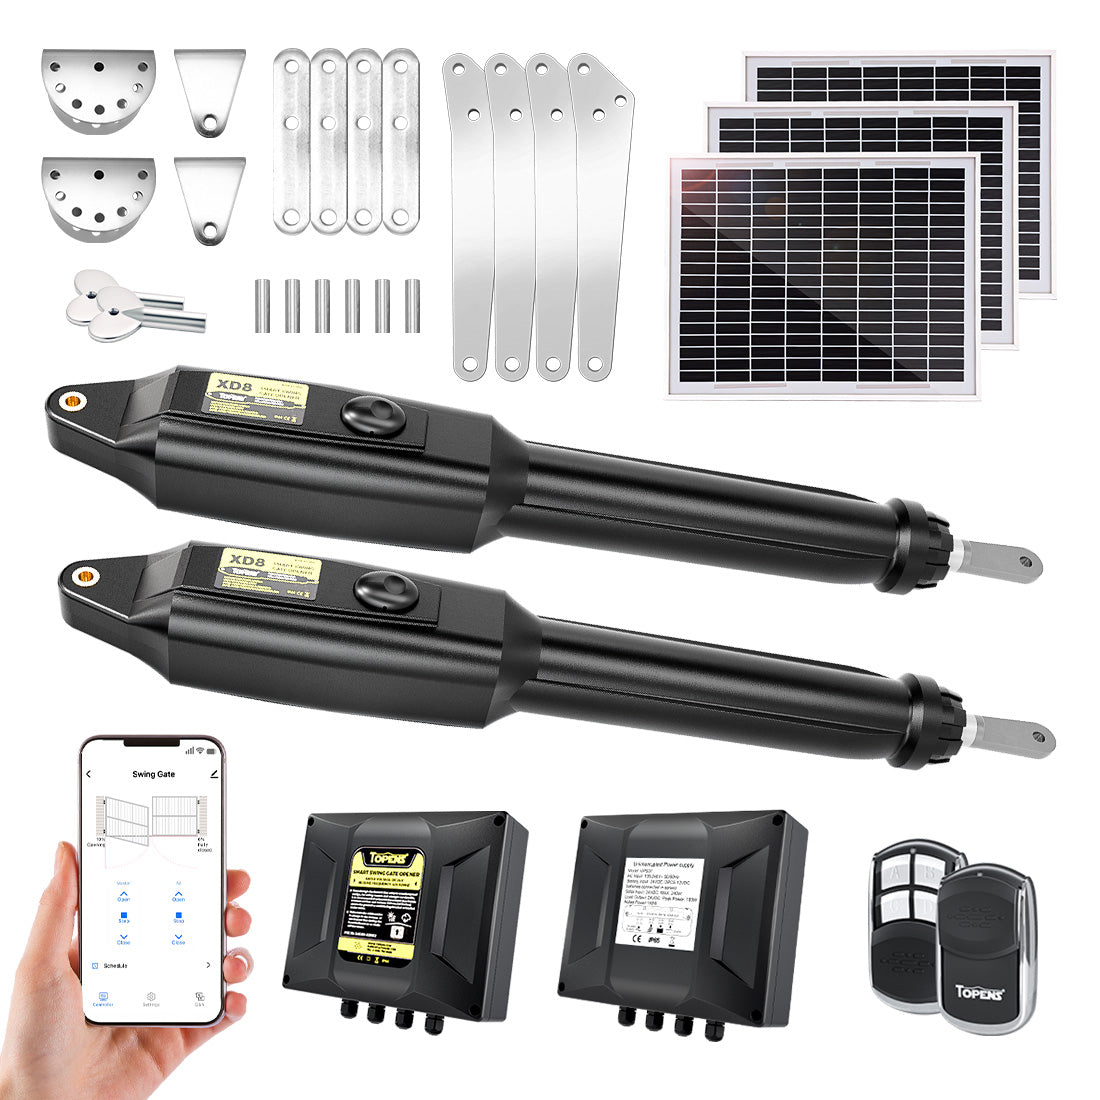
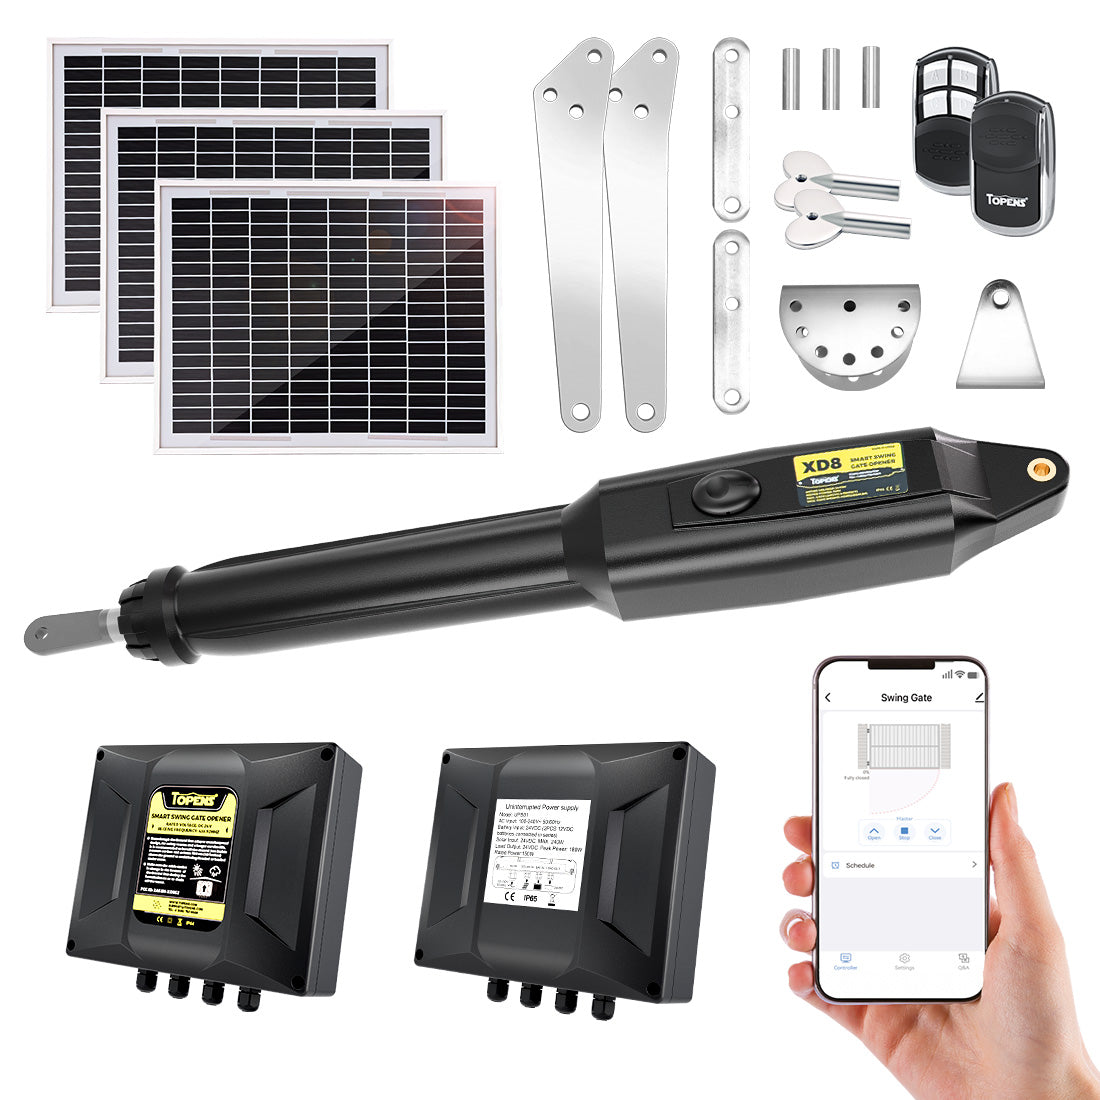
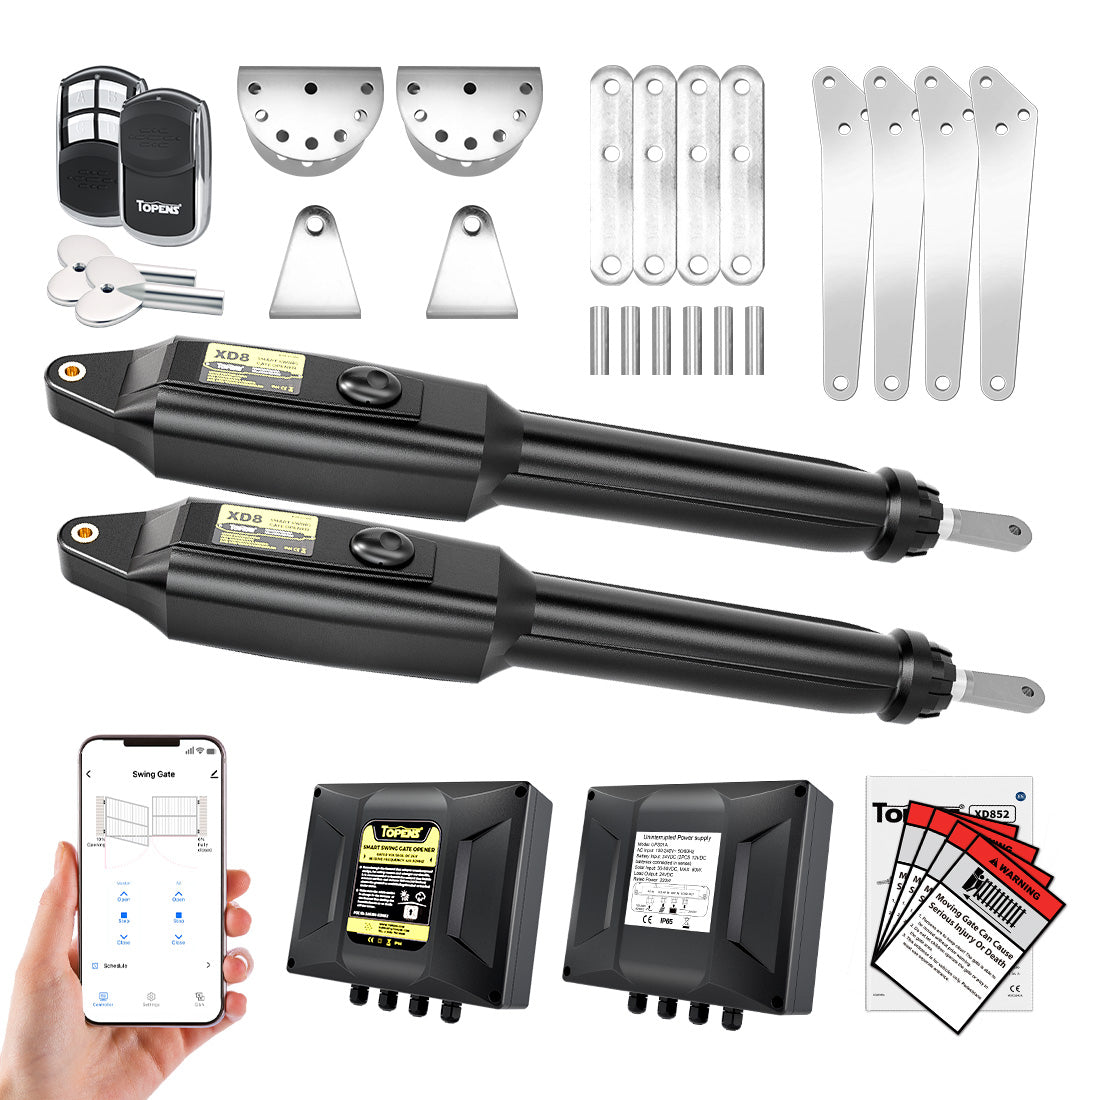
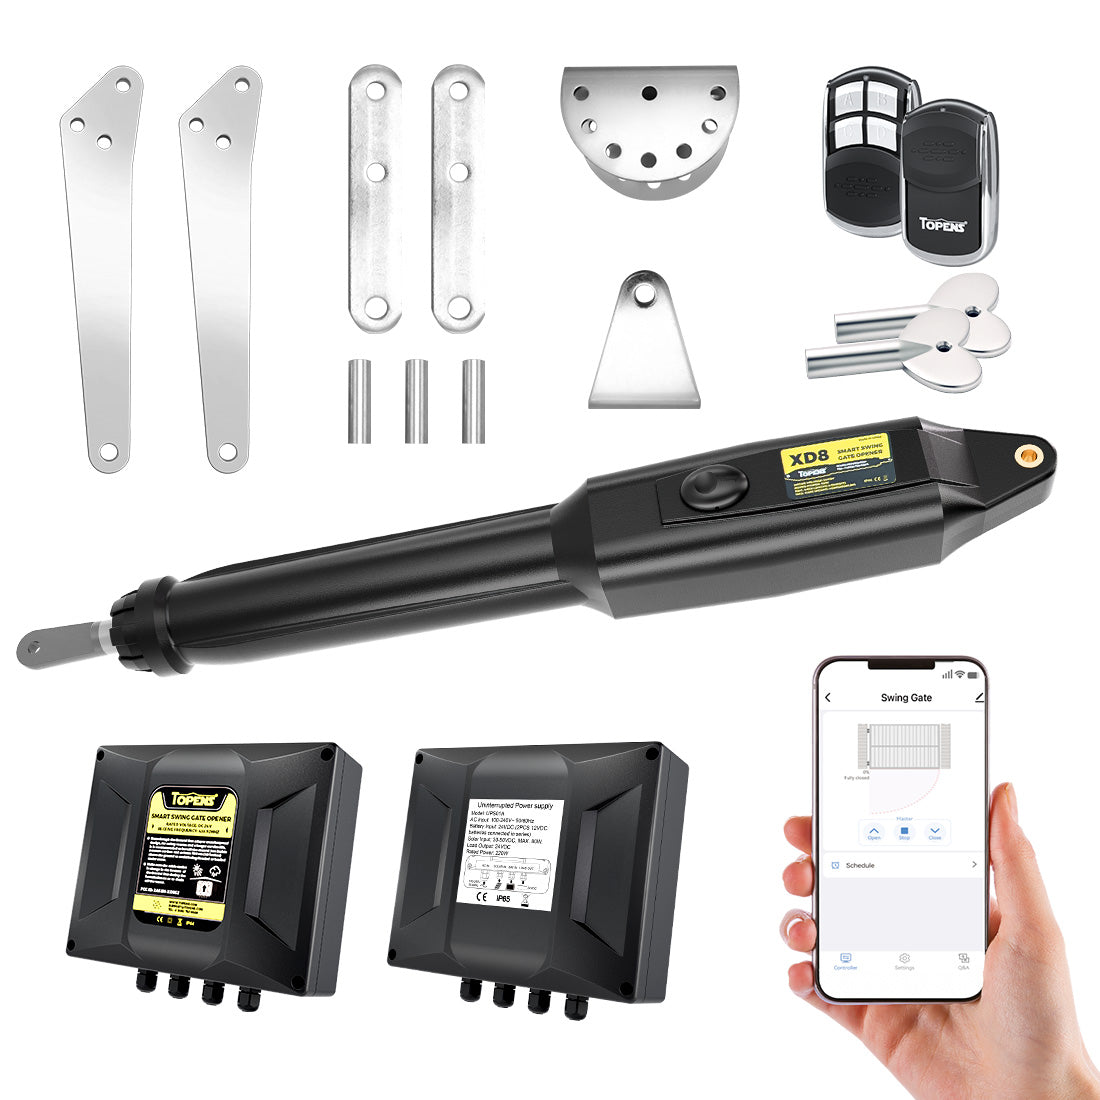
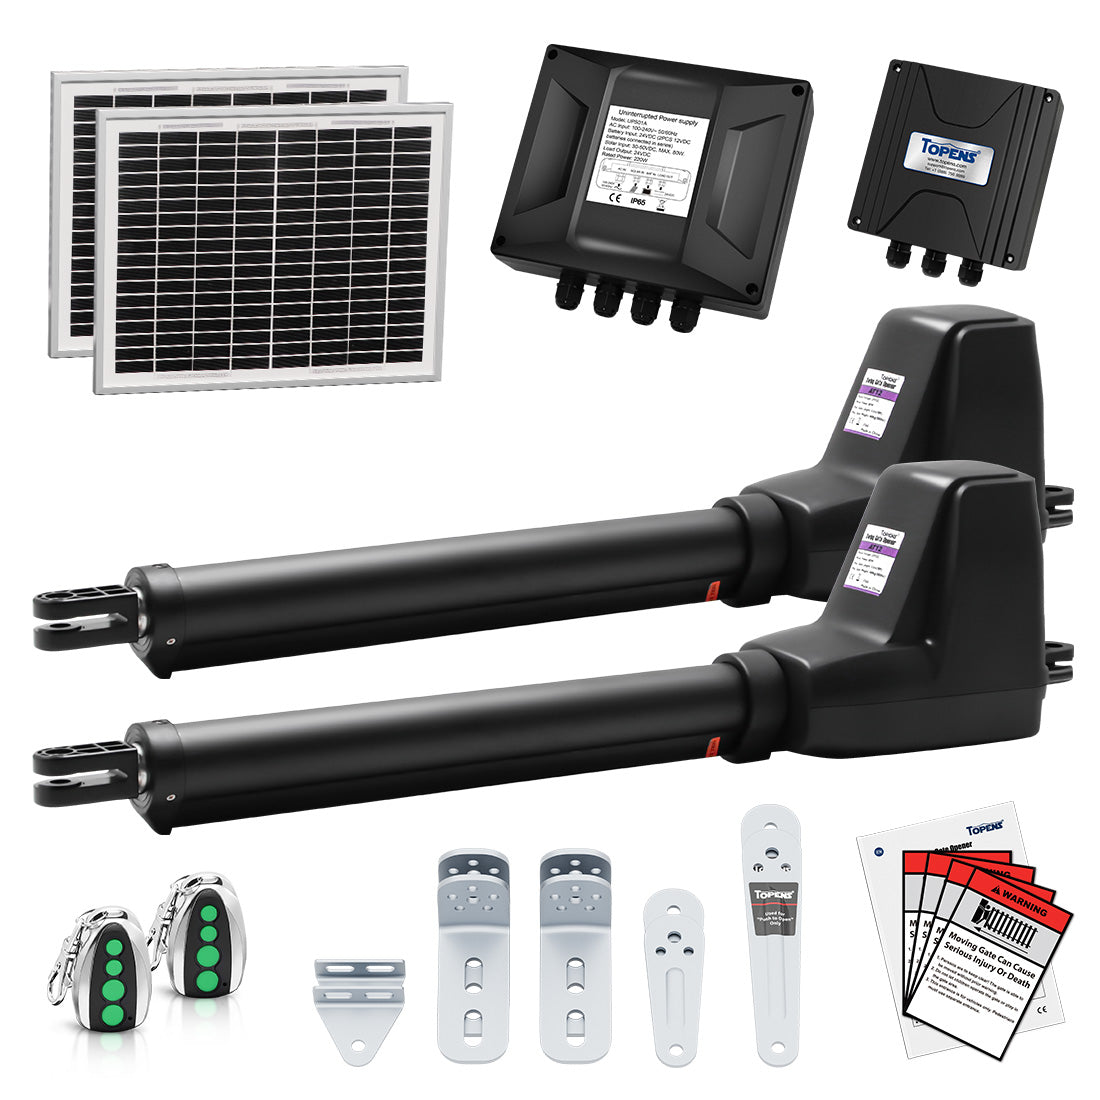
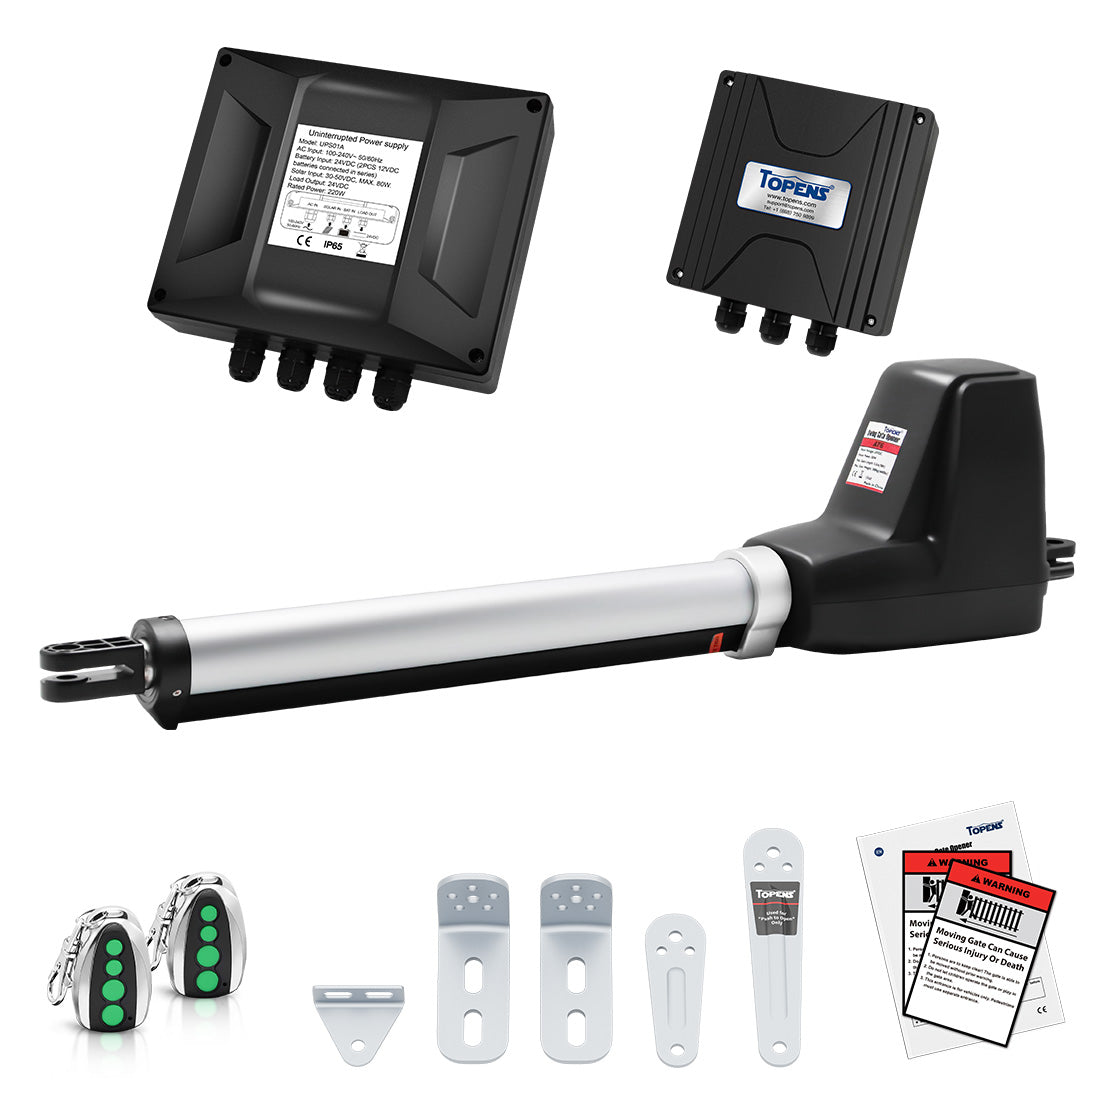
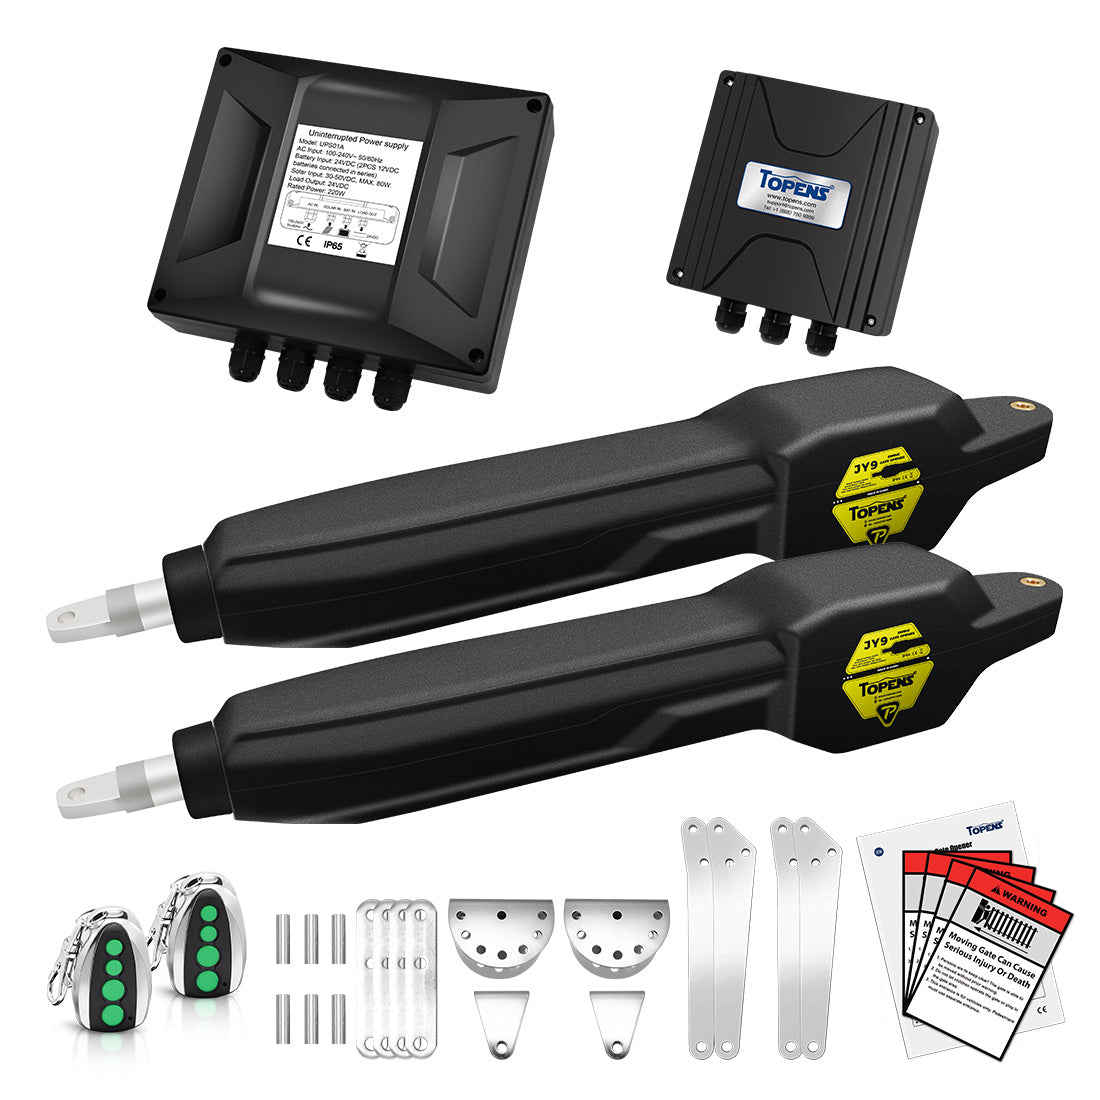
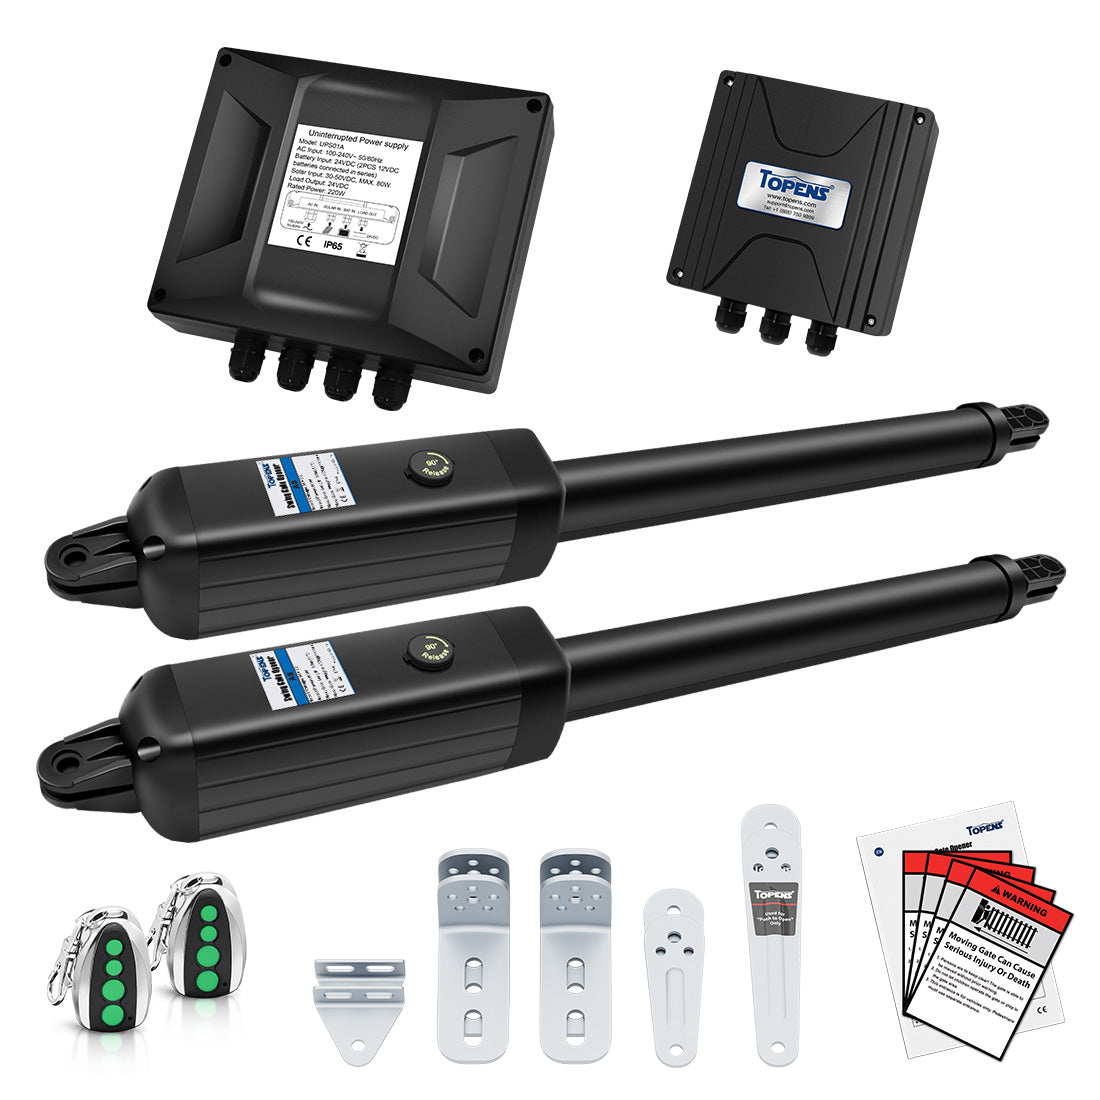
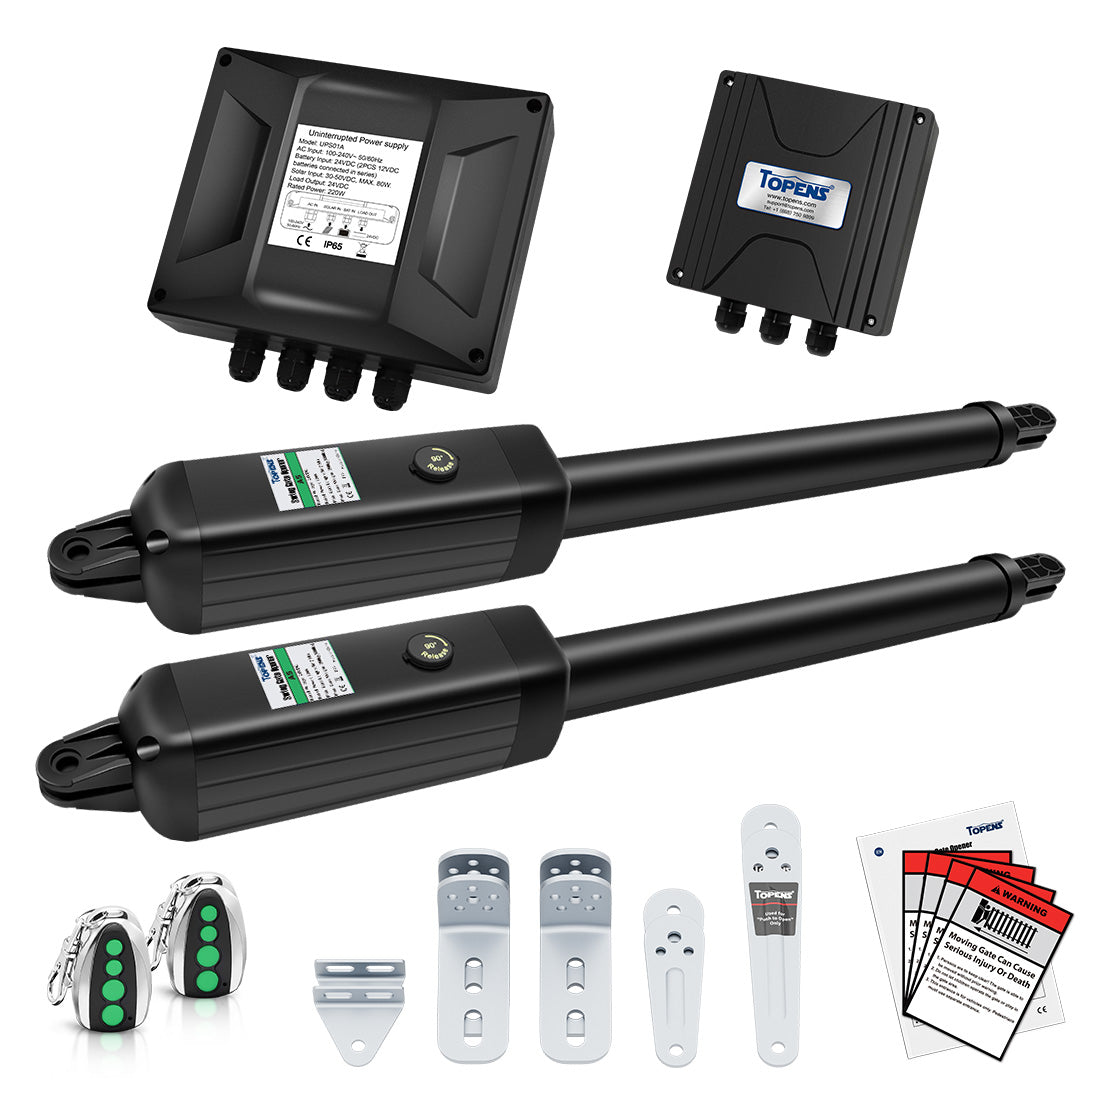
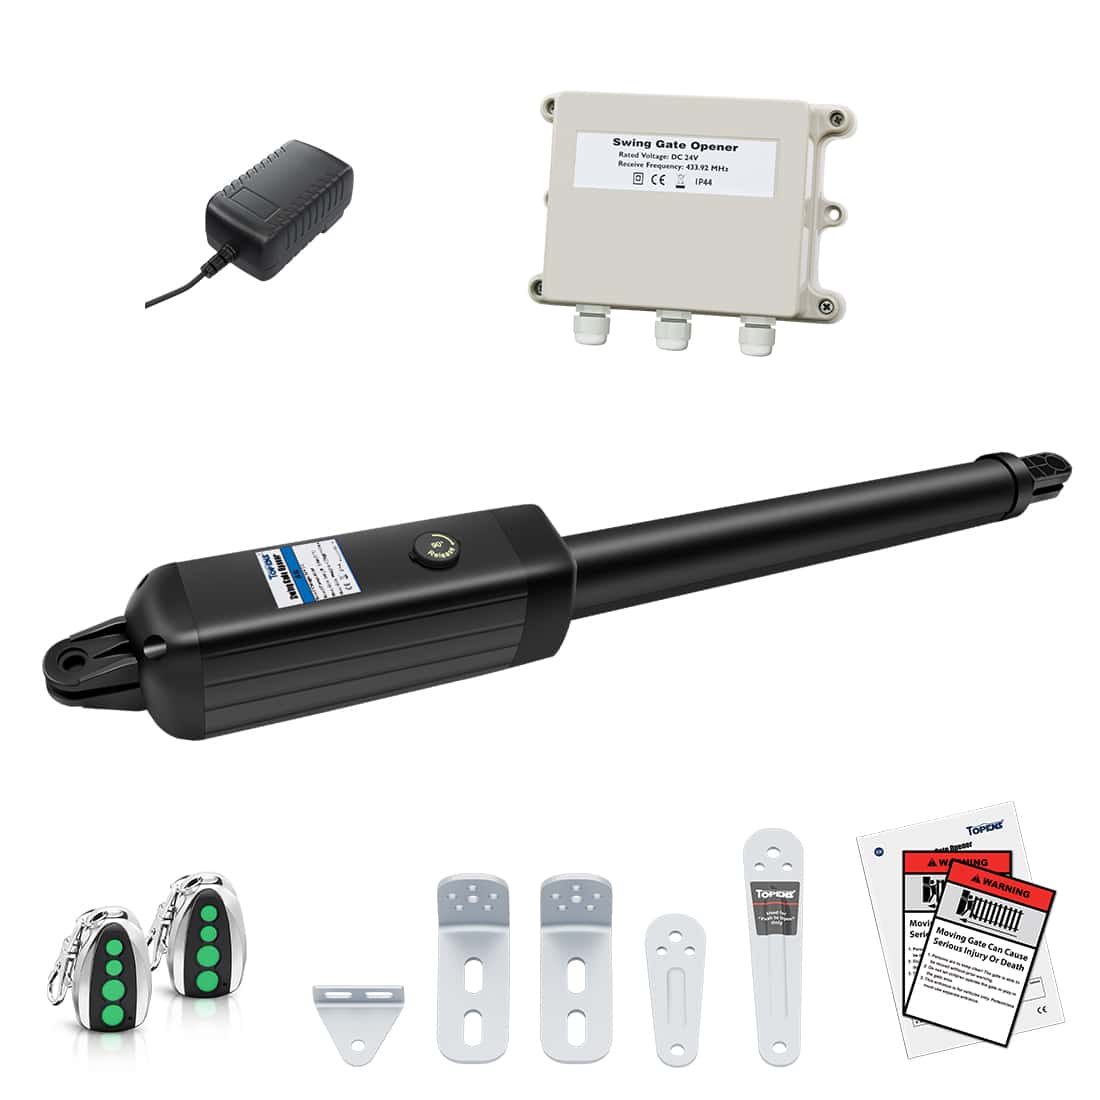
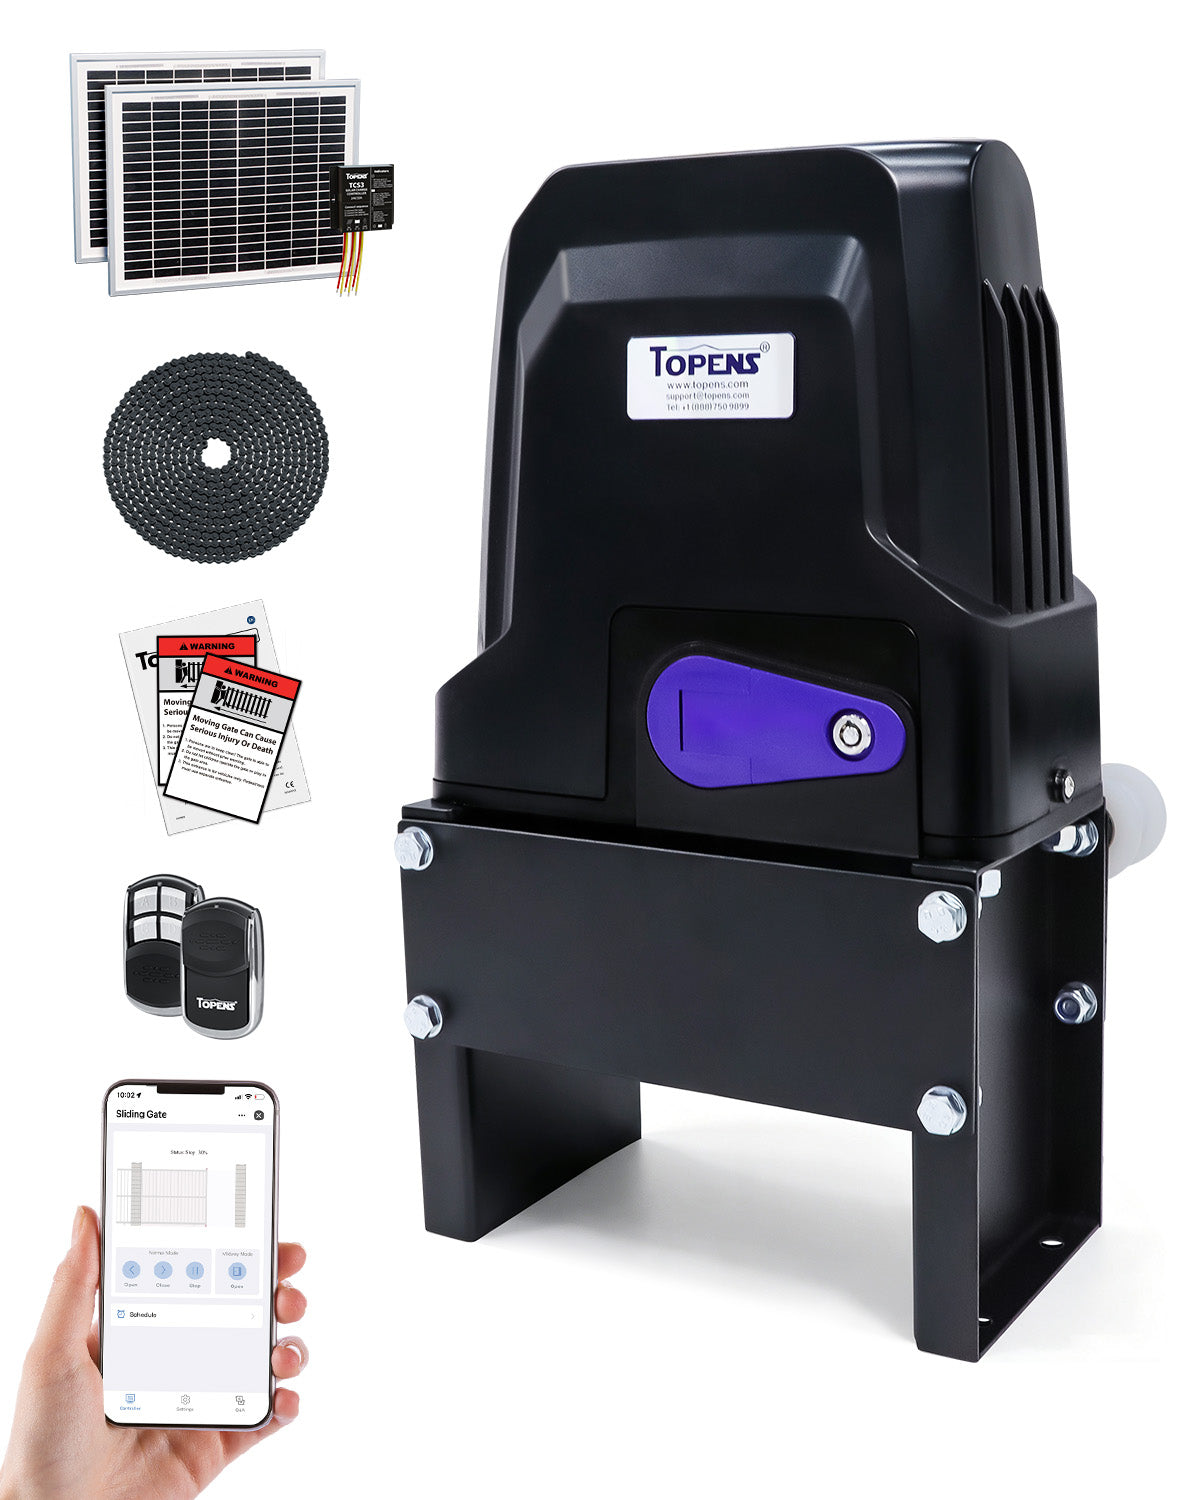
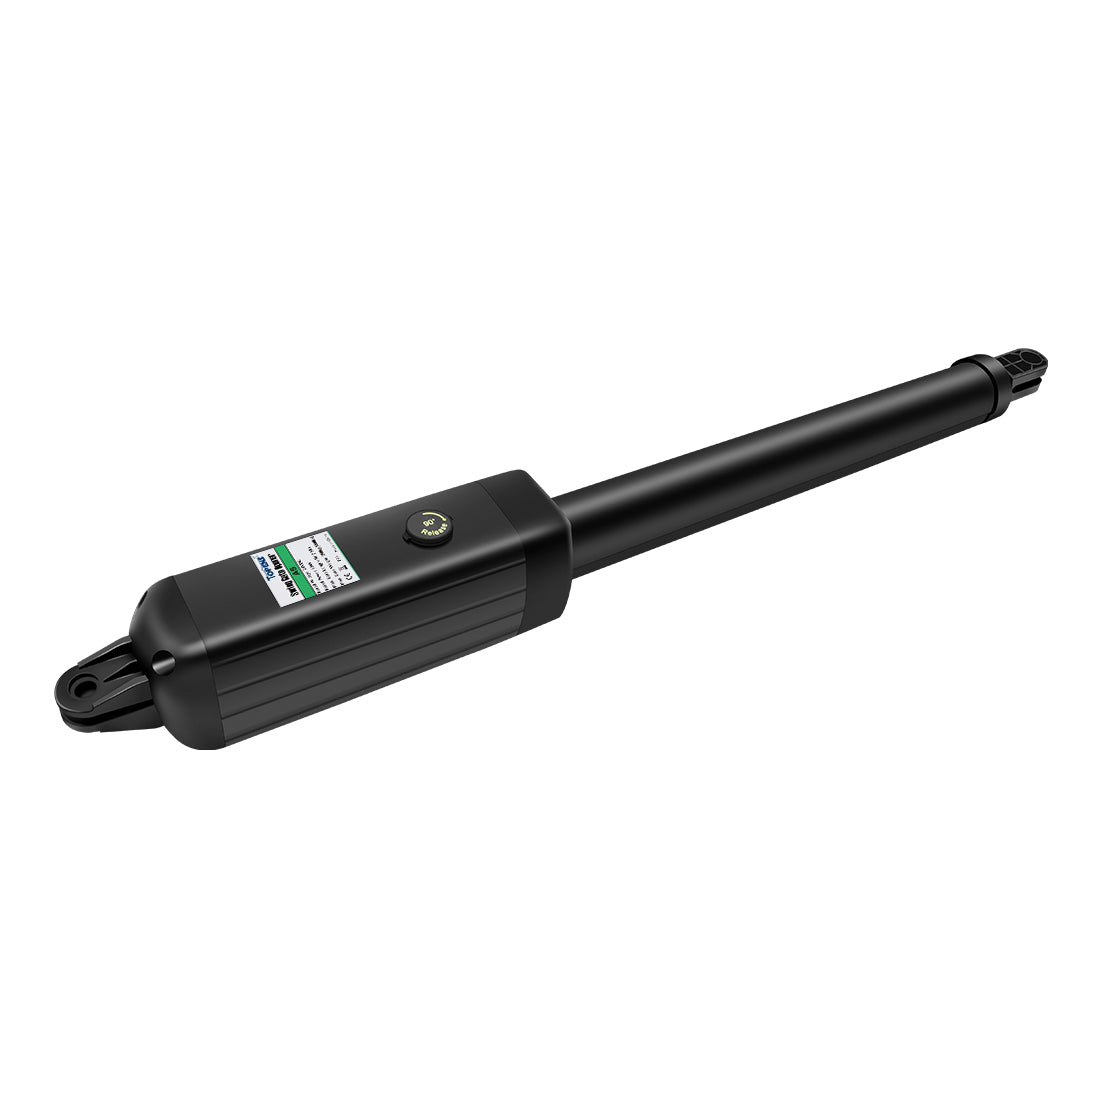
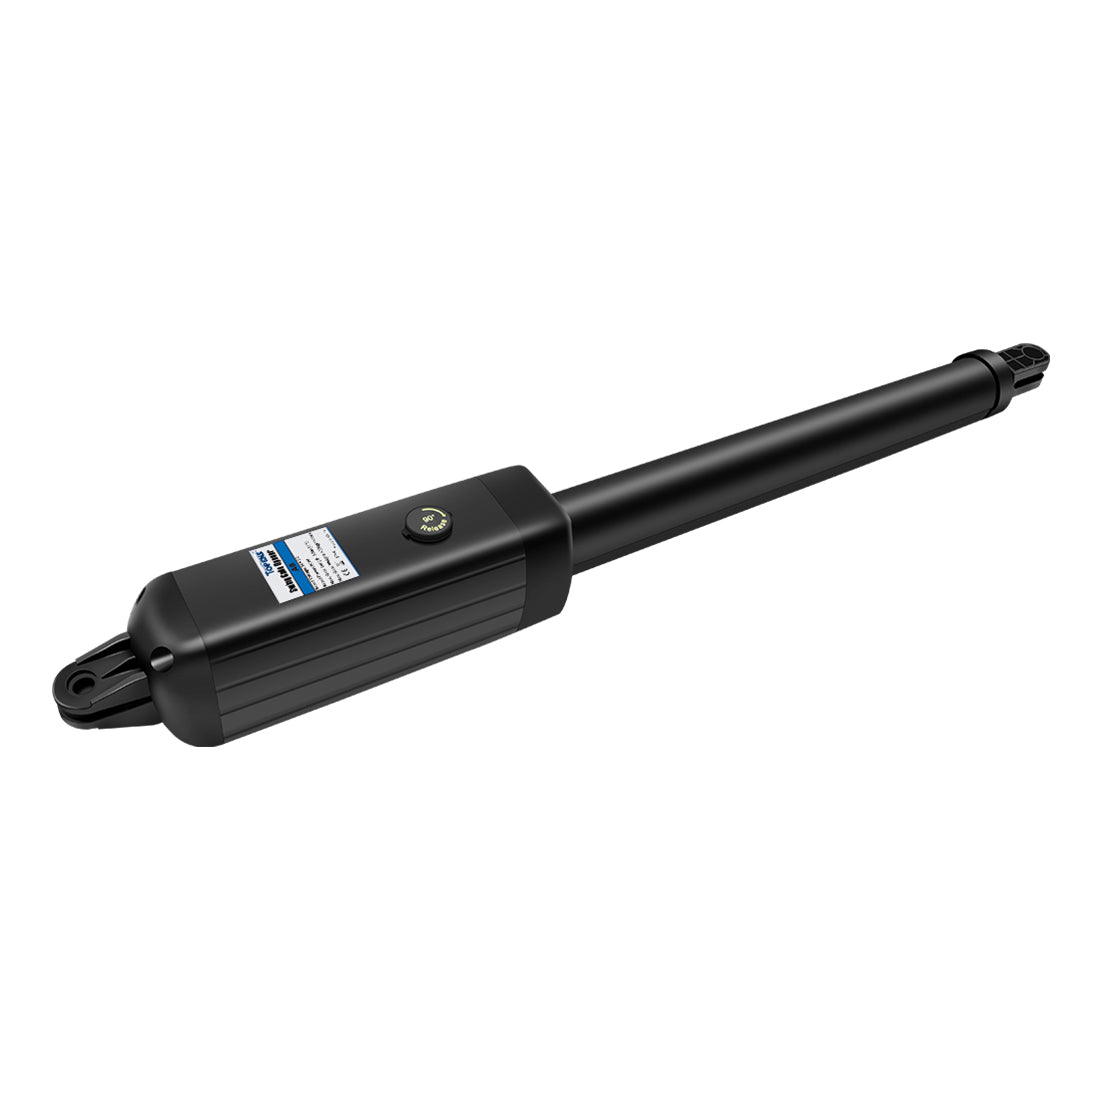
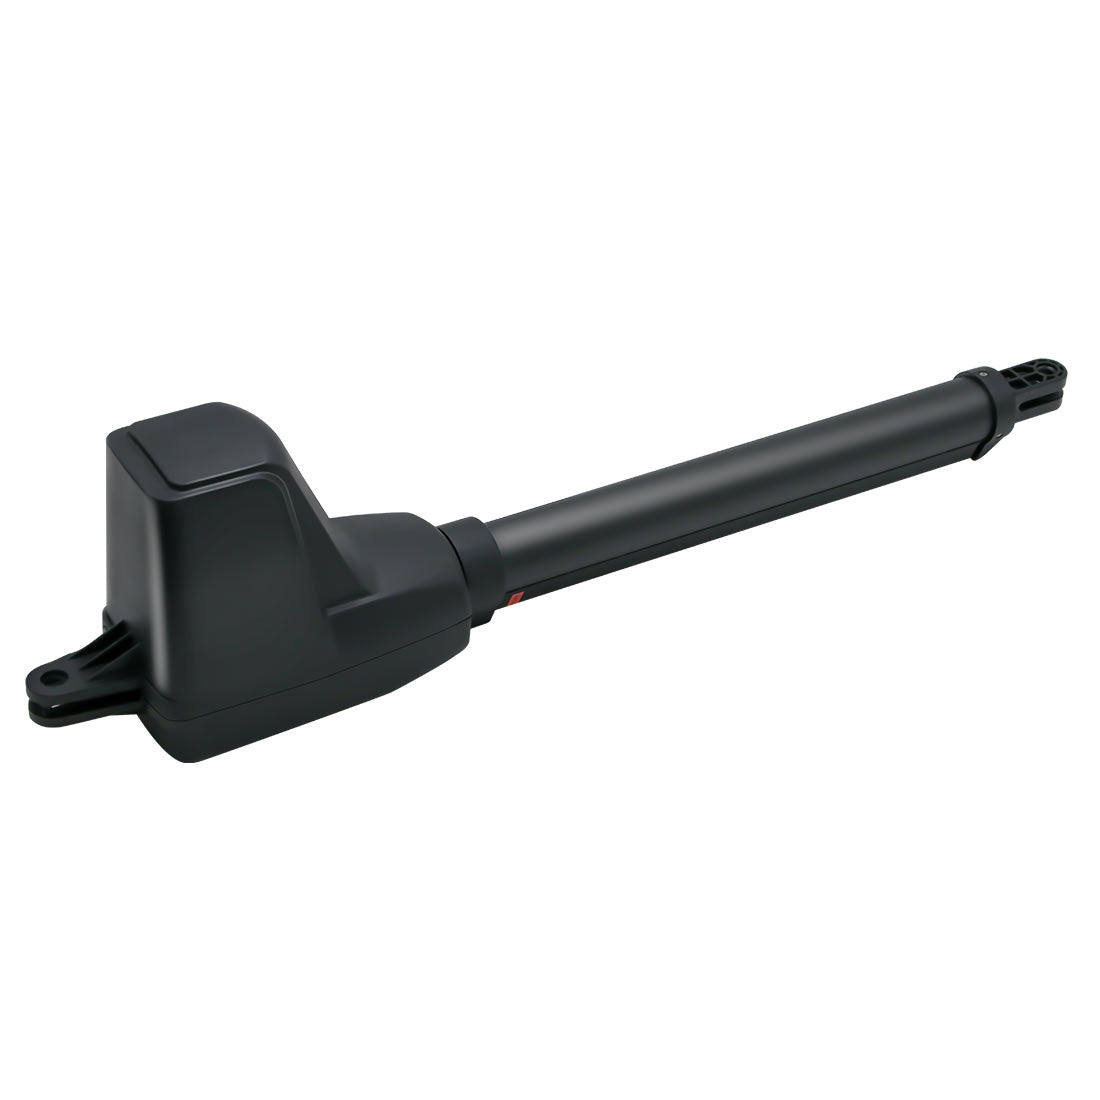
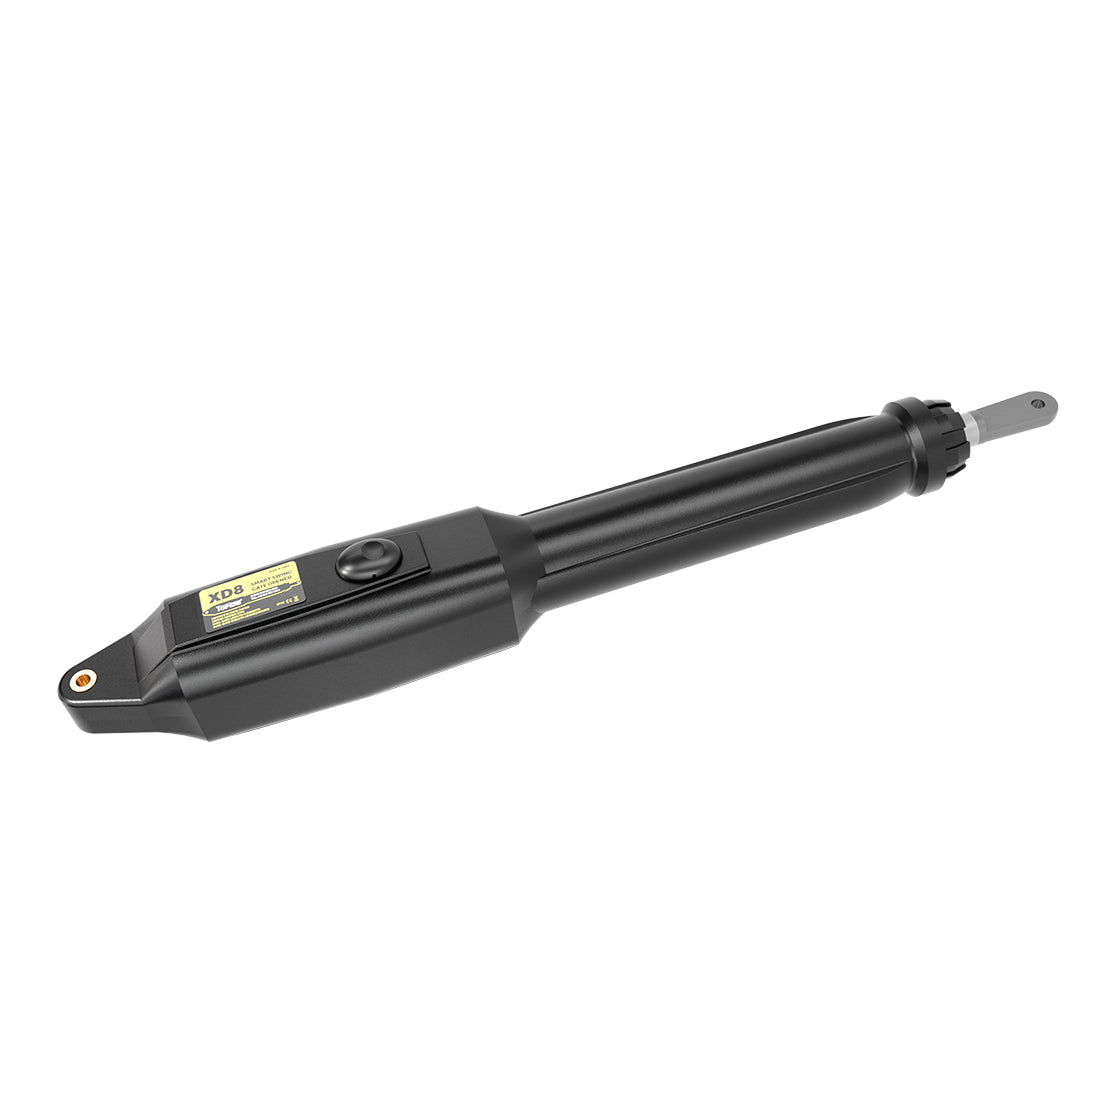
Although TOPENS swing and sliding gate openers use different drive mechanisms, the diagnostic process follows the same logical approach: isolate the control board, test the motor, evaluate the gate under mechanical load, and finally reconnect external accessories one by one to pinpoint the issue.
For TOPENS Swing Gate Openers
Step 1: Isolate the Control Board
1) Disconnect all wired accessories and arm wires from the control board terminals, leaving only the power supply connected.
2) Press the remote control.
- If the fuse blows: The fault may lie within the power supply circuit or the control board itself. Check the output voltage of the power supply.
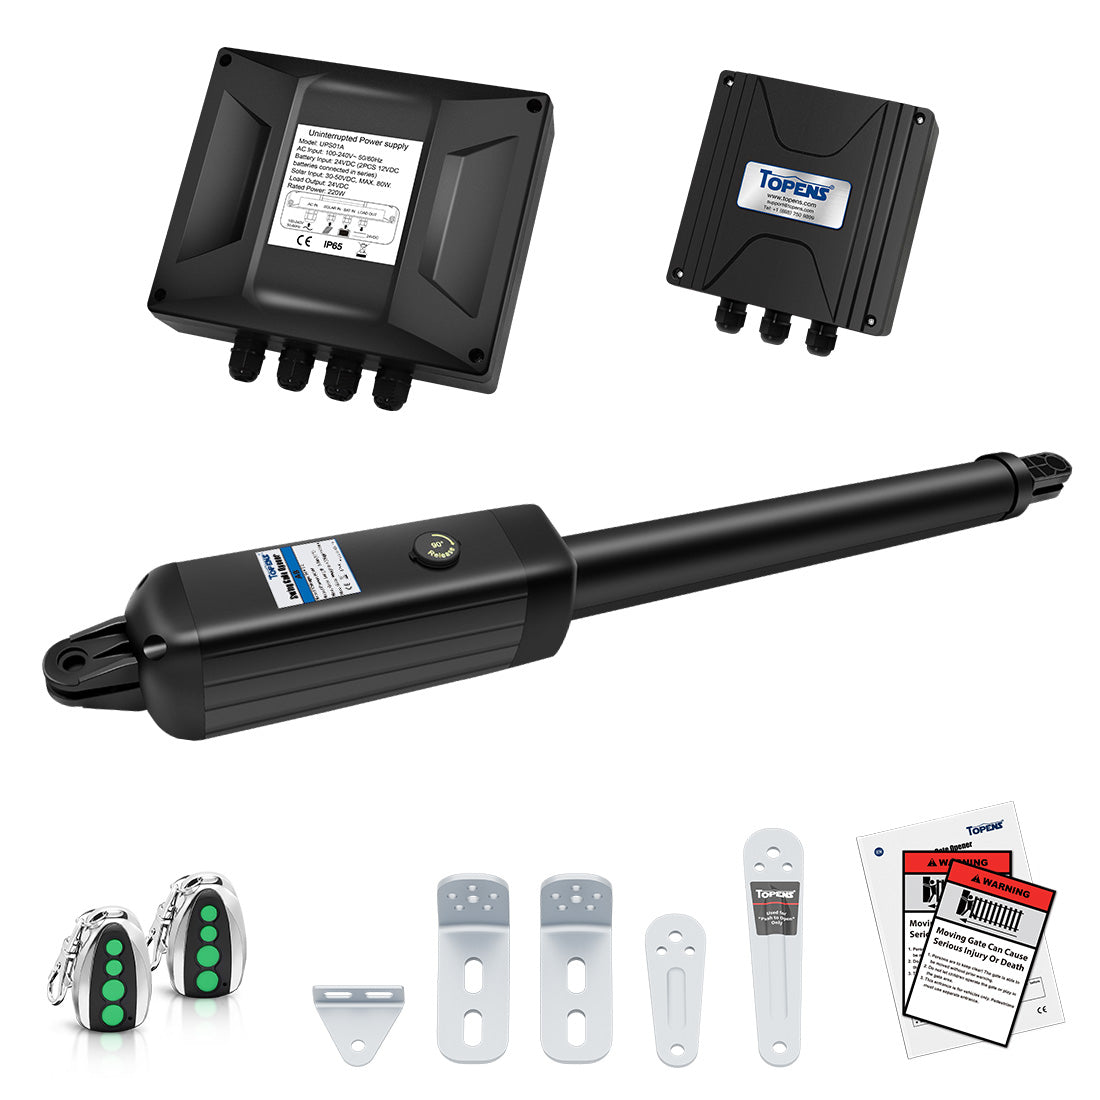
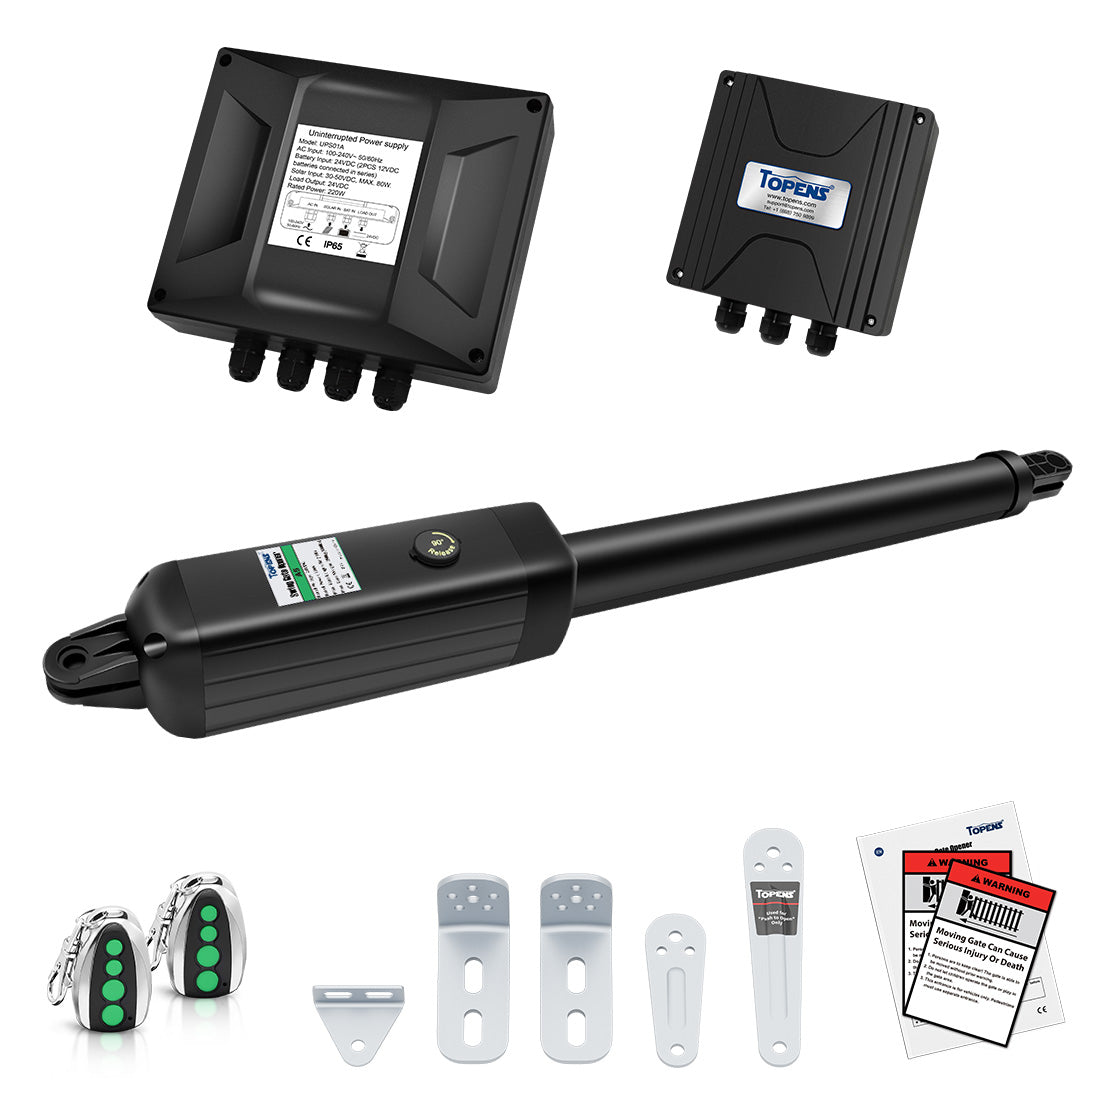
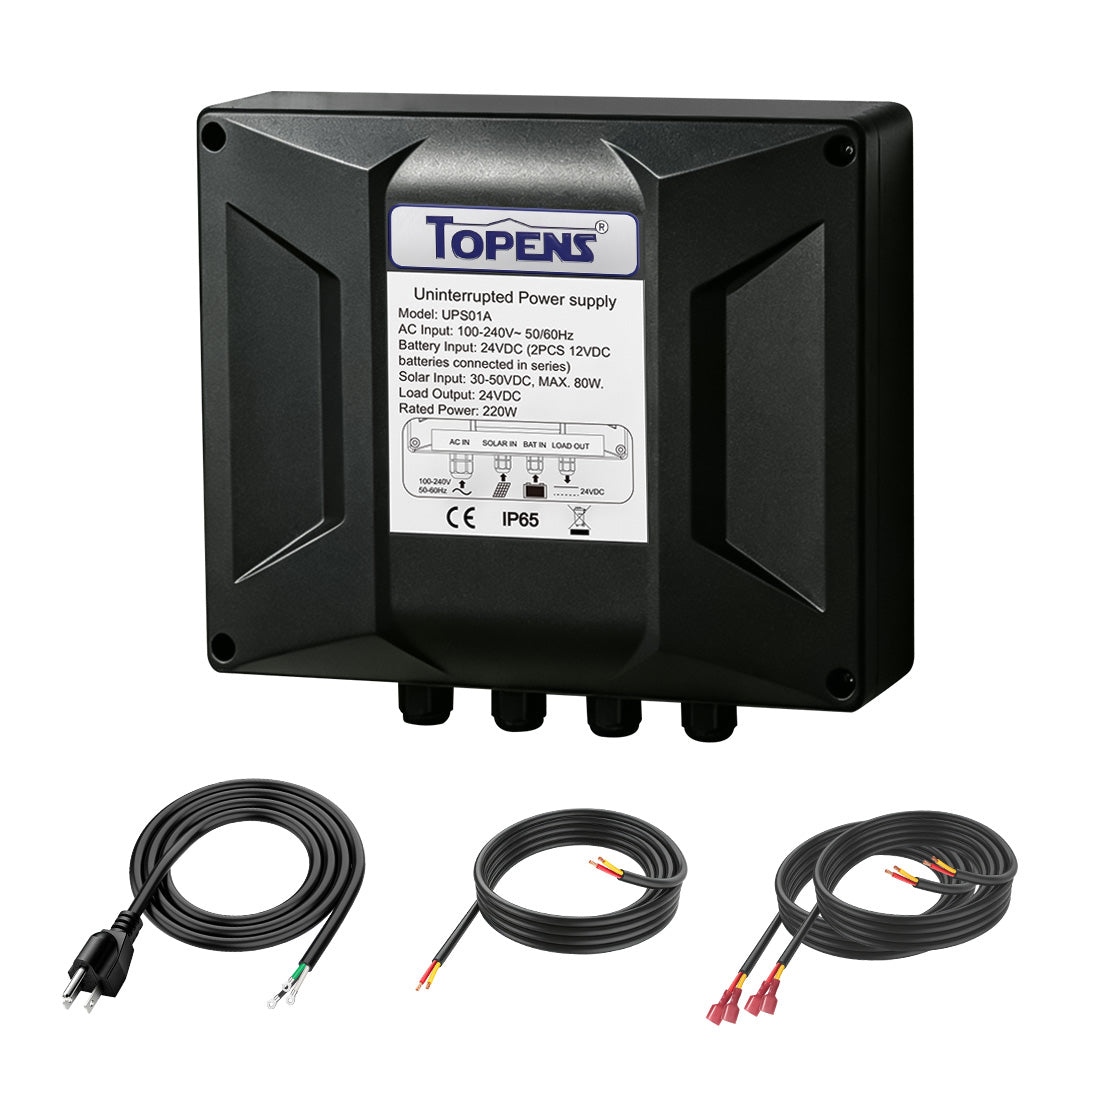
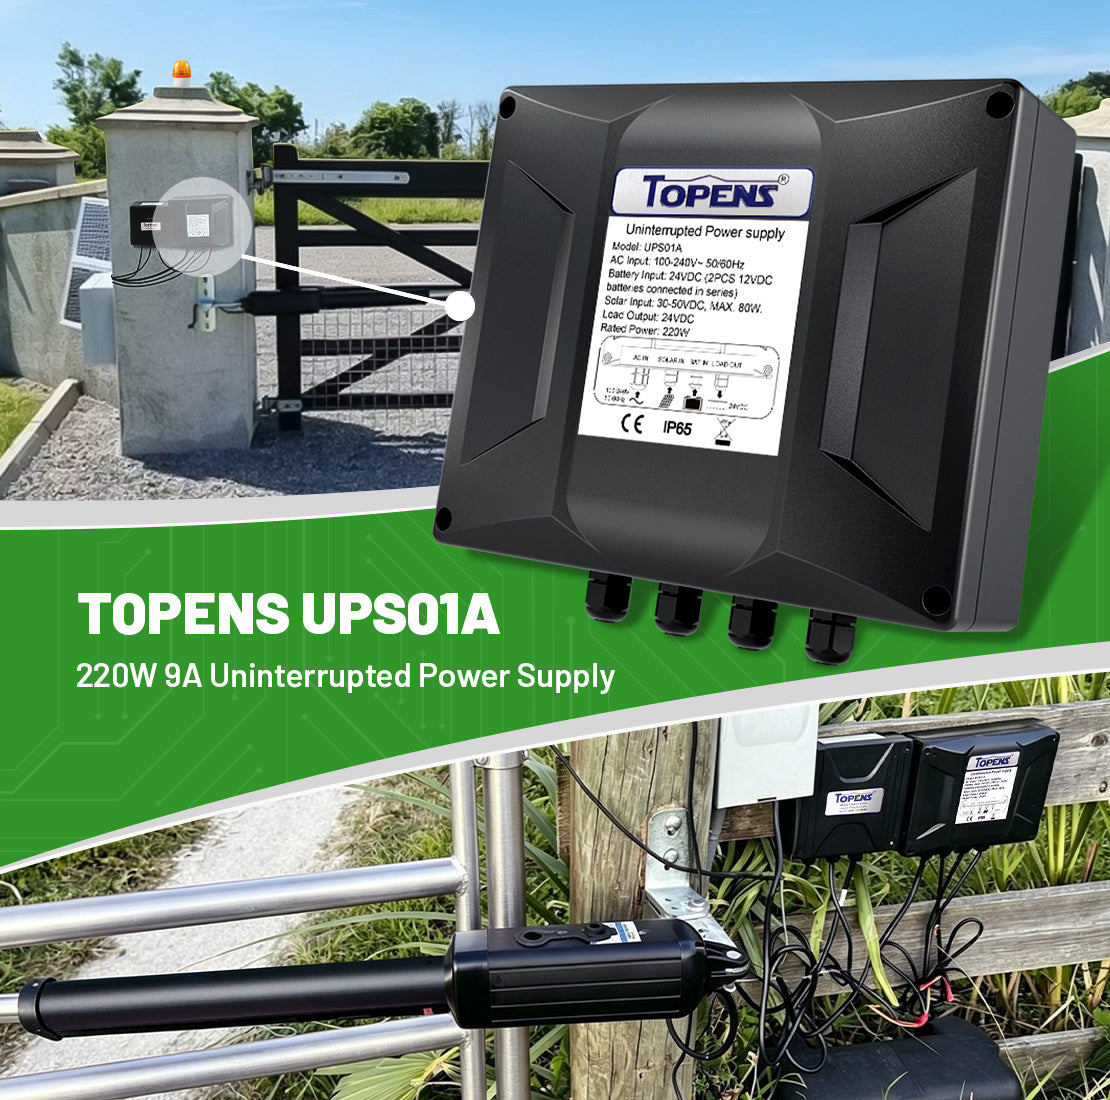
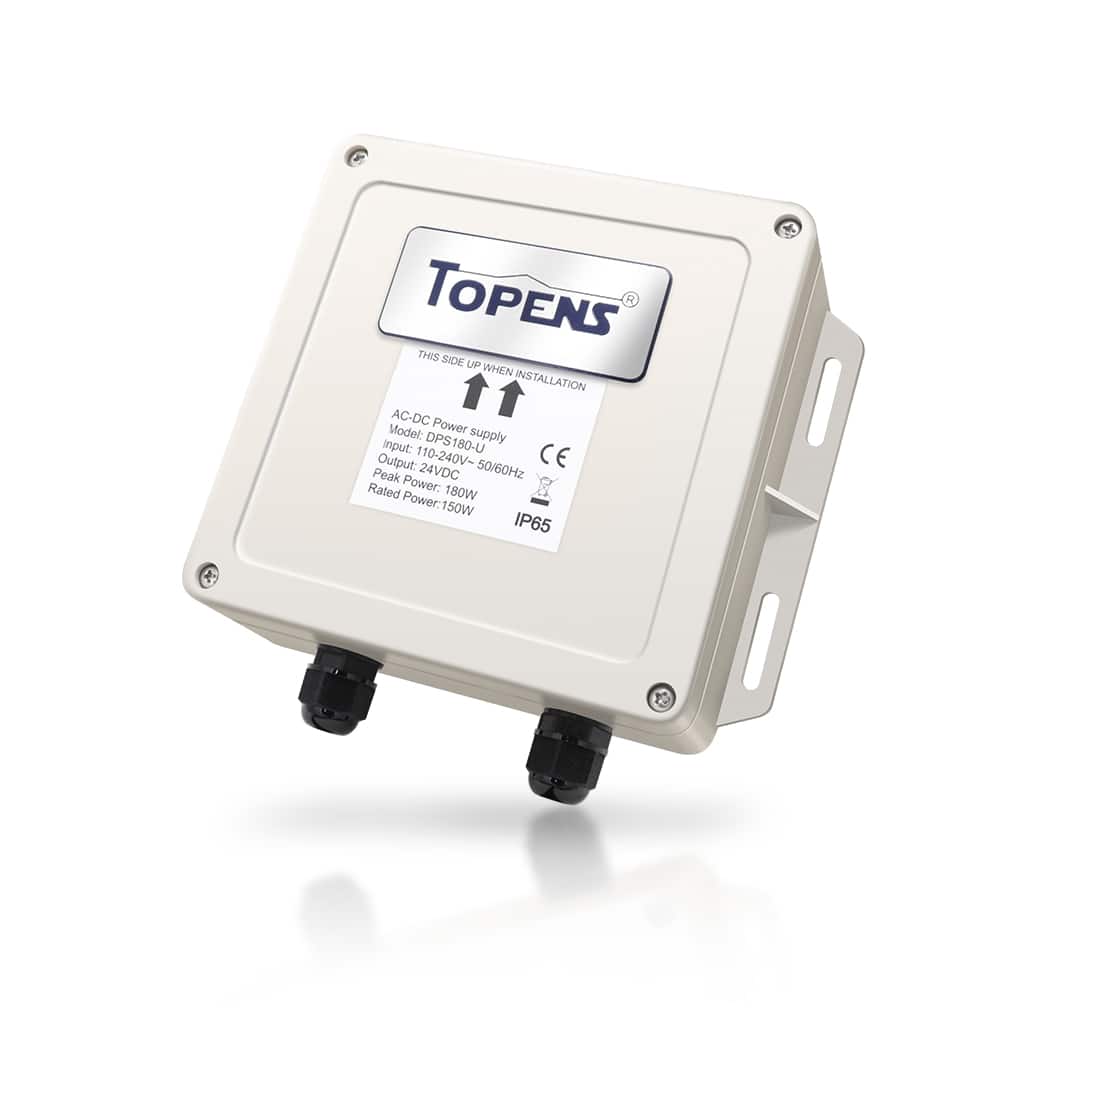
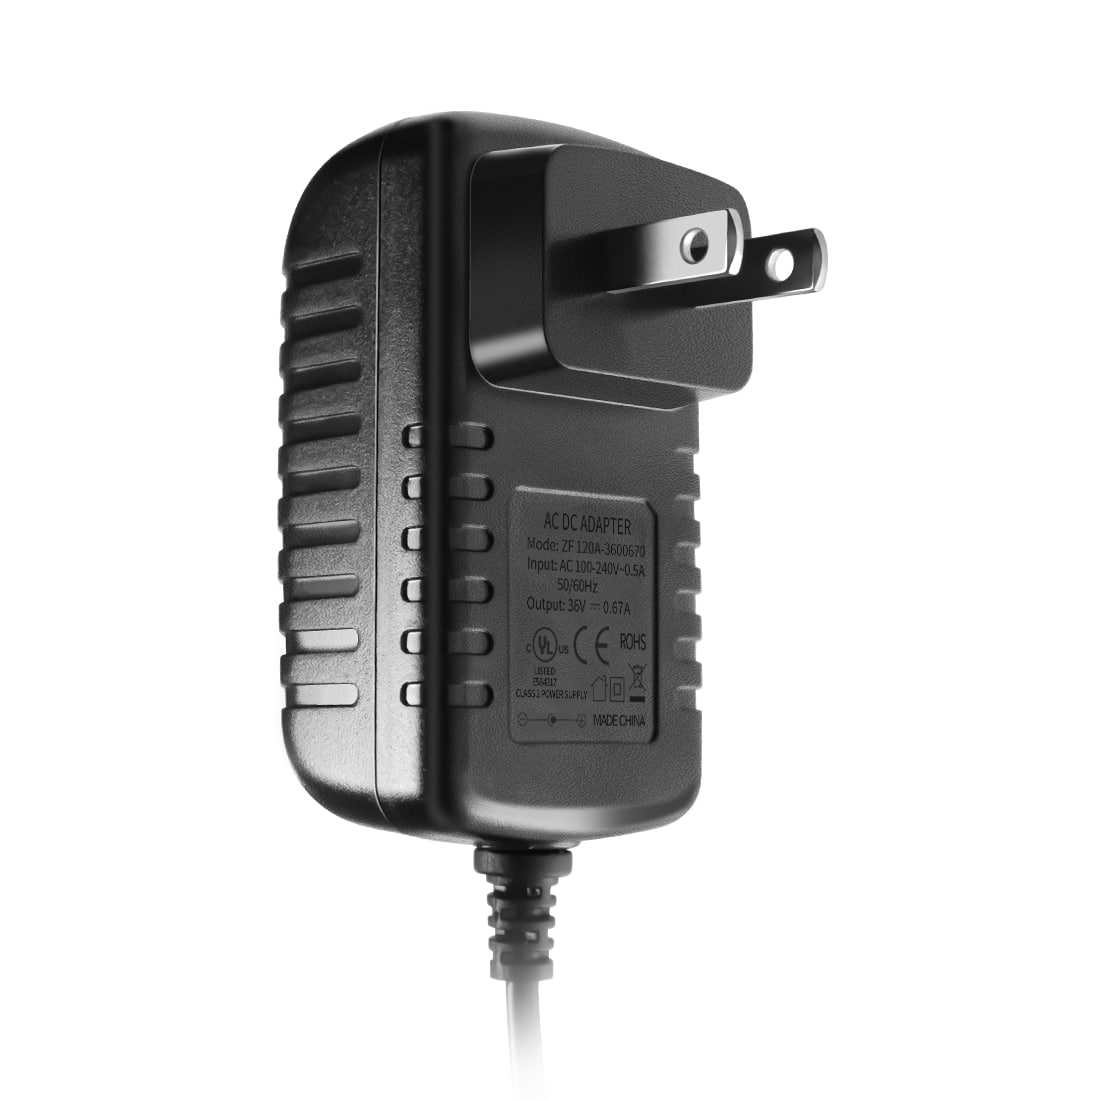
- For most TOPENS swing gate openers: If the opener is powered by an AC-DC power supply (such as the UPS01(A) or DPS180-U) or directly by a battery, the output voltage should be approximately 24VDC.
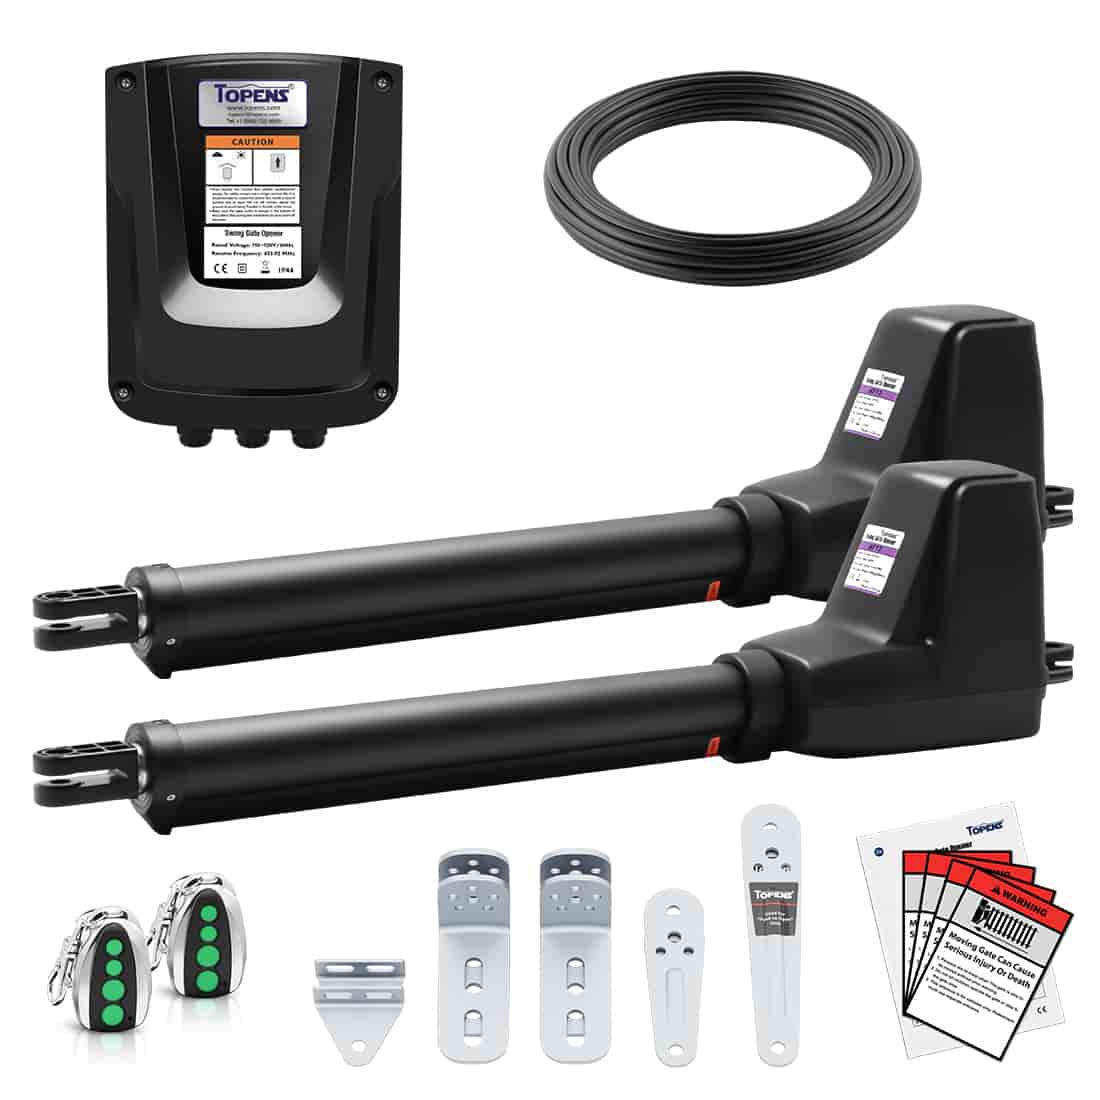
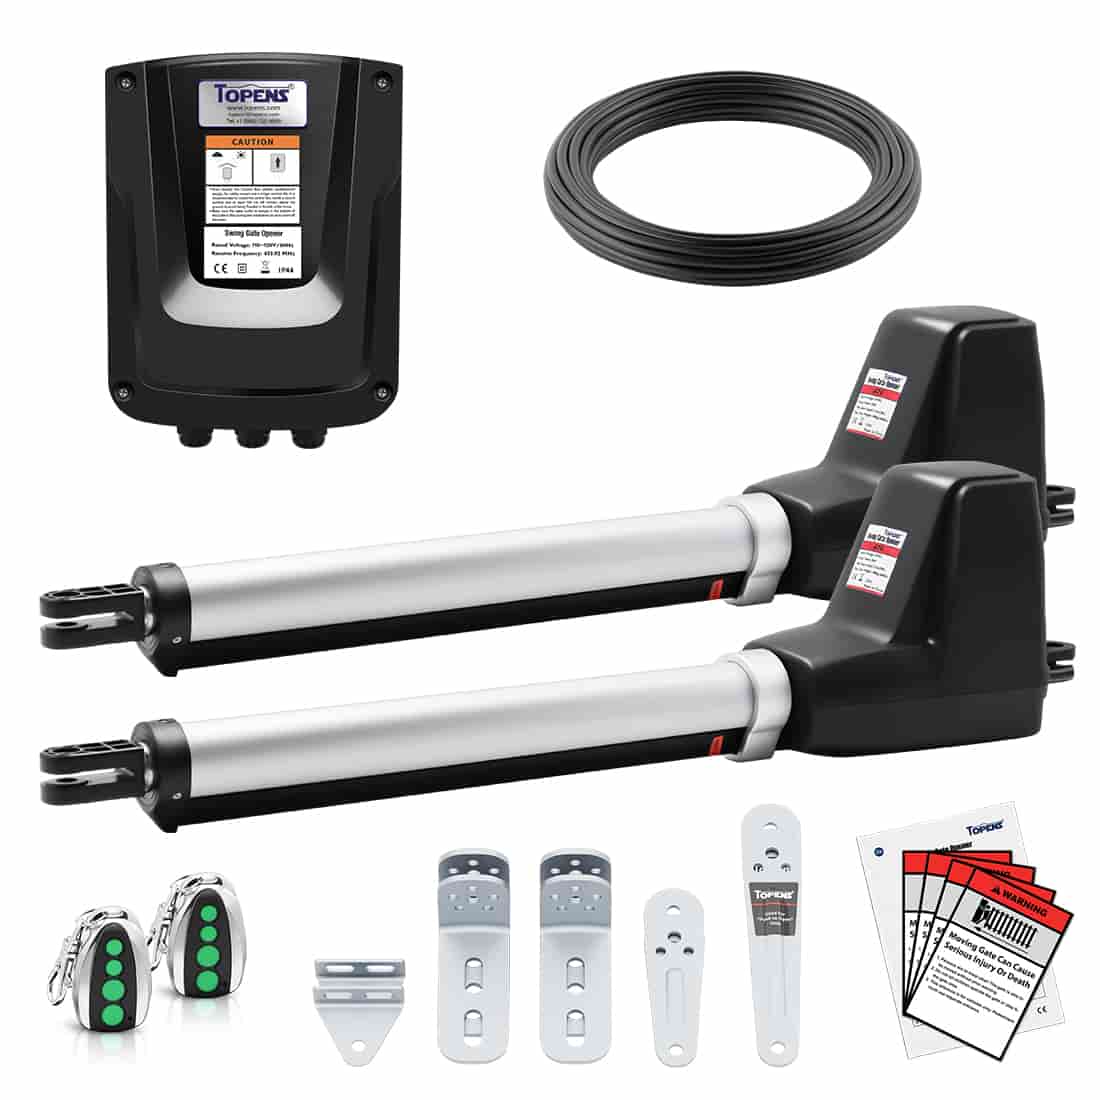
- For AT602, AT1202, and KD702: If the opener is powered by AC electricity, the transformer output under normal conditions should measure approximately 24VAC.
- If the output voltage of the power supply is normal but the fuse still blows, inspect the control board for burn marks, damaged components, or short circuits. The control board will likely need to be replaced.
- If the fuse remains intact: The control board is operating normally. Proceed to Step 2.
Important Note for the UPS01A: If a short circuit occurs on the control board, the UPS01A may enter a protection state and retain residual voltage, leading to inaccurate voltage readings. To obtain an accurate output measurement, disconnect both the AC input wires and the LOAD terminal wires from the UPS01A. Wait a few moments, then restore power to the UPS01A and measure the output voltage.
Step 2: Test the Arm
1) Reconnect only the arm wires, leaving all other accessories disconnected.
2) Detach the arm from the gate bracket, disengage the clutch (except for the JY9132, which has no clutch), and press the remote control.
- If the fuse blows immediately: The motor has an internal electrical fault, damaged internal wiring, or a short circuit. The arm needs to be repaired or replaced.
- If the fuse remains intact: The motor's electrical system is functioning normally. Re-engage the clutch and test again.
- If the fuse blows now: There is internal mechanical binding within the arm. Disengage the clutch and manually extend and retract the arm. It should move smoothly. Any heavy resistance, sticking, or grinding noises indicate an internal mechanical failure.
- If the fuse still remains intact: Proceed to Step 3.
Step 3: Test the Gate's Mechanical Load
1) Reconnect the arm to the gate bracket.
2) Press the remote control to operate the gate.
- If the fuse blows only after reconnecting the gate: The opener is experiencing excessive mechanical load. Release the clutch, move the gate manually, and verify that:
- The gate swings smoothly throughout its entire travel.
- The hinges rotate freely and are properly lubricated.
- The gate is level and not dragging on the ground.
- There are no physical obstructions.
- The gate's total weight is within the opener's rated capacity.
Step 4: Isolate External Accessories
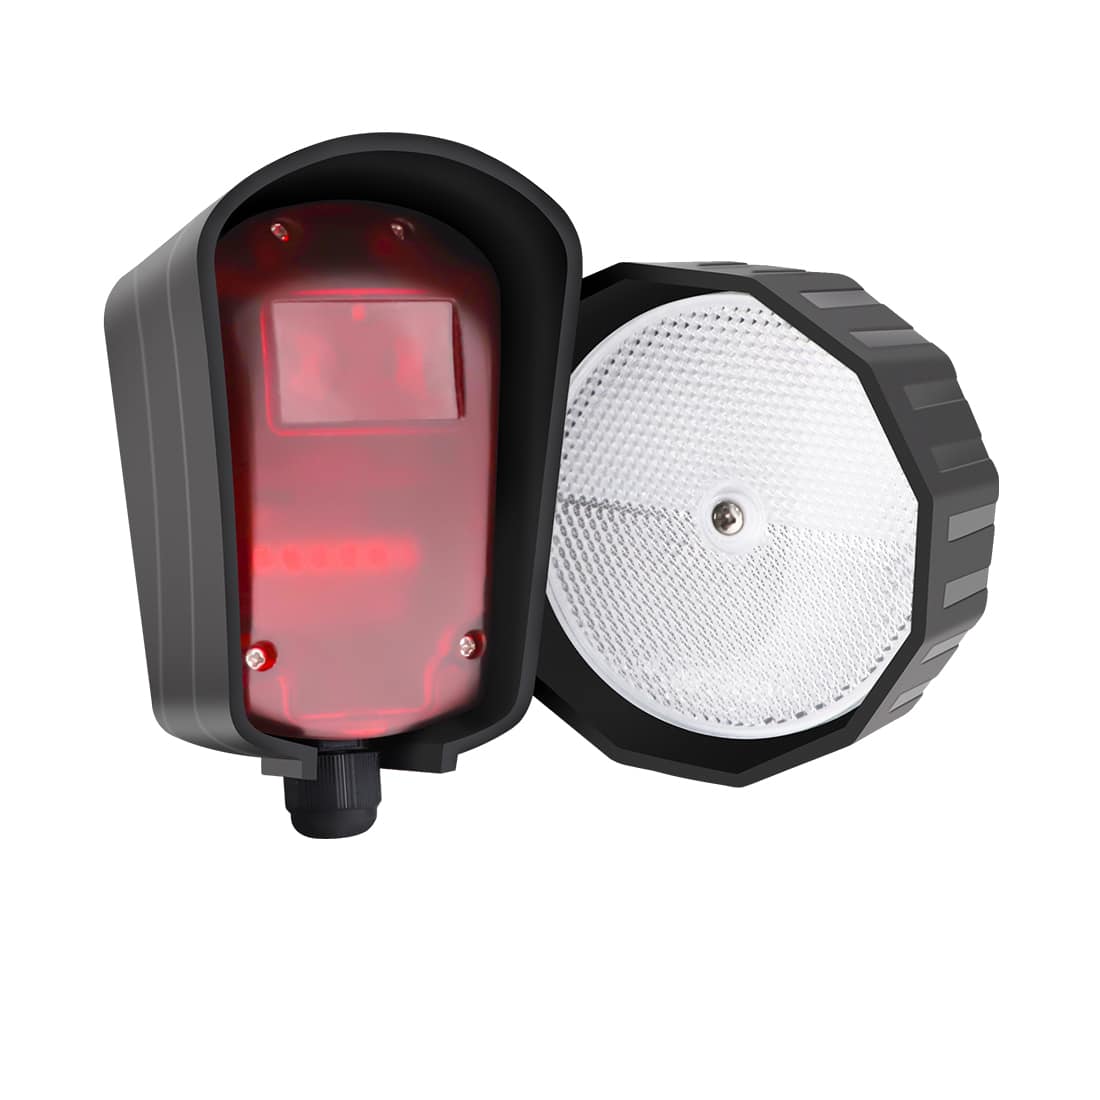
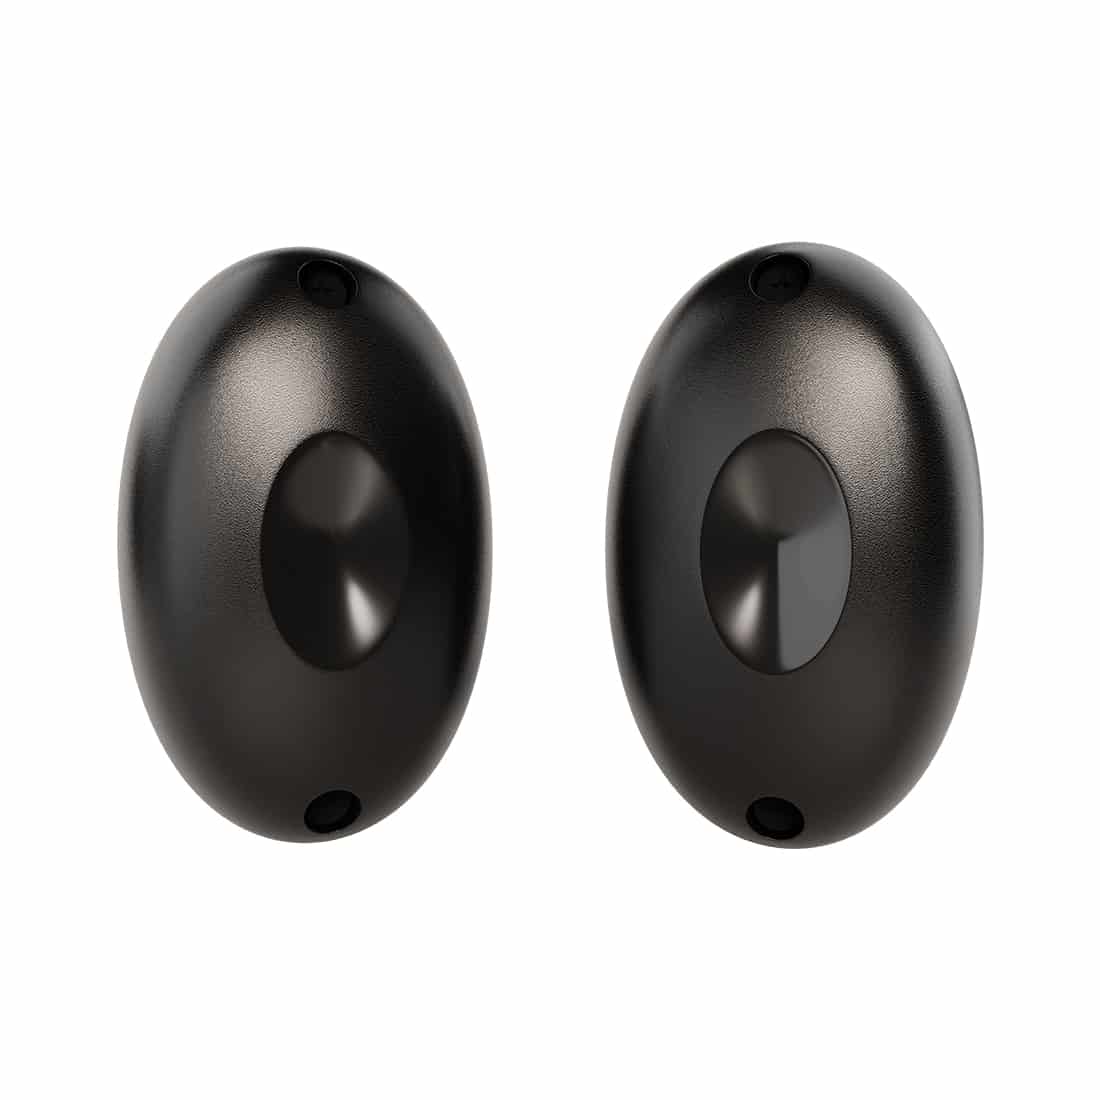
1) If the gate operates normally so far, reconnect your wired accessories (such as photocells, keypads, and push buttons) one at a time.
2) Test the system using the remote control after reconnecting each accessory.
- If the fuse blows after reconnecting a specific accessory: That accessory or its wiring has a short circuit and must be repaired or replaced.
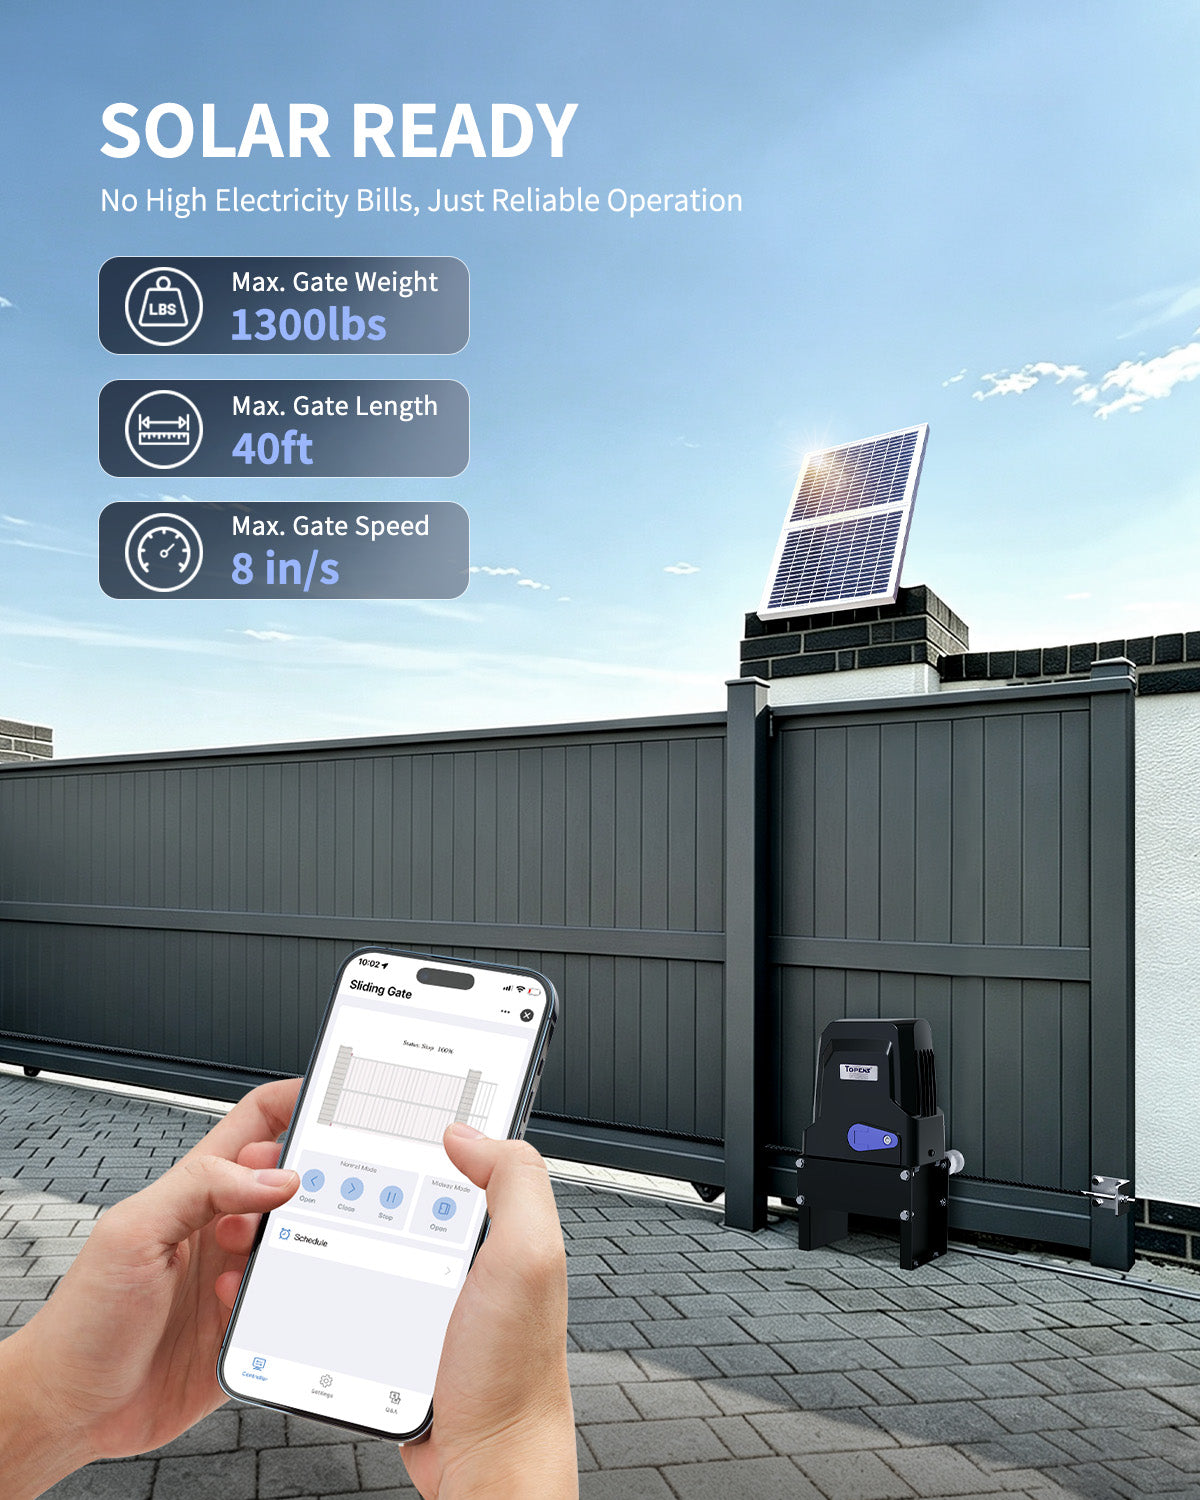
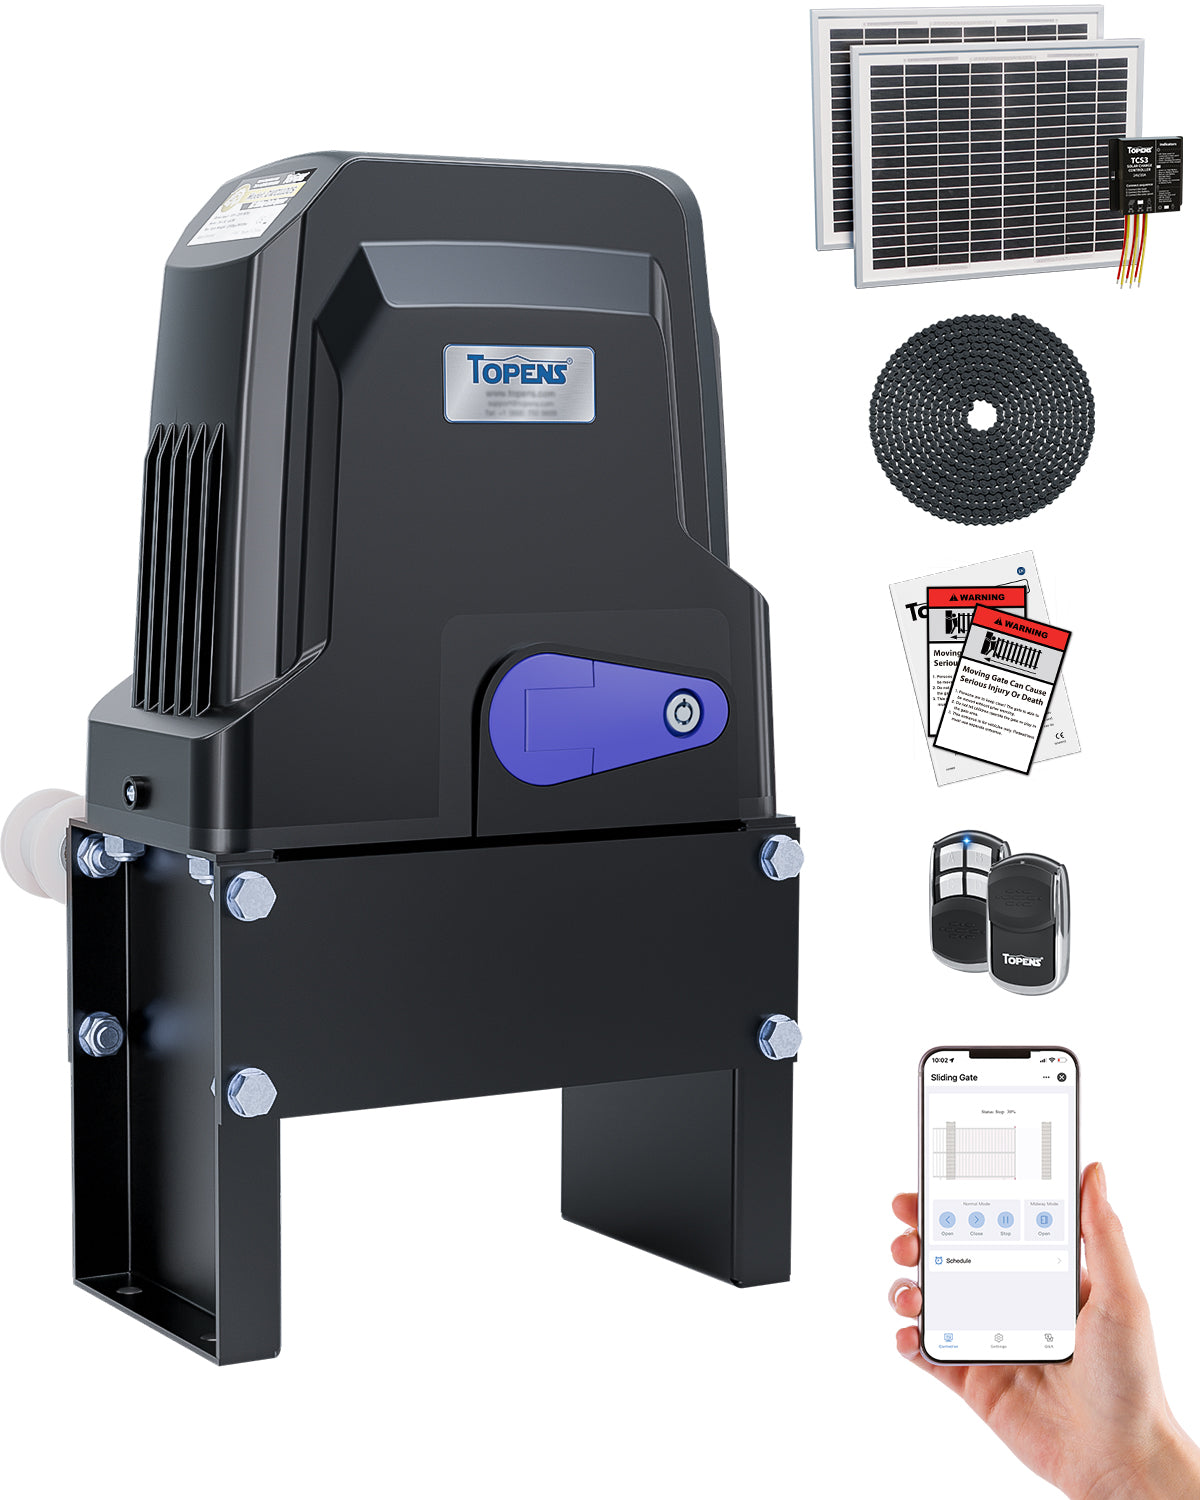
For TOPENS Sliding Gate Openers
Step 1: Isolate the Control Board
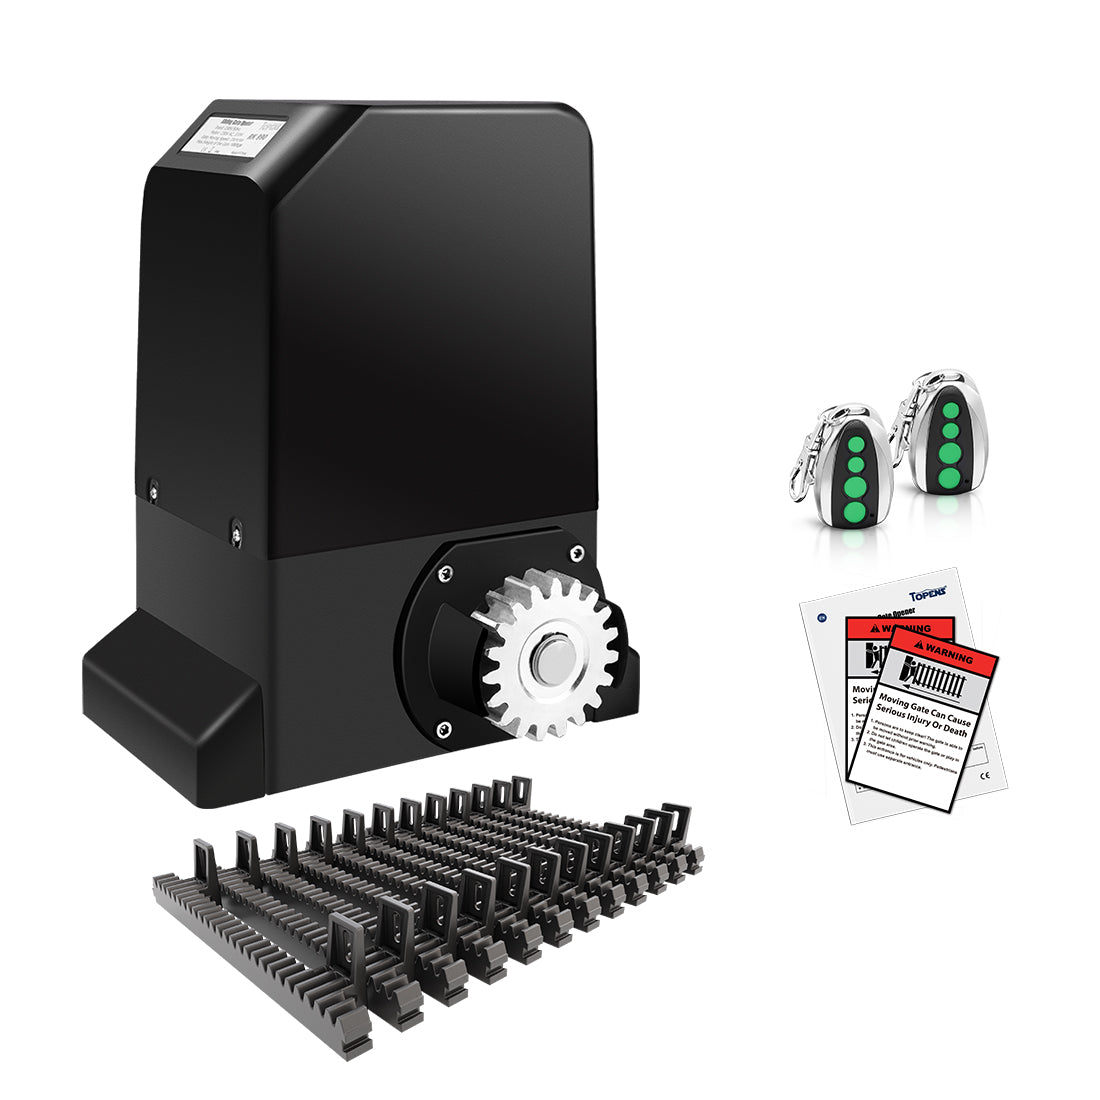
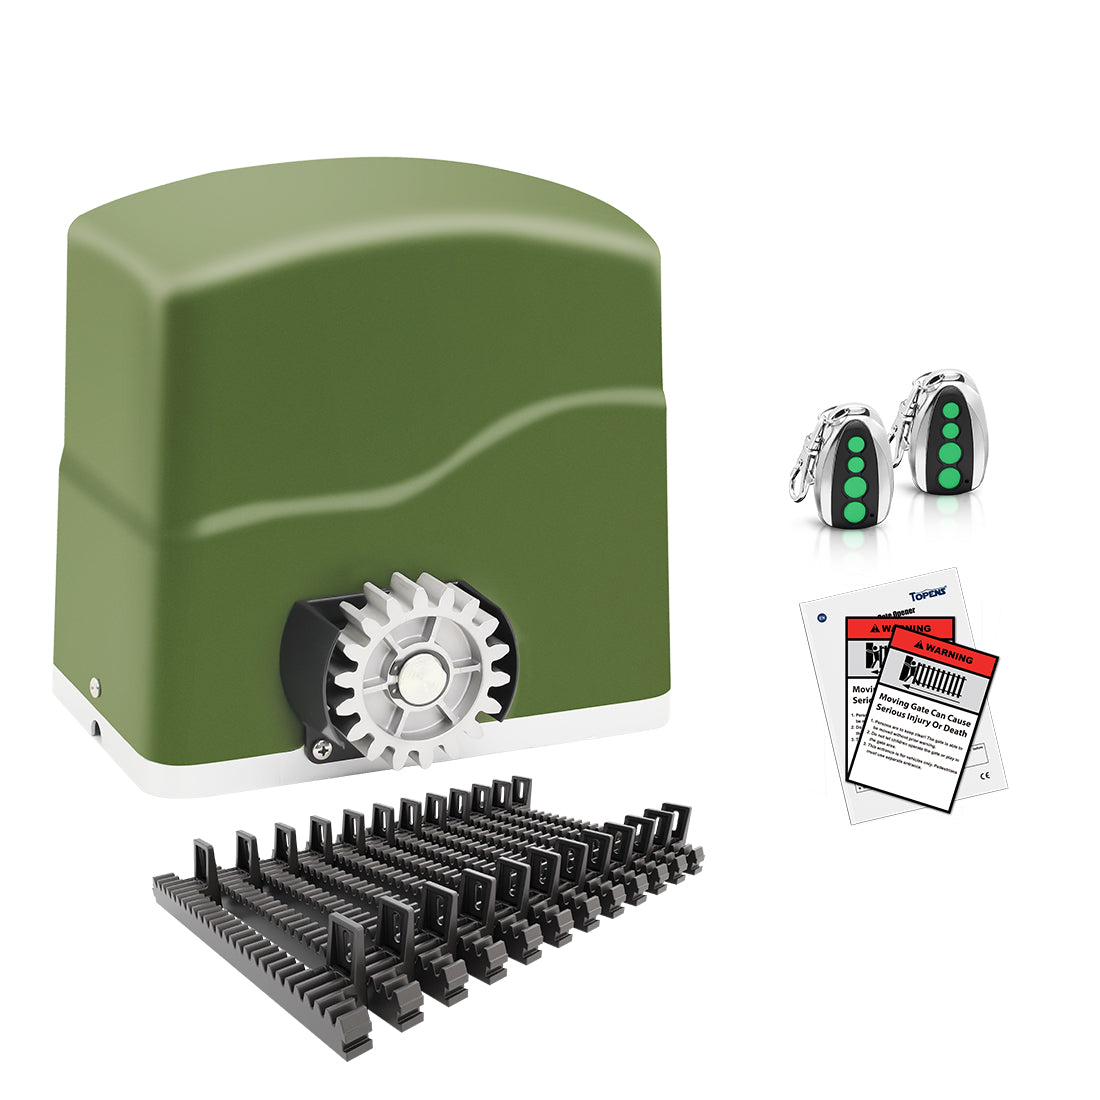
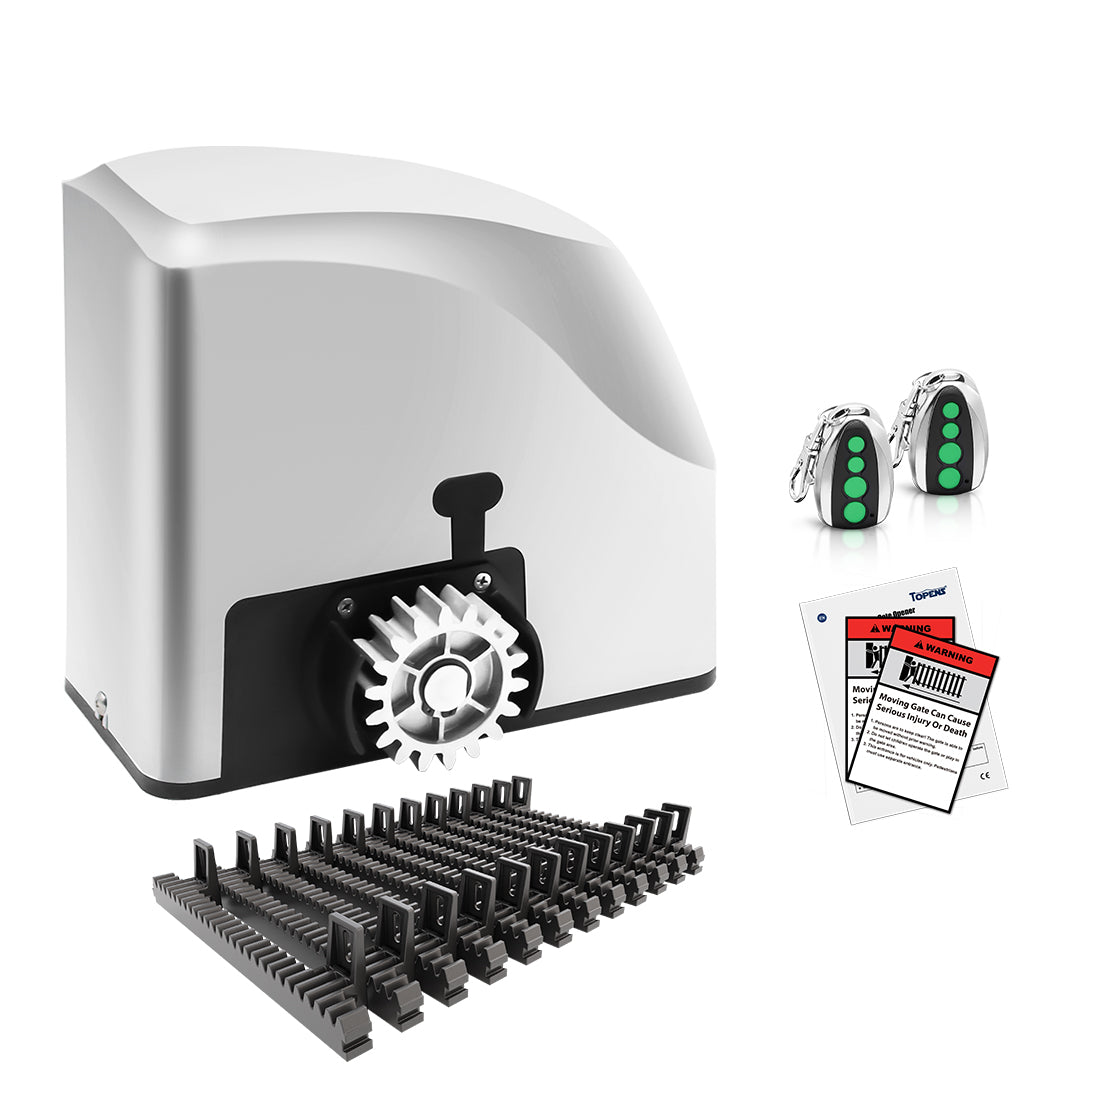
1) Disengage the clutch. Disconnect all wired accessories, motor wires, and limit switch wires from the control board, leaving only the power supply connected.
2) Press the remote control, then disconnect the power supply to inspect the fuse.
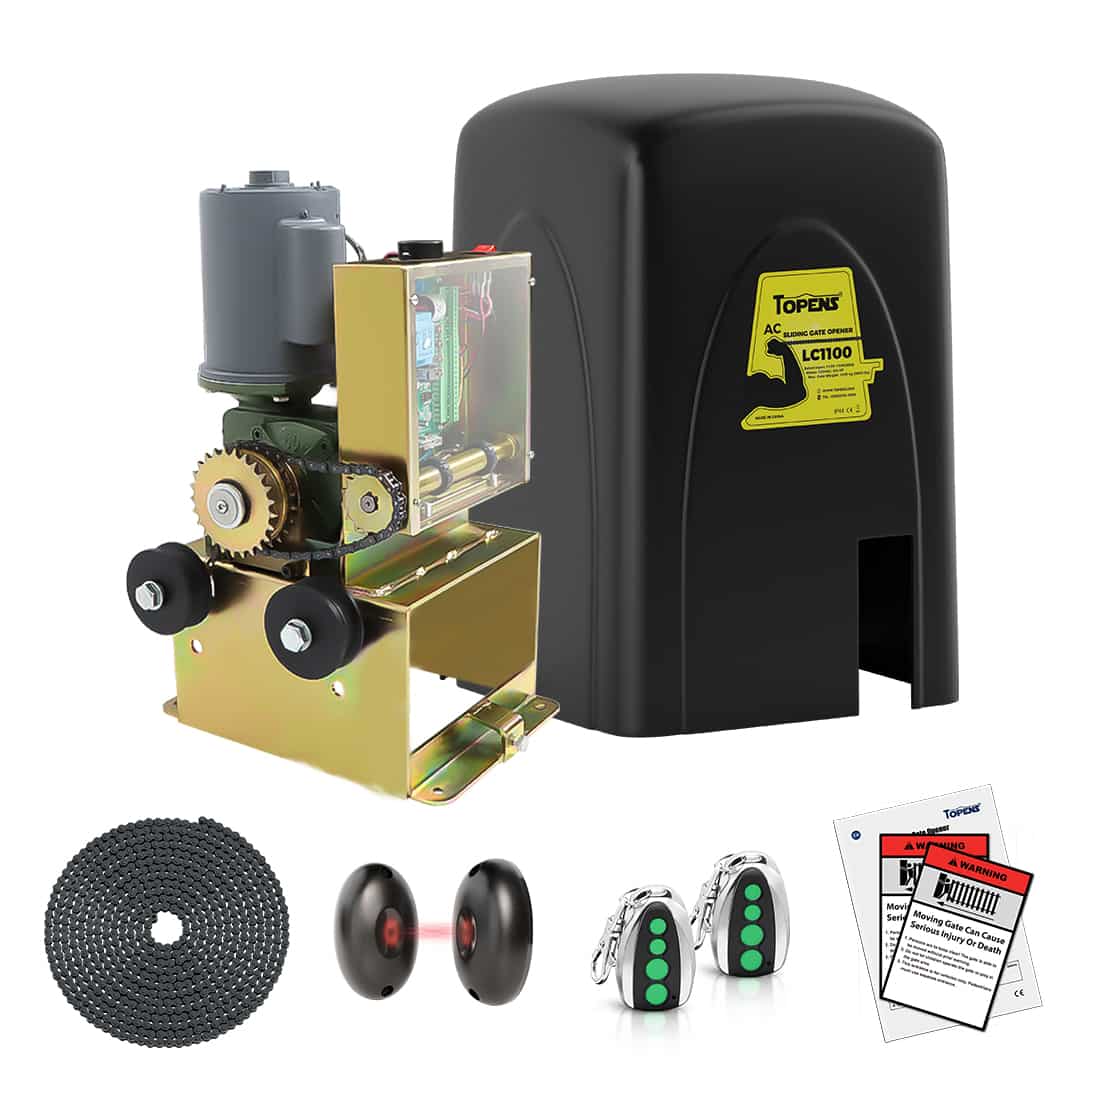
Note for LC1100 model: Keep the clutch engaged for this test, as disengaging it cuts system power.
- If the fuse blows: Verify that the AC input power is stable. If the input power is normal, check the control board for burn marks, damaged components, or signs of a short circuit. The control board is likely defective and must be replaced.
- If the fuse remains intact: The control board is functioning normally. Proceed to Step 2.
Step 2: Test the Motor and Limit Switch System
1) Reconnect the motor and limit switch wires, keeping all other external accessories disconnected.
2) Press the remote control.
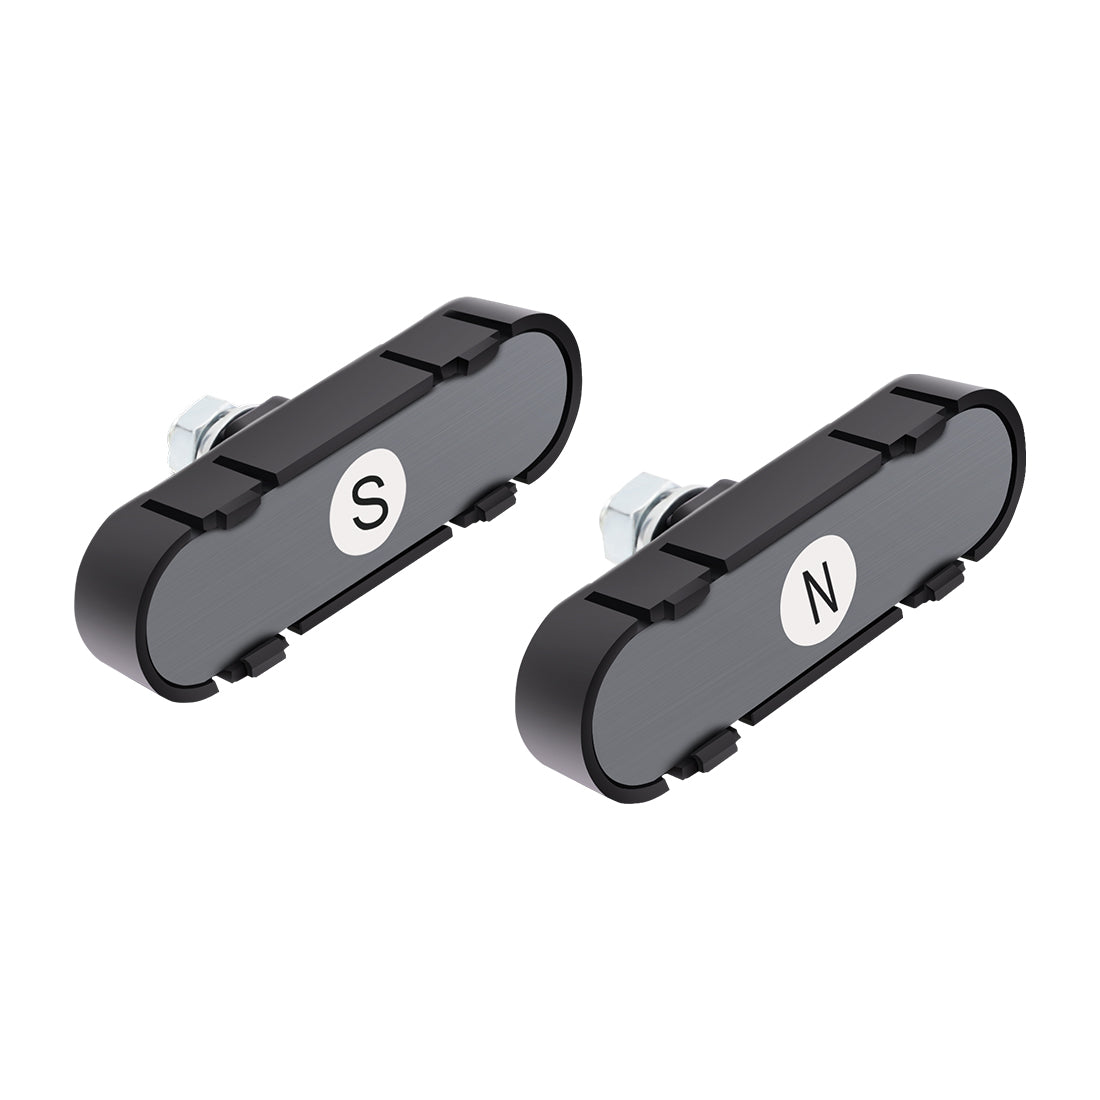
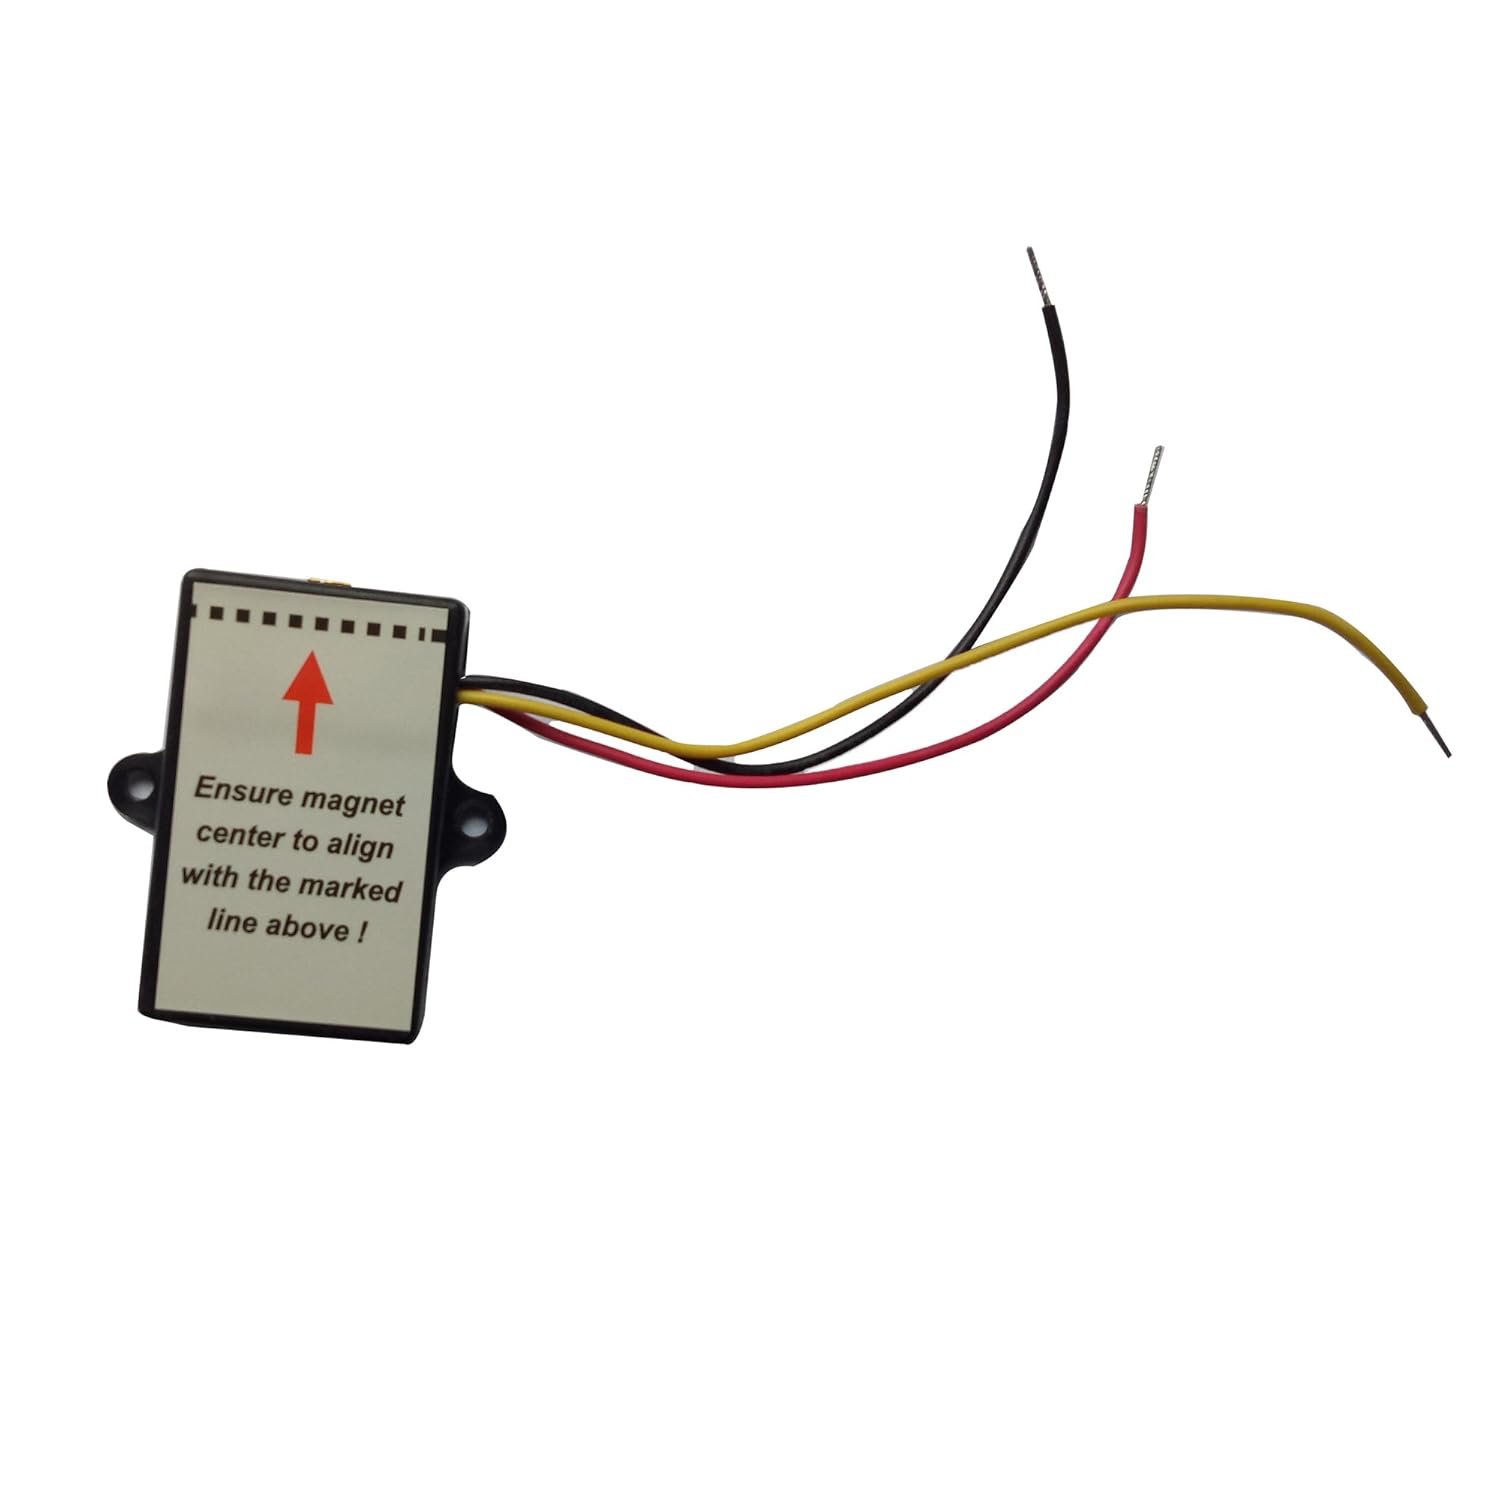
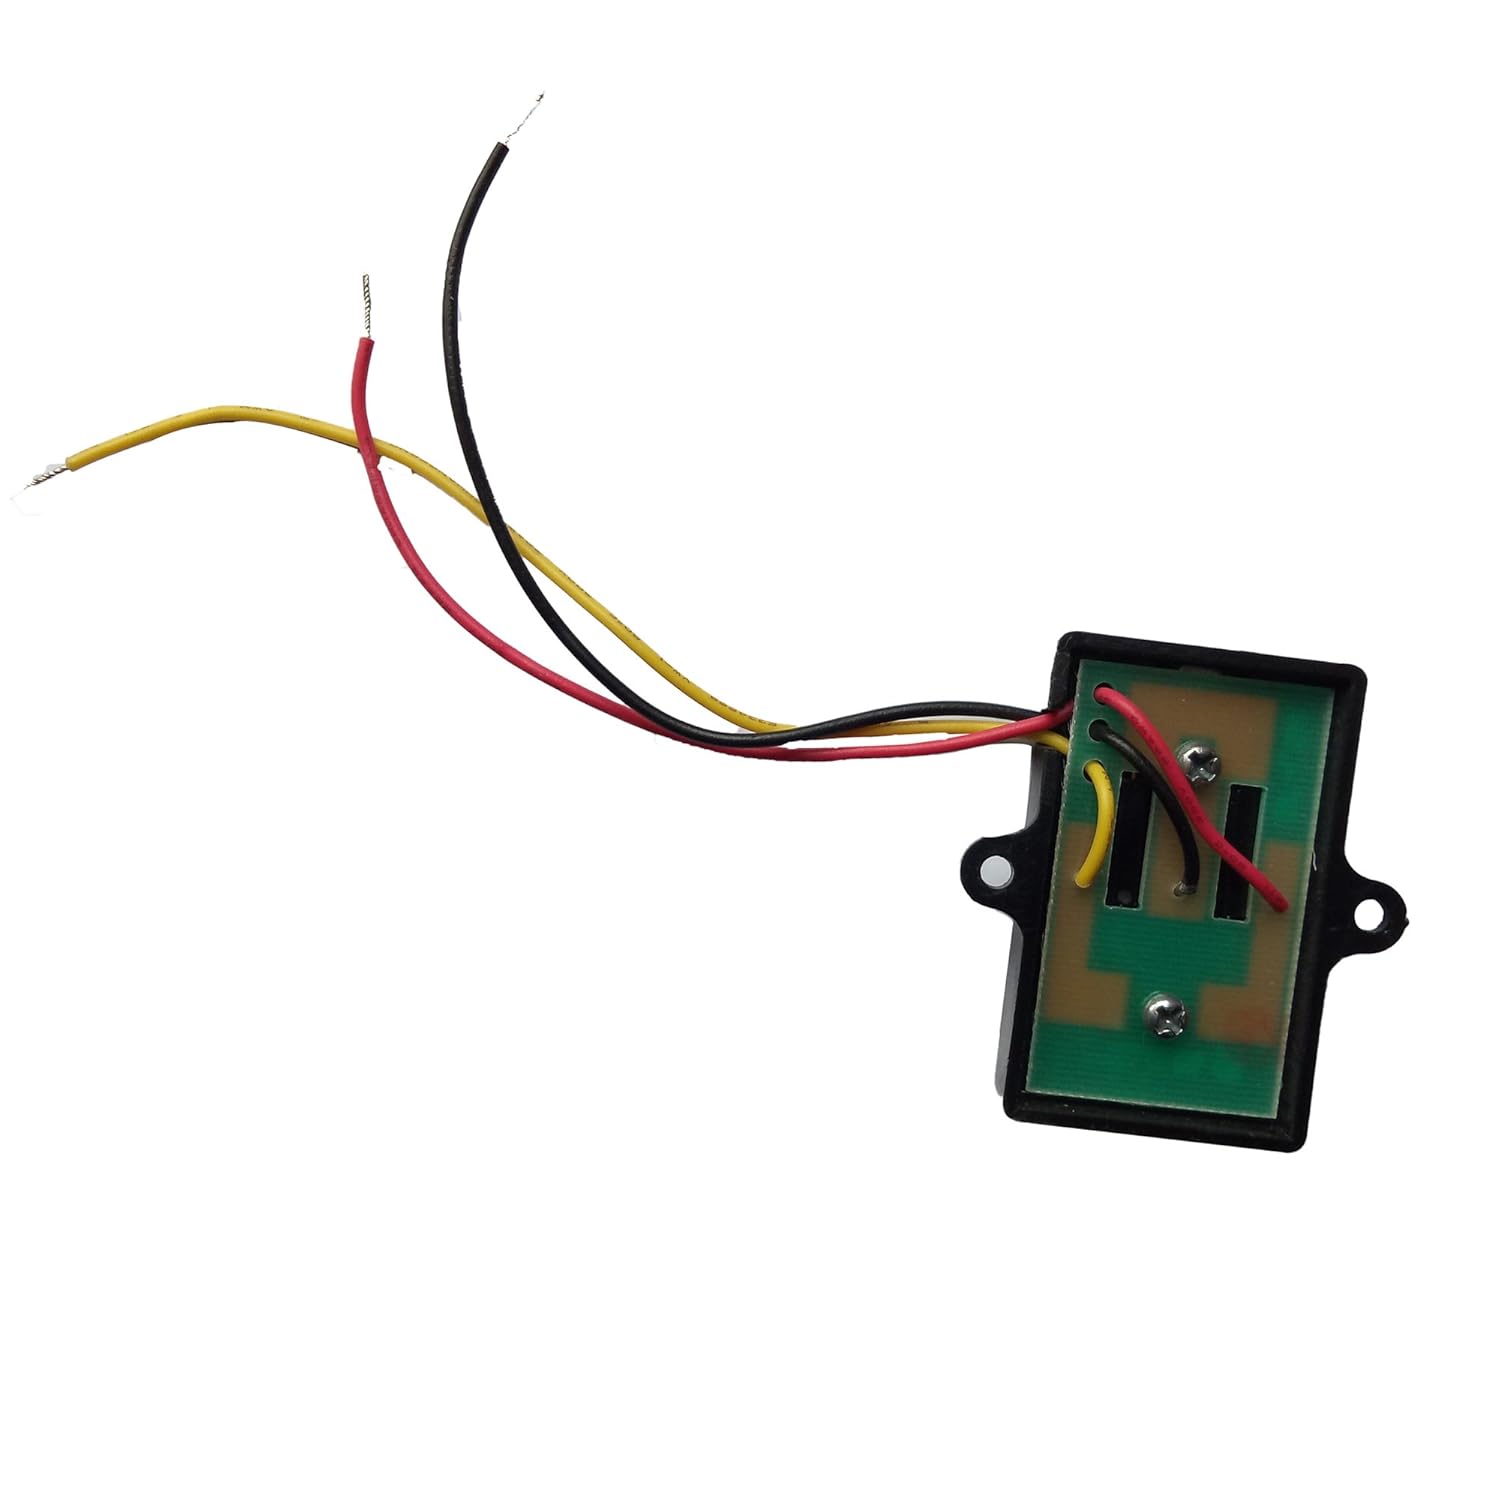
- If the fuse blows: The fault is likely in the motor or the limit switch circuit. Carefully inspect the wiring for pinched insulation, loose connections, or internal motor shorts.
- If the fuse remains intact: Proceed to Step 3.
Step 3: Test the Gate's Mechanical Load
1) Engage the clutch and press the remote control to operate the gate.
- If the fuse blows only when the gate is moving: The motor is drawing excessive current due to heavy mechanical resistance. Disengage the clutch, slide the gate manually, and check for:
- Debris, dirt, or obstructions in the track.
- Damaged, worn, or seized rollers or wheels.
- Misalignment between the gate track and the opener gear.
- The gate weight exceeding the opener's rated capacity.
Step 4: Isolate the External Accessories
1) Reconnect each external wired accessory individually, testing the gate after each connection.
2) If the fuse blows immediately after reconnecting a specific device, inspect that accessory and its wiring for short circuits or incorrect terminal connections.
3. Important Safety Reminders
- Never Bypass the Fuse: Never replace a blown fuse with one of a higher amperage, and never bypass it with wire or foil. Doing so can permanently damage the control board, transformer, motor, wiring, and other electrical components, and may create a serious fire hazard.
- Treat a Blown Fuse as a Warning: A blown fuse is a symptom, not the root cause. Never simply replace a fuse without first diagnosing why it failed.
-
Avoid Repeated Fuse Replacement: Continuously replacing fuses without correcting the underlying problem can cause catastrophic damage, including:
- Burnt-out control boards or motors
- Melted wire insulation
- Serious fire and electrical safety hazards
If a new fuse blows immediately after installation, stop operating the gate opener and resolve the underlying issue before inserting another fuse.
4. Proactive Prevention and Maintenance
To help prevent future fuse failures and extend the lifespan of your gate automation system, follow these routine maintenance practices:
- Routine Inspection: Periodically check all wiring for signs of wear, weathering, or pest damage (like rodent chewing).
- Weatherproofing: Ensure the control box enclosure is tightly sealed, dry, and free of insects or moisture.
- Use the Correct Fuse: Always use the exact fuse type and amperage specified by TOPENS.
- Maintain Gate Hardware: Keep gate hinges lubricated, tracks free of debris, and rollers in good condition to minimize motor strain.
Regular maintenance reduces mechanical stress on the opener, minimizes the risk of blown fuses, and helps ensure reliable, long-term operation.