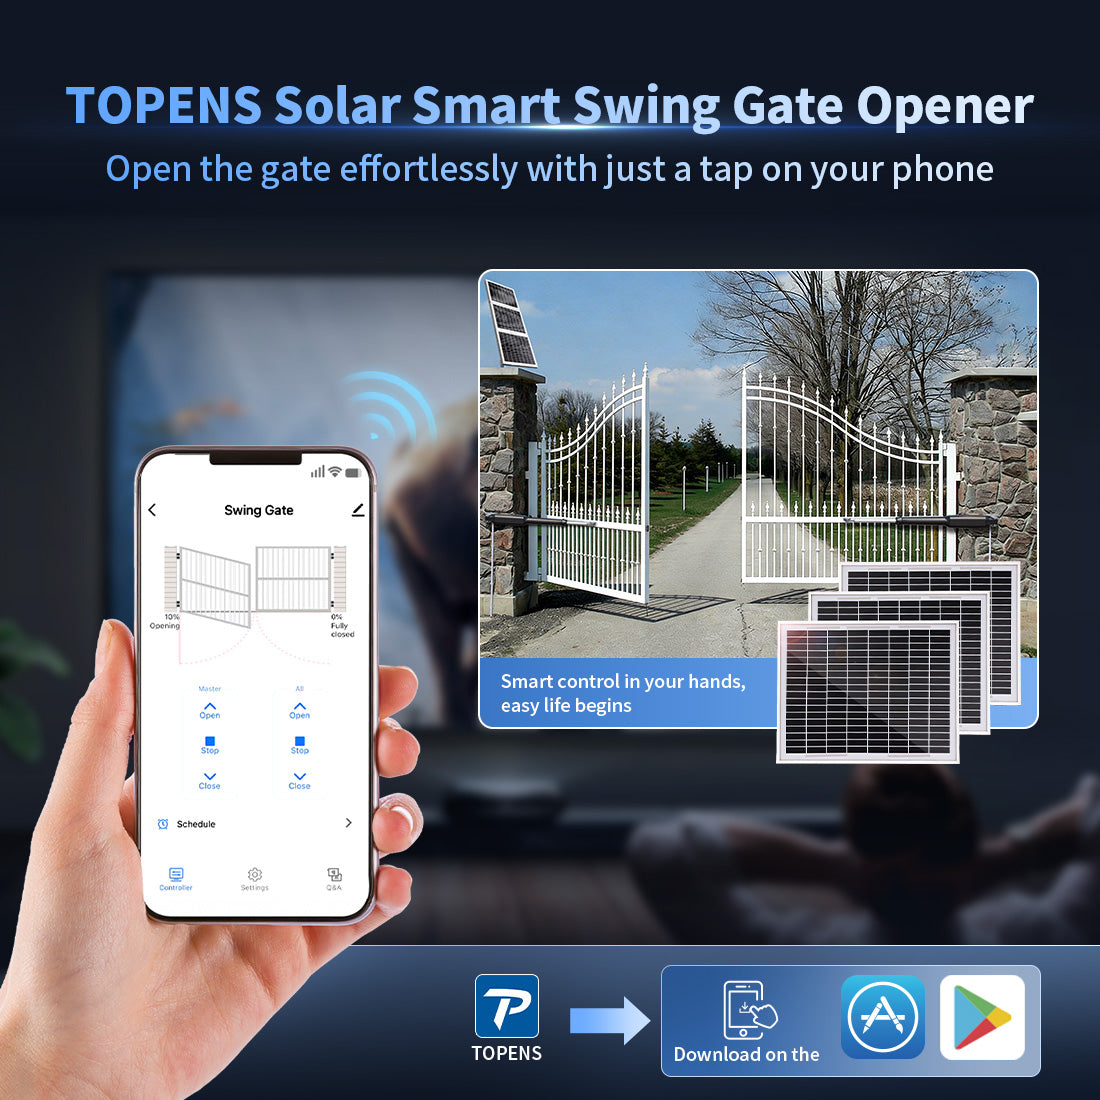
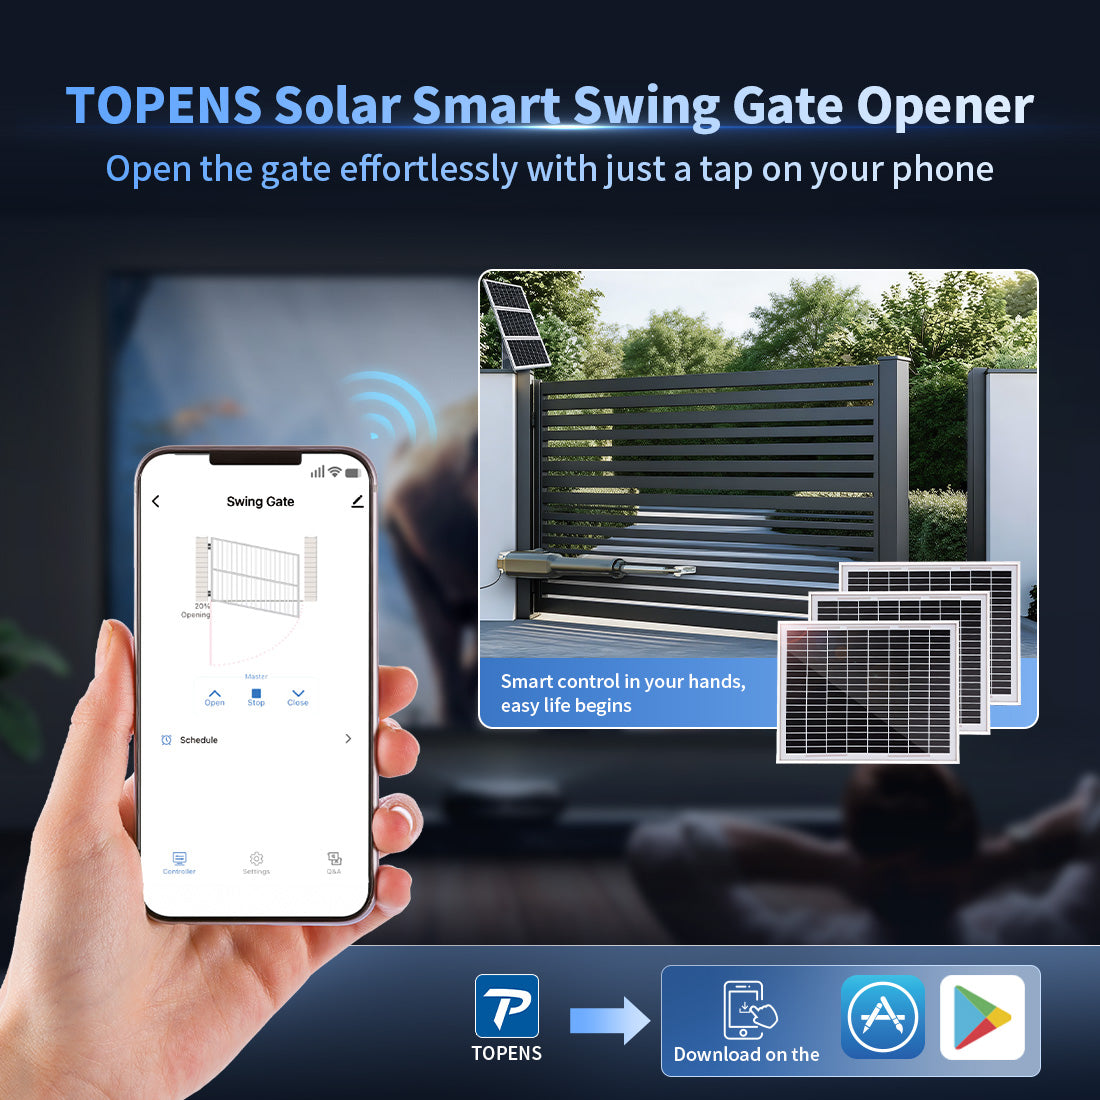
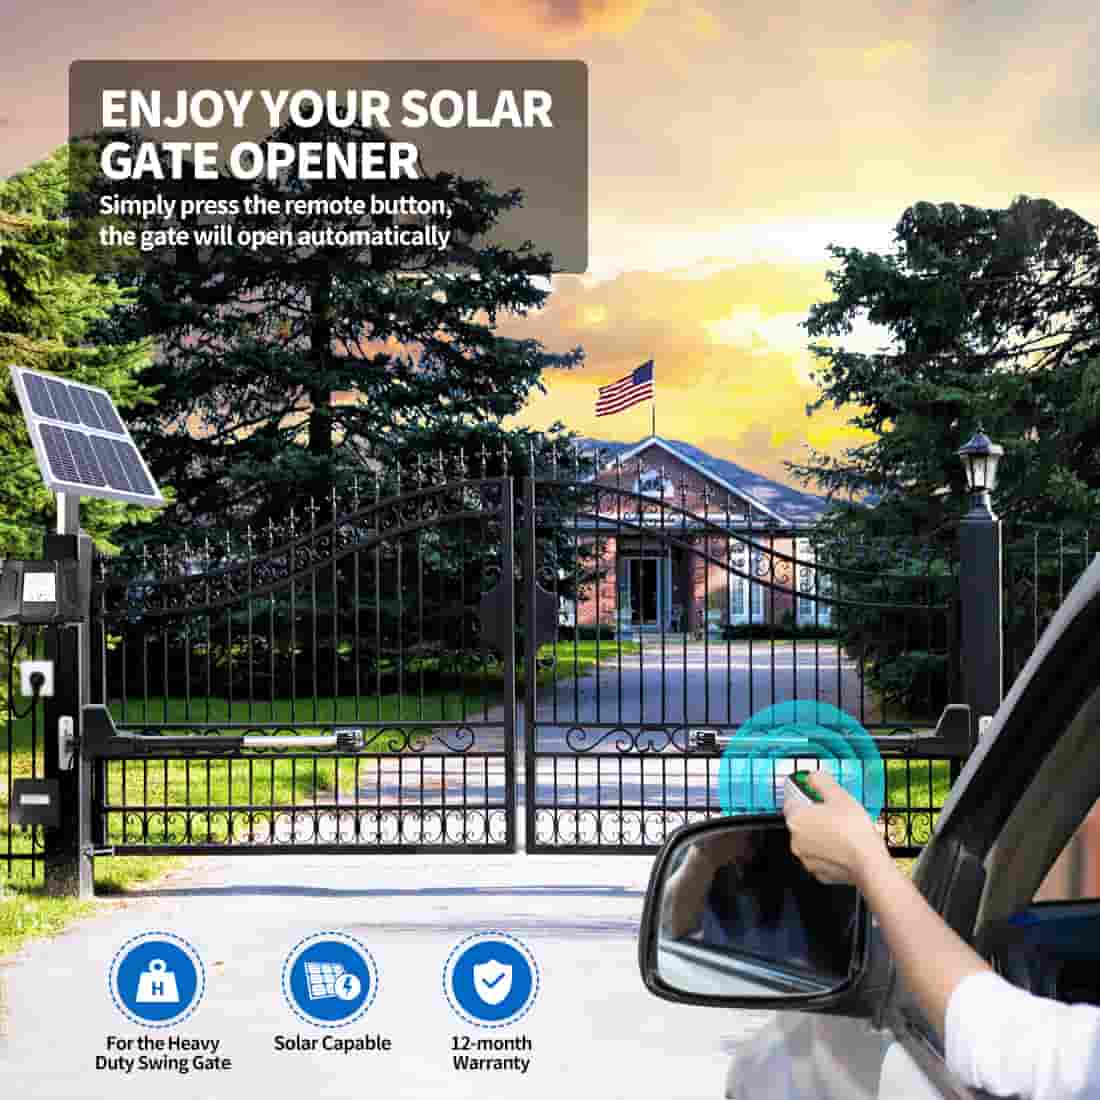
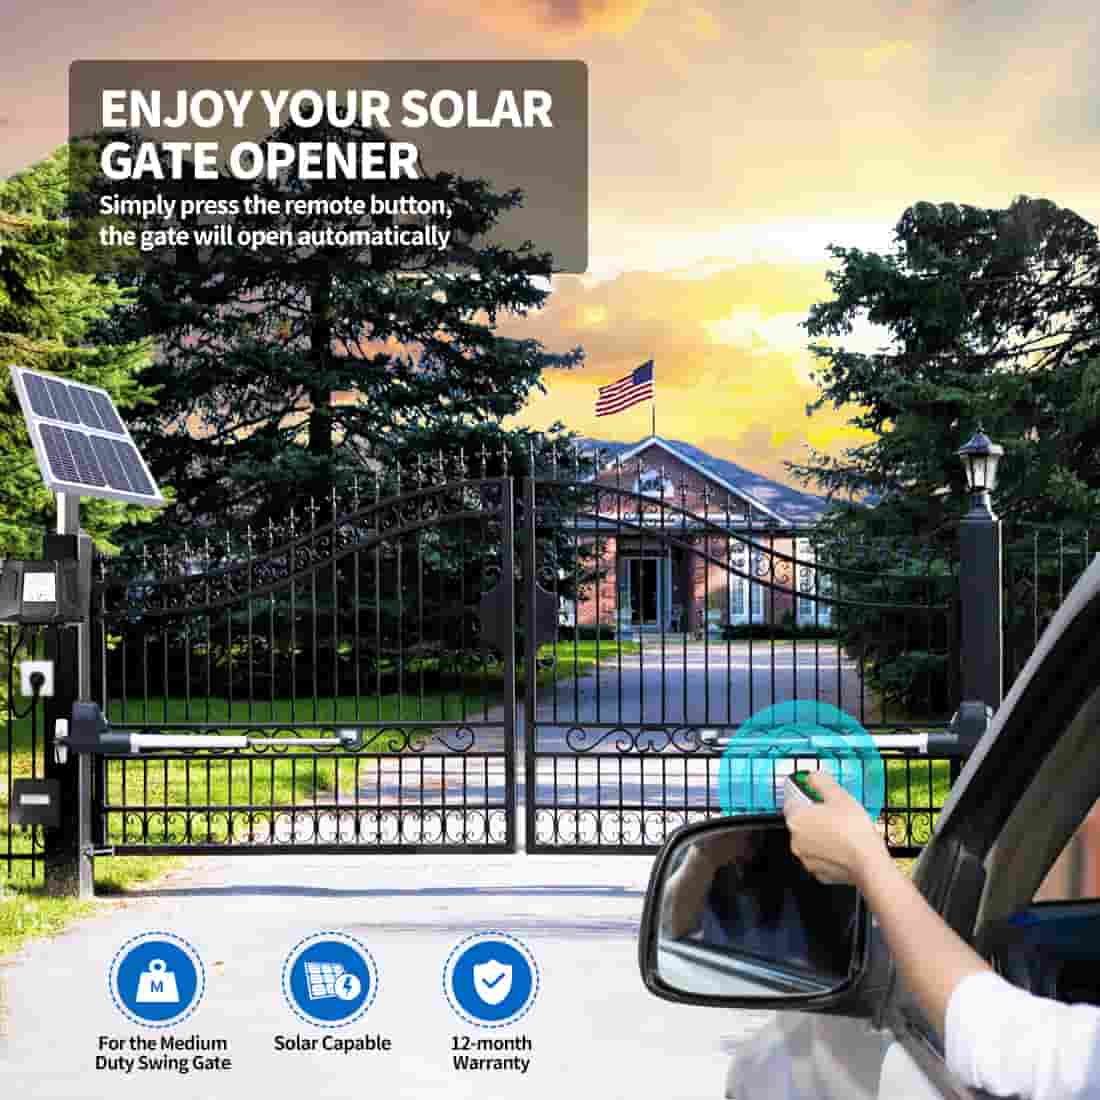
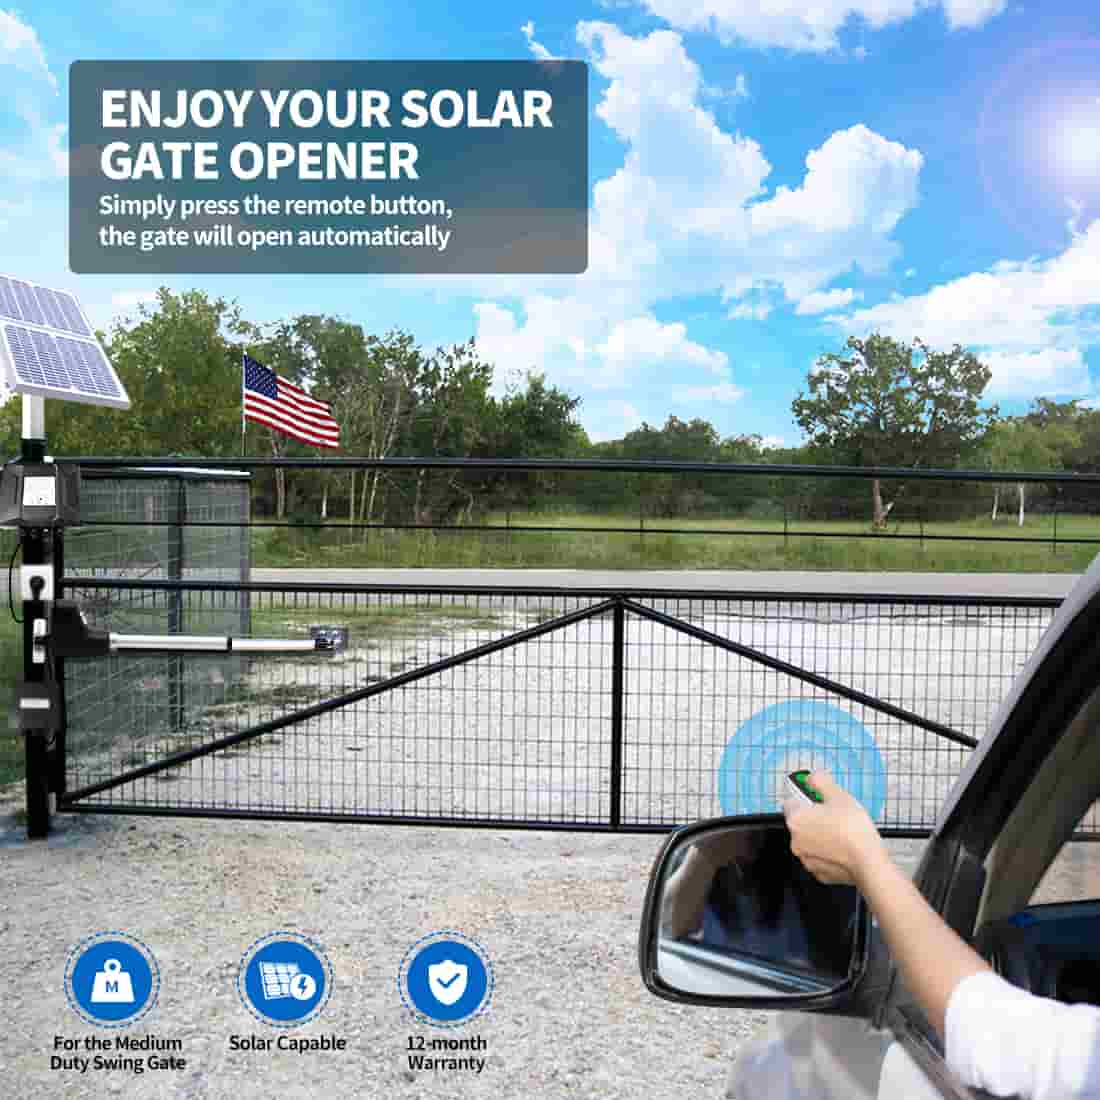
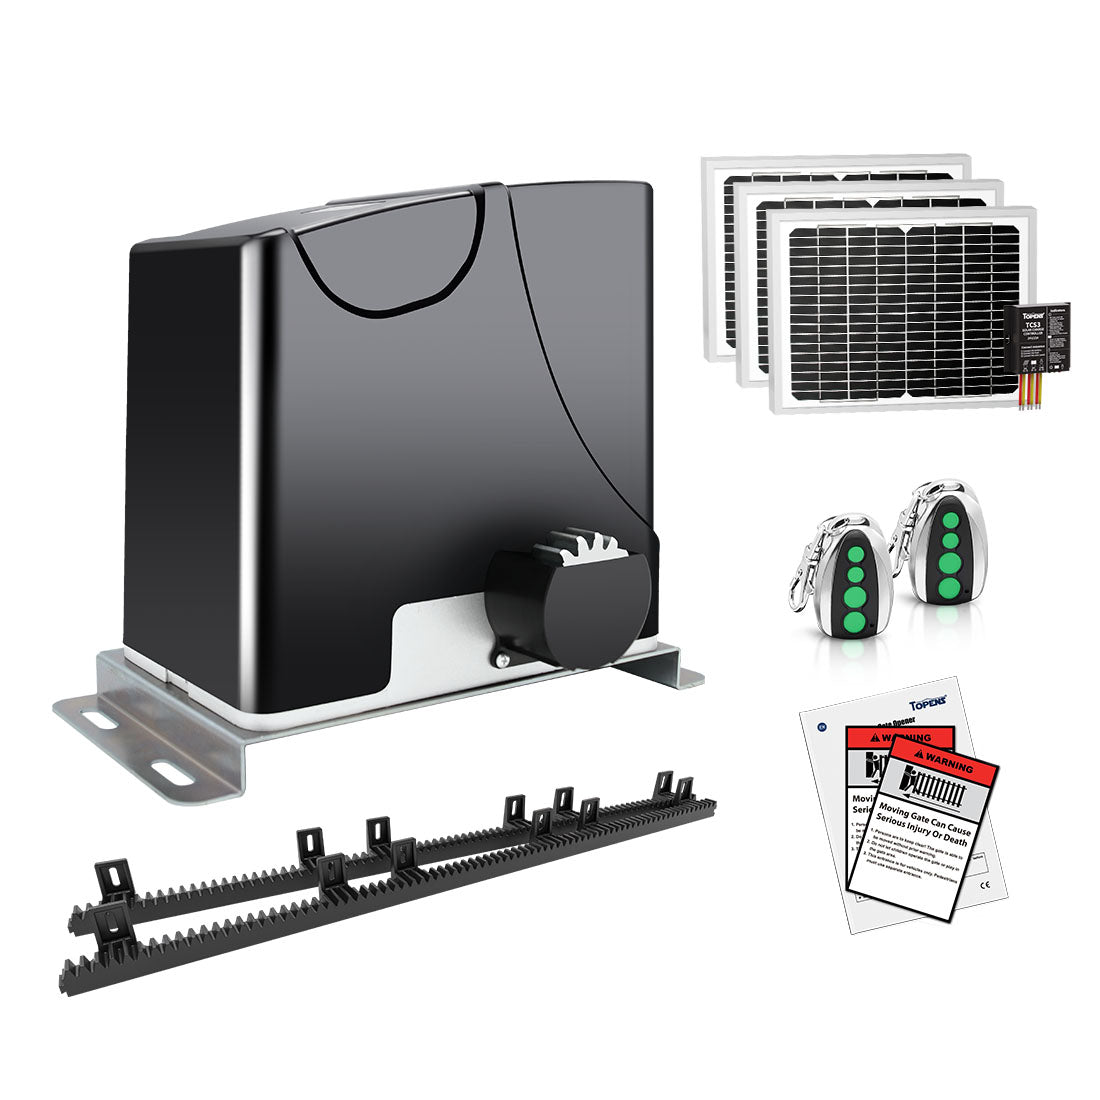
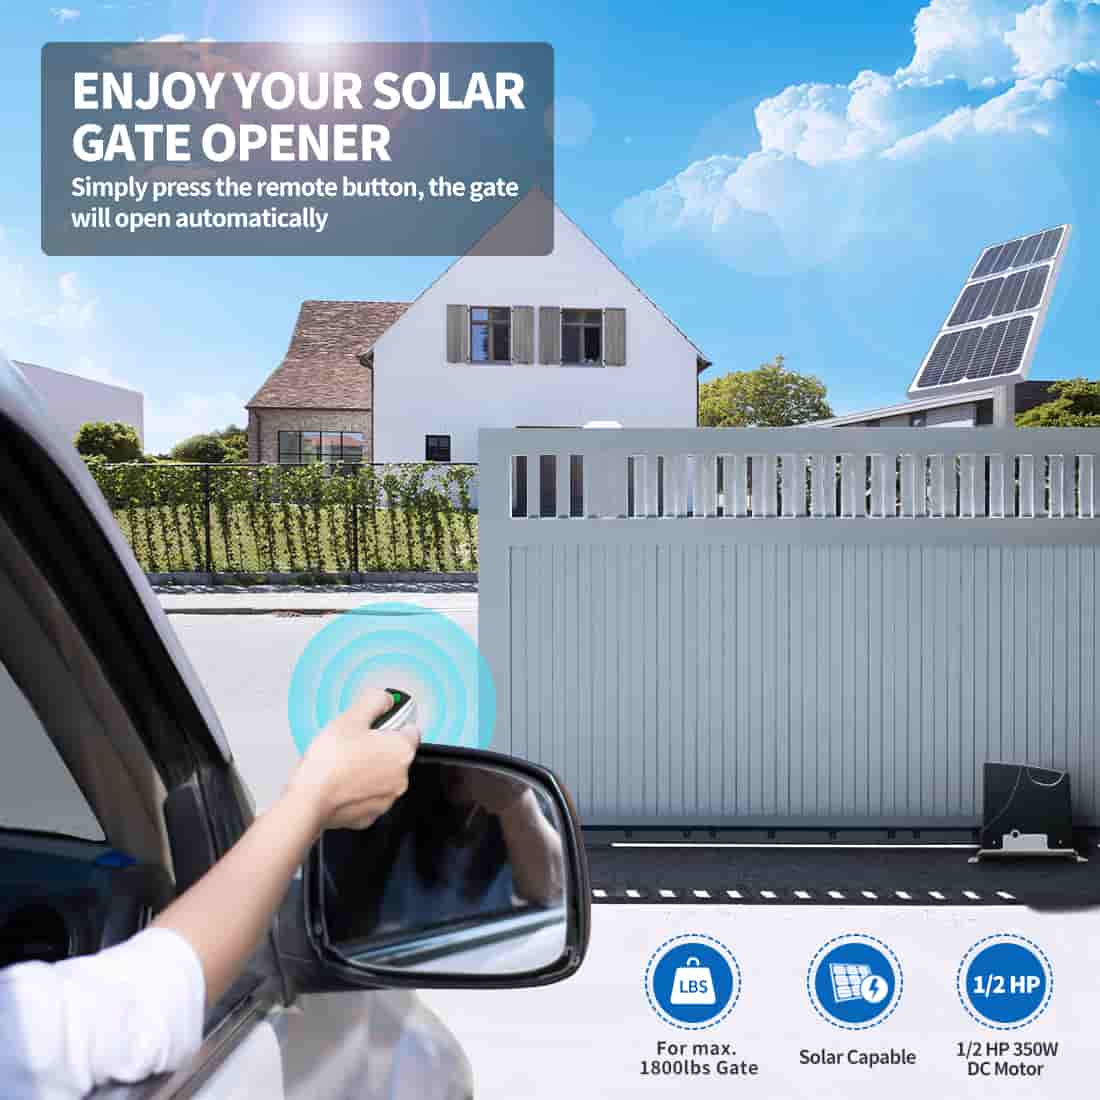
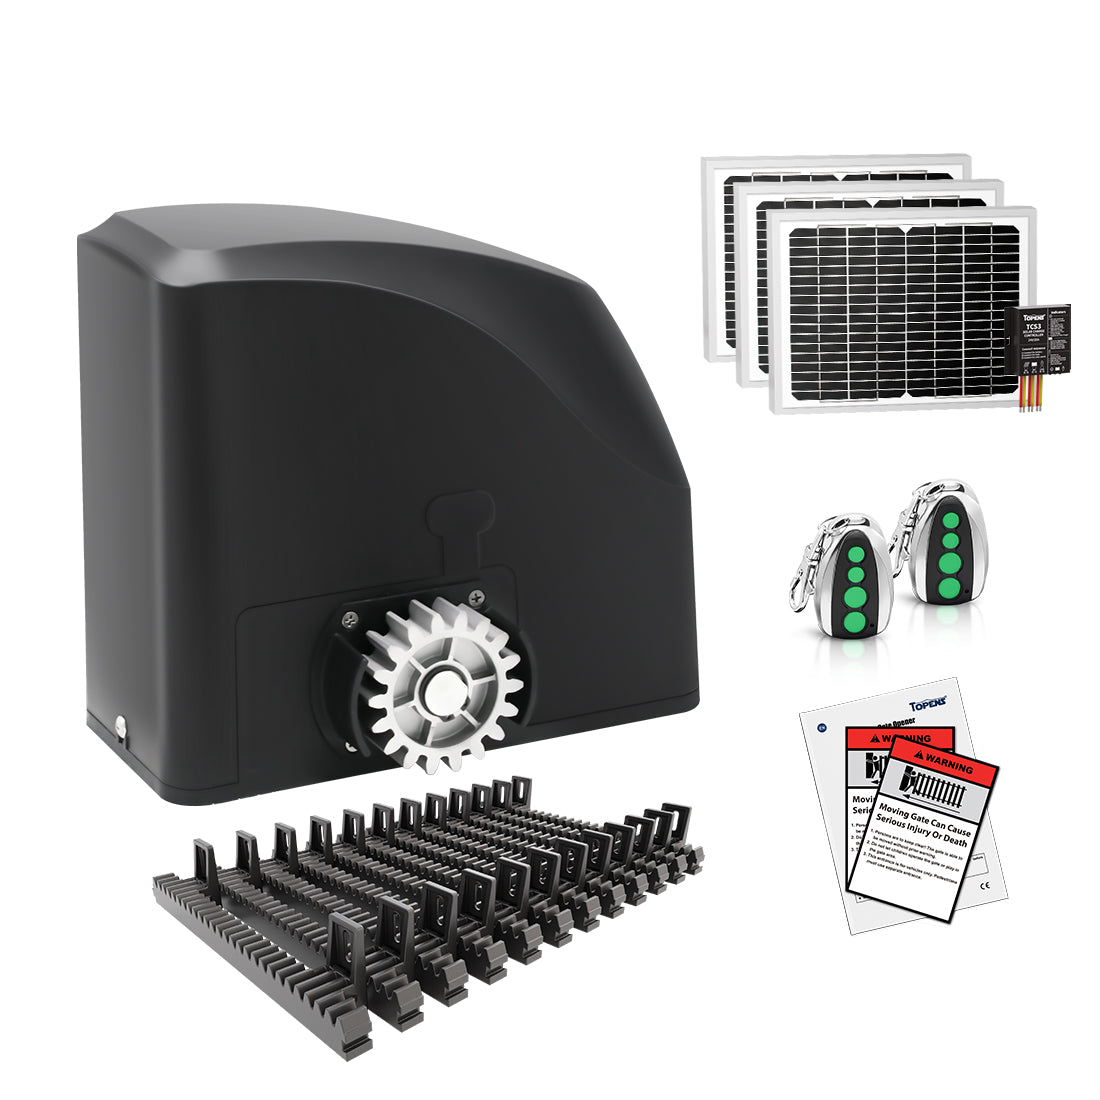
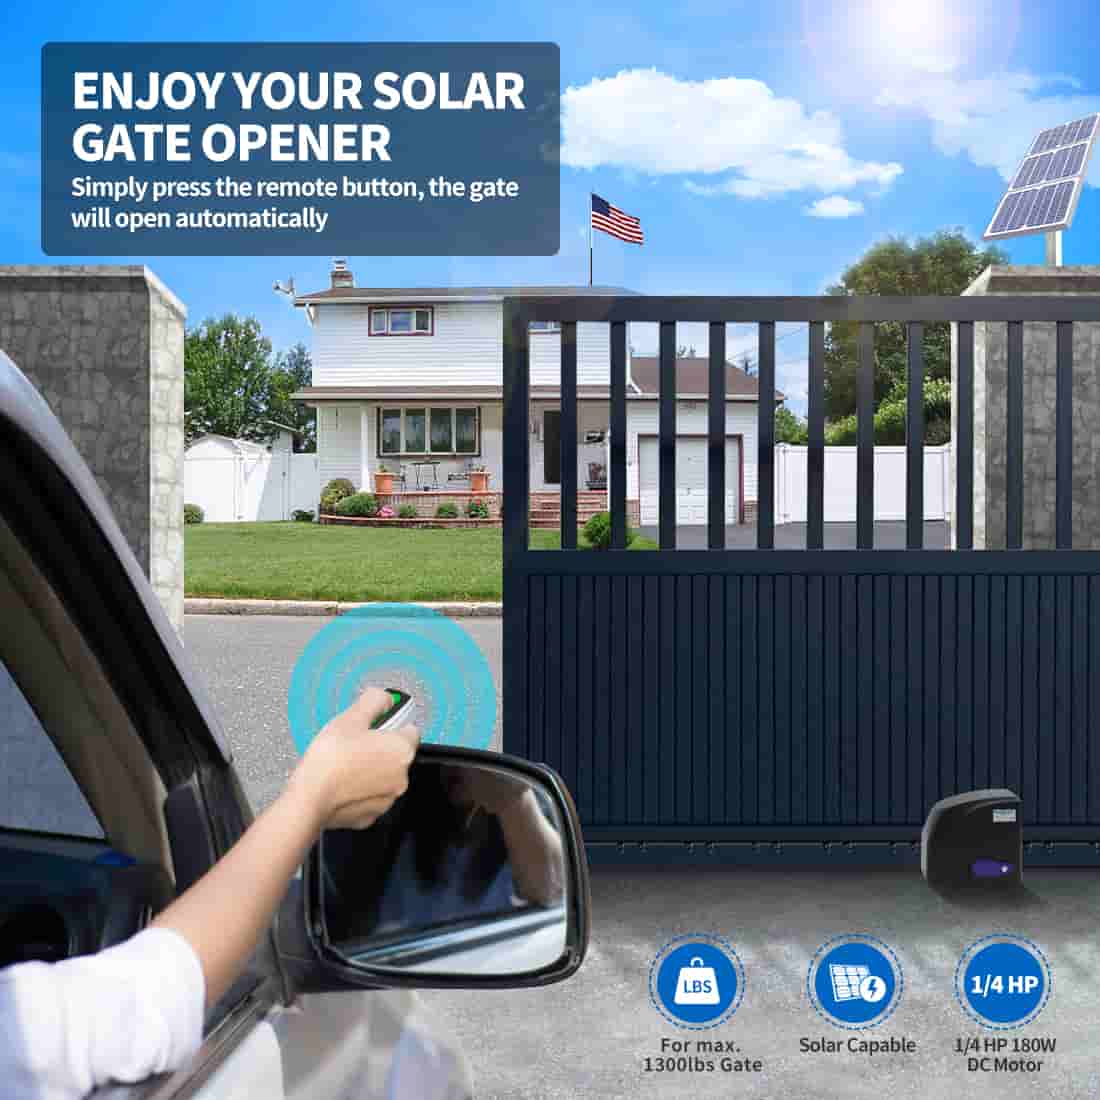
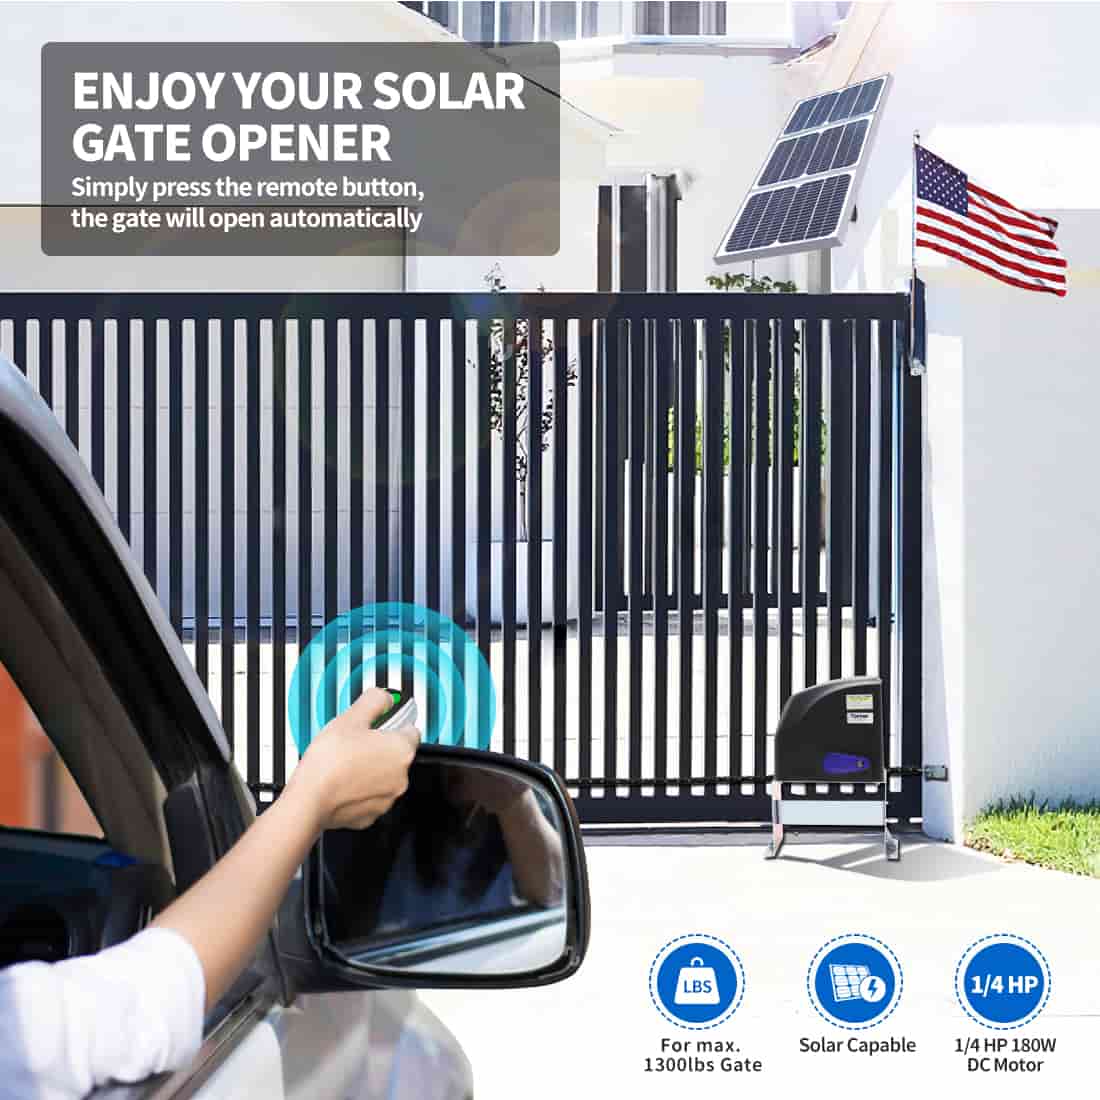
To ensure year-round reliable operation of automated gate systems, solar power solutions have become an essential component of modern intelligent access control. This article provides comprehensive guidelines for the installation and electrical wiring of a Solar Panel Charging Kit, helping to maximize energy efficiency and enhance system durability.

PREPARATION BEFORE INSTALLATION
-
Solar Panel Positioning and Tilt Angle
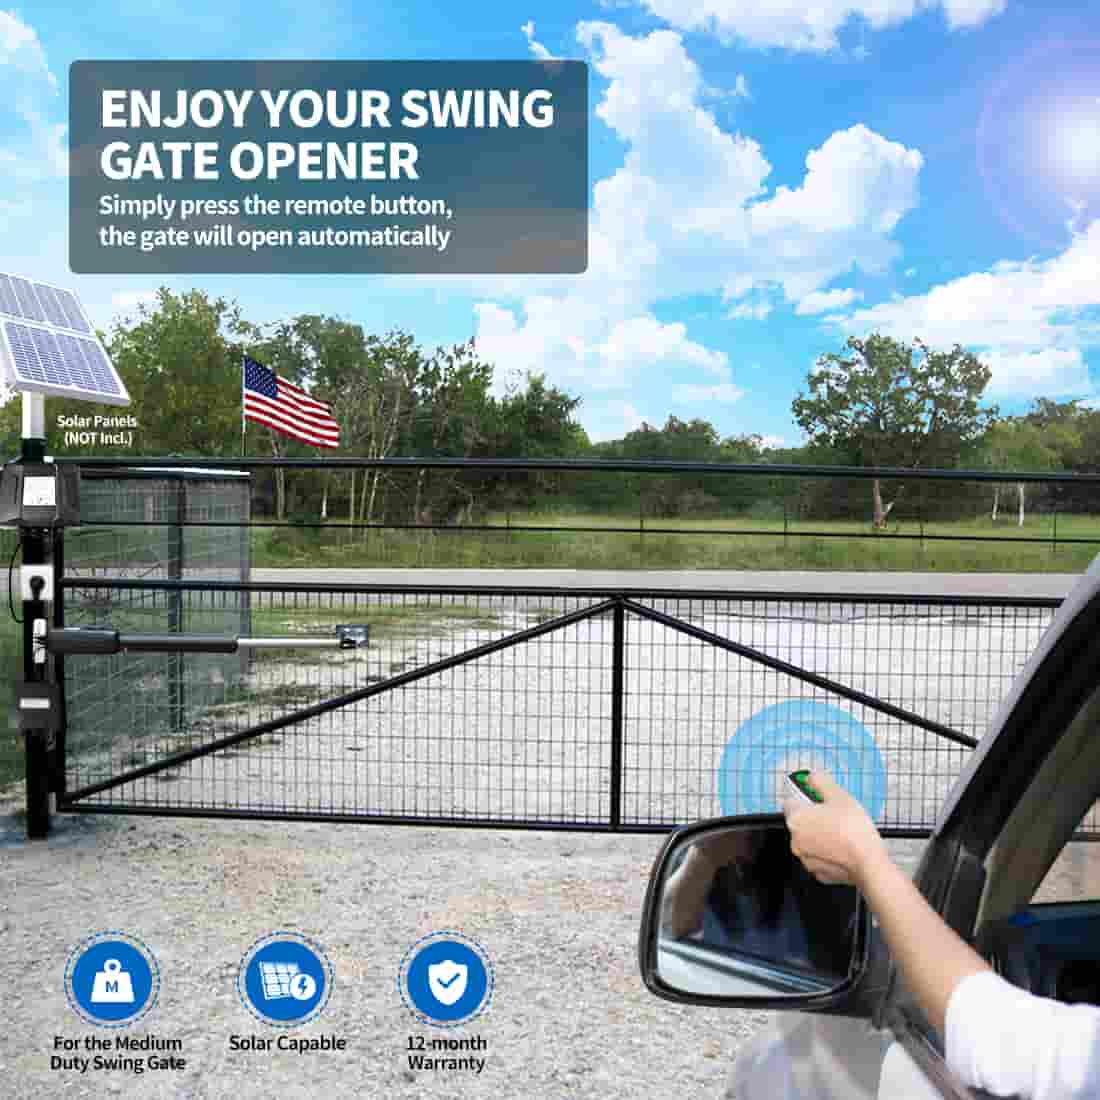
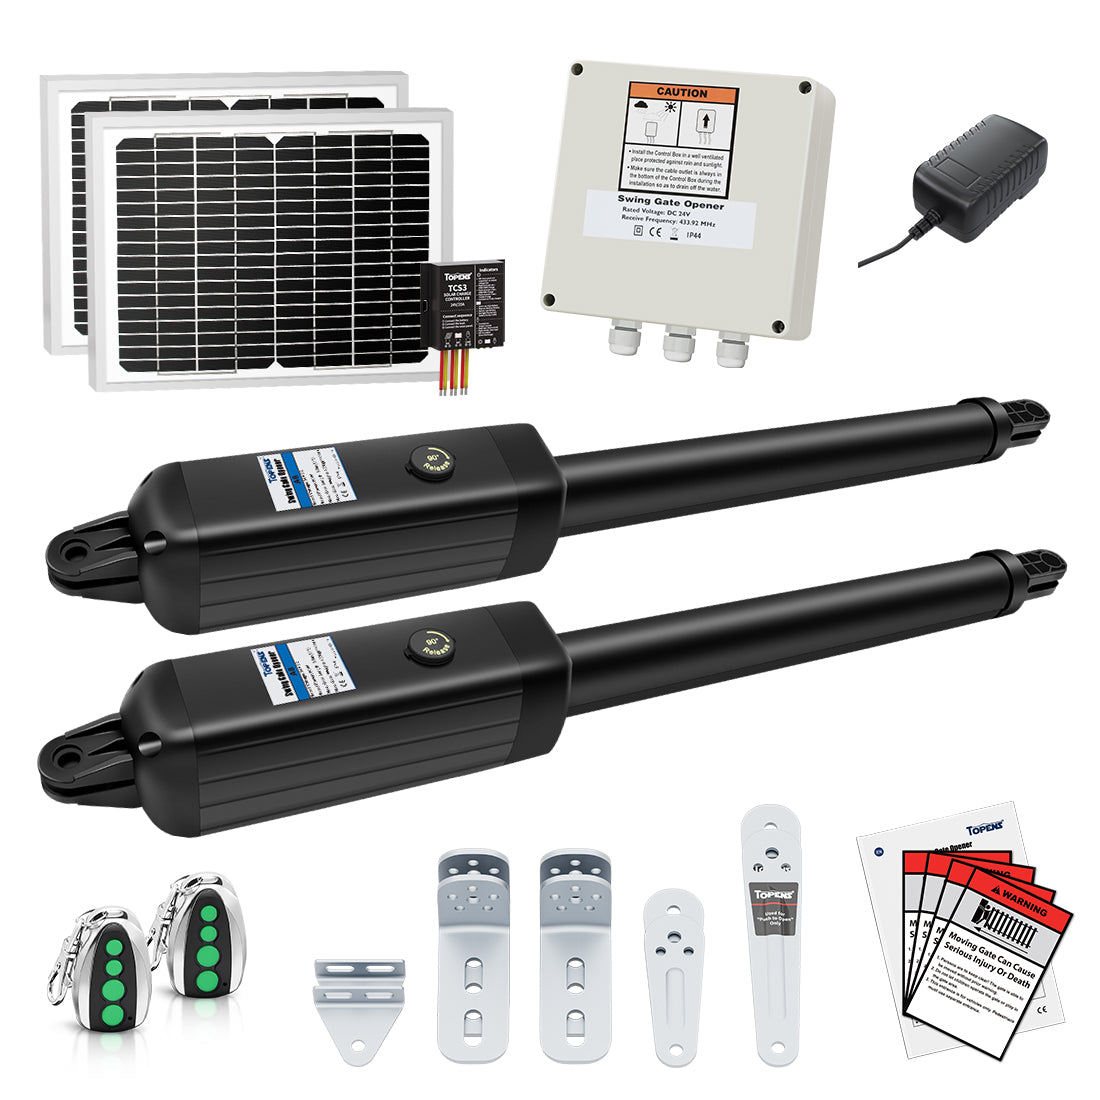
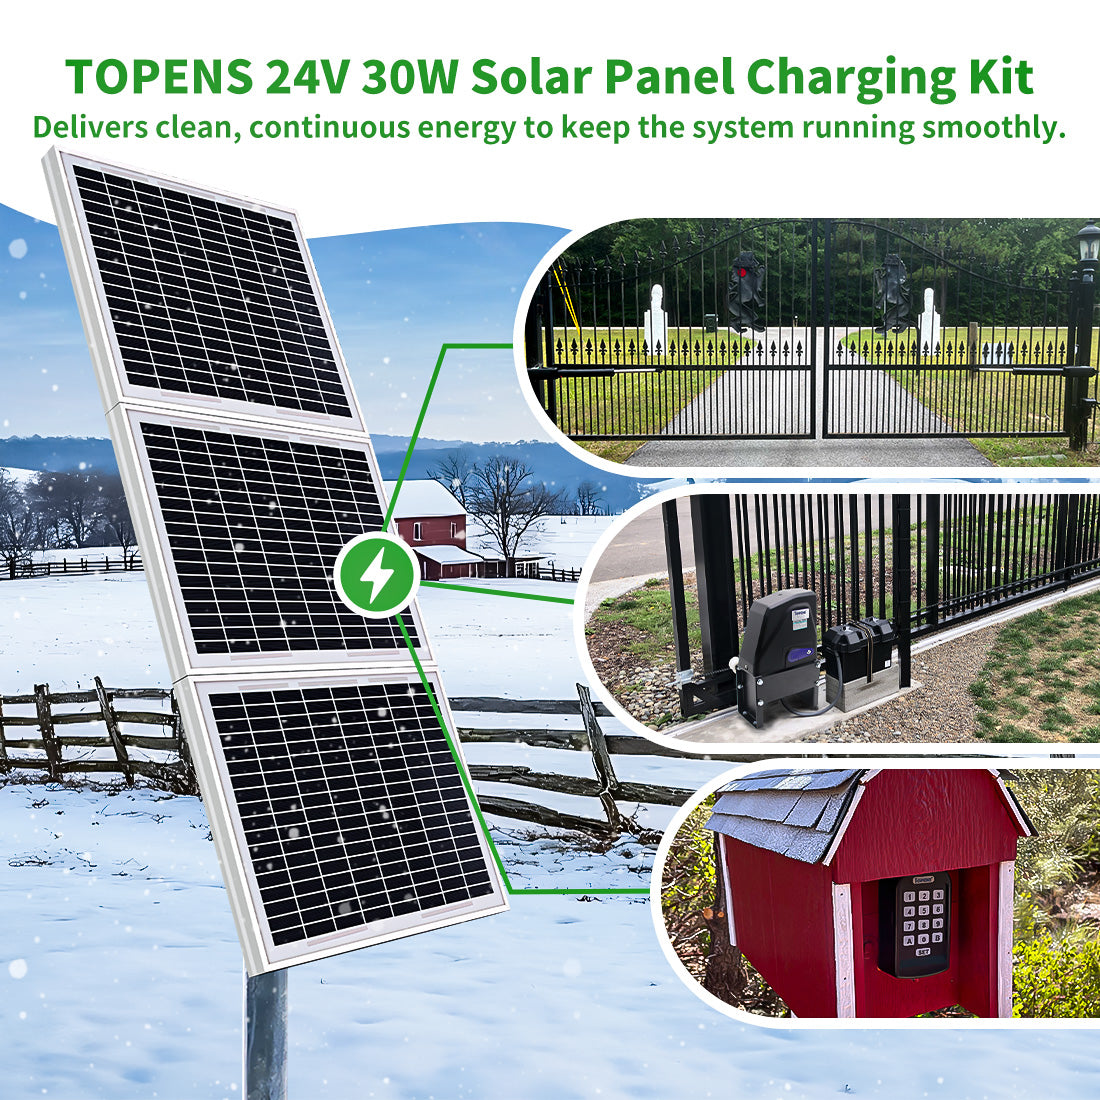
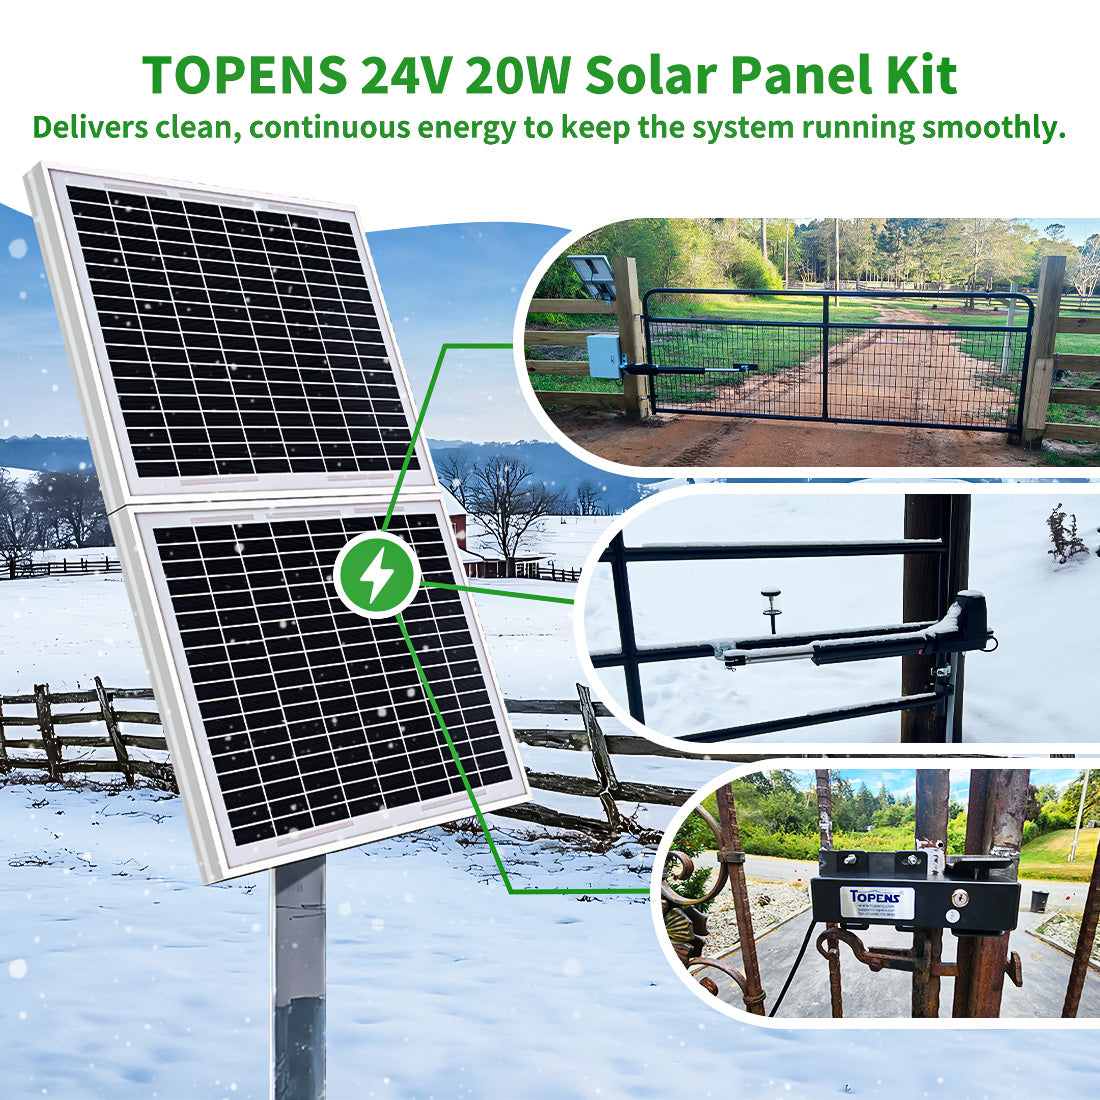
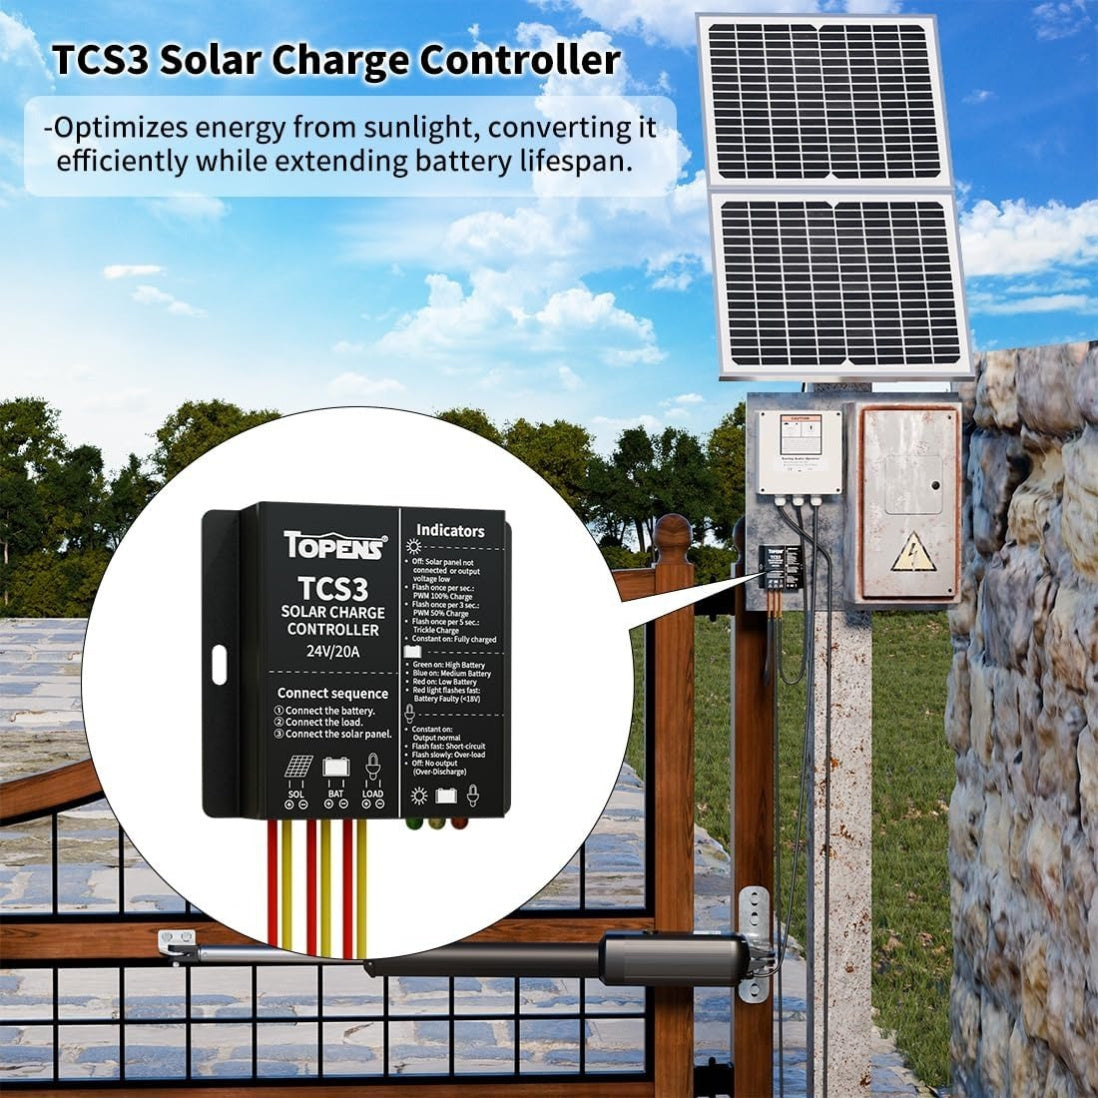
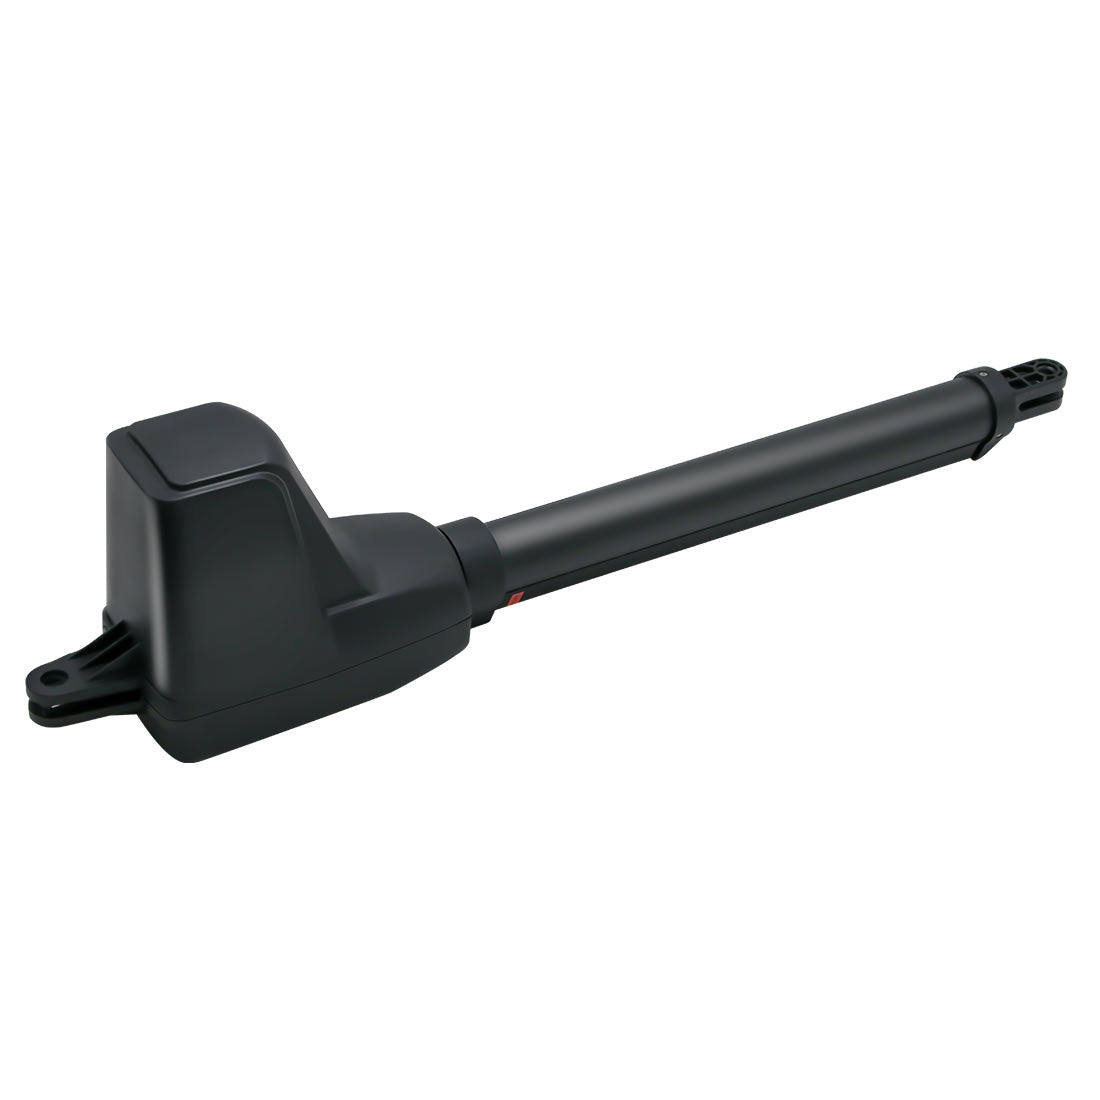
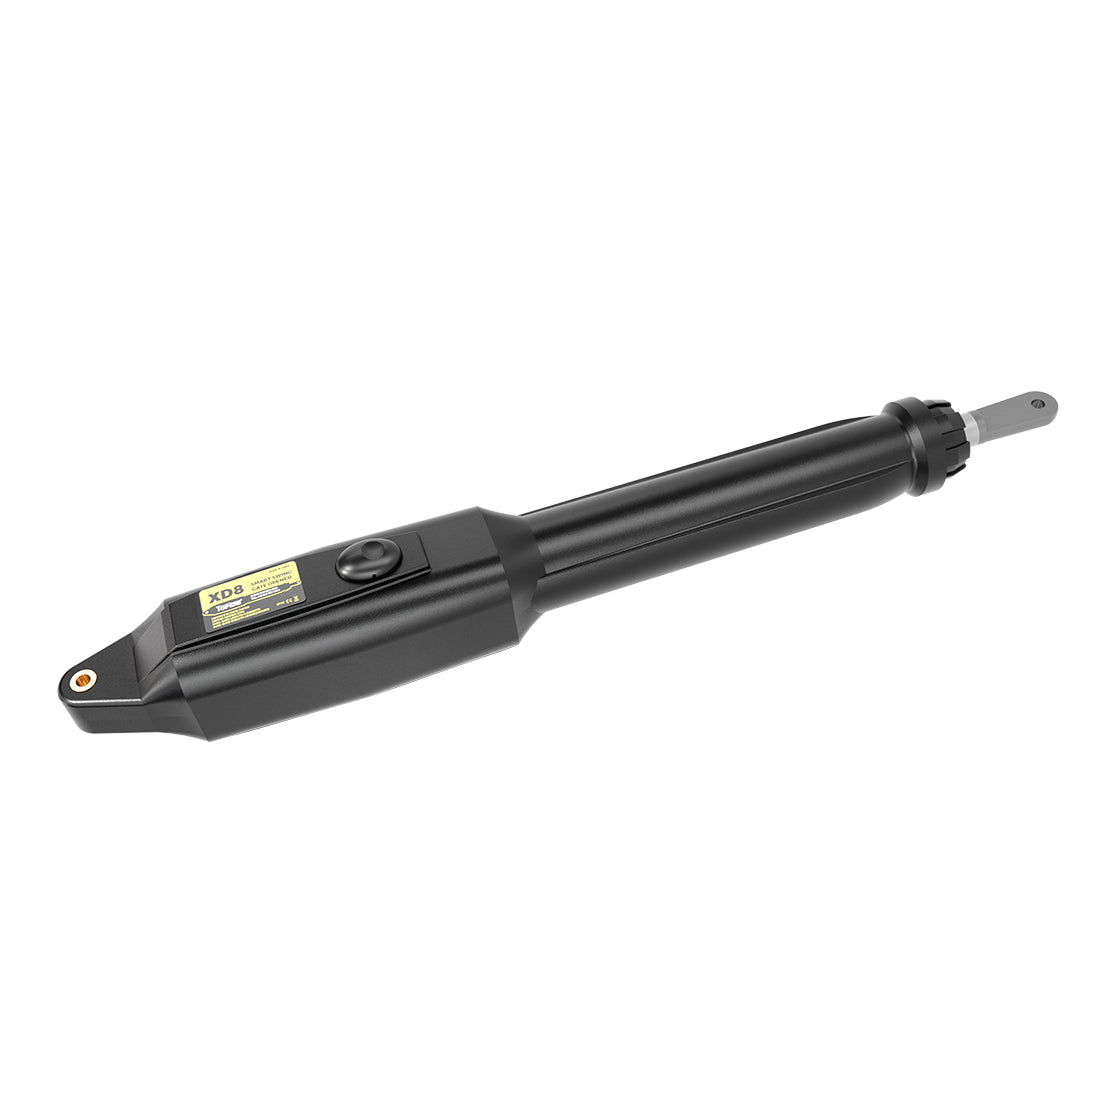
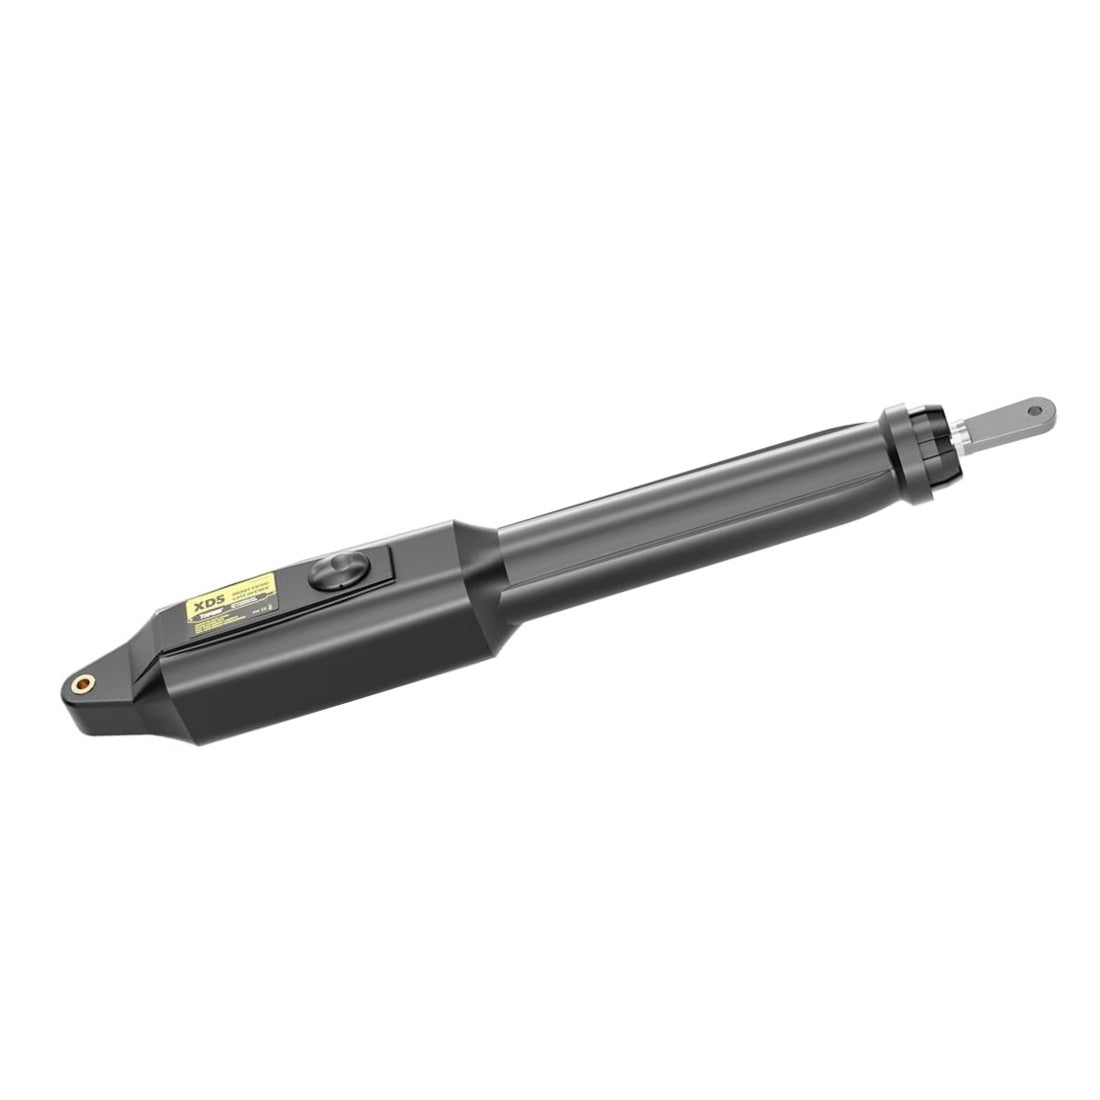
a. Installation location: For optimal efficiency, the solar panel should be installed as close as possible to the automatic gate opener. This minimizes wire length and reduces power loss during transmission. Alternatively, the panel can be mounted on rooftops or treetops to maximize sunlight exposure.
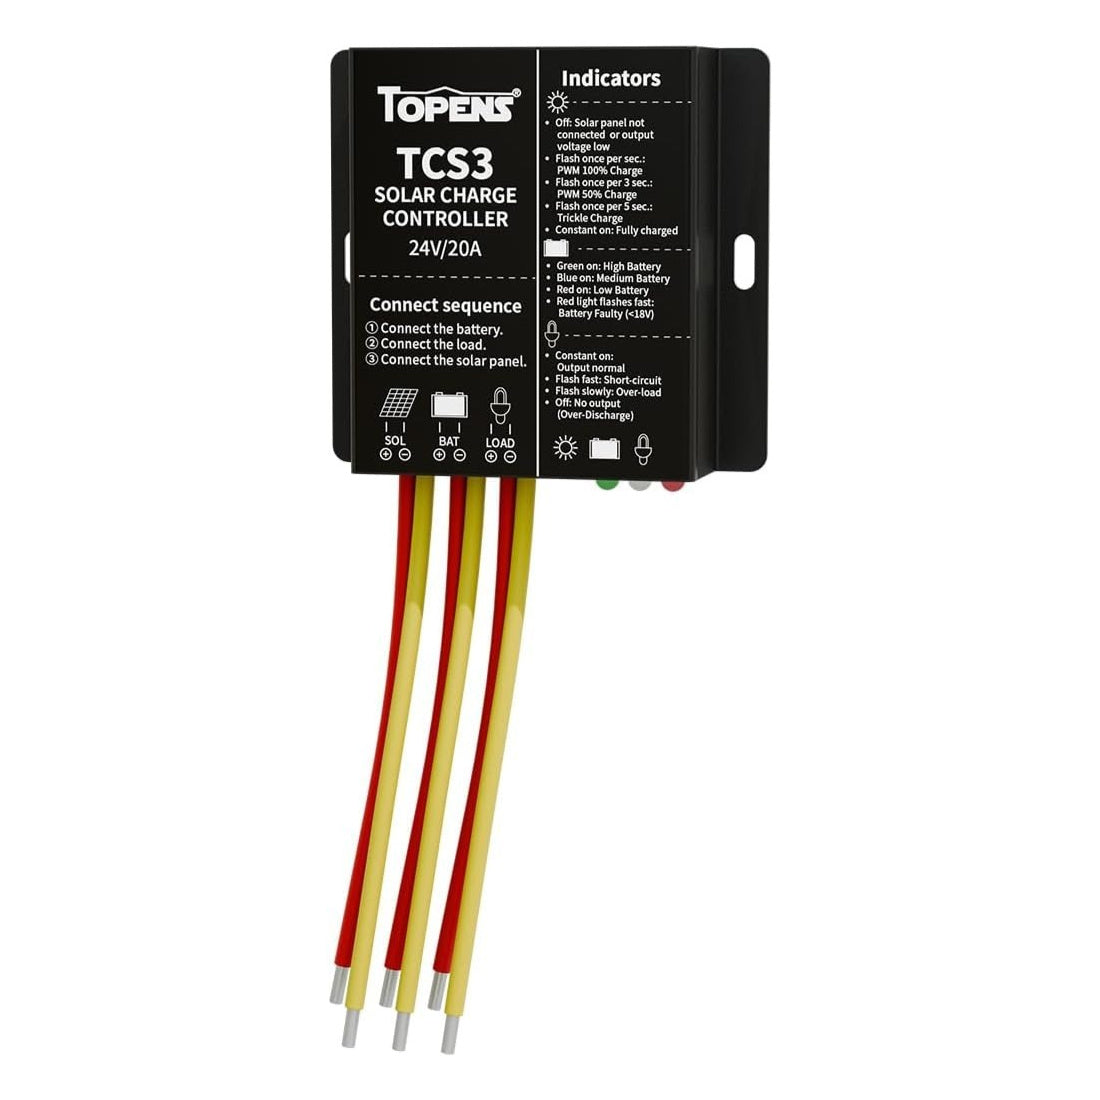
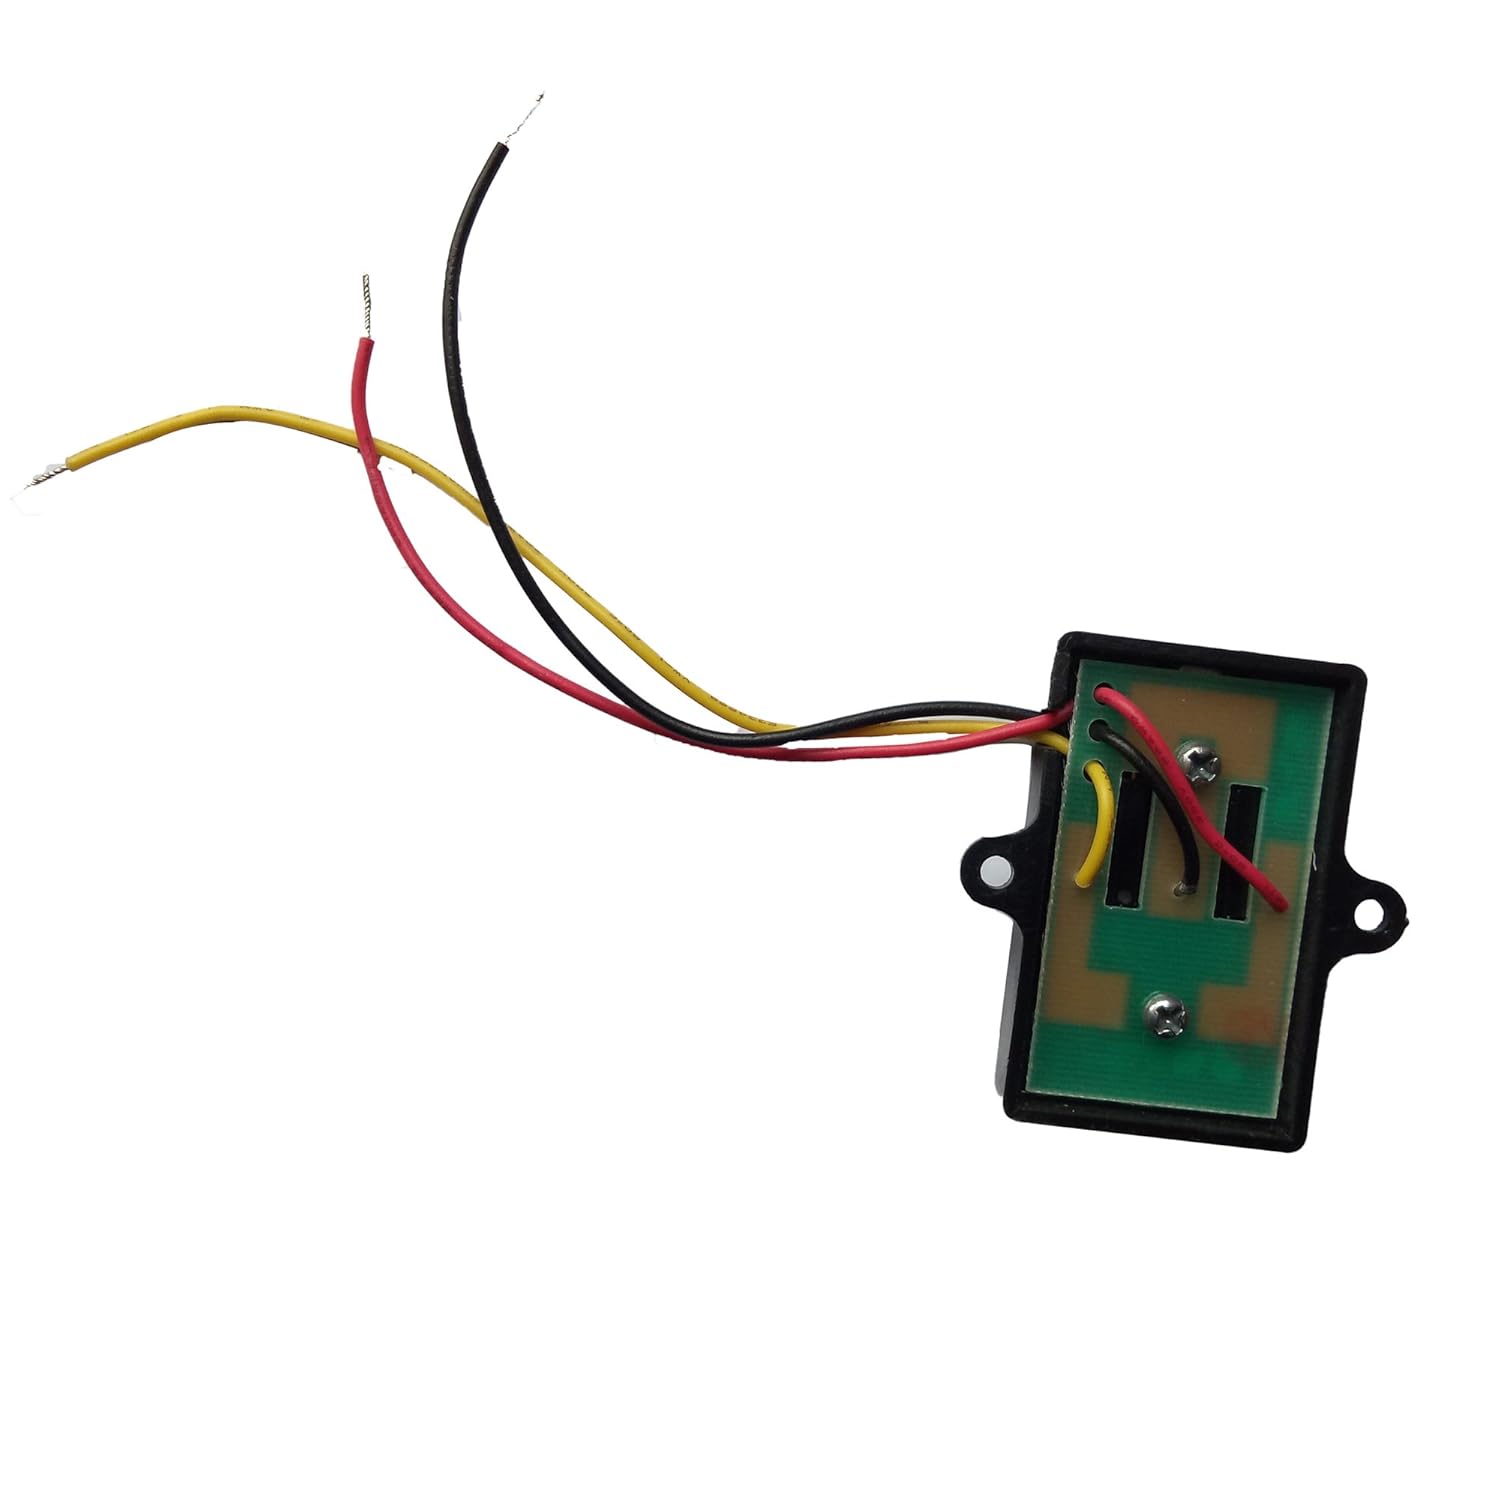
Note: The extension cable between the solar panel and the solar controller should not exceed 15 meters. A longer cable may result in charging losses or induce high-voltage signal coupling at the solar panel input, potentially damaging the power supply.
b. Installation Direction: The solar panel should face south if it is located north of the equator. If it is located south of the equator, it should face north. Adjust the orientation as needed based on the specific site conditions to achieve the best exposure.
c. Installation Tilt Angle: A tilt angle of approximately 45 degrees is generally recommended to ensure consistent sunlight exposure throughout most seasons and latitudes. For optimal performance, adjust the tilt angle according to the site's geographical latitude. Seasonal fine-tuning may also be necessary to account for variations in solar altitude and maintain peak energy generation.
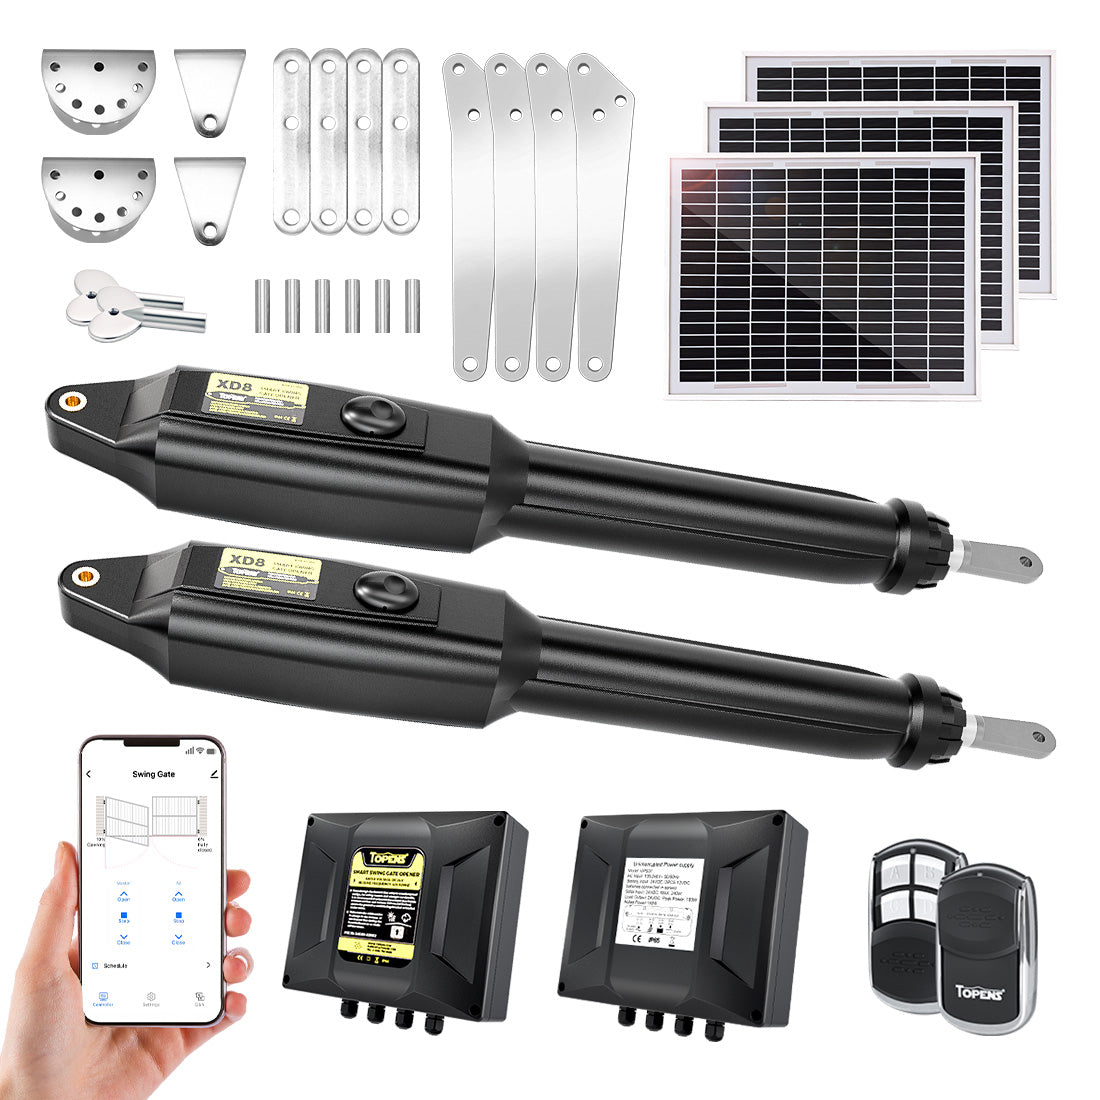
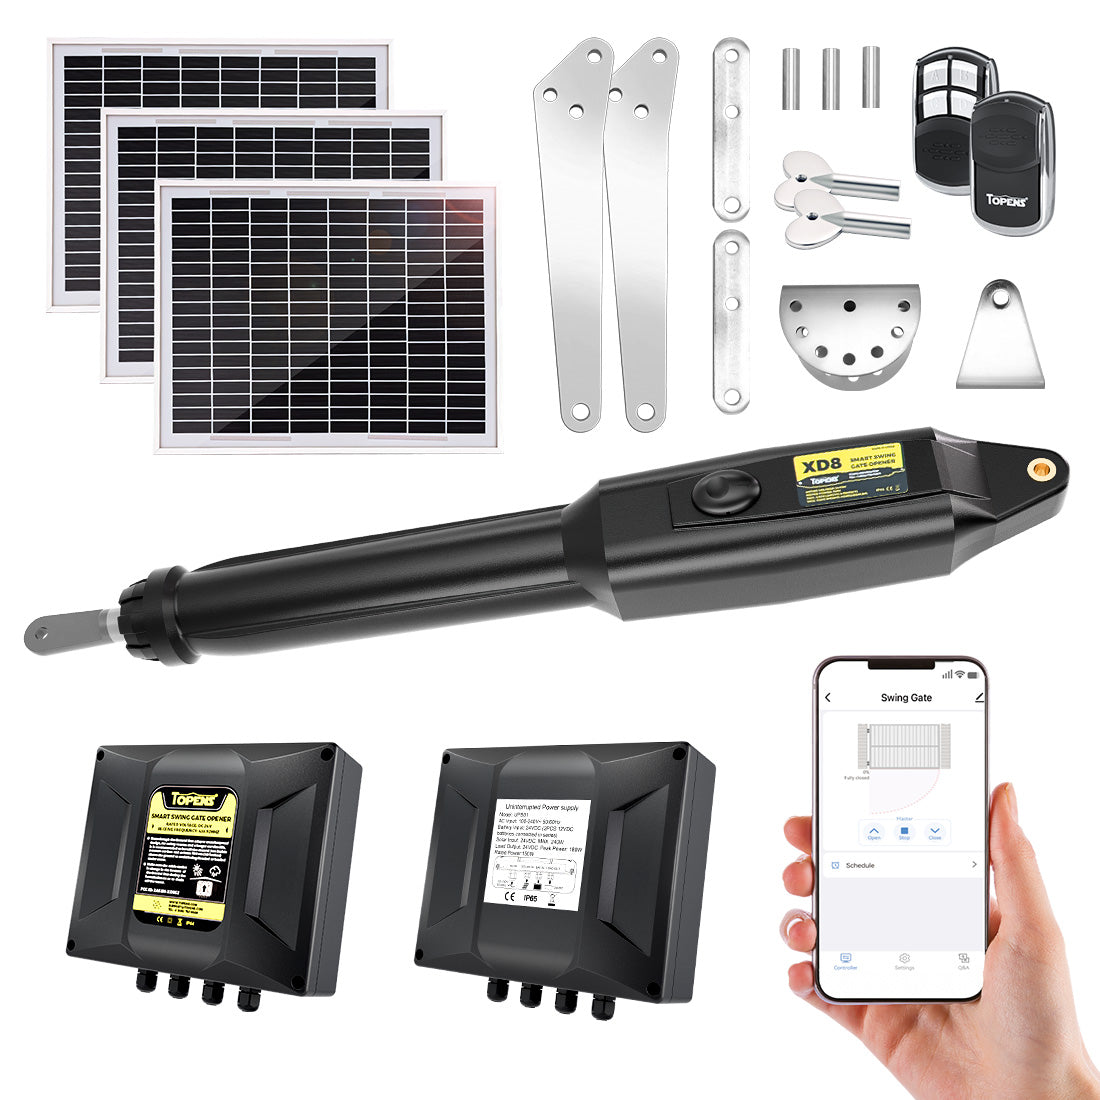
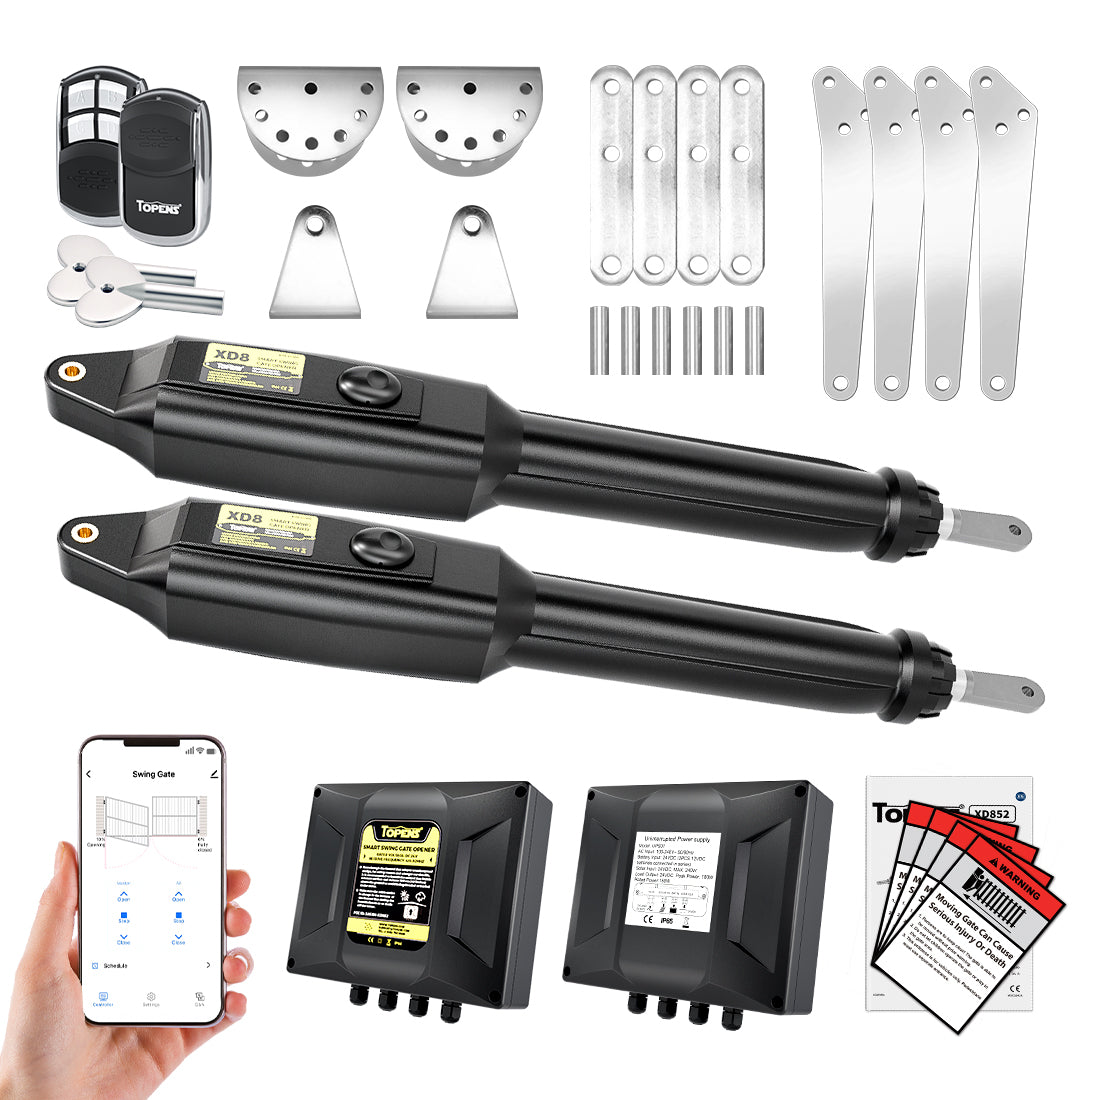
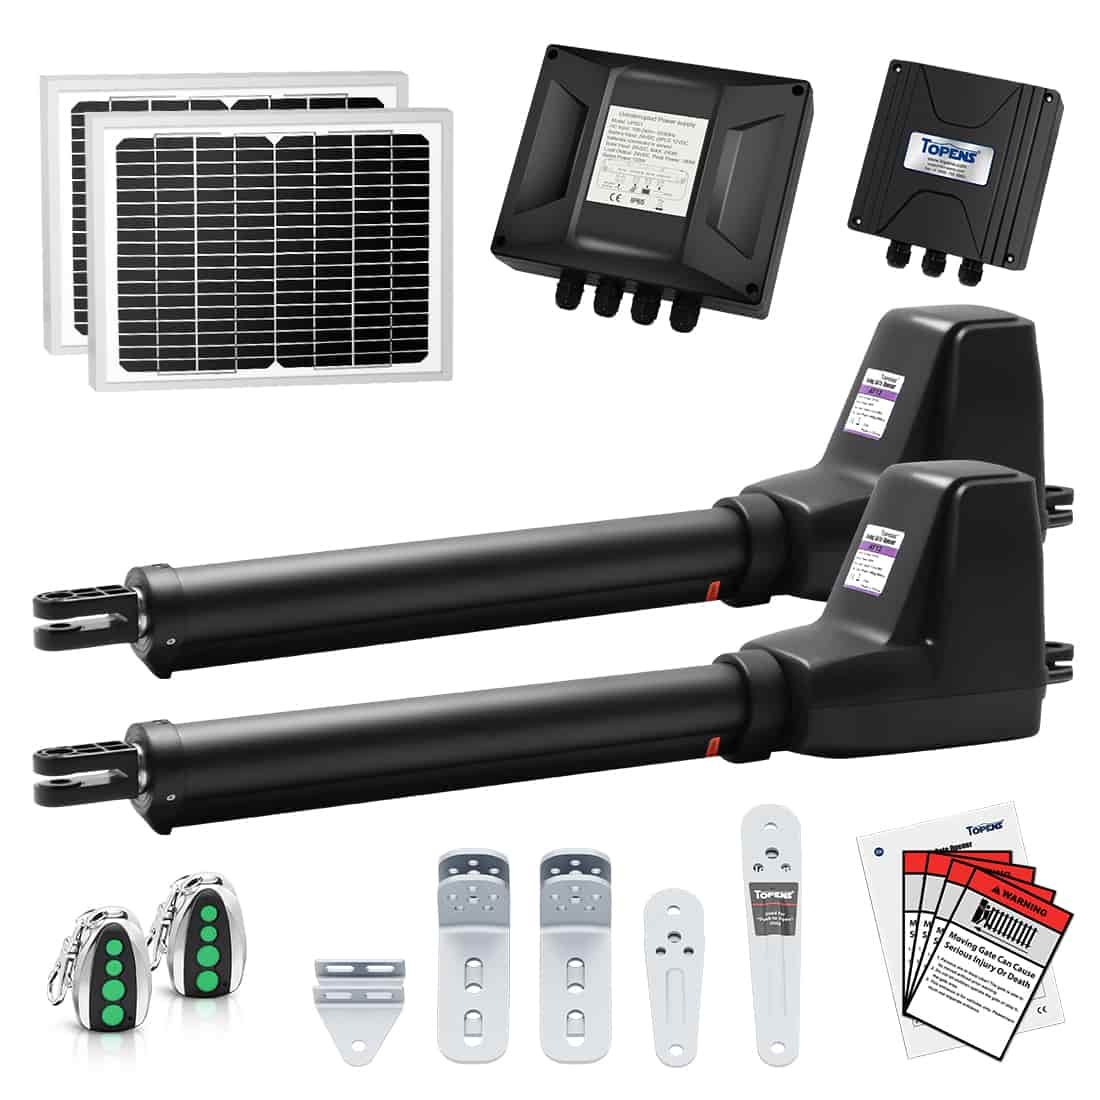
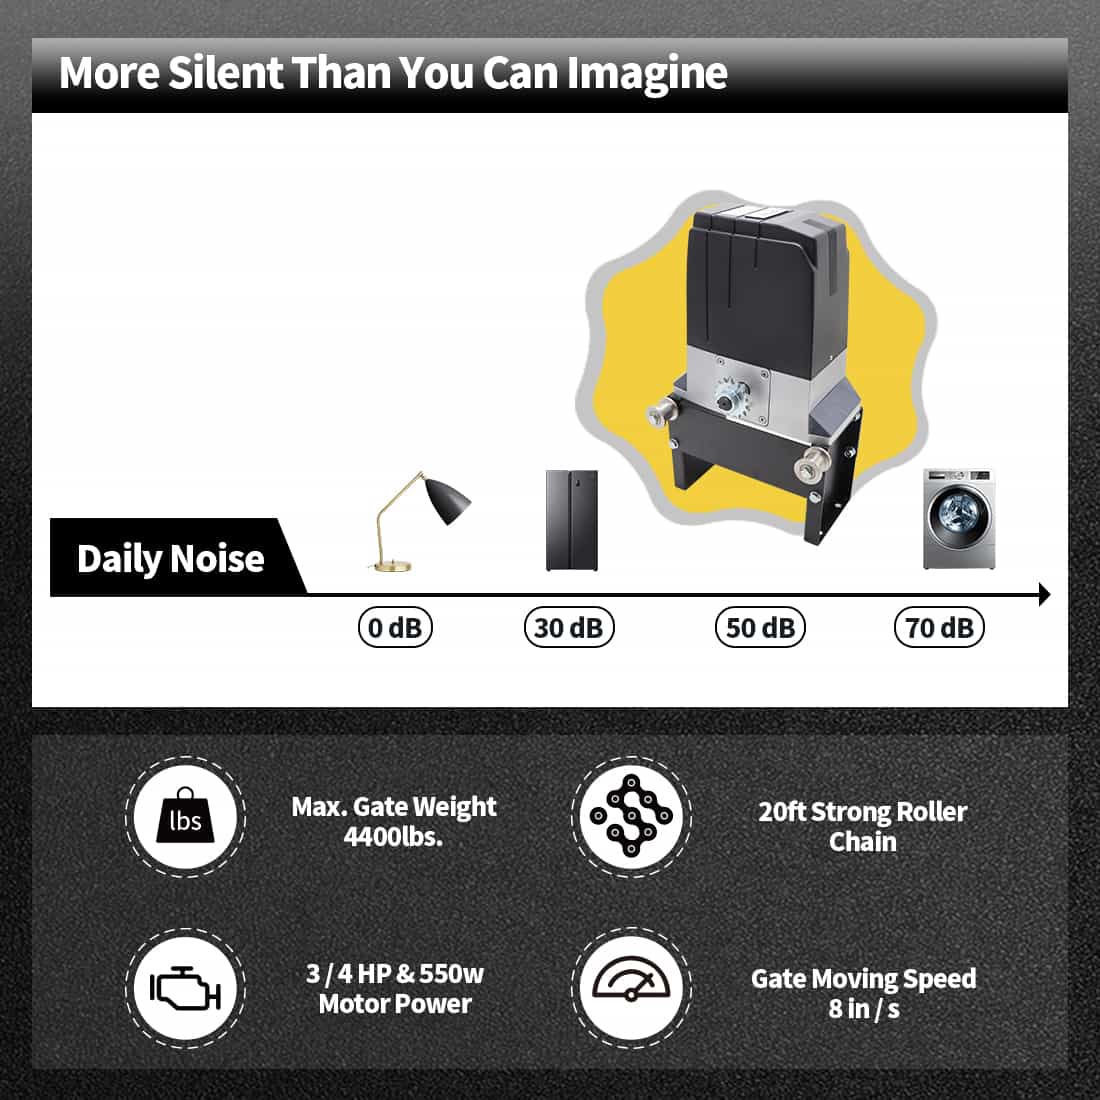
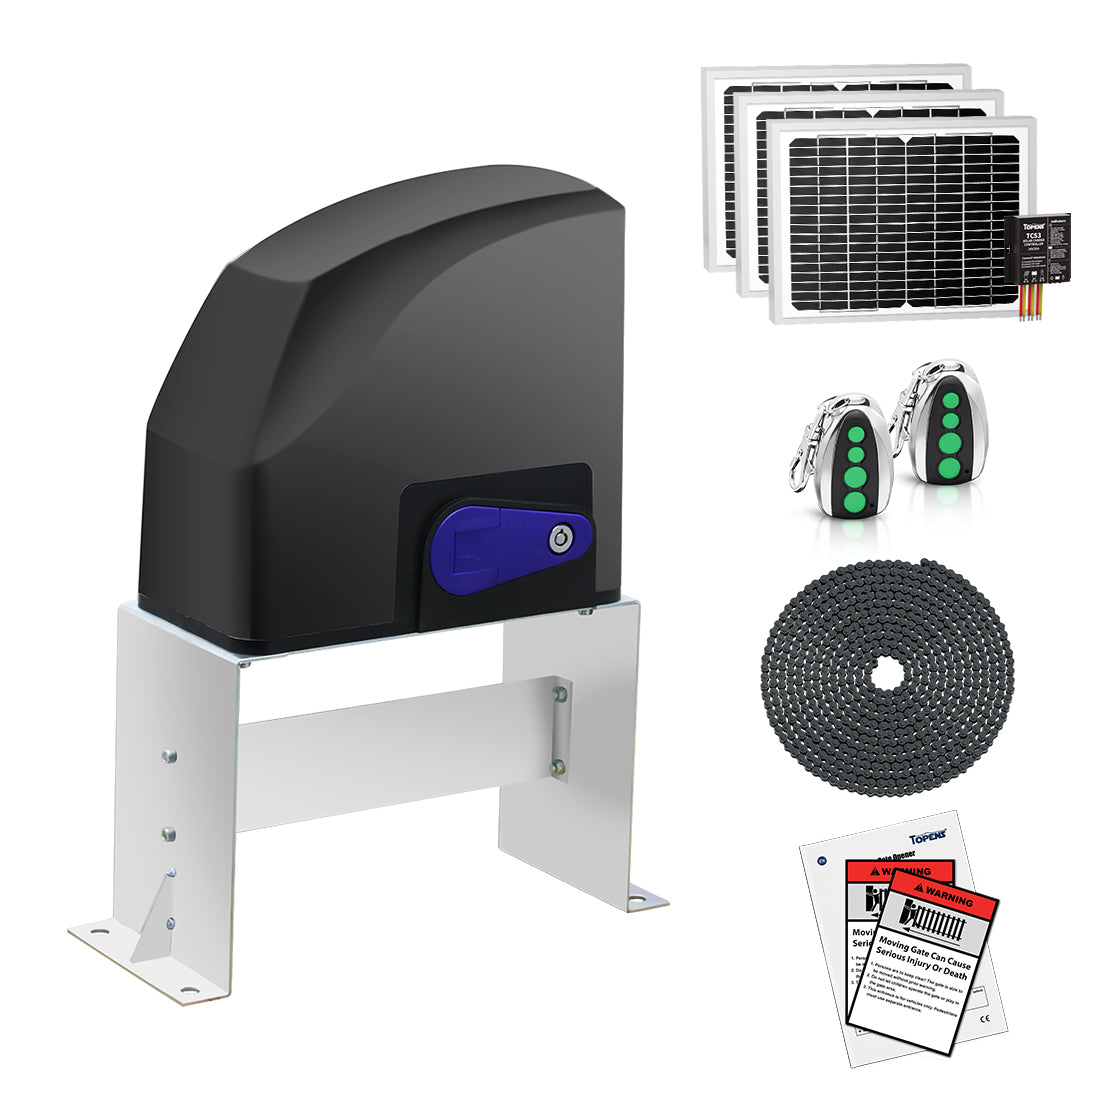
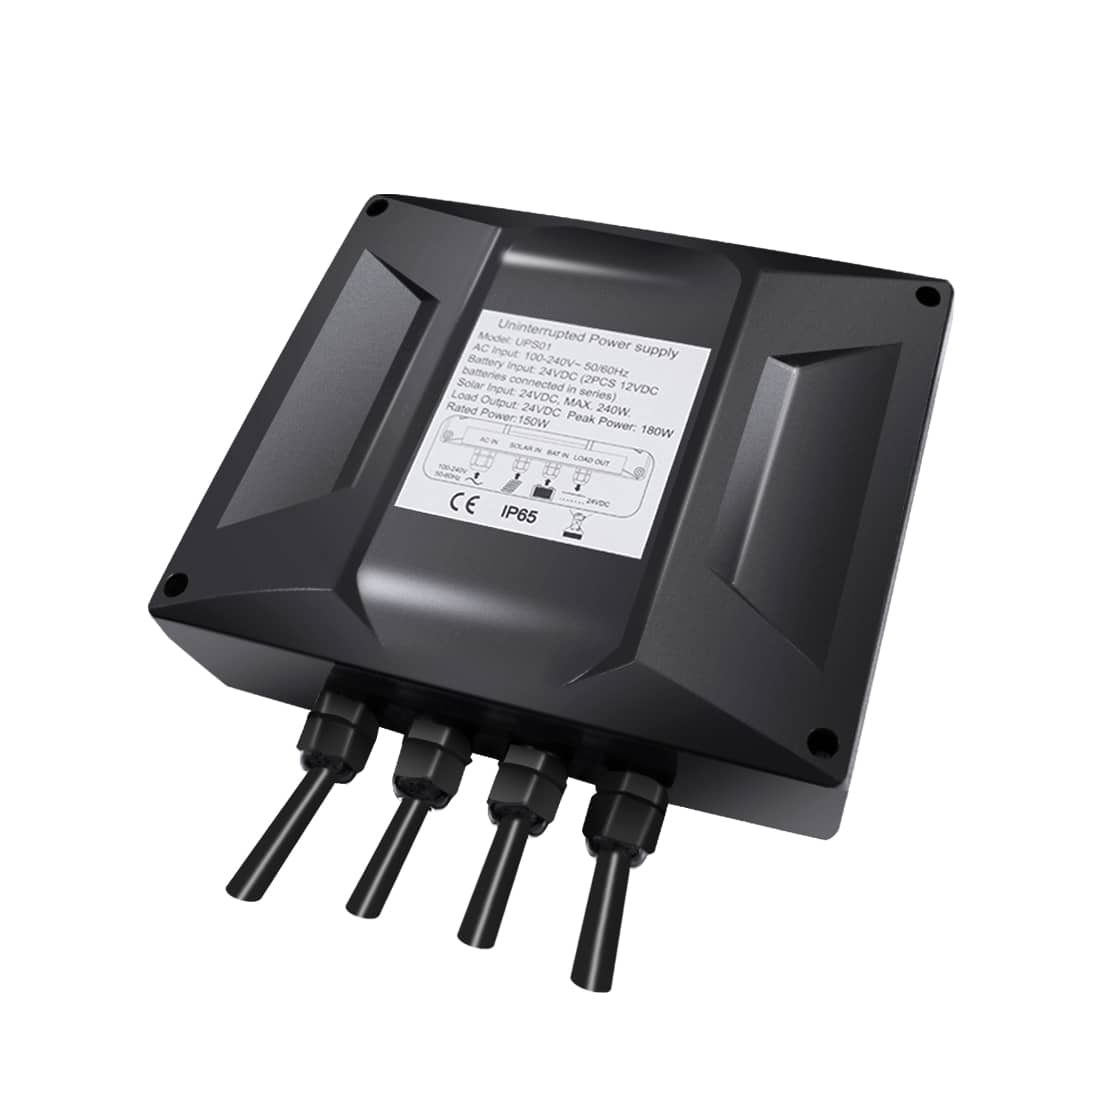
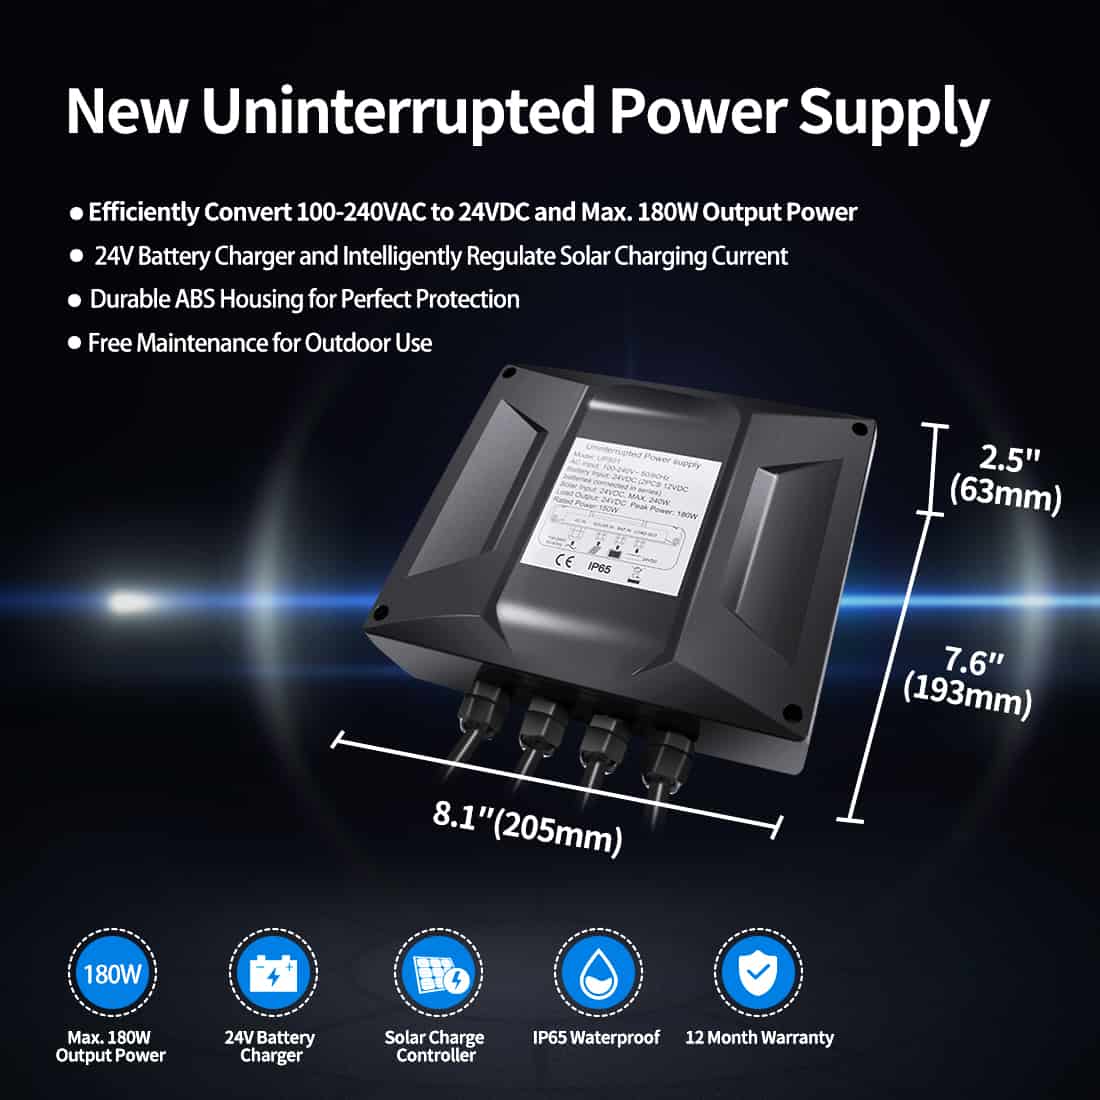
Note: When integrating third-party solar panels with our solar panel kit, it is recommended to use 24V panels. The power supply of the gate opener system supports a maximum solar panel power of 240W. Exceeding this limit can cause damage to the power supply.
-
Safety Protection
a. Avoid installing or wiring the system during adverse weather conditions such as rain, snow, or strong winds.
b. Ensure all tools are in good condition before starting the installation. Do not use damaged or faulty tools.
c. Wear gloves and other appropriate protective equipment during installation to prevent injuries.
d. Secure all screws tightly to prevent loosening or detachment over time.
SOLAR PANEL INSTALLATION AND WIRING
-
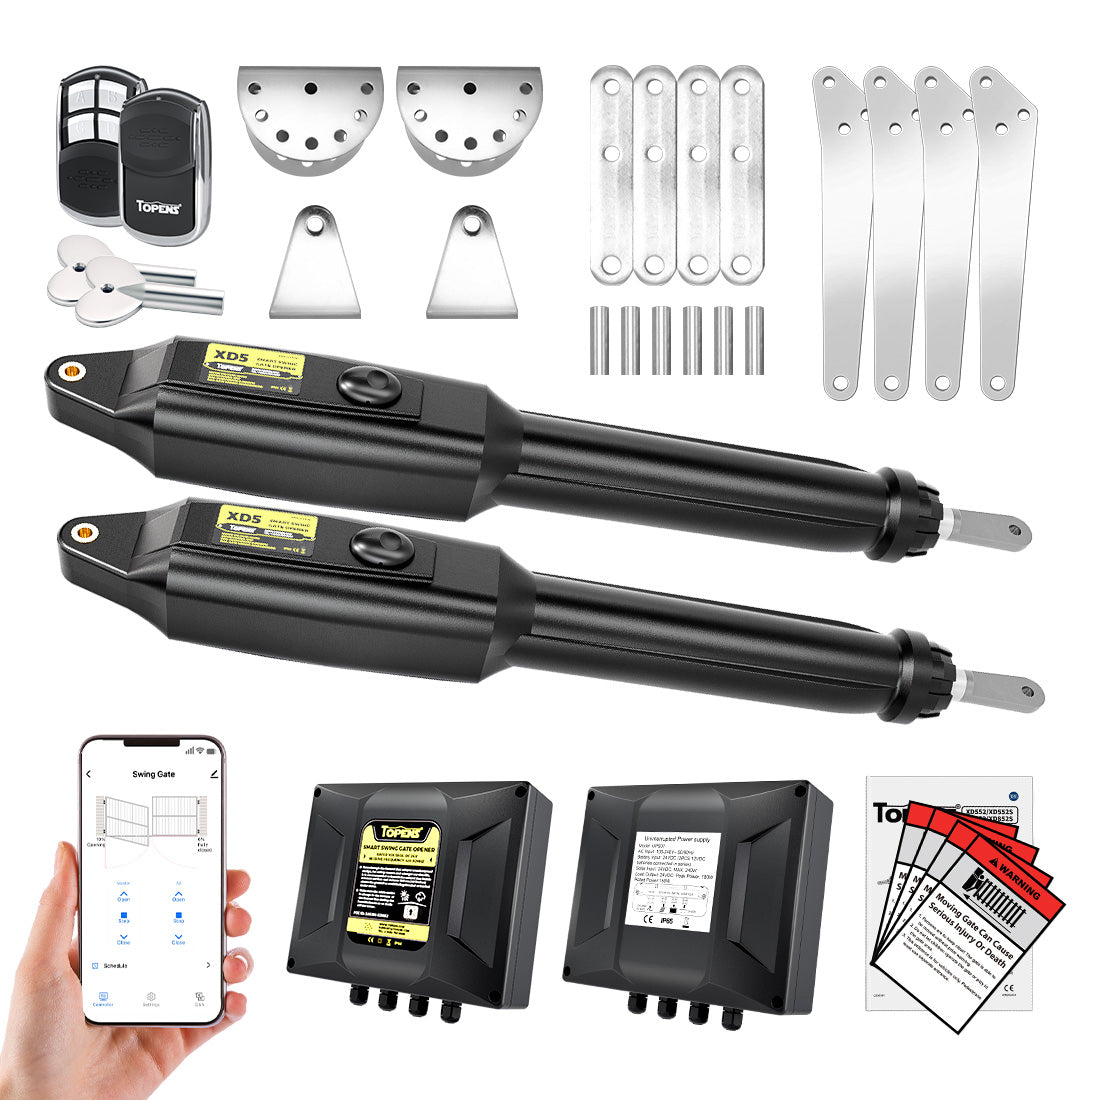
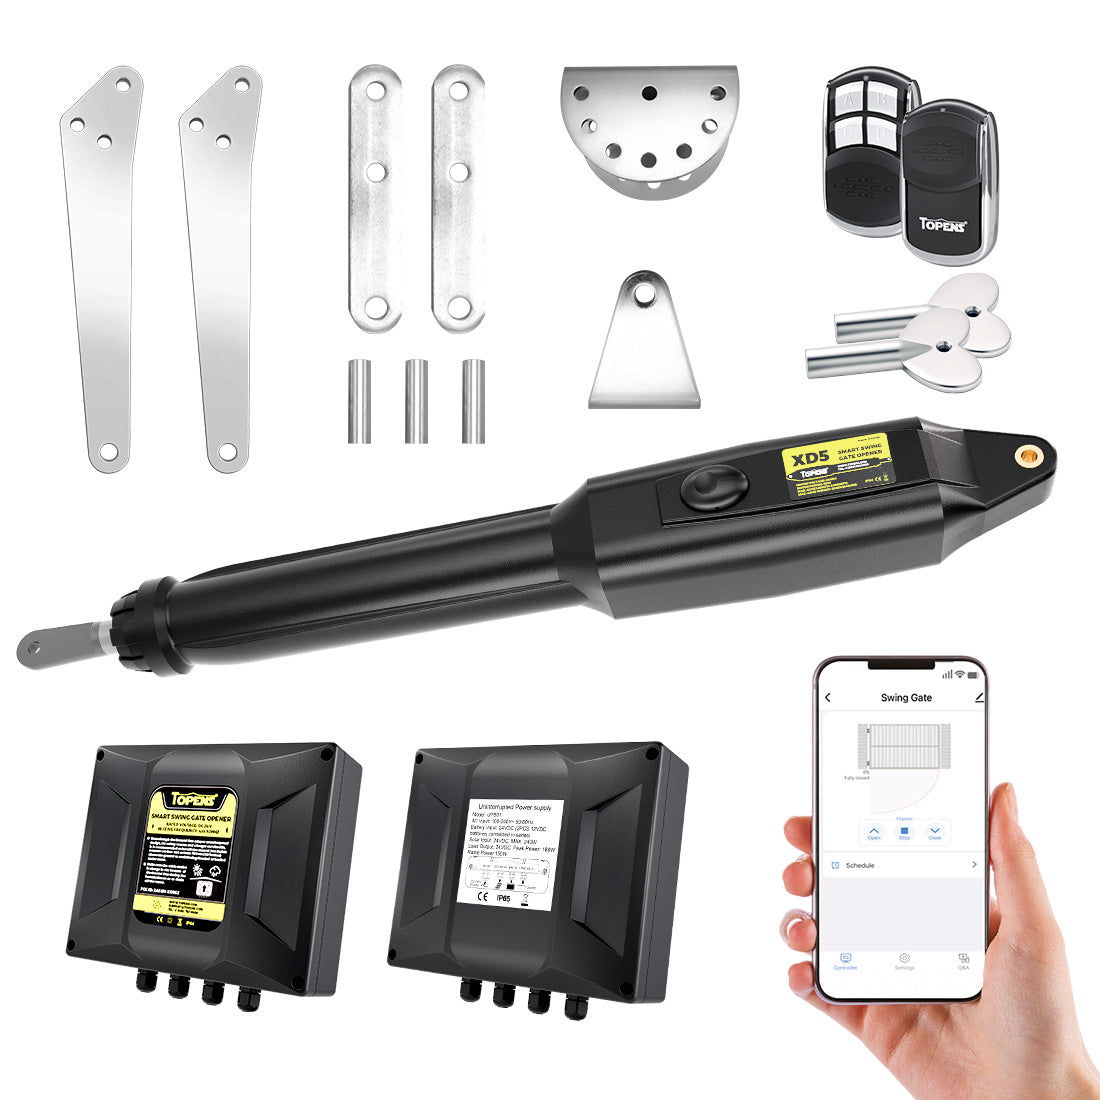
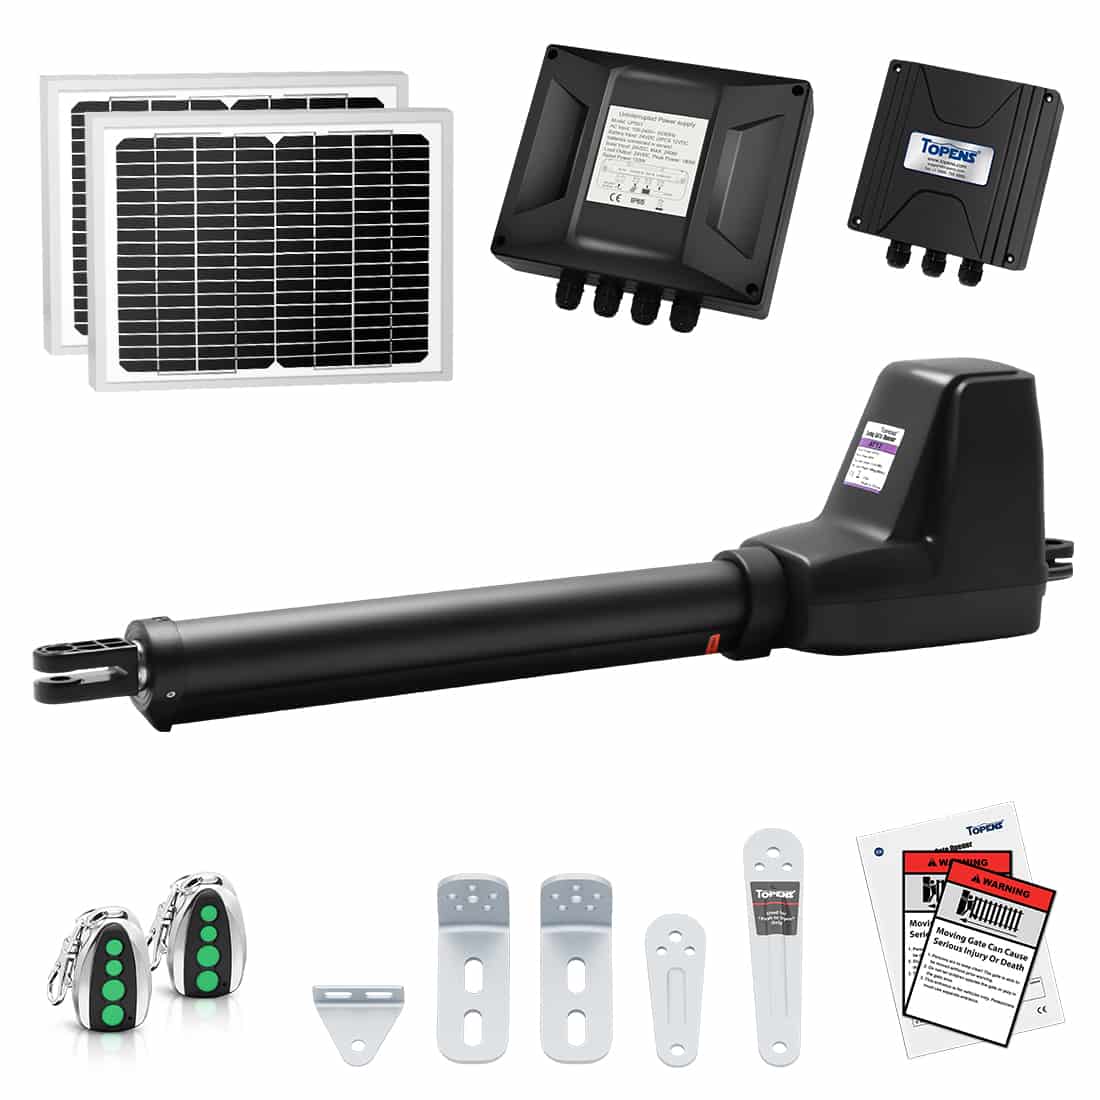
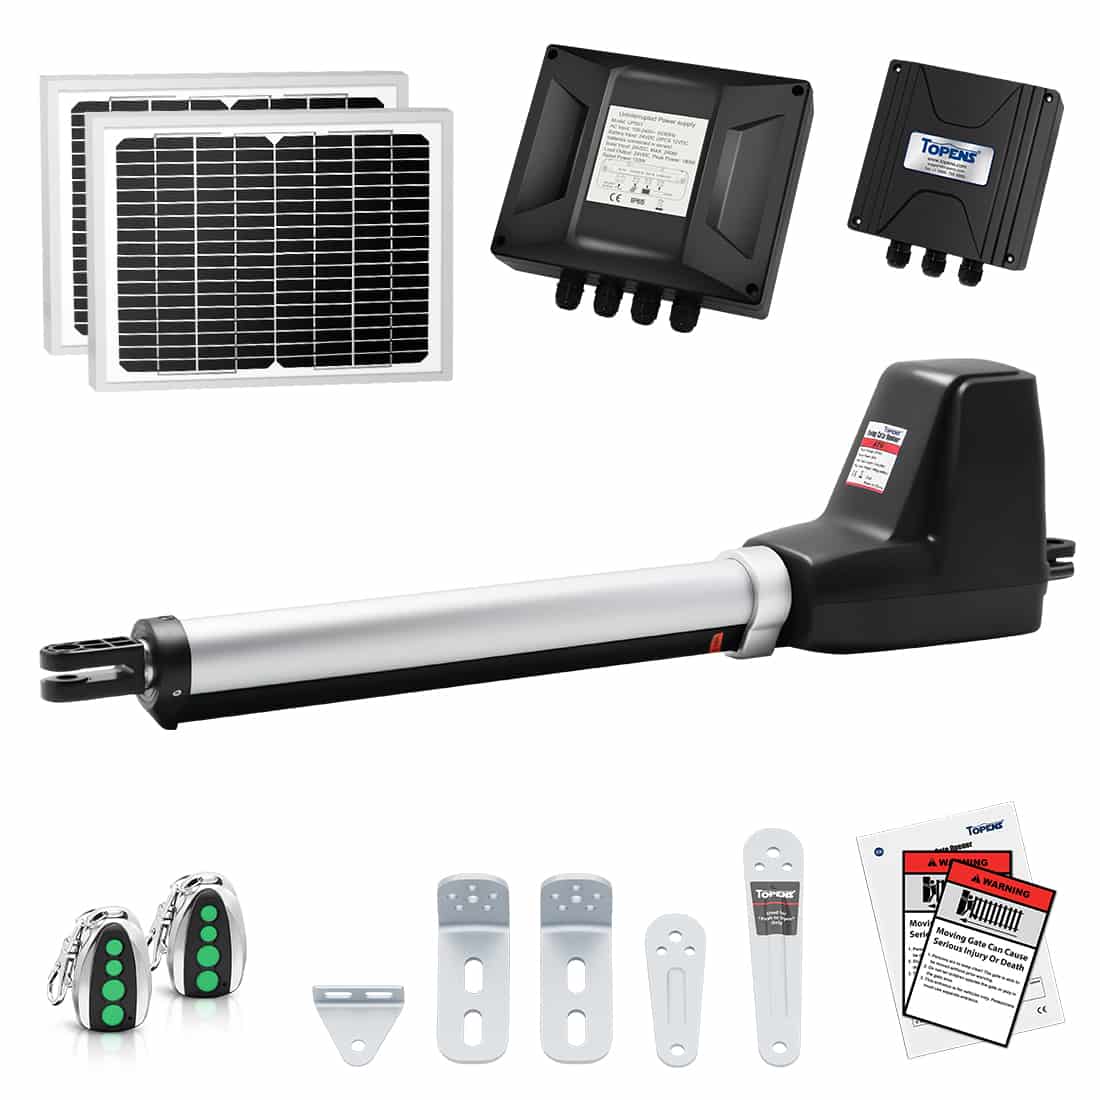
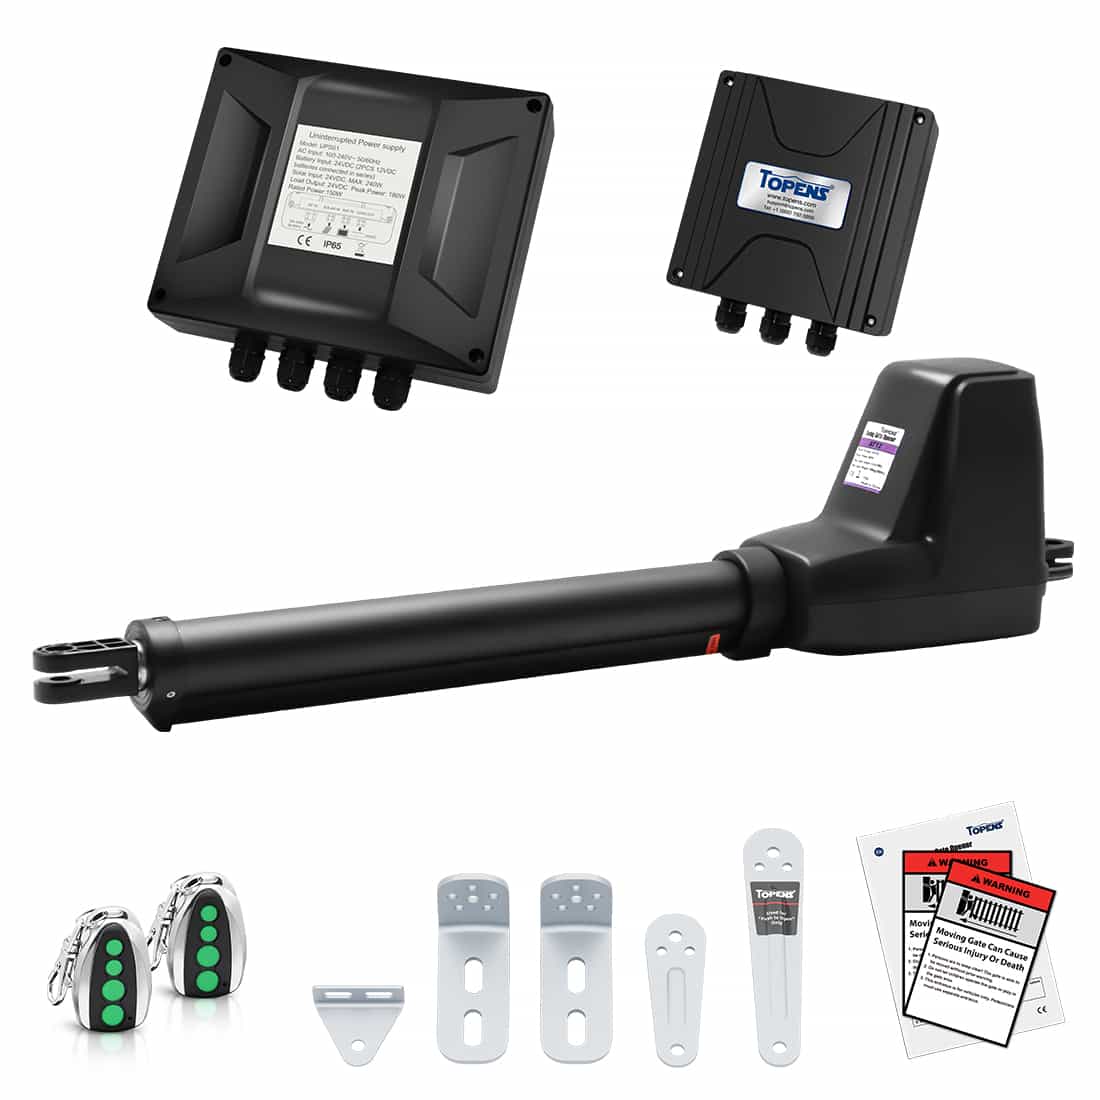
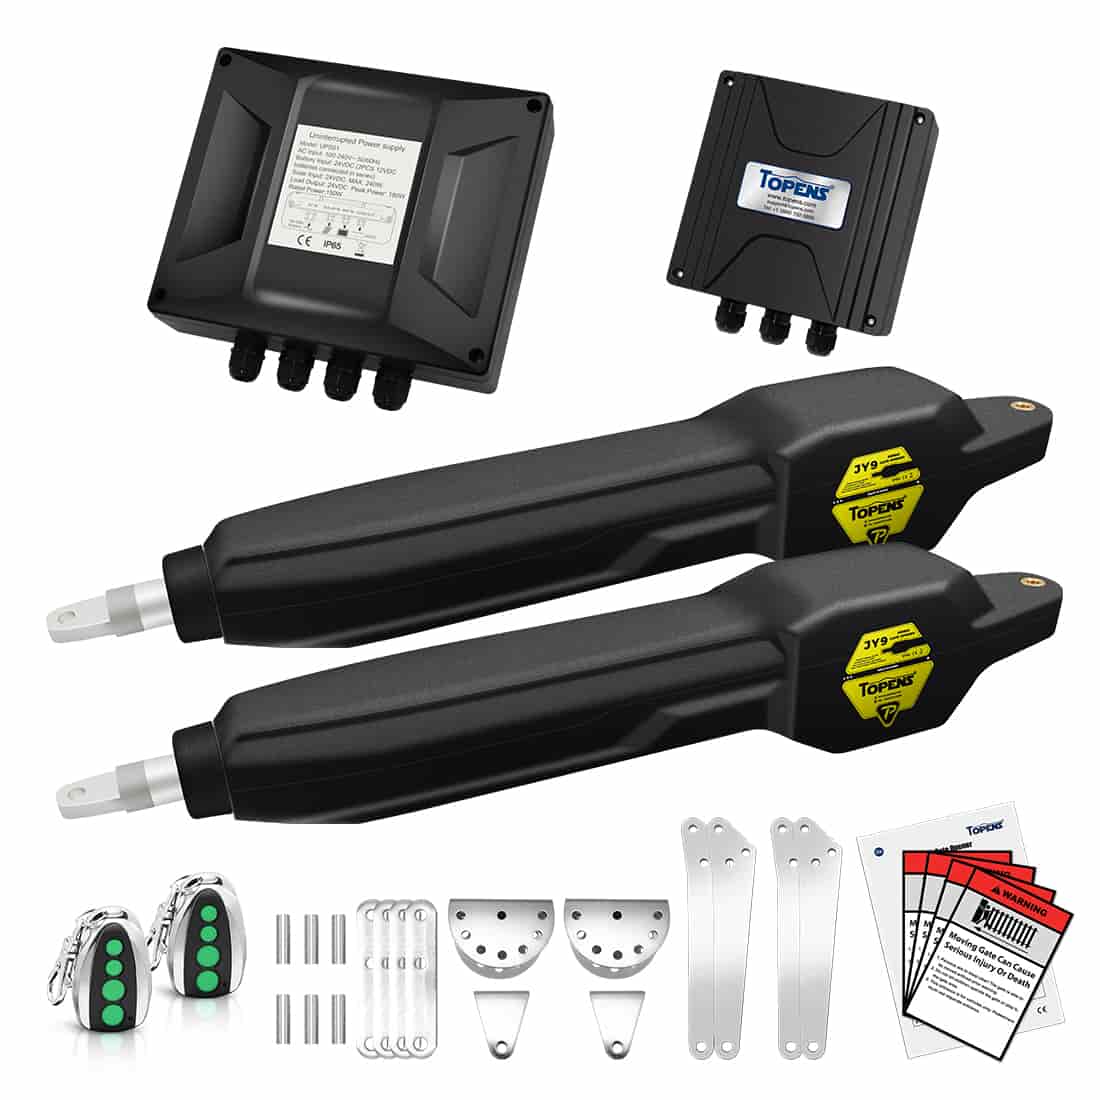
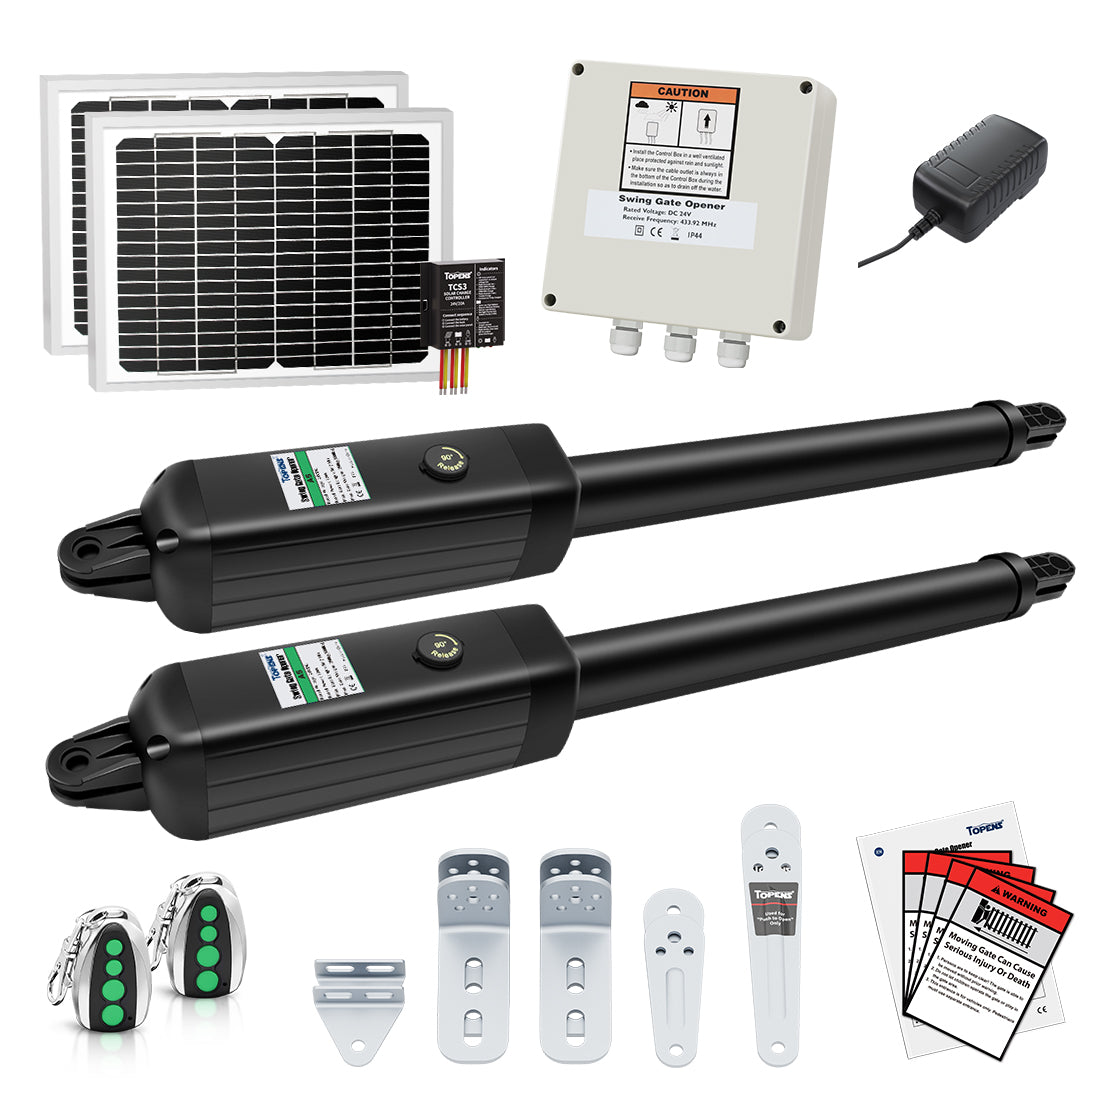
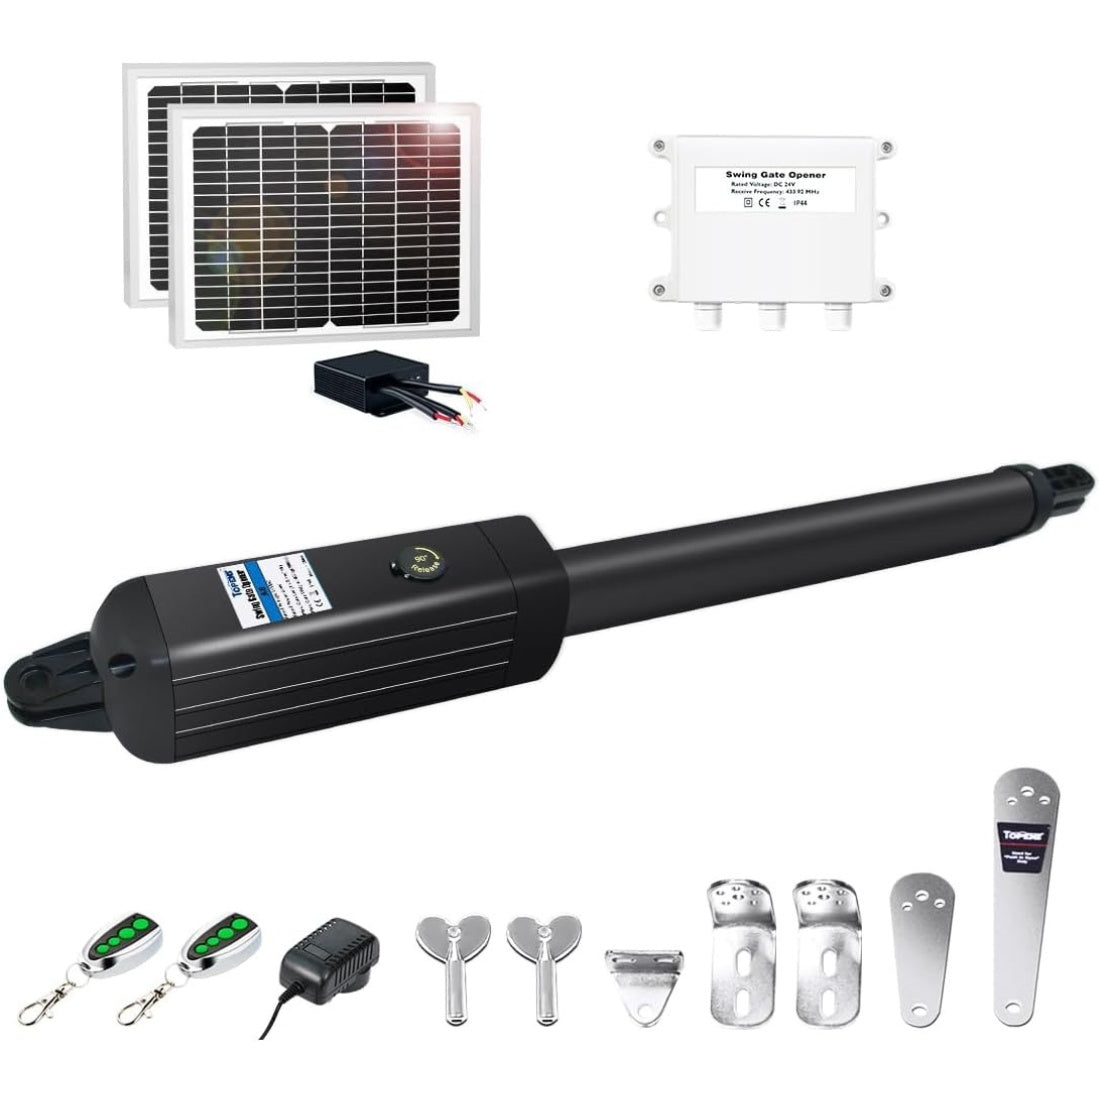
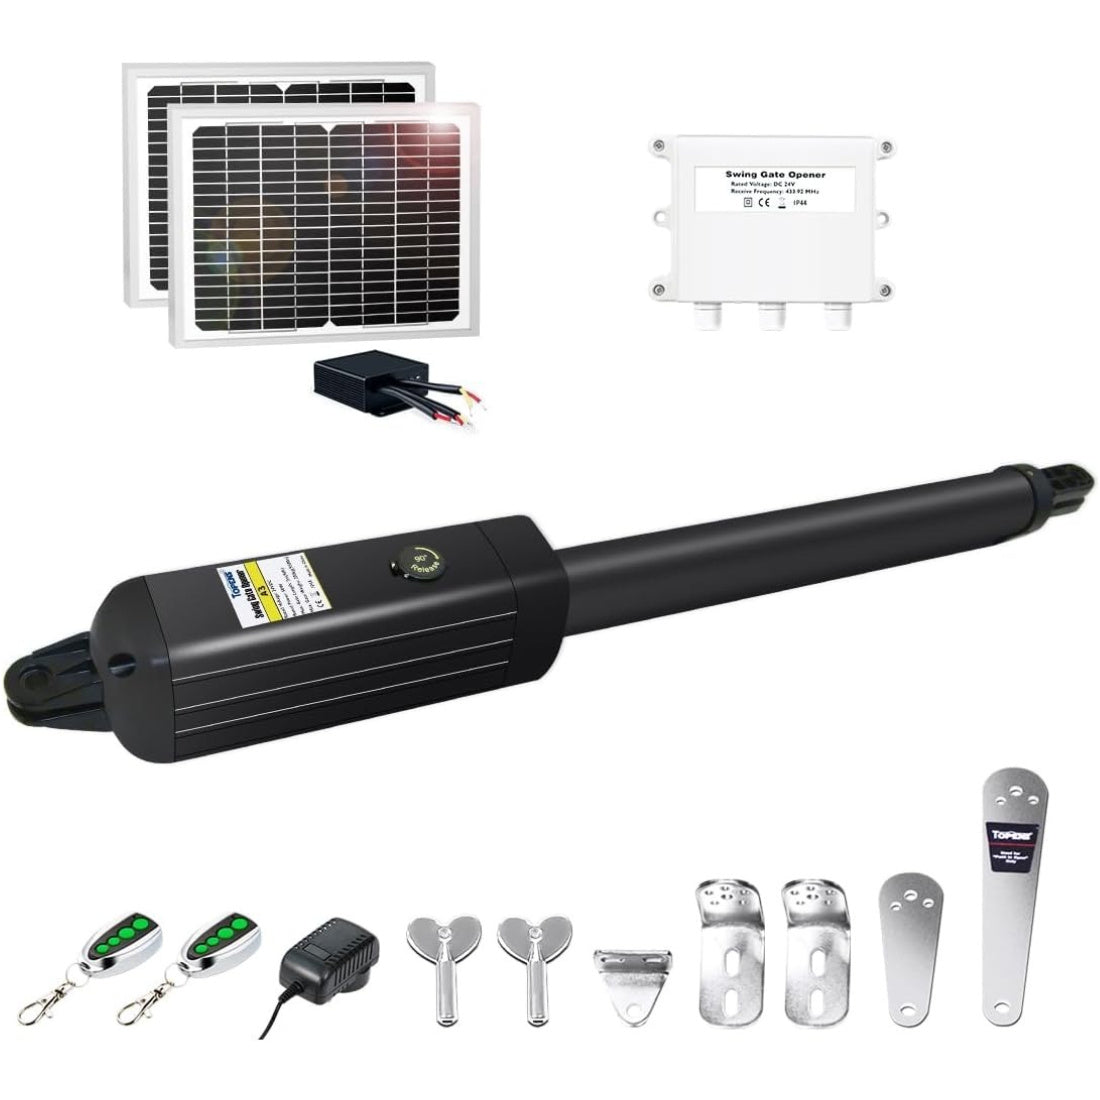
Solar Panel Installation
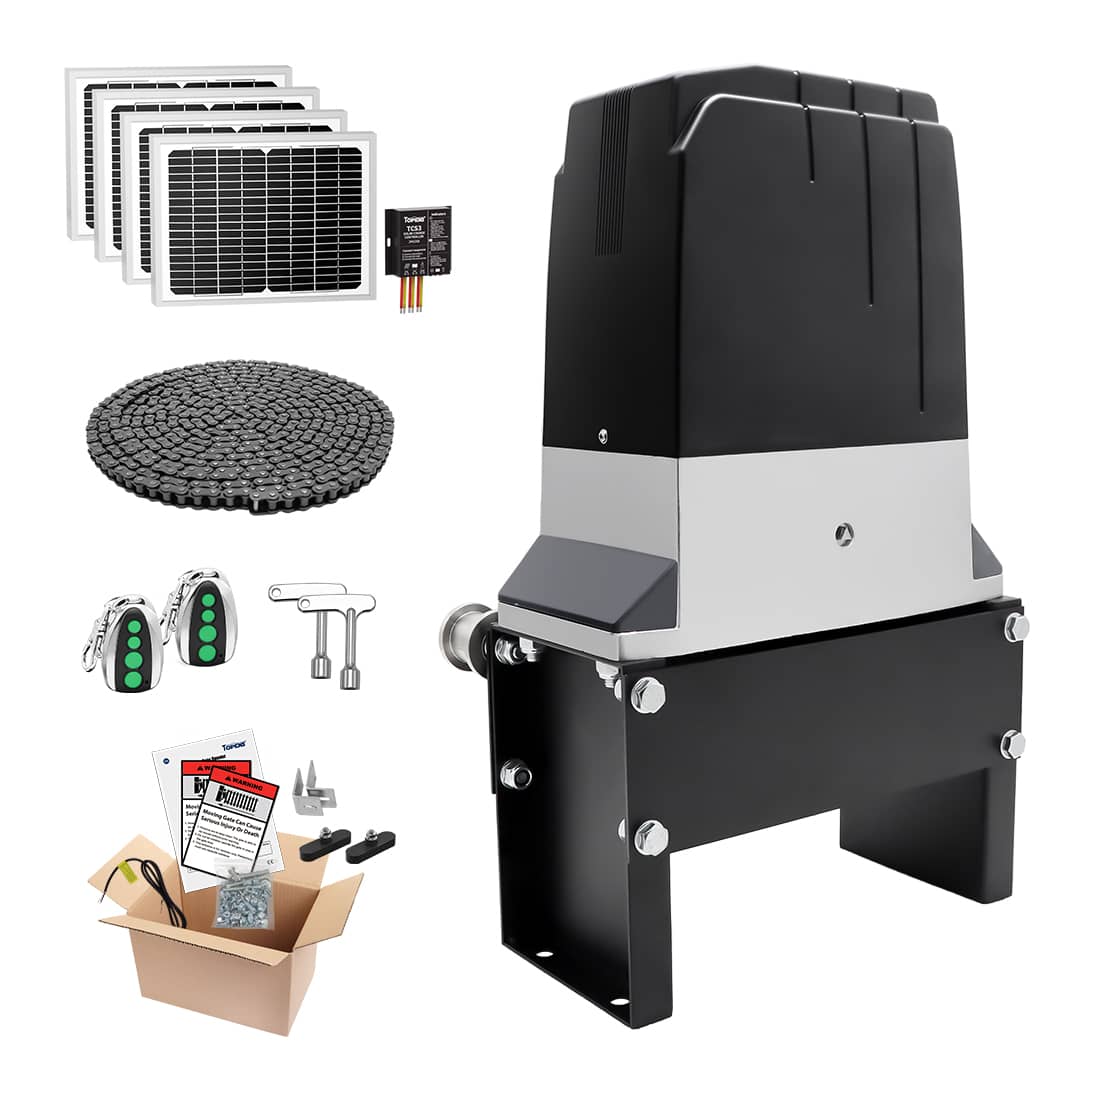
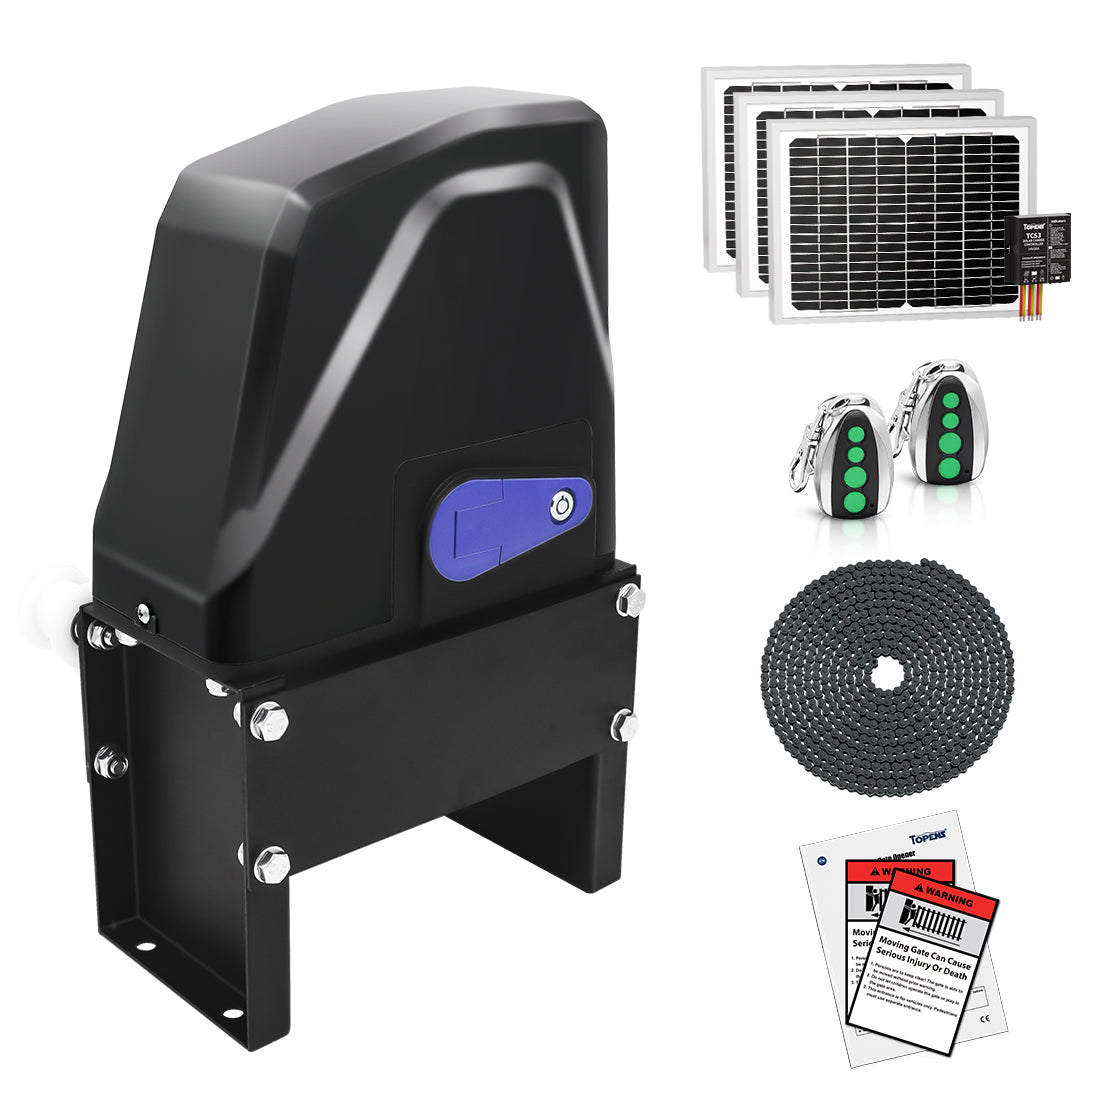
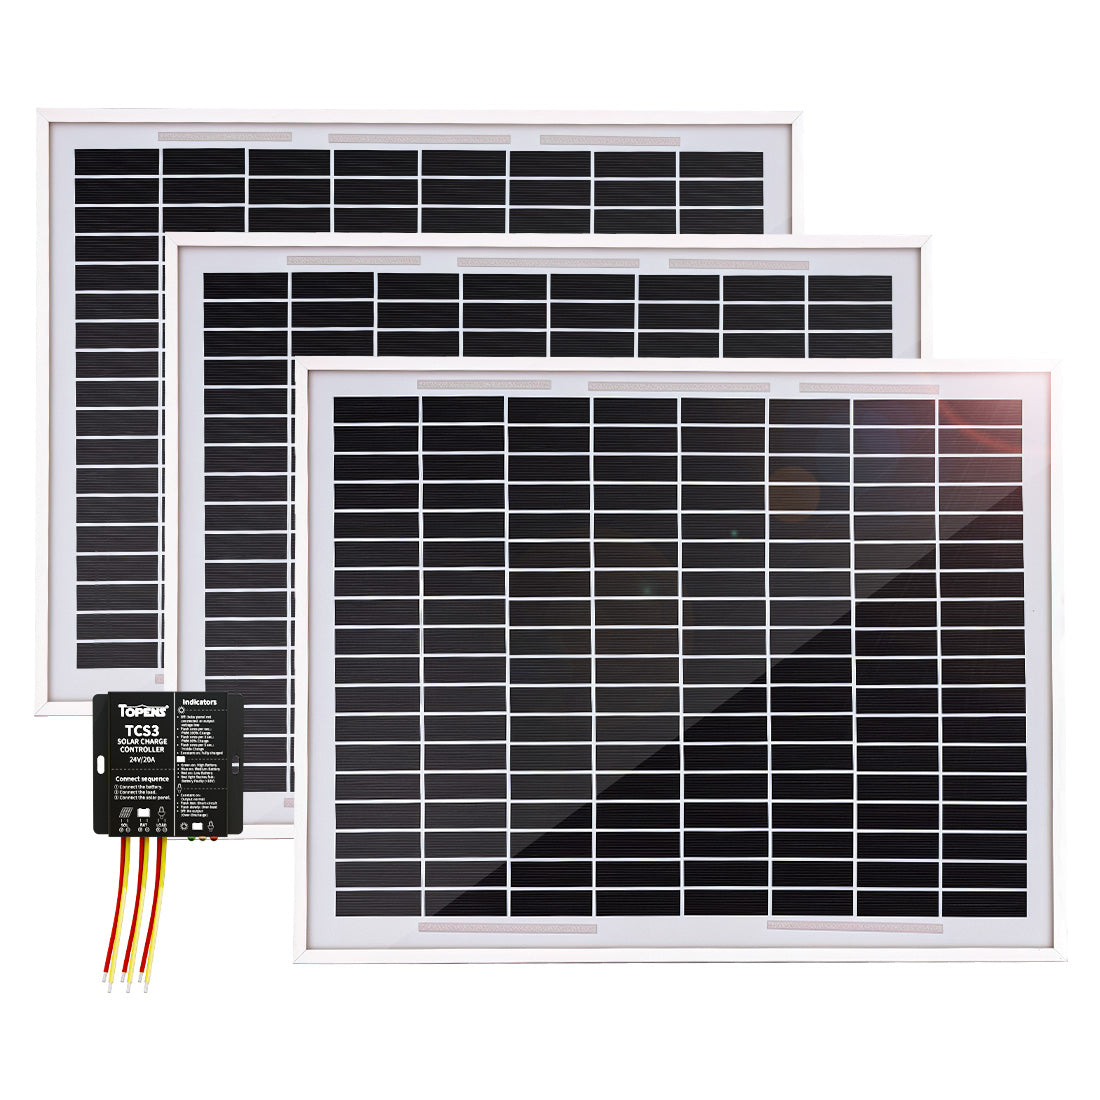
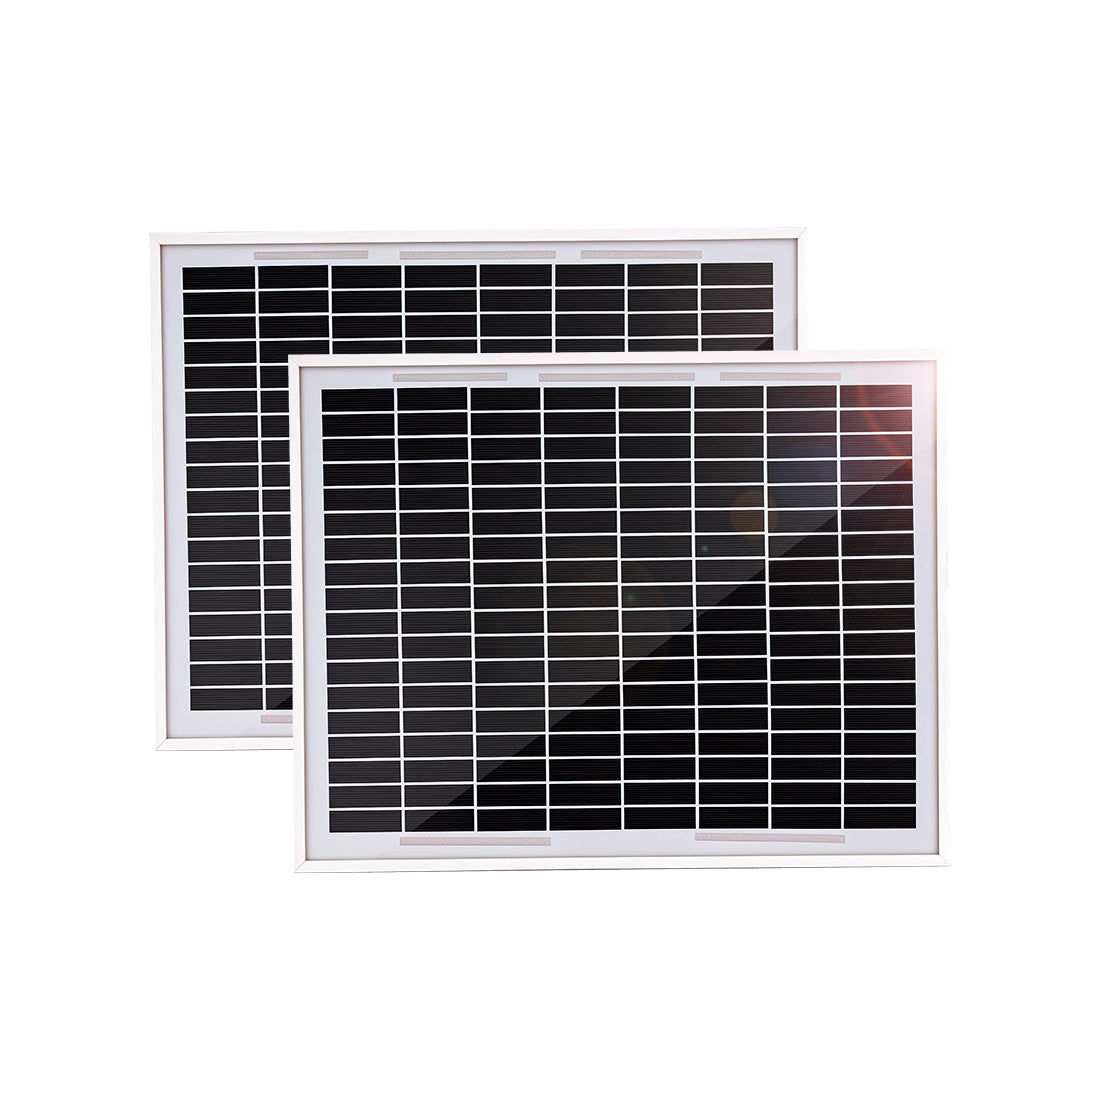
Connect two or more panels using the included hardware accessories and the pre-drilled holes on the back of each panel. For detailed assembly instructions, please refer to the installation video (This video demonstrates the installation using two 10W solar panels as an example.).
-
Solar Panel Wiring
Wire two or more panels using the Output Cables of the Solar Panels (size: 2C x 18AWG) and Parallel Connection Cable (size: 2C x 18AWG). For detailed wiring instructions, please refer to the installation video (This video demonstrates the wiring using two 10W solar panels as an example.).
MAINTENANCE OF SOLAR PANEL
1. Remove dust, dirt, leaves, and snow to ensure the solar panel receives maximum sunlight and operates efficiently.
2. Check all cables and connectors periodically to ensure there is no damage, aging, or looseness.
3. Regularly inspect mounting brackets and fixtures to confirm they are tightly secured and free from rust or corrosion.
4. Ensure there are no trees, buildings, or other obstacles casting shadows on the panel, as this can reduce its efficiency.
By following these steps, you can effectively complete the installation and wiring of your solar panel charging system. Enjoy the convenience and reliability of renewable energy for your gate automation with TOPENS technology. If you encounter any issues during installation or operation, please contact our customer support team for prompt assistance.