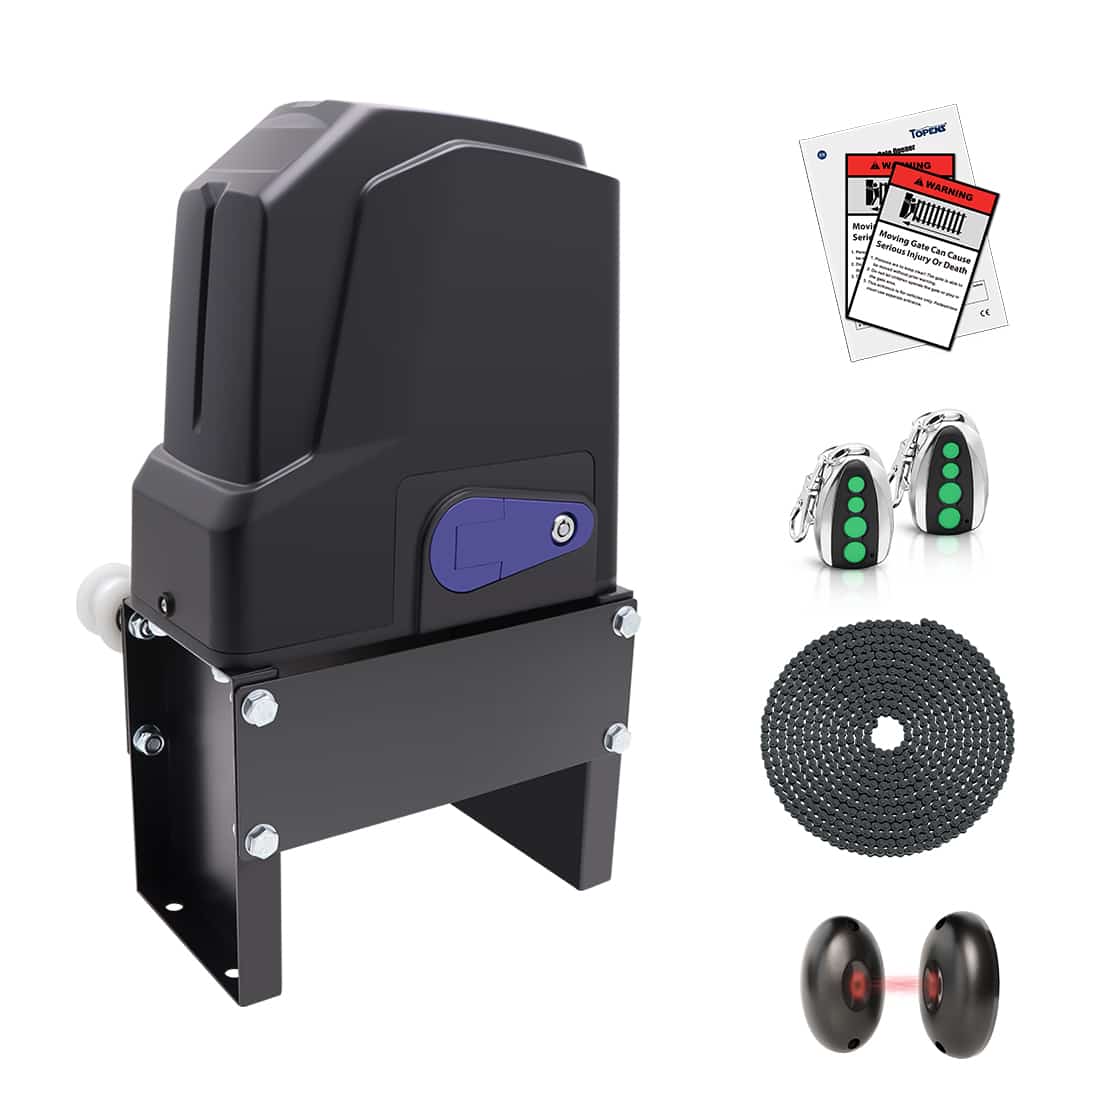
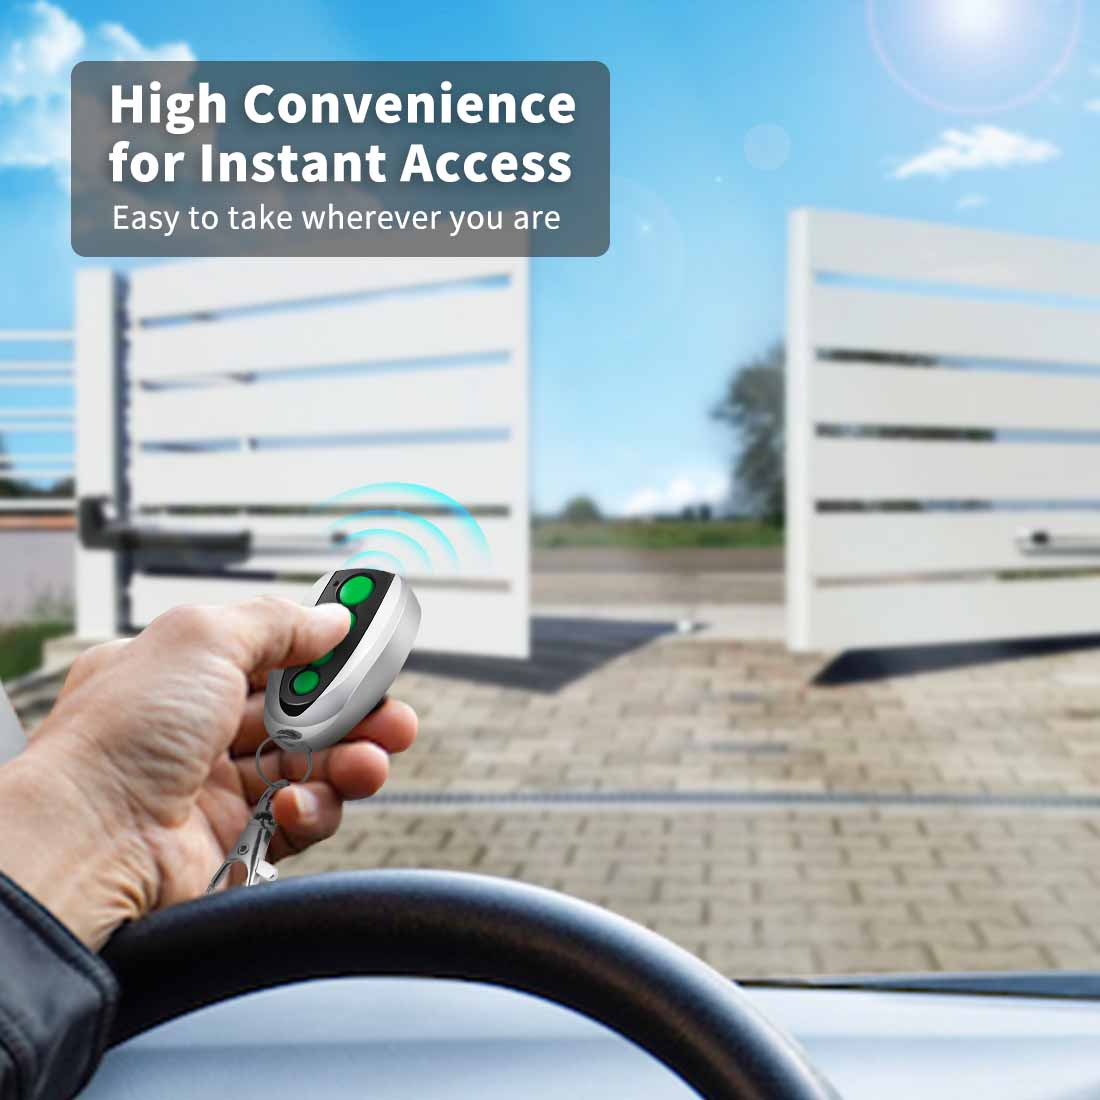
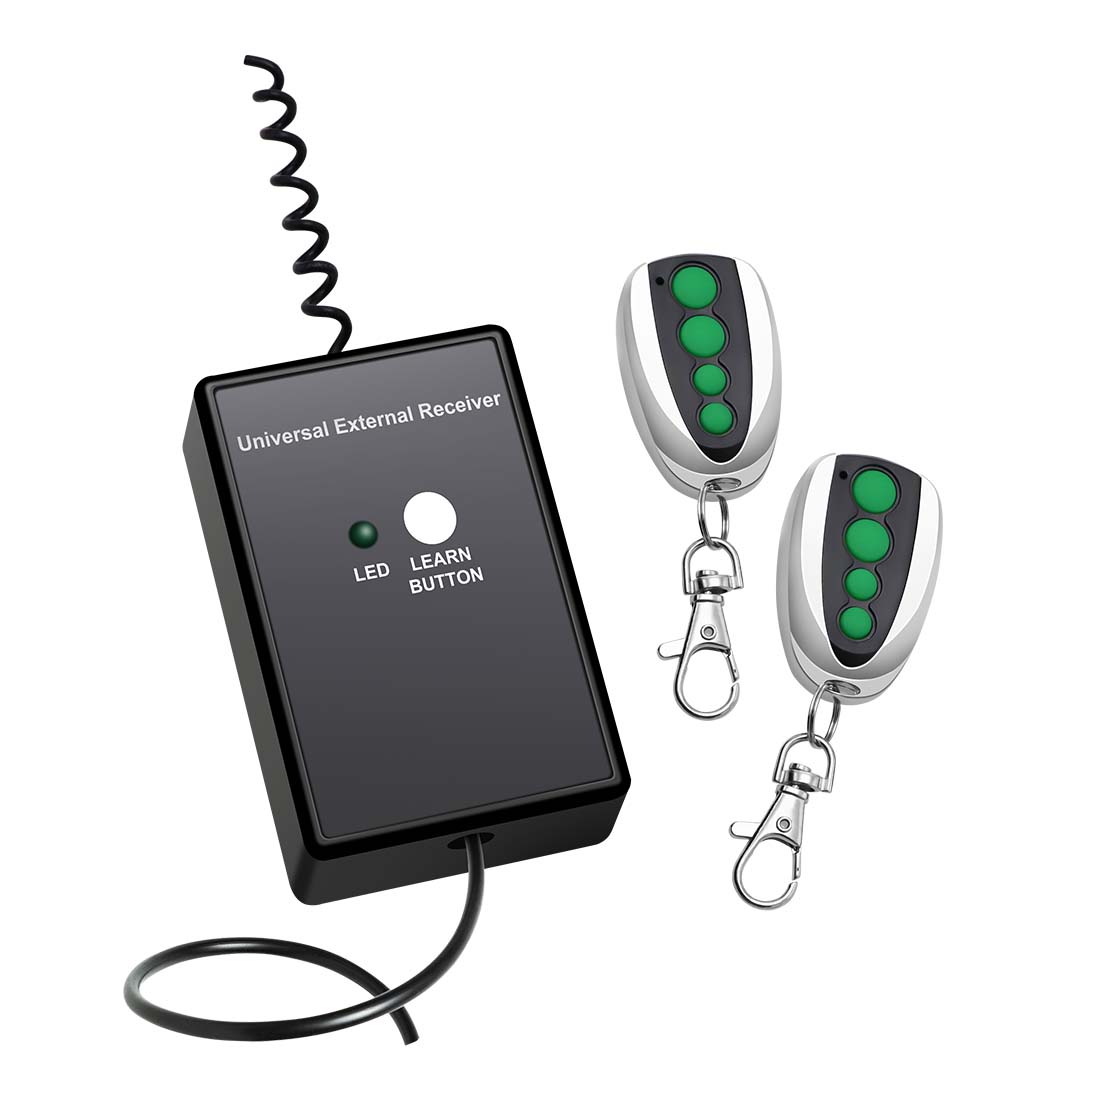
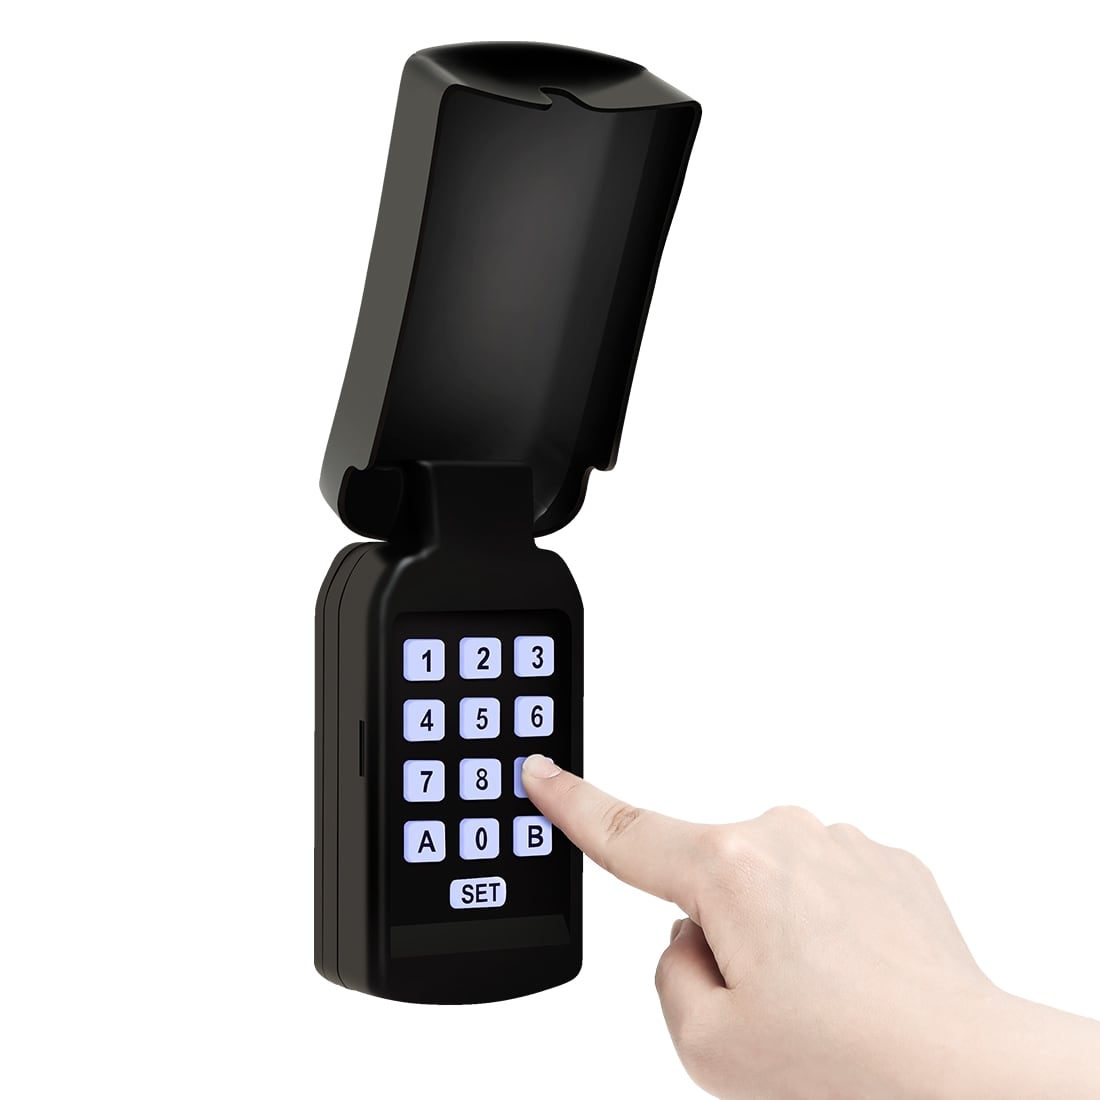
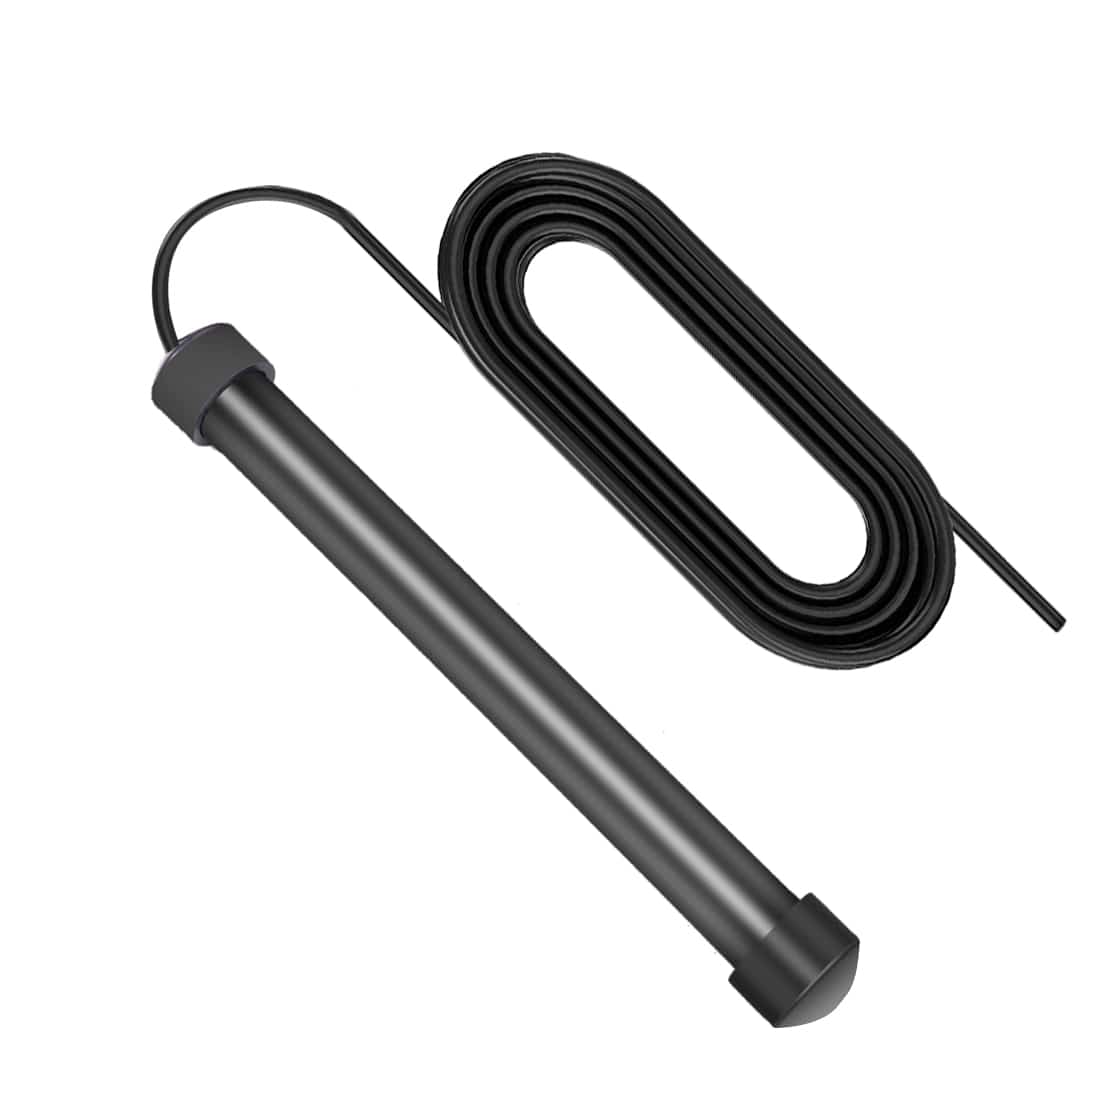
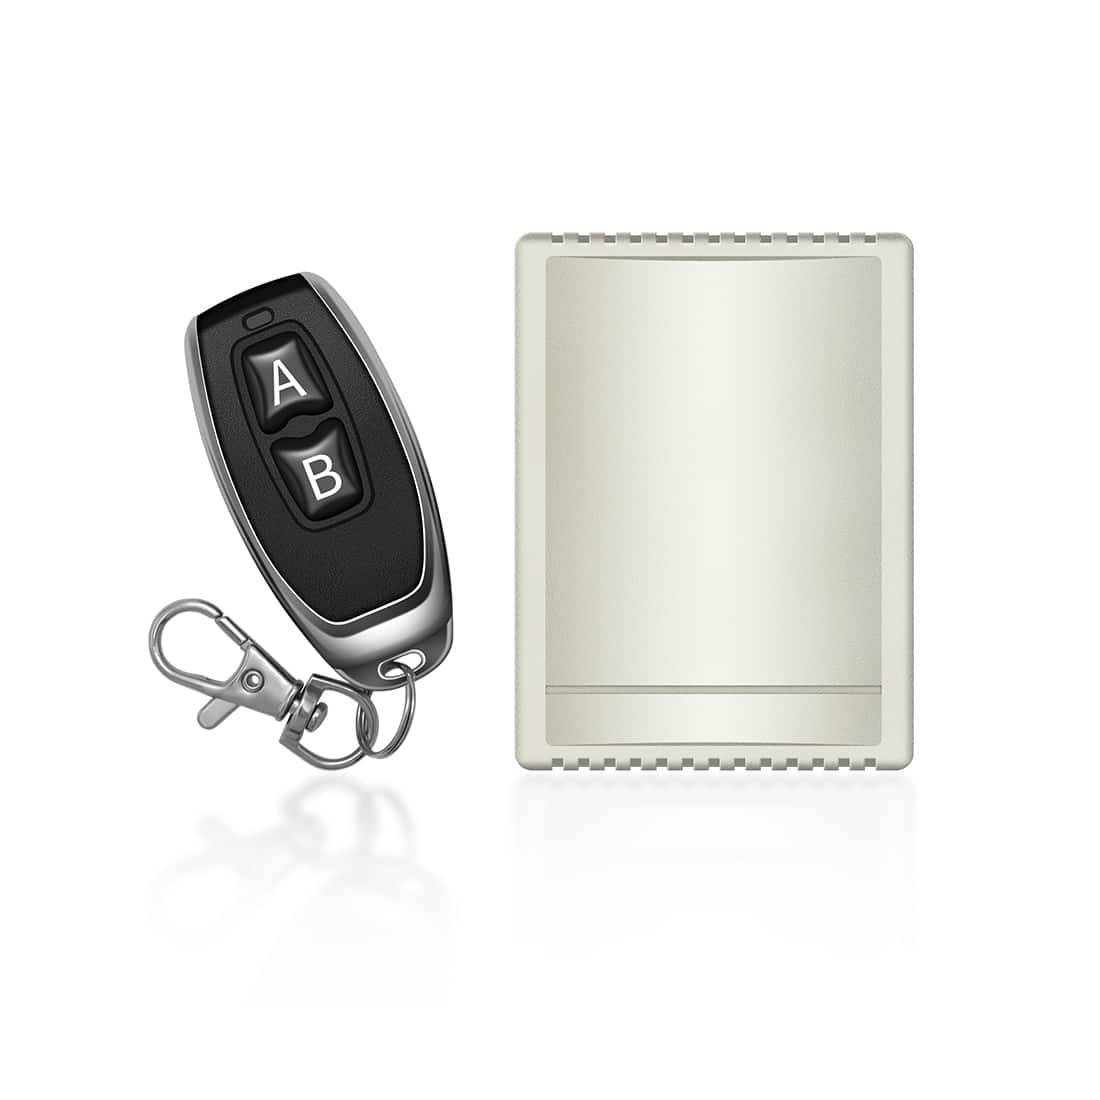
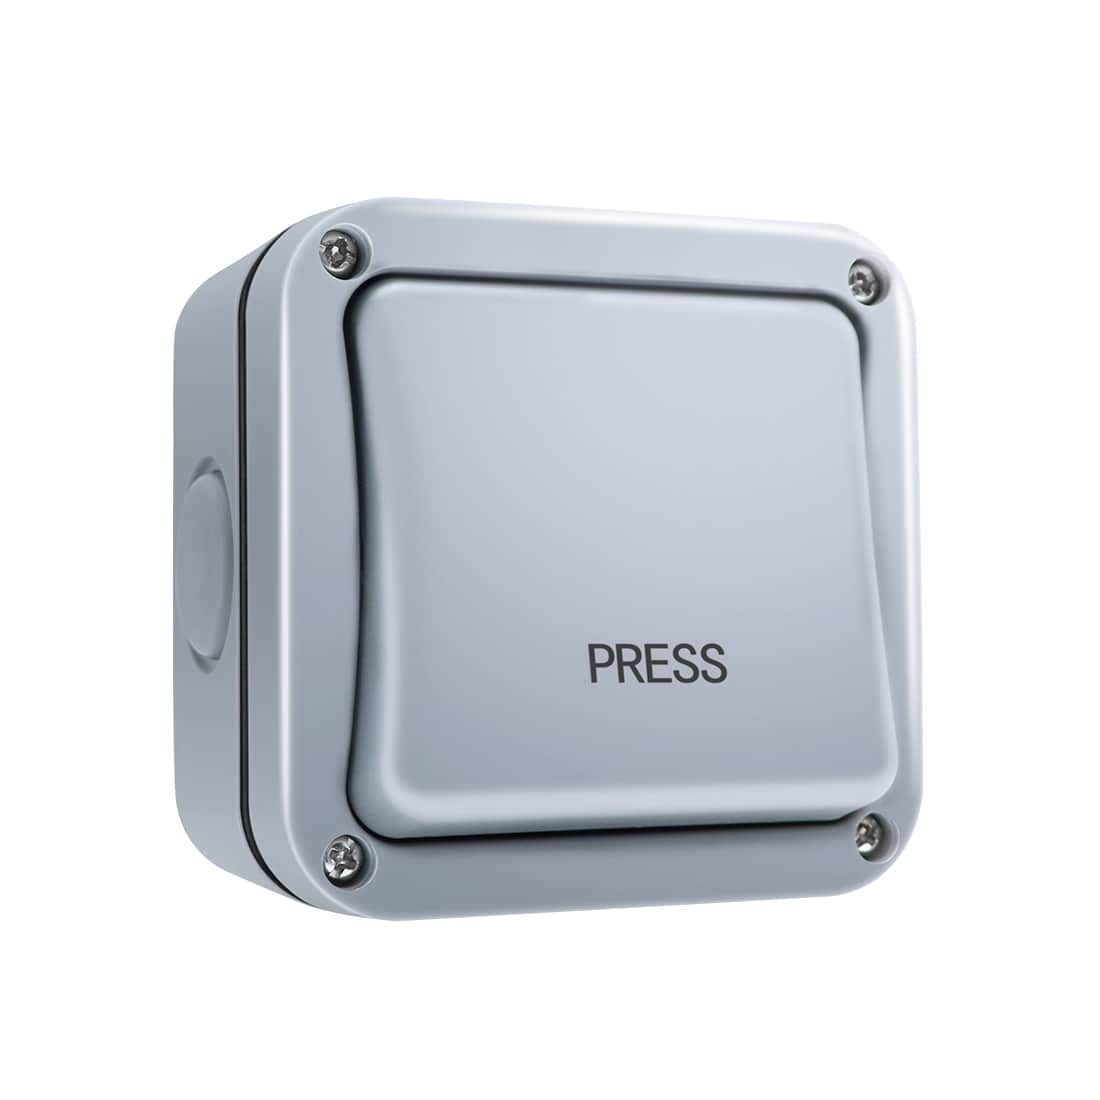
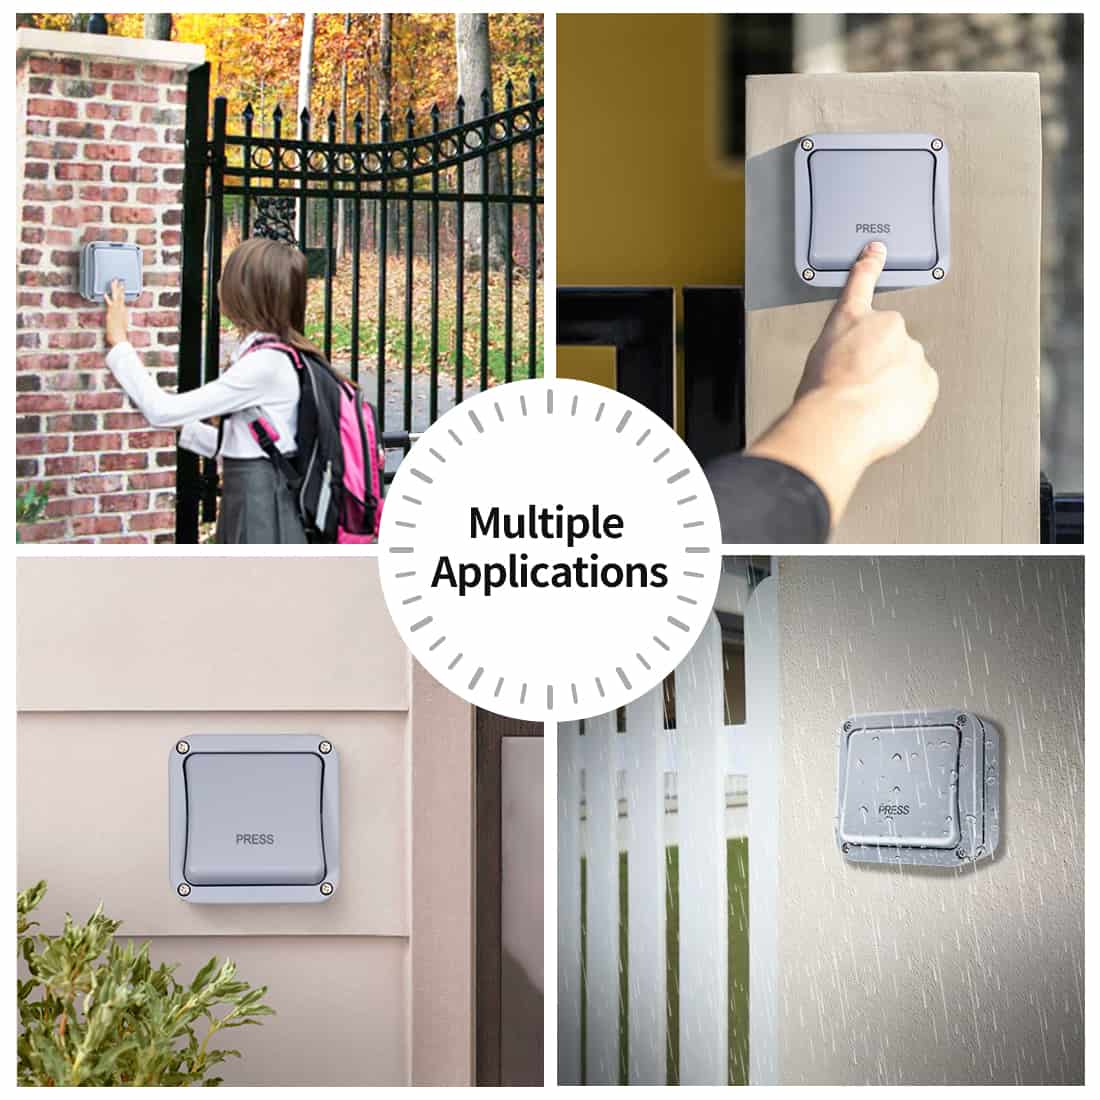
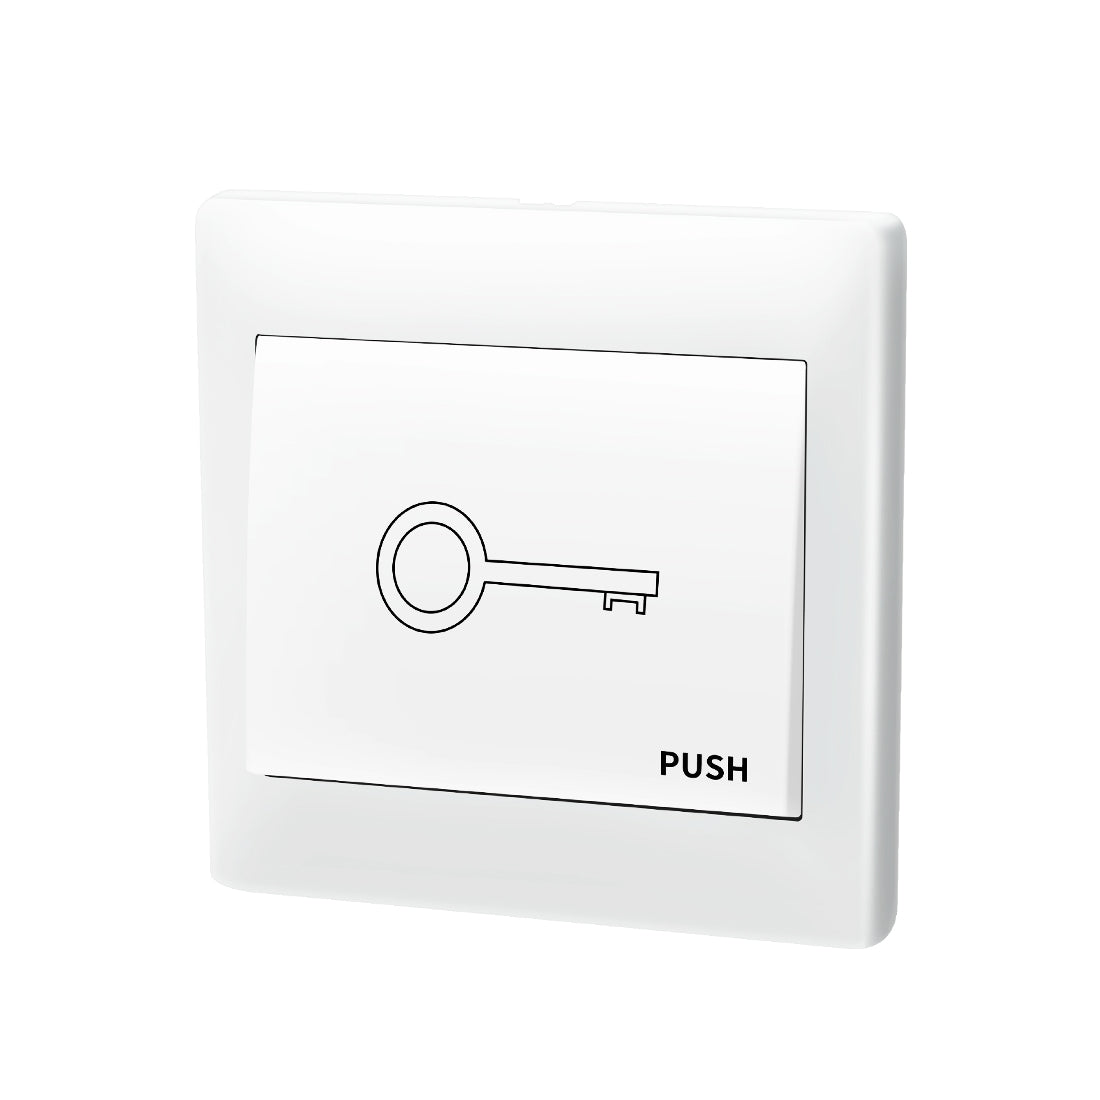
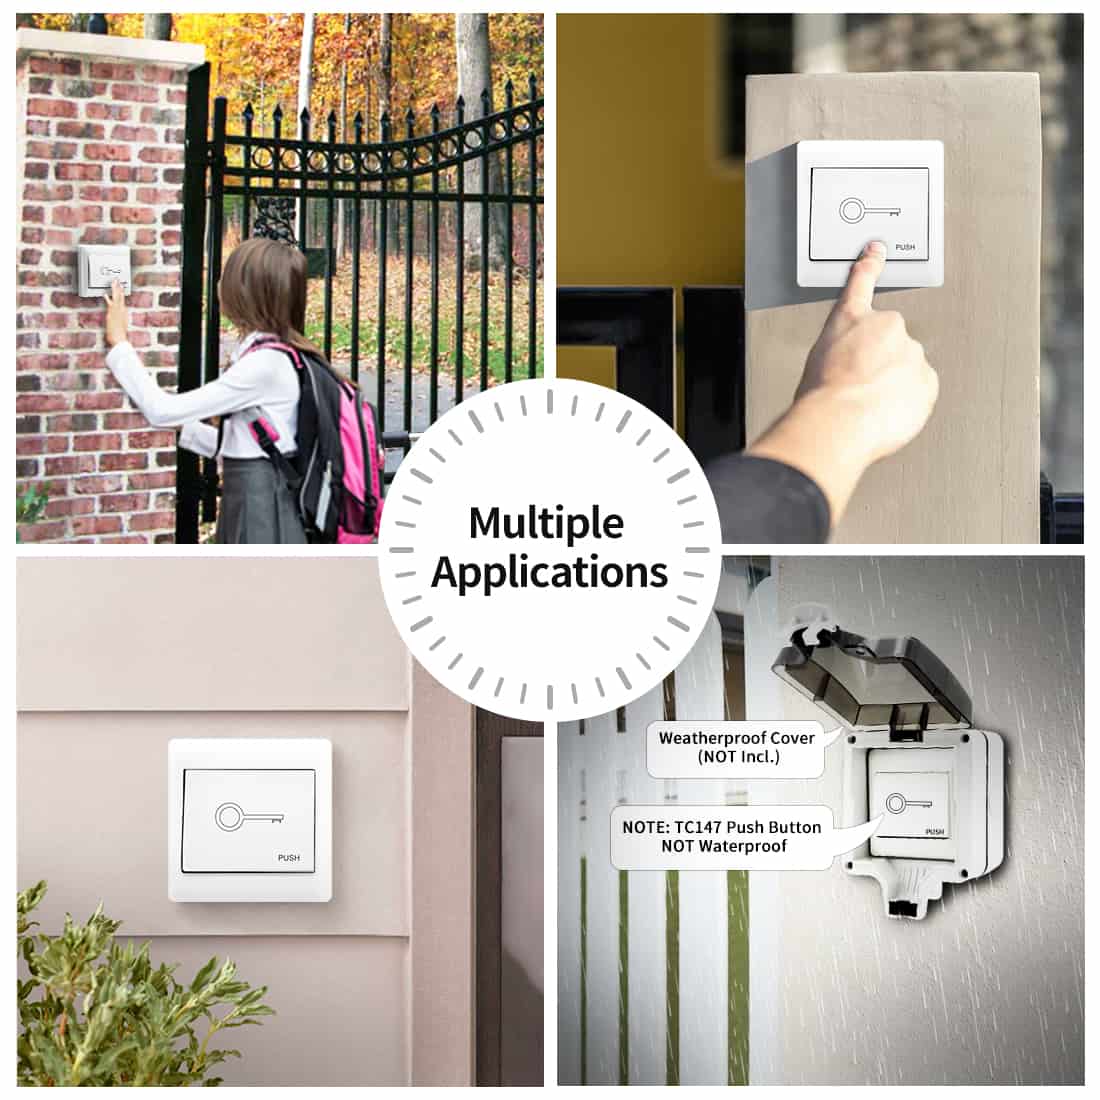
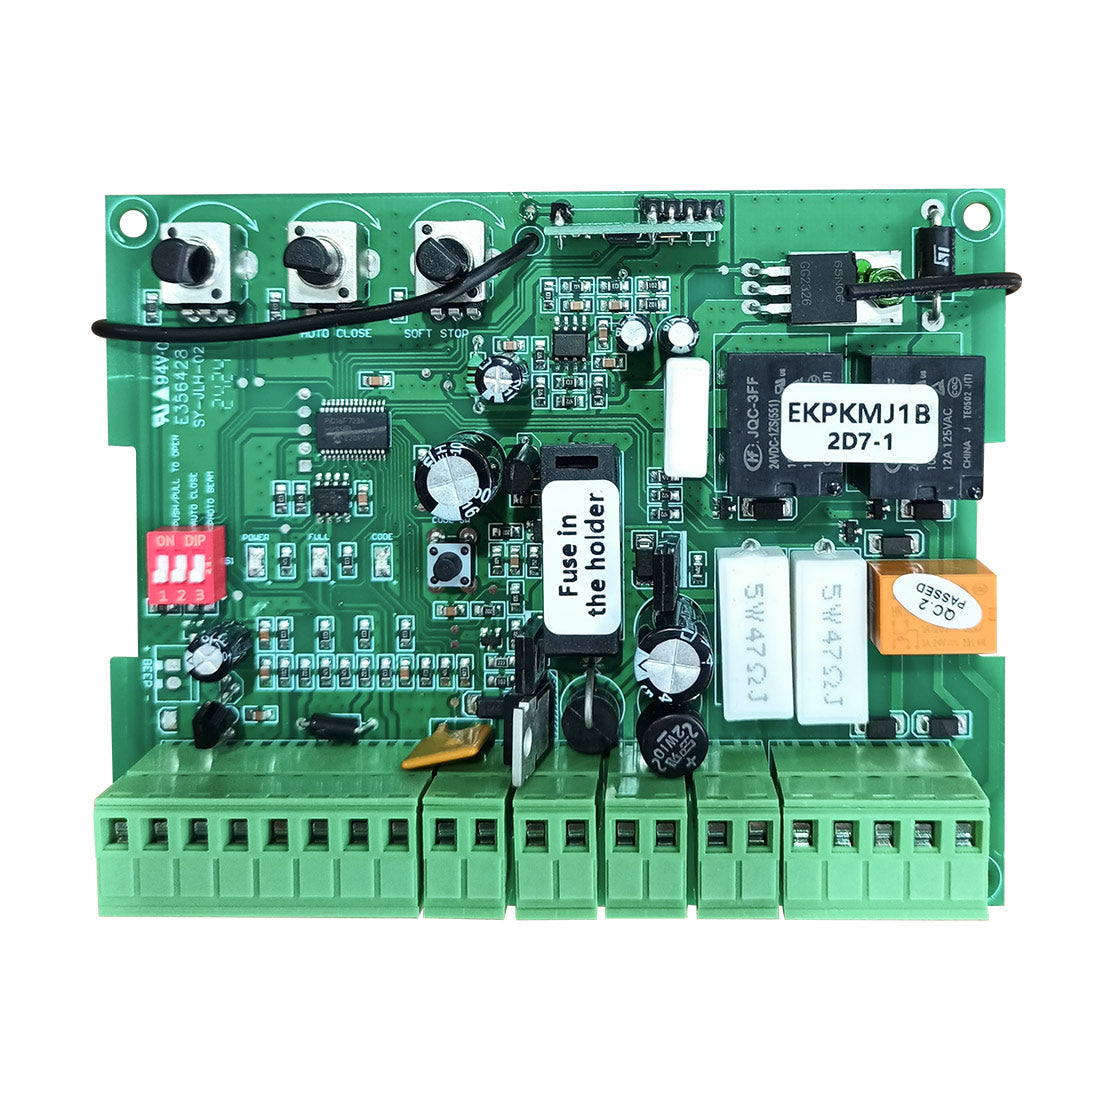
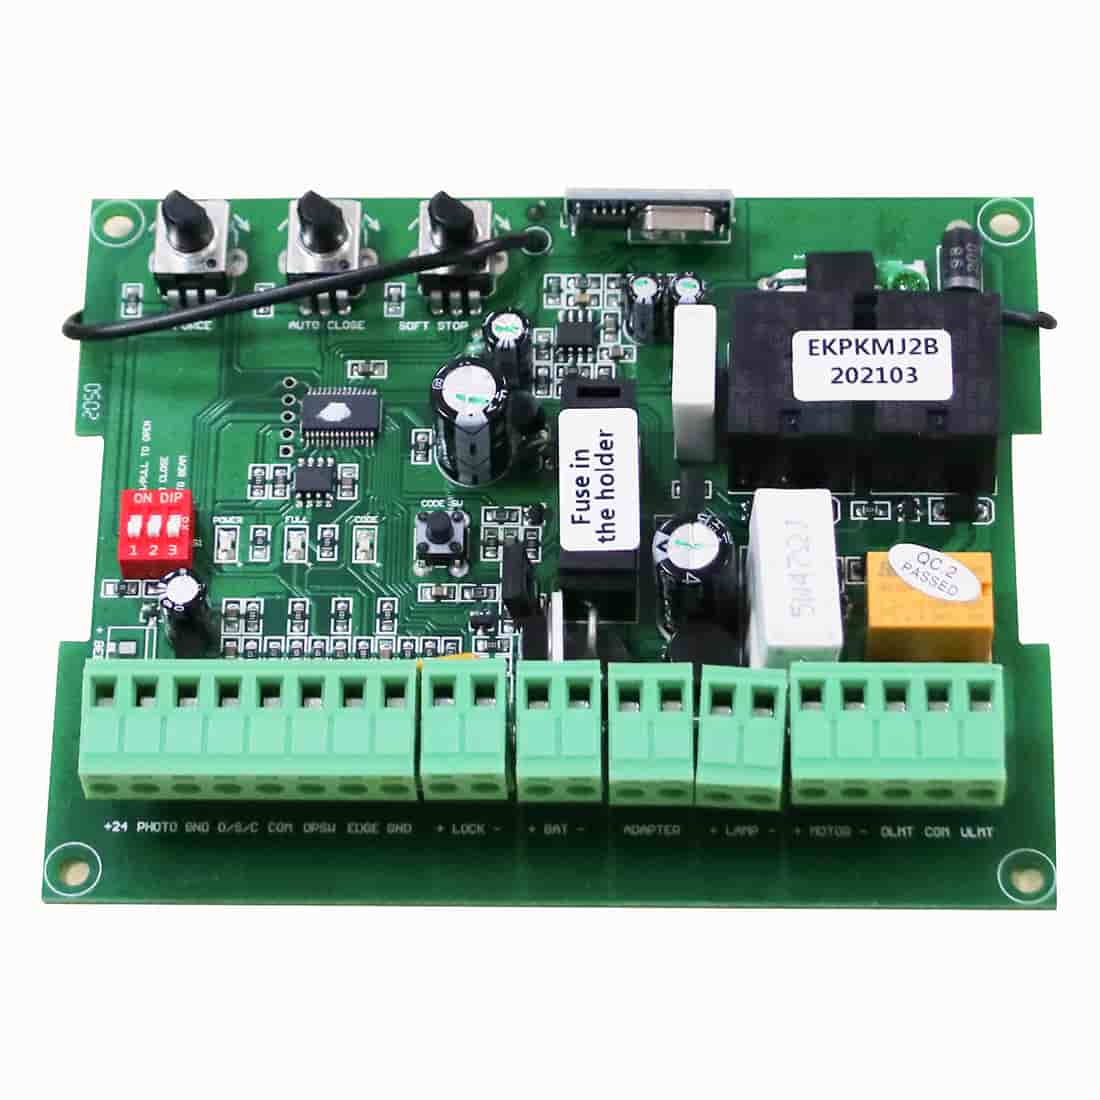
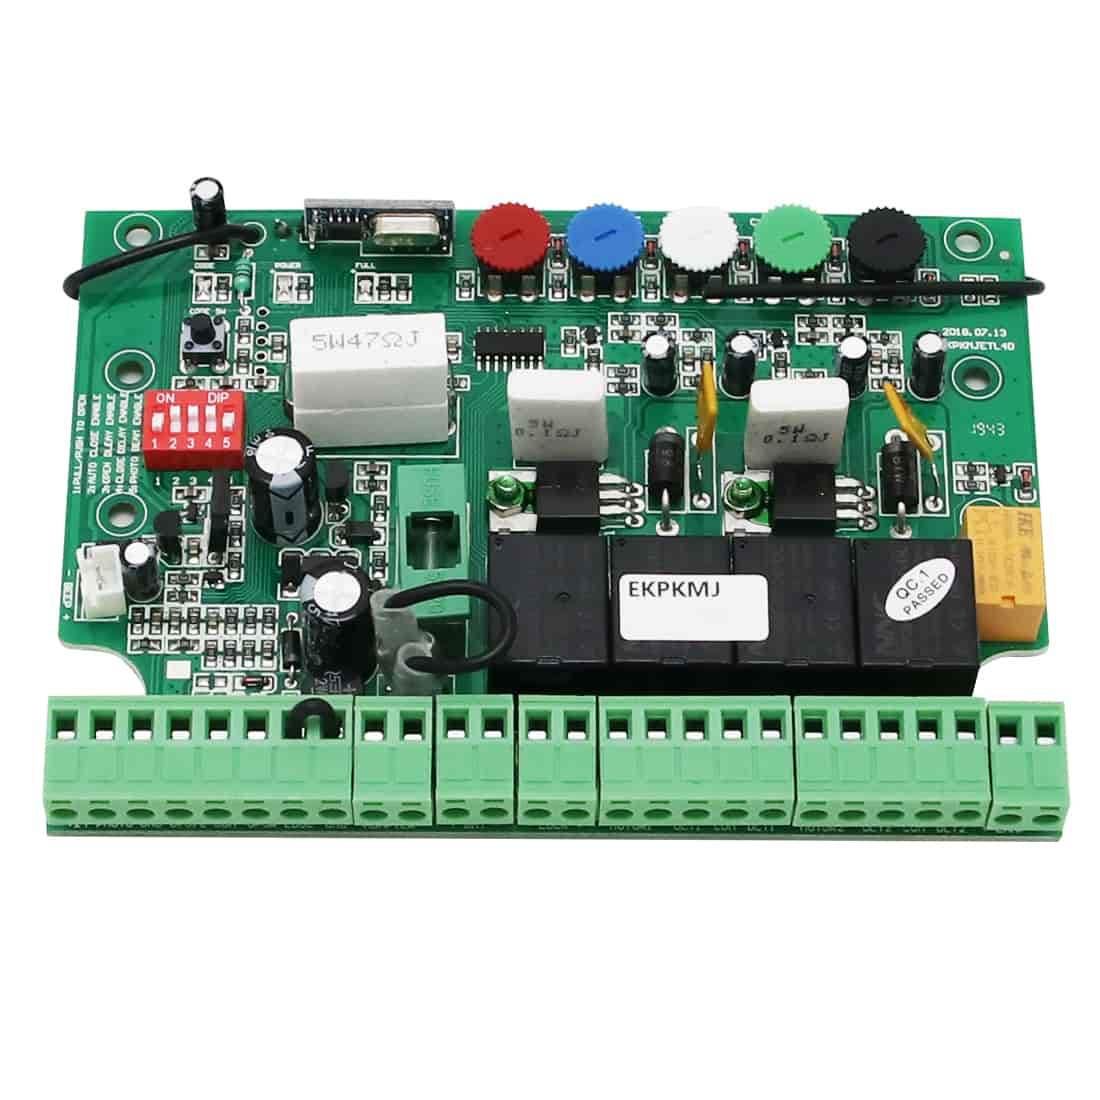
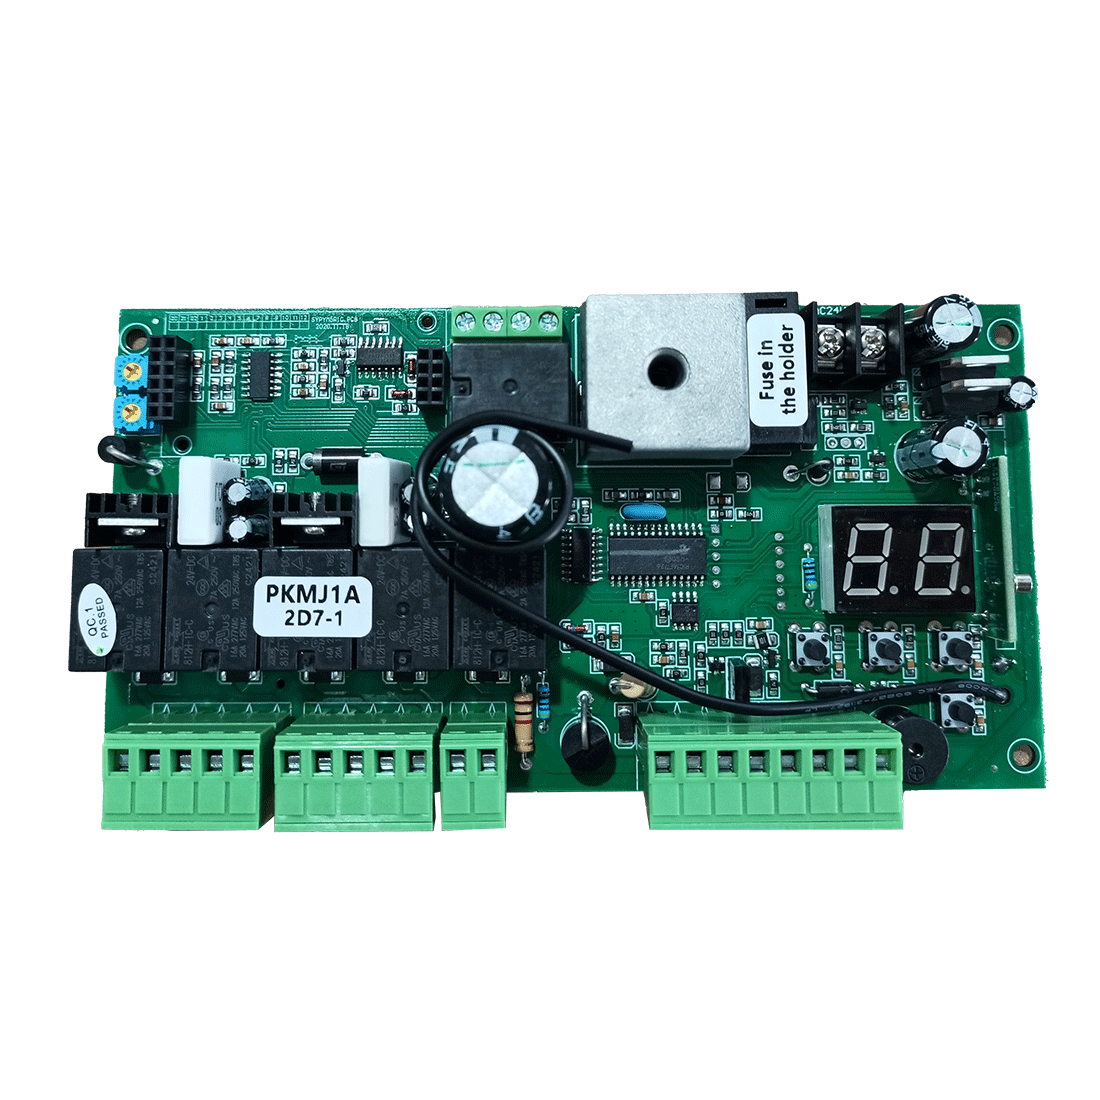
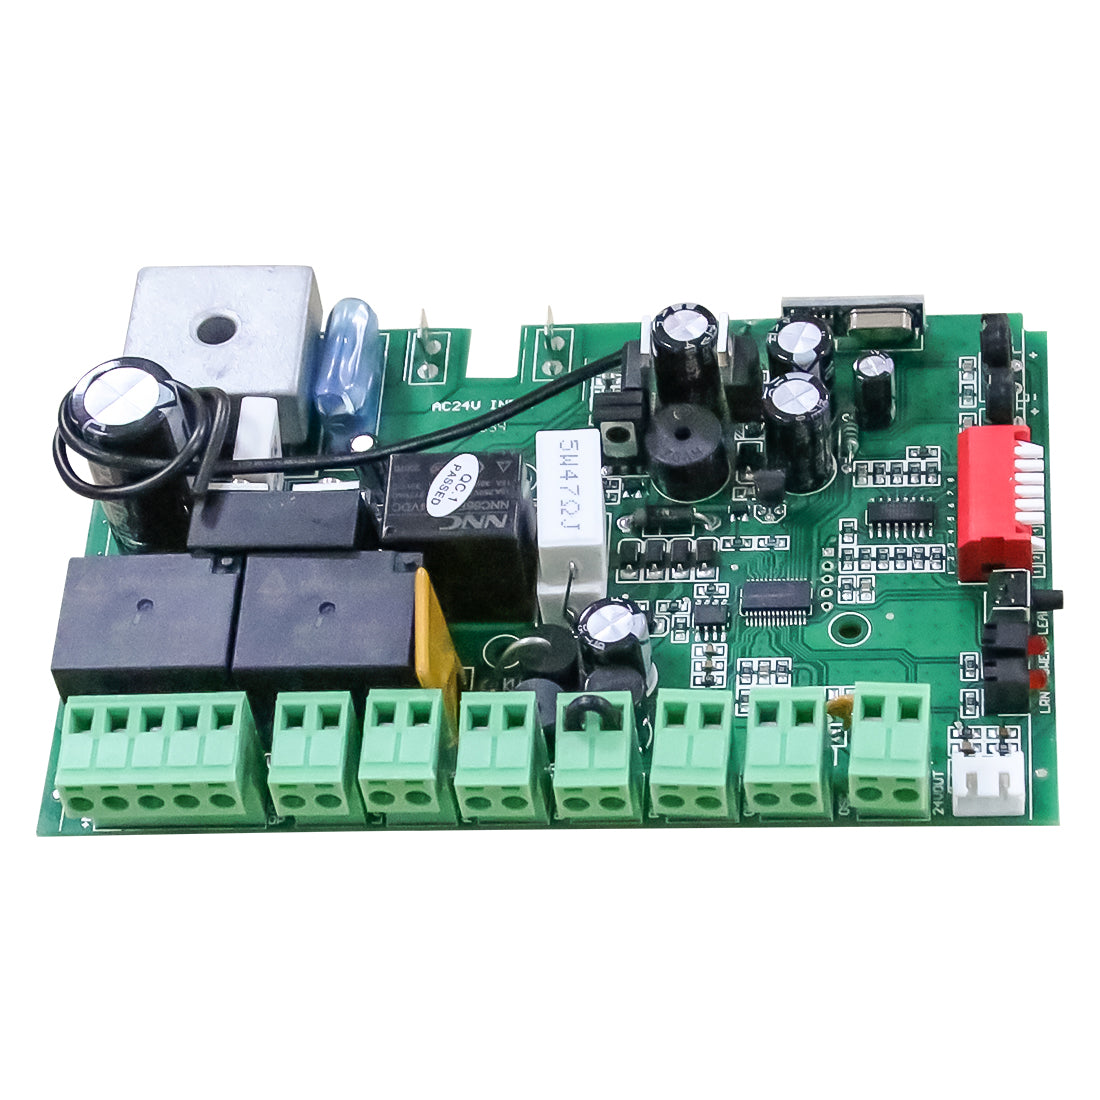
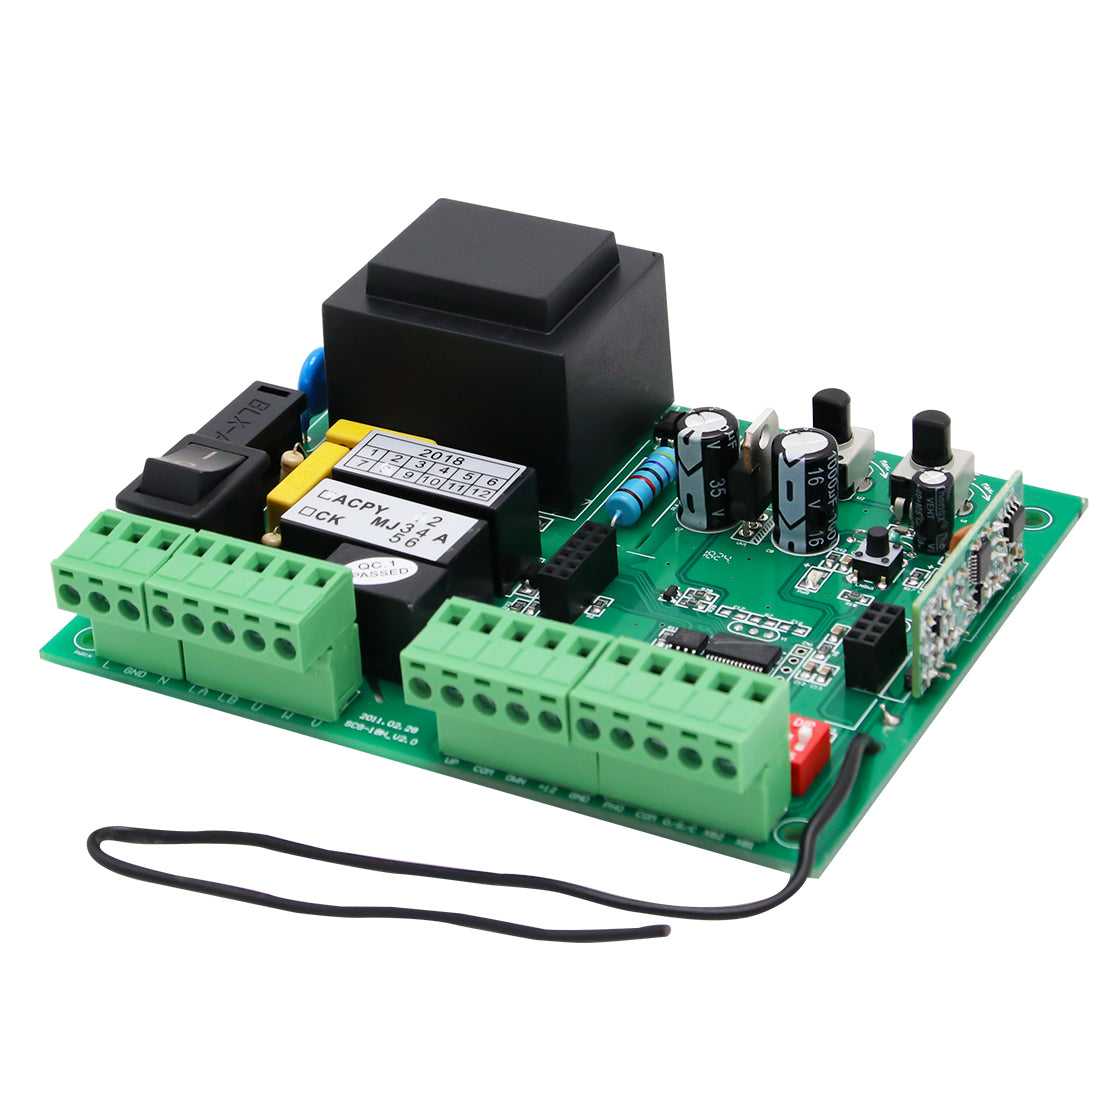
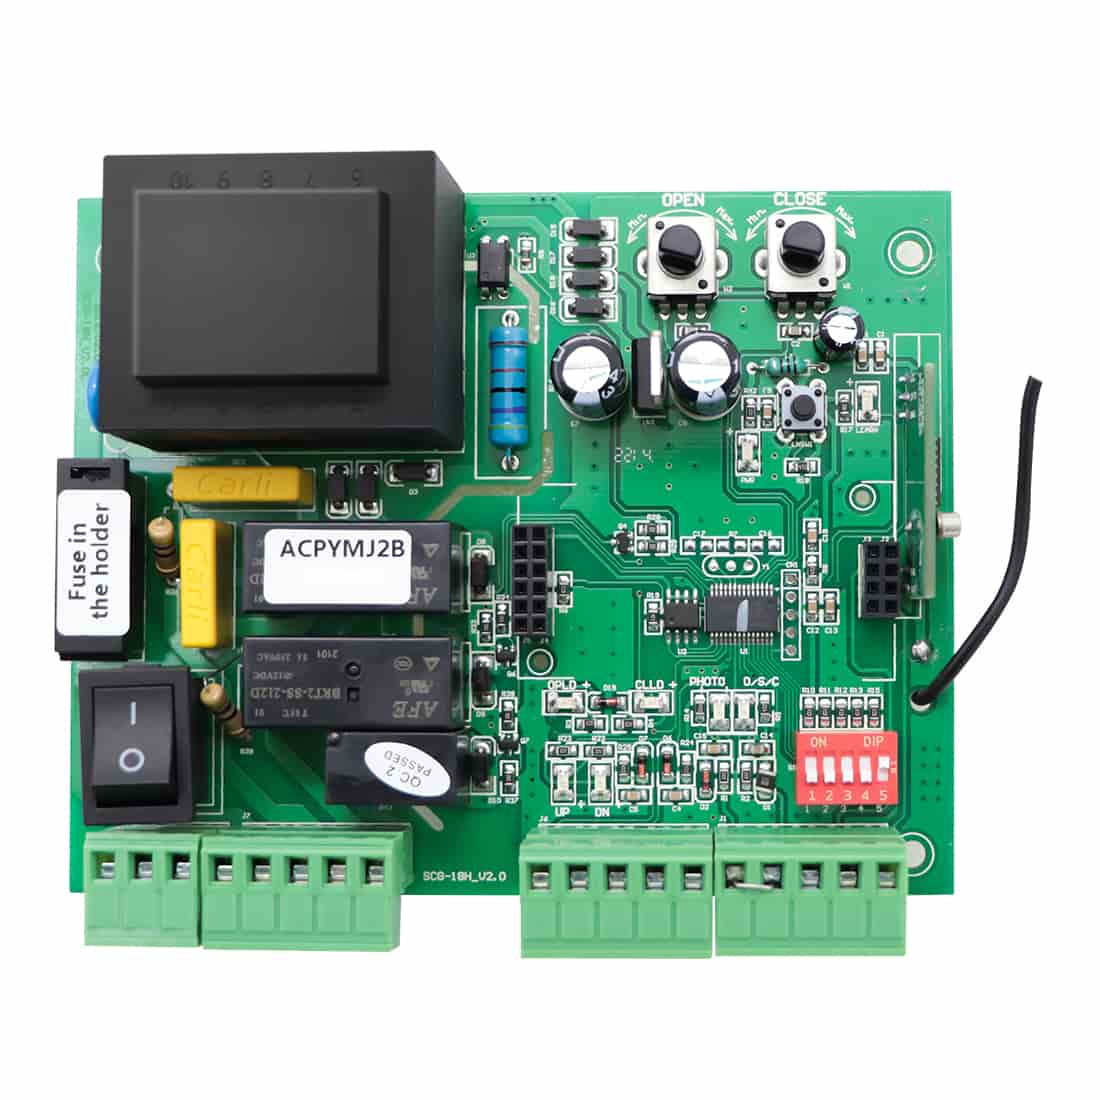
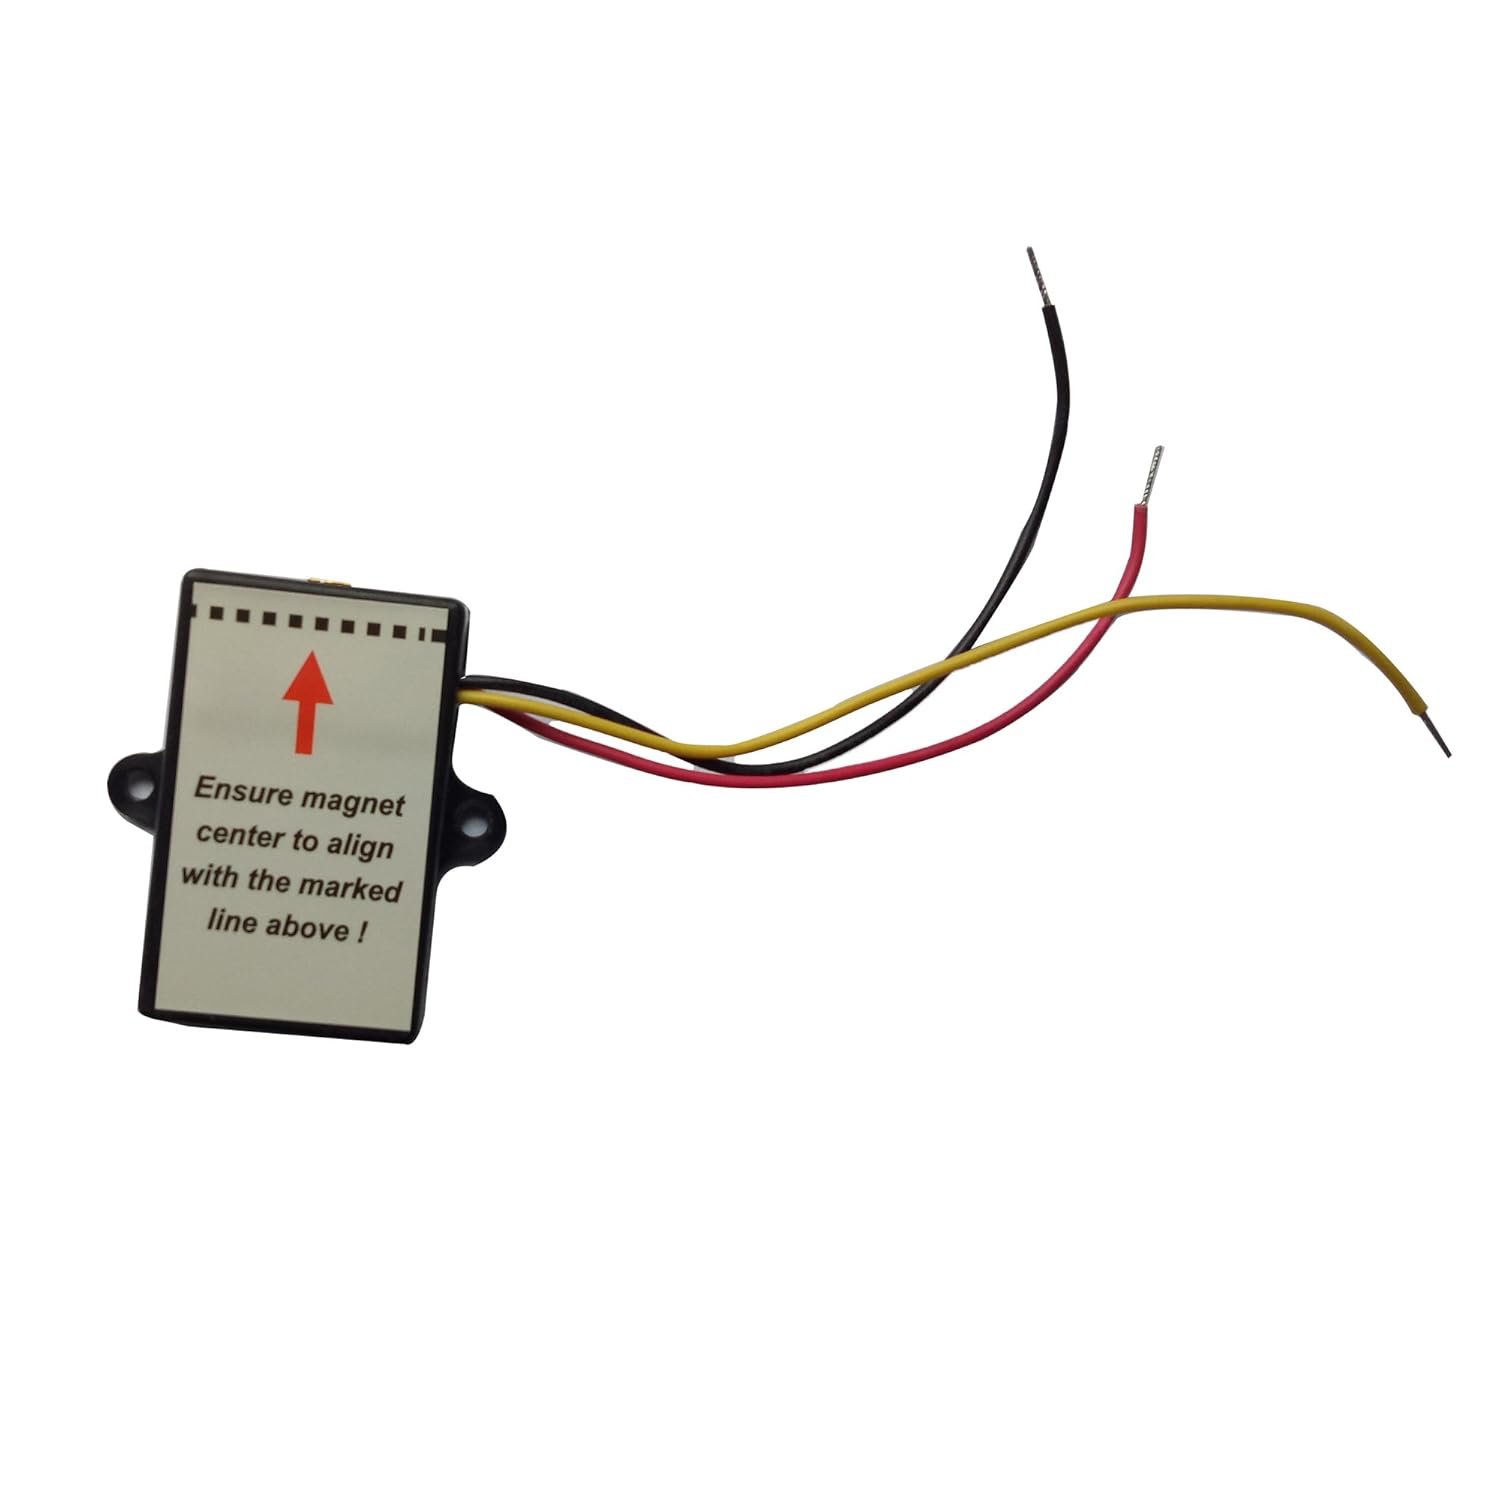
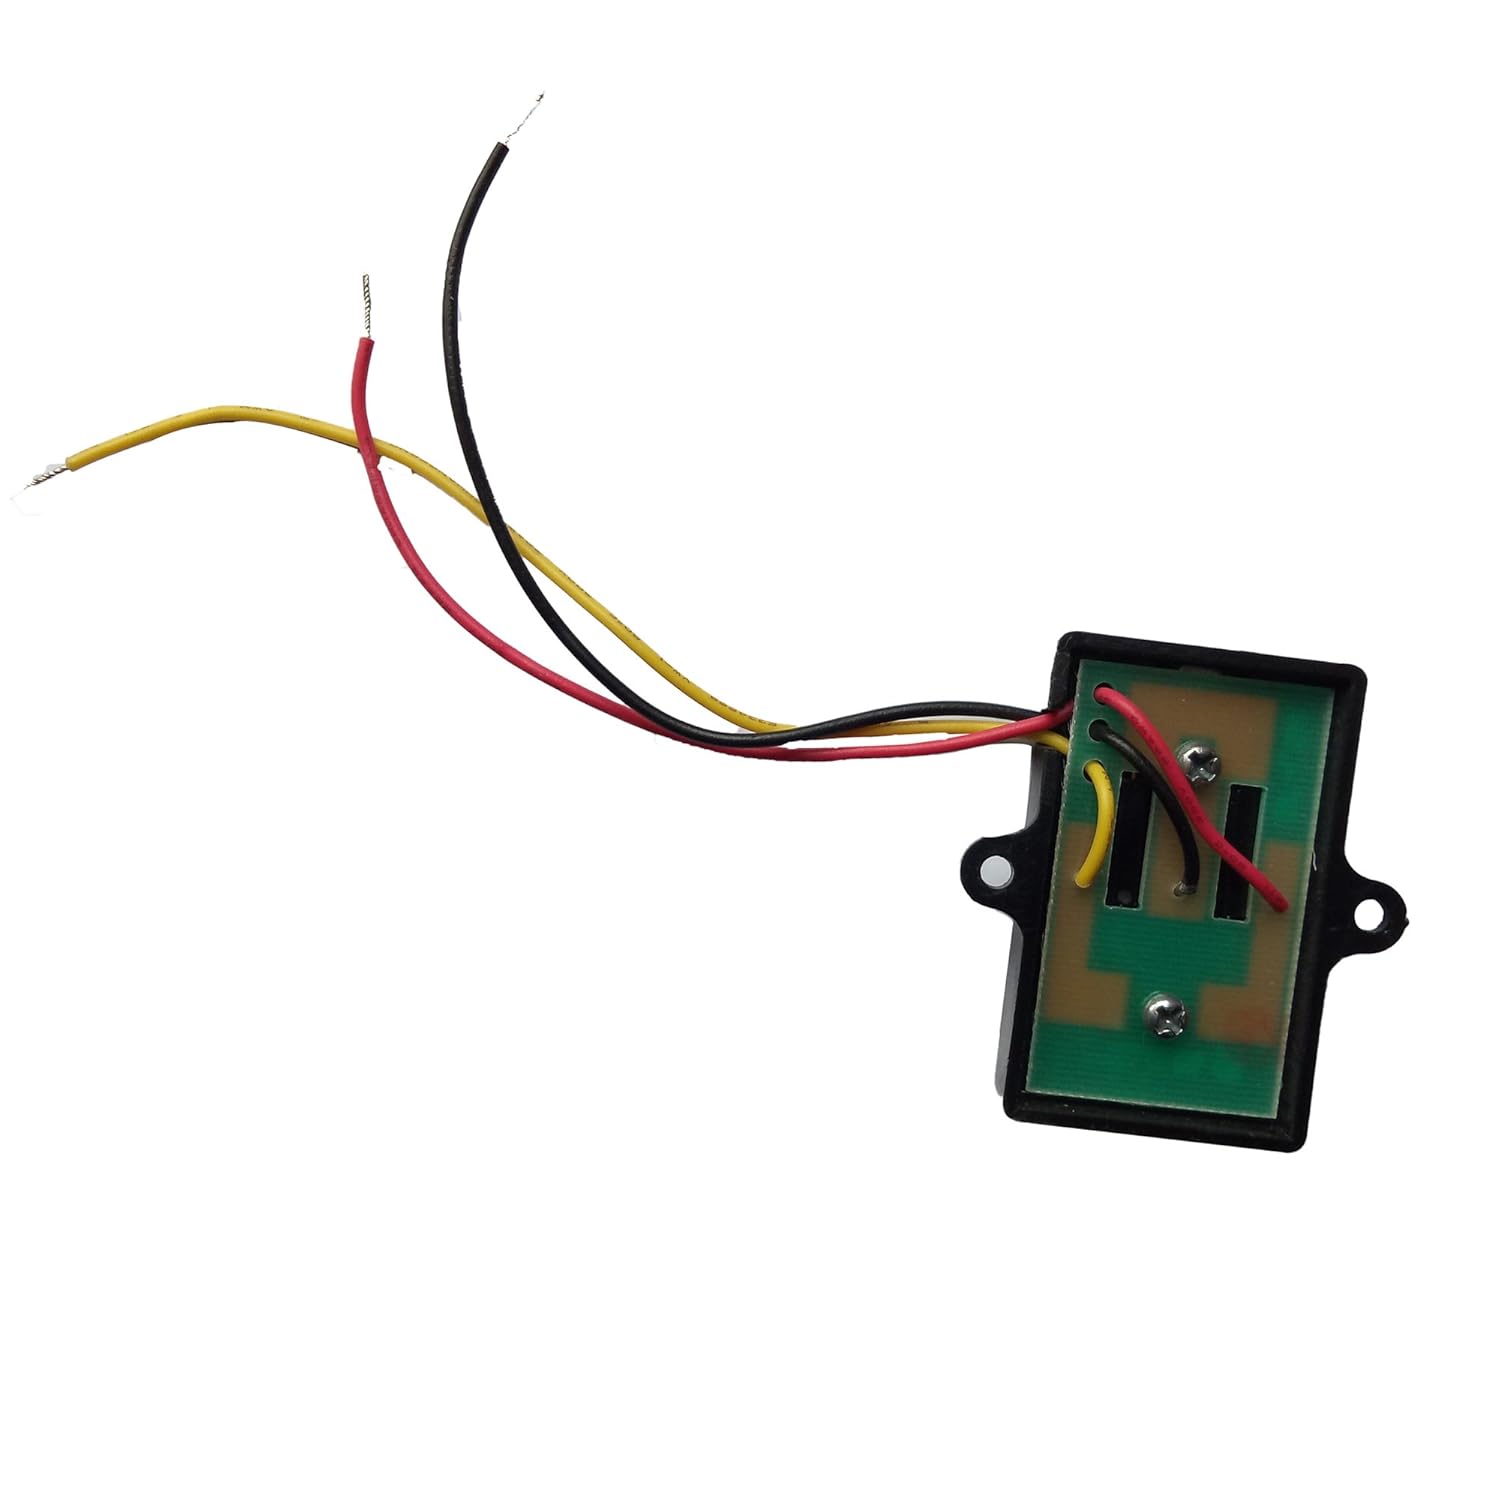
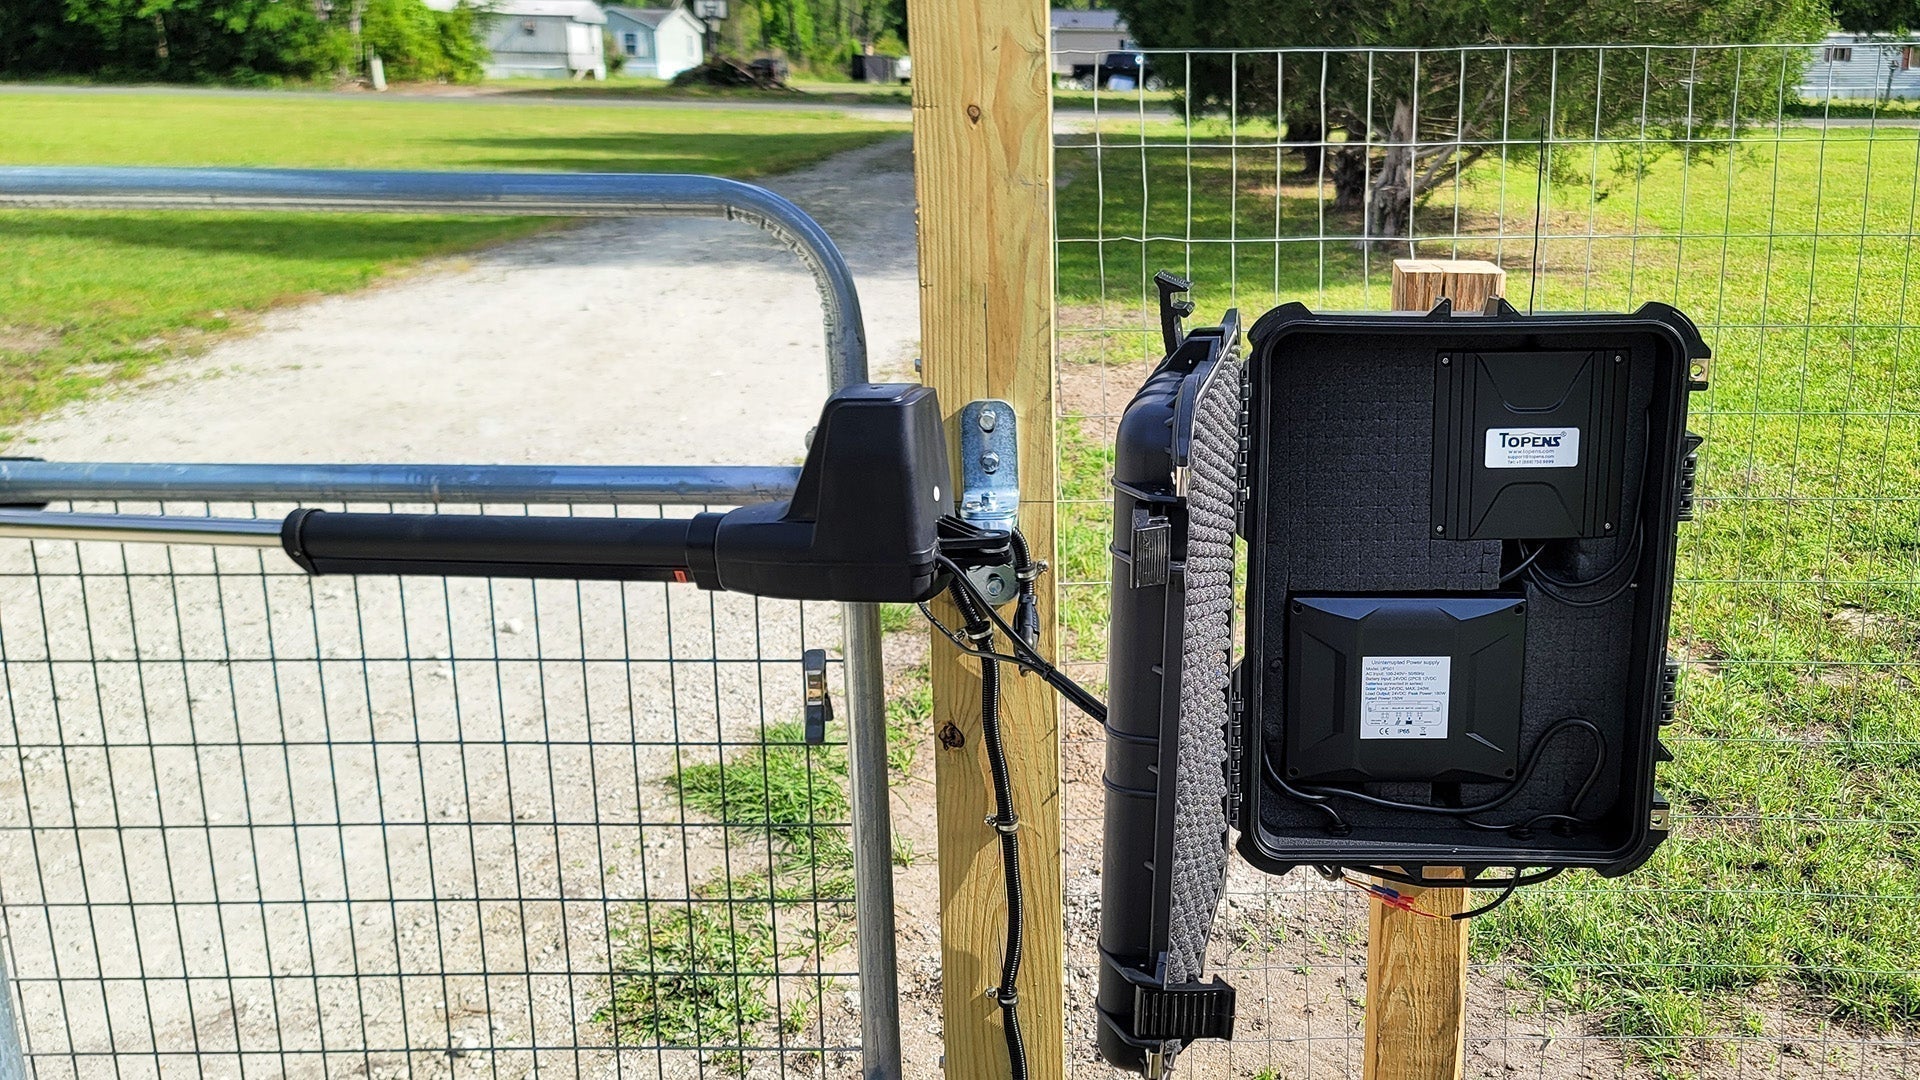
TOPENS wired accessories offer enhanced convenience and flexibility for automatic gate systems. Typically, each accessory connects to its designated terminal on the control board. However, in cases where multiple accessories — such as the TC148 Wall Push Button, TC175P Wired Keypad, and ERM12 External Receiver — must share the same terminal (e.g., O/S/C and COM), proper wiring is essential to ensure safe and reliable operation.
This guide outlines two effective methods for connecting multiple accessories to a shared terminal.

Step 1: Preparation
1. Disconnect power to the gate opener before starting the wiring.
2. Prepare connection wires for each accessory:
-
- Connect one end of each wire to the corresponding terminals on each accessory.
- Separate and label the free ends of the wires: group those intended for the O/S/C terminal together, and those for the COM terminal together.
Step 2: Direct Connection (When Terminal Capacity Allows)
If the terminal block on the control board can securely accommodate multiple wires:
1. Check that the terminal screw can firmly hold all wires without causing loose or unstable connections.
2. Strip approximately 6-8 mm (0.24-0.32") of insulation from each wire end.
3. Twist together the wire ends that will be connected to the same terminal (O/S/C or COM).
4. Insert the twisted wire bundle into the corresponding terminal slot.
5. Firmly tighten the terminal screw to ensure a secure connection. Make sure the screw clamps directly onto the bare conductor rather than the insulation layer to maintain good conductivity.
6. Verify that no copper strands are exposed outside the terminal, as this may cause a short circuit.
Notes:
-
- This method is quick and effective when the number of wires is small and the terminal size allows.
- If the COM terminal cannot accommodate all wires, connect the remaining ones to the adjacent GND terminal.
Step 3: Pigtail Method (When Terminal Space is Limited)
If the terminal block cannot safely accommodate all wires directly:
1. Prepare a short length of 2C x 0.75 mm2 (18AWG) wire that is rated to handle the combined current of all connected accessories.
2. Connect one end of this wire to the O/S/C and COM terminals on the control board.
3. Join the other end to the corresponding accessory wire ends using a secure connector.
4. Confirm that all connections are tight, secure, and properly insulated to prevent electrical faults.
Note: This method reduces mechanical strain on the control board terminals and simplifies future maintenance or system expansion.

Step 4: Verify the Wiring
1. Ensure that all accessories are connected in parallel, not in series.
2. Gently tug each wire to confirm that it is securely fastened.
3. Double-check that all terminal screws are firmly tightened.
Step 5: Test the System
1. Restore power to the gate opener.
2. Test each accessory individually to confirm it activates the gate opener correctly.
3. If an accessory does not function:
-
- Try switching from direct connection to the pigtail method to minimize potential interference.
- Recheck the accessory's wiring and connector integrity.
Safety Notes
- Always disconnect power before making any electrical connections.
- Use wires of appropriate gauge and insulation rating.
- Avoid over-tightening screws to prevent damaging terminals or breaking wires.
To connect multiple wired accessories to a single pair of push button terminals on a TOPENS control board, use either the direct wiring method or the pigtail method, depending on the terminal capacity. Both options provide a clean, safe, and reliable connection, ensuring optimal performance of your TOPENS automatic gate system.